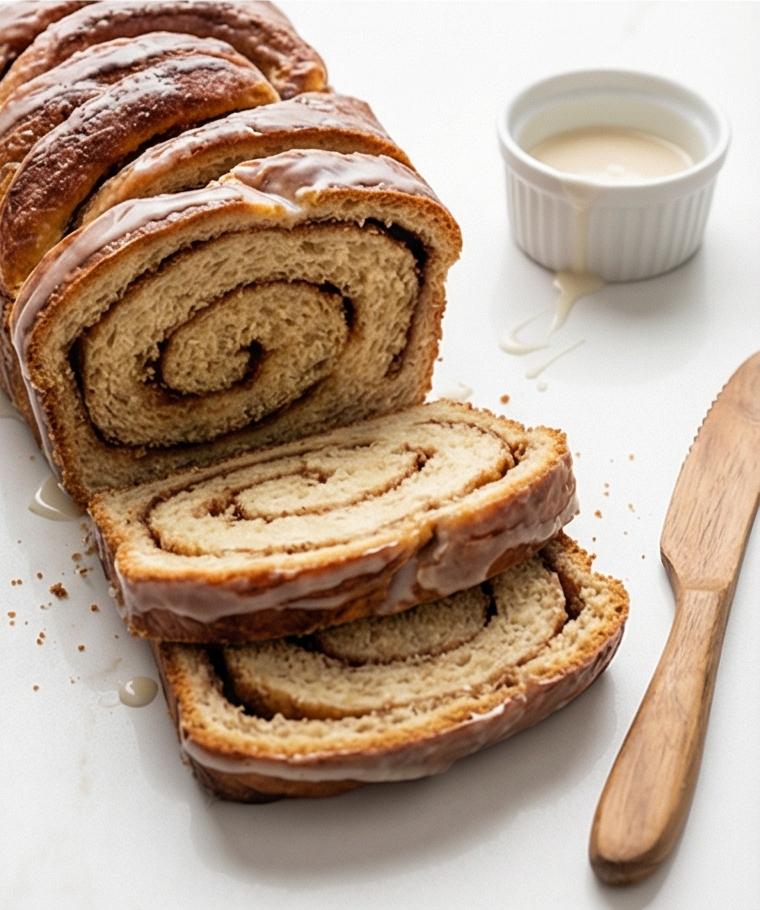
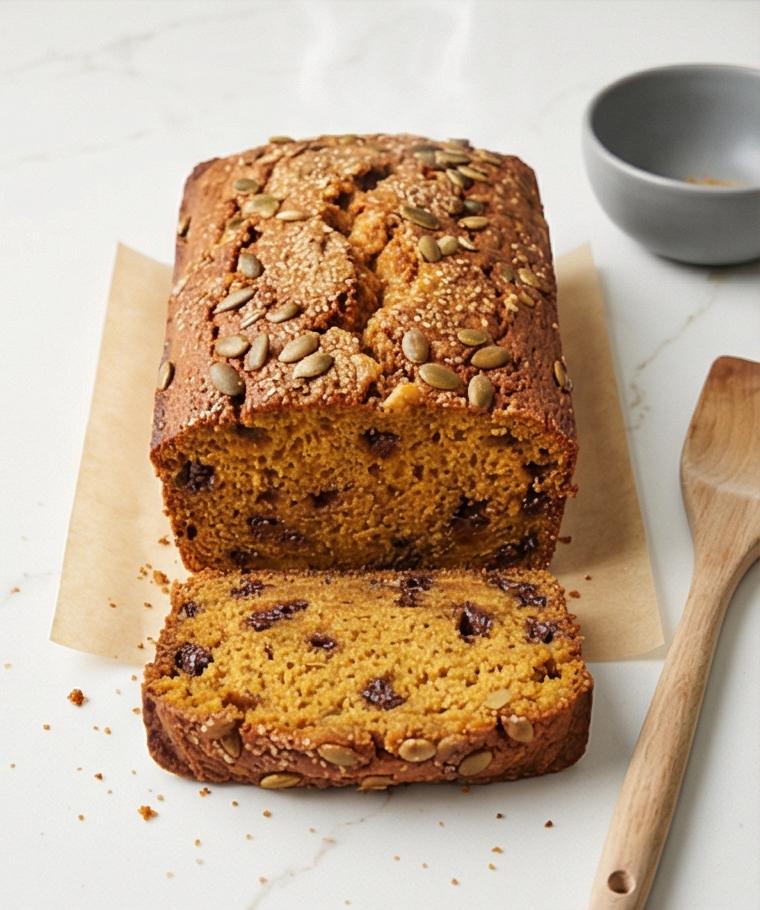
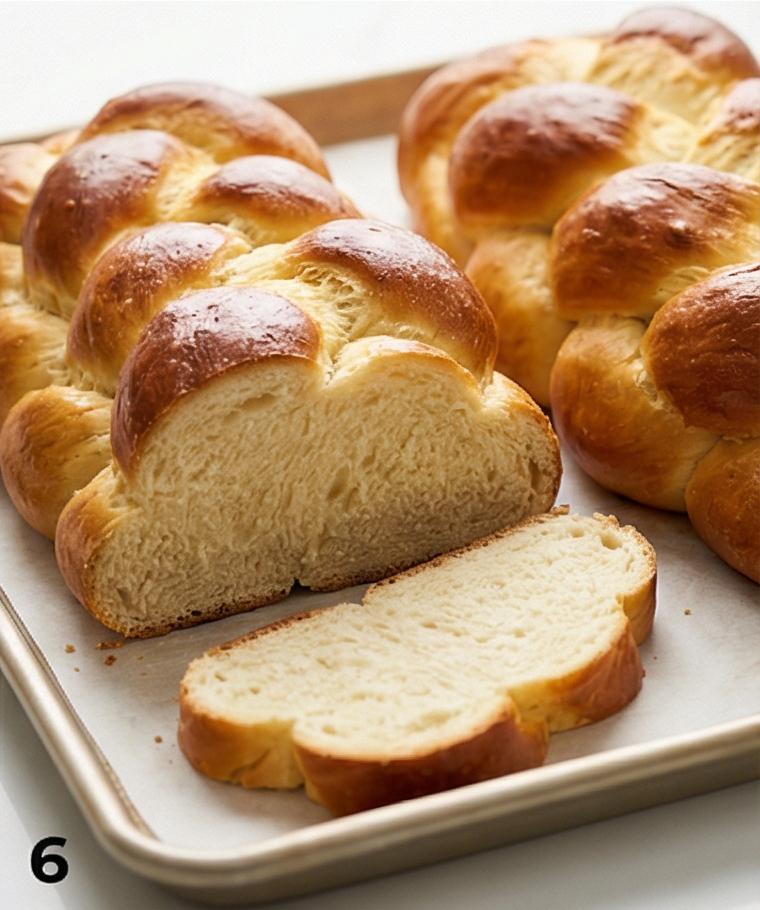
If you love tender, buttery bread, this Brioche Recipe is a tiny kitchen miracle that makes mornings feel special. I first learned this Brioche Recipe when I wanted a showstopping loaf for a family brunch, and the shine and crumb never failed to impress. Once you taste the buttery, pillowy slices, you will understand why making brioche feels like a small act of celebration. I still reach for this Brioche Recipe whenever I want something comfortingly elegant without a fuss.
How This Recipe Became My Rainy-Day Favorite
There is a memory stitched to the smell of warm butter and yeast for me. One rainy afternoon I set out to bake a loaf while the light dimmed and the radio murmured. Kneading that glossy dough felt almost meditative, the rhythm steady under my hands as the house warmed and the scent changed the room into its own kind of shelter. When I finally sliced into the cooled loaf, steam unfurled and the first piece melted with a hint of salt and sweetness. That first bite, both tender and rich, was like a small reward after a slow afternoon. Since then, this Brioche Recipe has become my go-to whenever I need something reliably comforting to share.
Key Ingredients and How They Work
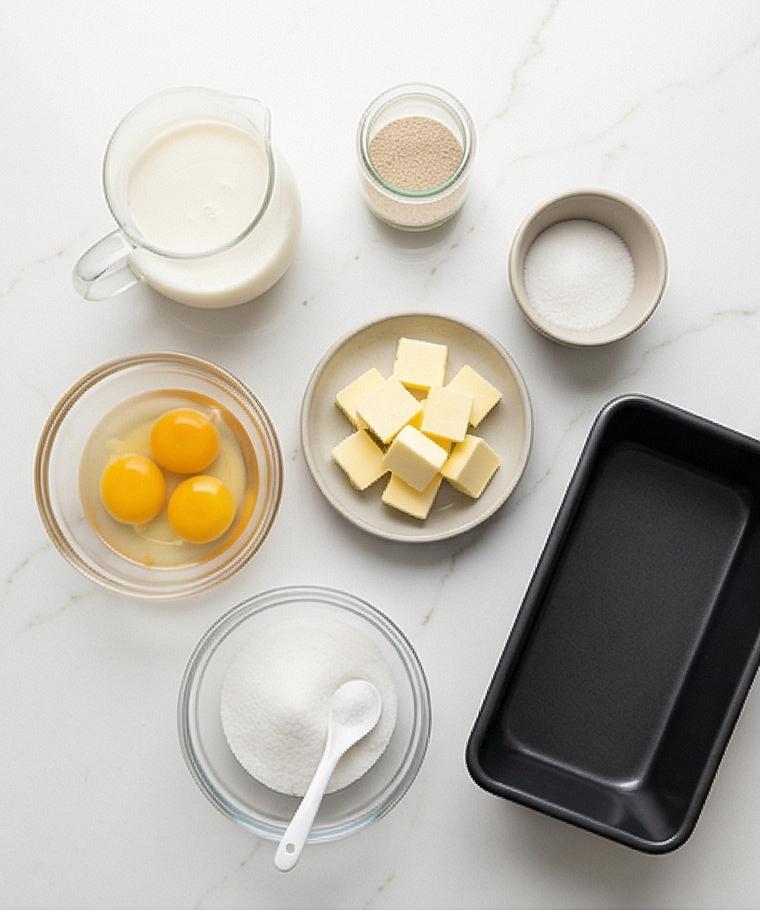
- Whole Milk: Adds moisture and a touch of richness; you can use half-and-half for an even richer loaf or dairy-free milk plus a tablespoon of melted butter as a substitute.
- Yeast: The leavening engine; active dry or instant both work—activate active dry in warm milk as instructed.
- Eggs: Provide structure, color, and richness; room temperature eggs incorporate more easily.
- Bread Flour: Gives strength and chew; all-purpose will work but expect a slightly softer crumb.
- Unsalted Butter: The flavor star; European-style butter intensifies flavor, and be sure it is very soft for easy incorporation.
- Sugar and Salt: Balance sweetness and bring out flavor—measure salt precisely to avoid flattening the taste.
Essential Kitchen Tools and Why They Matter
A few reliable tools make the difference between a fussy project and a relaxed bake. A stand mixer with a dough hook speeds kneading and helps you reach windowpane without overworking your arms. A good instant-read thermometer ensures the milk and final bake temperature are spot on. A 9 x 5-inch loaf pan gives the classic shape, and a bench scraper helps divide and shape the dough neatly. If you do not have a stand mixer, a sturdy wooden spoon and 10 minutes of hand kneading will do—expect a bit more elbow work. Plastic wrap and a kitchen towel create a cozy proofing environment for consistent rises.
Step-by-Step Preparation Guide
Step 1: Bloom the Yeast
Warm the whole milk to a comfortably warm 105–110°F (40–43°C) and stir in the yeast with a teaspoon of sugar in a small glass jug. Leave it undisturbed until the surface becomes glossy and foamy and the mixture has visibly expanded; that light, bubbly foam signals an active yeast starter. If it remains flat, discard and start again—brioche depends on a lively starter for lift.
Step 2: Beat the Eggs
Crack the four large room-temperature eggs into a small ceramic bowl and whisk briefly until yolks and whites are fully combined and the mixture is uniformly pale and slightly viscous. Set the beaten eggs aside in a clear small bowl so they’re ready to be added to the dry mix—this keeps the workflow smooth and avoids temperature shock to the dough.
Step 3: Combine the Dry Ingredients in the Mixer Bowl
Into the polished stainless-steel bowl of the stand mixer, add the bread flour, granulated sugar, and fine sea salt. Whisk gently by hand or use a dry paddle briefly to distribute the sugar and salt evenly through the flour so every spoonful of dough will be balanced and consistent in texture.
Step 4: Mix Wet into Dry until a Shaggy Dough Forms
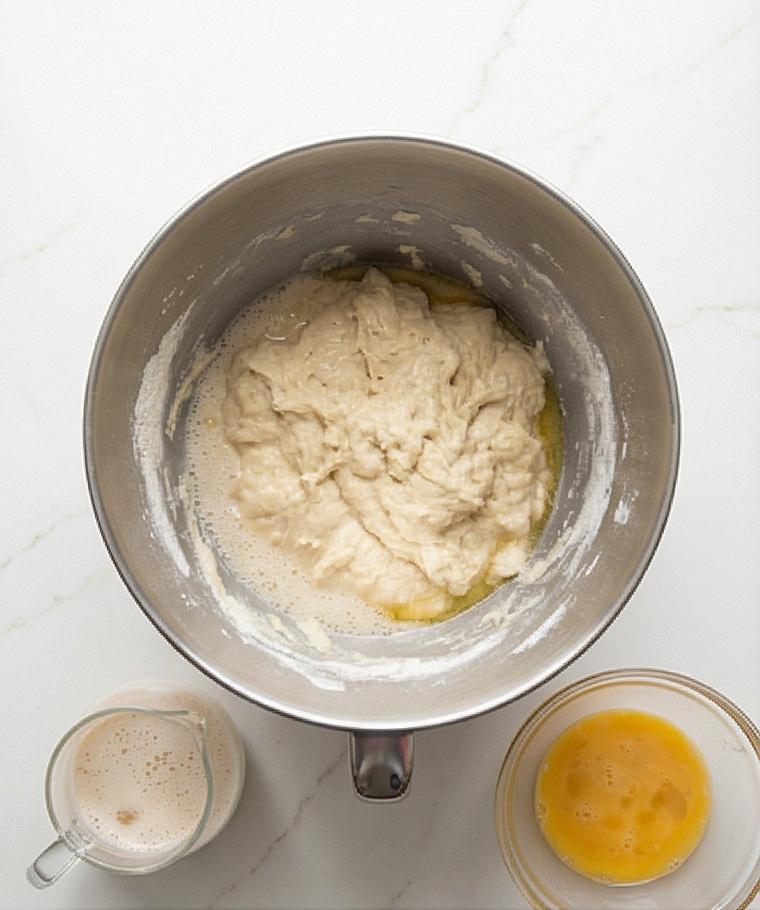
Pour the foamy yeast mixture and the beaten eggs into the flour in the mixer bowl and begin mixing on low with the dough hook. Mix just until a rough, shaggy dough forms with no streaks of dry flour; it will be very soft and sticky but not pooled and watery—add the reserved tablespoon of flour only if the dough is excessively puddly. This is the first true dough state: irregular, tacky, and promising.
Step 5: Knead to Smooth, Elastic Dough (Windowpane Stage)
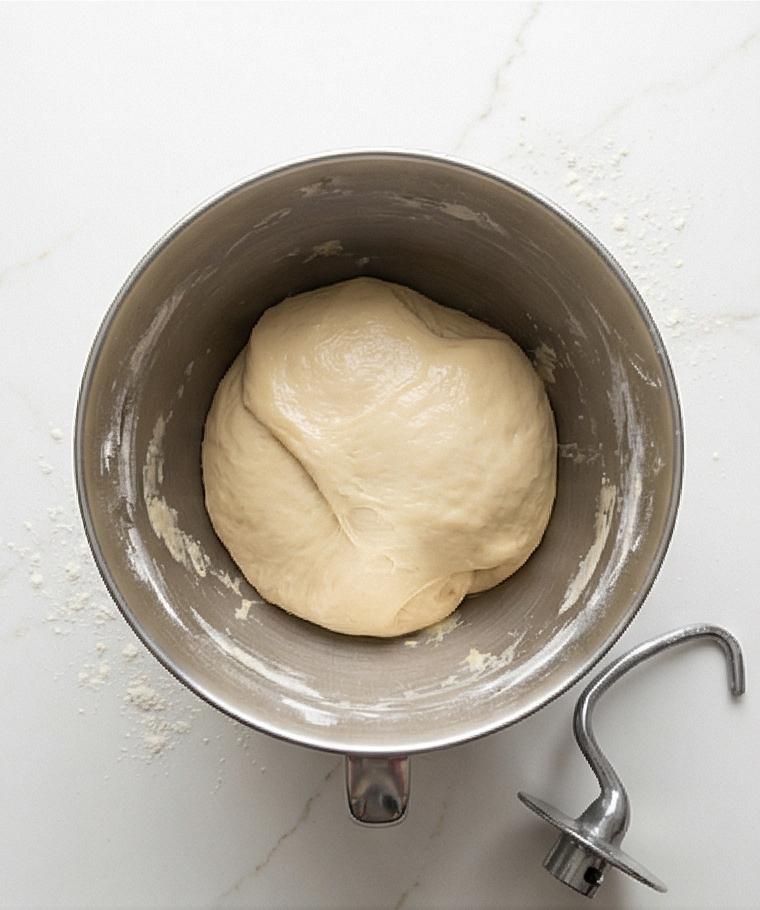
Increase the mixer to medium and knead for about 8–10 minutes, scraping the bowl once or twice. Watch the transformation: the mass rounds, becomes smoother and more cohesive, and when gently stretched it should form a thin translucent windowpane without tearing. The dough should clear the sides of the bowl but still cling lightly to the bottom — soft, slightly tacky, and noticeably elastic.
Step 6: Incorporate Butter Gradually until Glossy and Suppleness Achieved
With the mixer on low, add the very soft butter a few pieces at a time, waiting for each addition to meld in fully. The dough will briefly look greasy and may collapse, then slowly regain structure and turn glossy, smooth, and satiny as the butter is fully absorbed. Once all butter is incorporated, increase speed and knead another 4–6 minutes until the dough is extremely soft, silky, and elastic; it should sheet without tearing. If it feels too loose, work in 1–2 tablespoons of reserved flour sparingly.
Step 7: Bulk Rise, Deflate, and Chill for Flavor and Handling
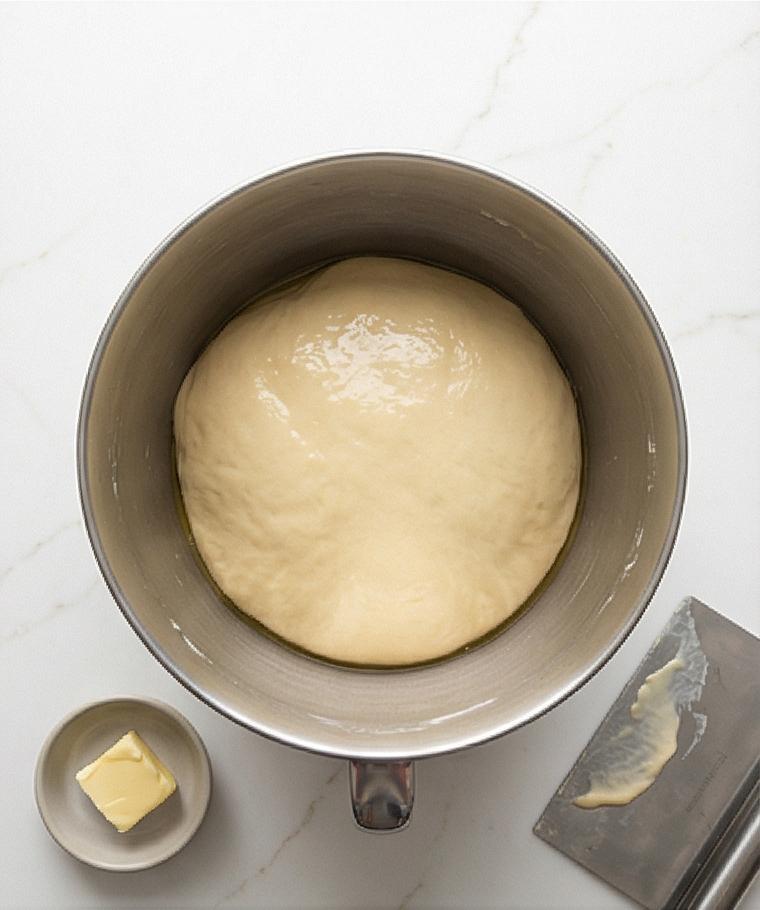
Lightly grease a large mixing bowl with a tablespoon of room-temperature butter, scrape the dough in with a spatula, shape it into a rough ball, and cover tightly. Let it rise in a warm spot until doubled in volume, then gently press to deflate and re-cover. Transfer to the refrigerator for at least 4 hours and up to 12–16 hours — chilling firms the dough, concentrates flavor, and makes shaping far easier.
Step 8: Shape into Rolls or Logs and Proof in a Rectangular Loaf Pan
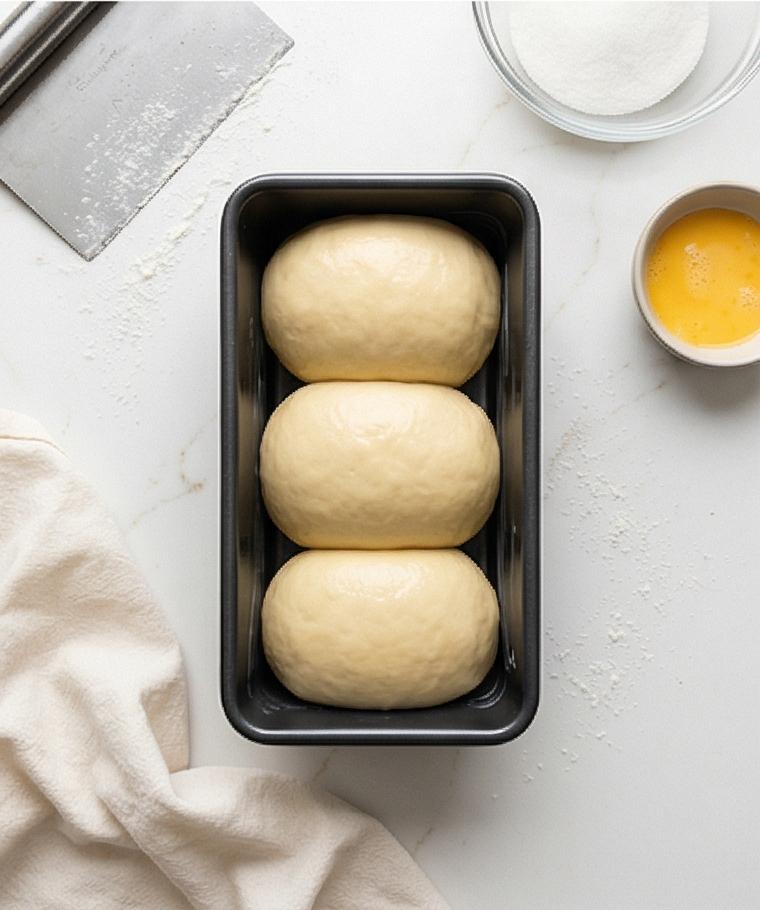
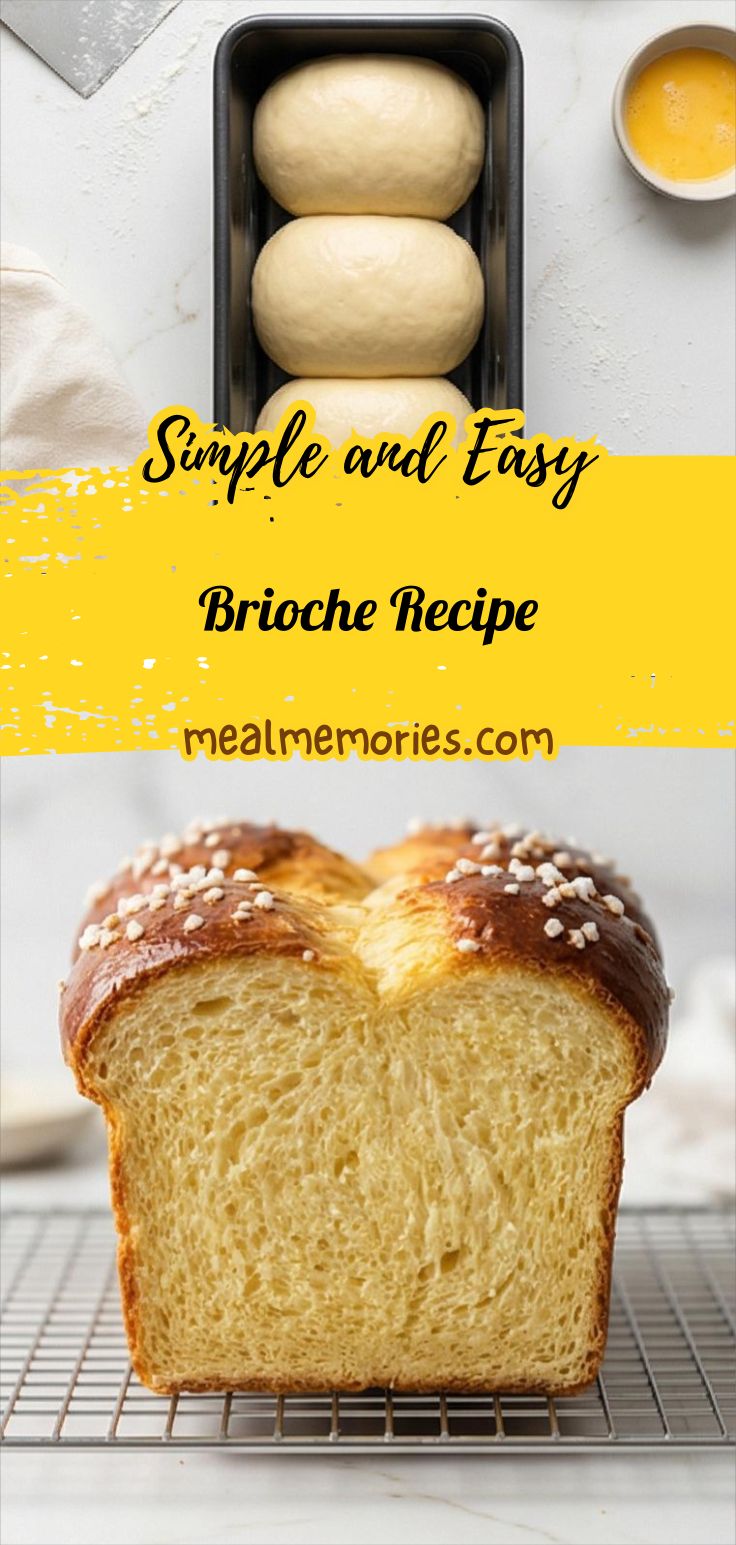
Turn the chilled dough onto a lightly floured surface, divide into three or four equal pieces, and shape each into a tight ball or short log by rolling to create surface tension and sealing seams. Arrange the shaped pieces seam-side down in the buttered 9 x 5–inch rectangular loaf pan so they sit snugly but with room to expand. Cover loosely and proof at warm room temperature until the dough has risen about 1–1 1/2 inches above the pan rim and springs back slowly when pressed.
Step 9: Egg Wash, Bake, Cool, and Slice
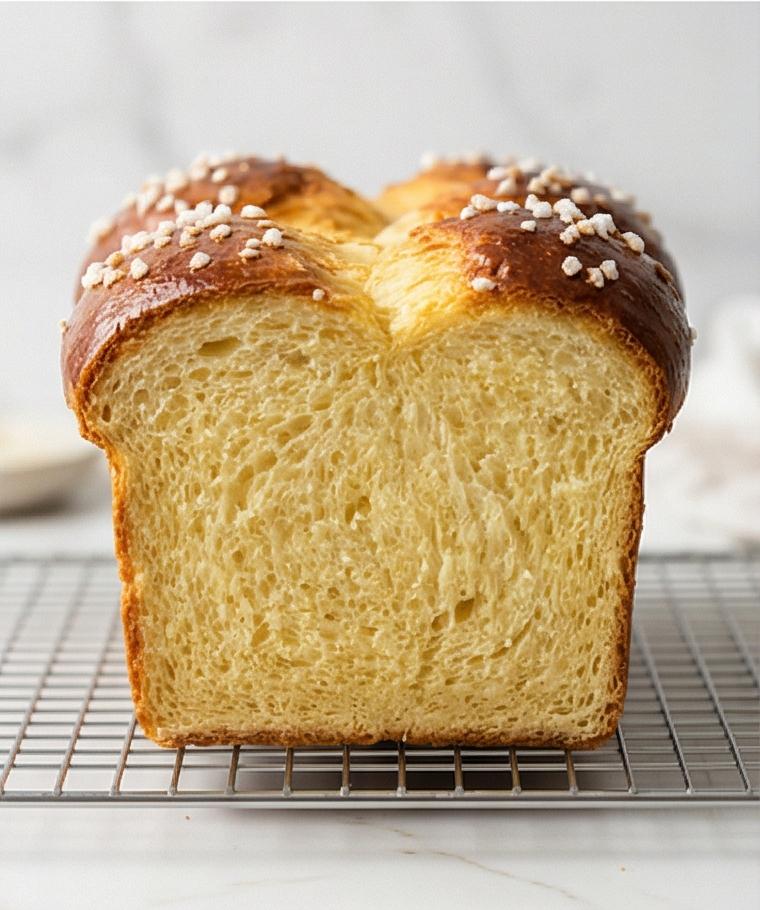
Preheat to 375°F (190°C). Whisk one large egg with a tablespoon of milk to a smooth egg wash and brush a thin even coat over the fully proofed loaf; sprinkle pearl sugar if you like a decorative crunchy top. Bake until a deep golden brown and the internal temperature reaches about 190–195°F (88–90°C), then cool in the pan 10–15 minutes before releasing onto a wire rack to stand upright and finish cooling completely. Once cooled, slice gently with a serrated knife and enjoy plain or toasted; wrap cooled leftovers tightly for short storage or freeze for longer keeping.
Making It Your Own
I like to experiment with little twists when I bake. For a citrus lift, grate the zest of one orange into the dough at the mixing stage; it brightens the richness without changing texture. To make a chocolate-hazelnut version, roll thin sheets of dough with a smear of chocolate spread and chopped toasted hazelnuts before shaping. For a dairy-free adaptation, use a plant-based milk with a tablespoon of neutral oil and replace butter with a vegan block; the crumb will be softer but still lovely. For slower fermentation, proof in the fridge longer for more complex flavor.
How to Serve
If I am hosting, I slice the brioche into thick slabs and arrange them on a wooden board with small bowls of jam, softened butter, and honey. For a brunch for six, bake two loaves and slice before guests arrive so everyone can help themselves. For an intimate breakfast for two, halve the loaf and toast slices lightly, topping with ricotta and fruit. To serve as a dessert, turn thick slices into bread pudding or french toast—searing in butter will create a crisp, caramelized surface that contrasts the tender interior.
Storage and Reheating Tips
Store a fully cooled loaf wrapped tightly in plastic wrap at room temperature for up to 2 days. For longer keeping, freeze the sliced loaf in a resealable bag; pull out slices as needed and toast straight from frozen.
To refresh day-old brioche, warm slices briefly in a 350°F oven for 5 to 8 minutes or toast until edges are crisp. A quick pan-sear in butter on medium heat also revives the crust and deepens flavor.
Common Mistakes and How to Avoid Them
Under-activating the yeast will give a dense loaf. Always check that the milk is warm but not hot and that the yeast foams up during the bloom step.
Adding all the butter at once can collapse the dough. Add softened butter in small pieces and wait for it to fully incorporate before adding more.
Final Thoughts
This Brioche Recipe rewards a little patience with butter-rich texture and a delicate crumb that feels special no matter the occasion. Give it a try, and enjoy the slow, satisfying rhythm of making something truly buttery and delicious.
Frequently Asked Questions.
- Q: Can I use instant yeast instead of active dry yeast? A: Yes, instant yeast works well; if using active dry, bloom it in warm milk first as described.
- Q: How long can I refrigerate the dough? A: You can chill the dough for at least 4 hours and up to 12 to 16 hours for the best flavor and easier shaping.
- Q: Can I make this brioche without a stand mixer? A: Absolutely, knead by hand for 10 to 15 minutes until smooth and elastic; it will take more effort but works fine.
- Q: What is the best way to tell when the loaf is done? A: Look for a deep golden brown crust and an internal temperature around 190 to 195°F (88 to 90°C).
- Q: Can I freeze baked brioche? A: Yes, slice, wrap well, and freeze for longer storage; toast or warm slices from frozen.
Brioche Recipe
Make a buttery, tender Brioche Recipe loaf with simple steps for a rich, elegant everyday bread.
Ingredients
Instructions
Step 1: Bloom the Yeast
Warm the whole milk to a comfortably warm 105–110°F (40–43°C) and stir in the yeast with a teaspoon of sugar in a small glass jug. Leave it undisturbed until the surface becomes glossy and foamy and the mixture has visibly expanded; that light, bubbly foam signals an active yeast starter. If it remains flat, discard and start again—brioche depends on a lively starter for lift.
Step 2: Beat the Eggs
Crack the four large room-temperature eggs into a small ceramic bowl and whisk briefly until yolks and whites are fully combined and the mixture is uniformly pale and slightly viscous. Set the beaten eggs aside in a clear small bowl so they’re ready to be added to the dry mix—this keeps the workflow smooth and avoids temperature shock to the dough.
Step 3: Combine the Dry Ingredients in the Mixer Bowl
Into the polished stainless-steel bowl of the stand mixer, add the bread flour, granulated sugar, and fine sea salt. Whisk gently by hand or use a dry paddle briefly to distribute the sugar and salt evenly through the flour so every spoonful of dough will be balanced and consistent in texture.
Step 4: Mix Wet into Dry until a Shaggy Dough Forms
Pour the foamy yeast mixture and the beaten eggs into the flour in the mixer bowl and begin mixing on low with the dough hook. Mix just until a rough, shaggy dough forms with no streaks of dry flour; it will be very soft and sticky but not pooled and watery—add the reserved tablespoon of flour only if the dough is excessively puddly. This is the first true dough state: irregular, tacky, and promising.
Step 5: Knead to Smooth, Elastic Dough (Windowpane Stage)
Increase the mixer to medium and knead for about 8–10 minutes, scraping the bowl once or twice. Watch the transformation: the mass rounds, becomes smoother and more cohesive, and when gently stretched it should form a thin translucent windowpane without tearing. The dough should clear the sides of the bowl but still cling lightly to the bottom — soft, slightly tacky, and noticeably elastic.
Step 6: Incorporate Butter Gradually until Glossy and Suppleness Achieved
With the mixer on low, add the very soft butter a few pieces at a time, waiting for each addition to meld in fully. The dough will briefly look greasy and may collapse, then slowly regain structure and turn glossy, smooth, and satiny as the butter is fully absorbed. Once all butter is incorporated, increase speed and knead another 4–6 minutes until the dough is extremely soft, silky, and elastic; it should sheet without tearing. If it feels too loose, work in 1–2 tablespoons of reserved flour sparingly.
Step 7: Bulk Rise, Deflate, and Chill for Flavor and Handling
Lightly grease a large mixing bowl with a tablespoon of room-temperature butter, scrape the dough in with a spatula, shape it into a rough ball, and cover tightly. Let it rise in a warm spot until doubled in volume, then gently press to deflate and re-cover. Transfer to the refrigerator for at least 4 hours and up to 12–16 hours — chilling firms the dough, concentrates flavor, and makes shaping far easier.
Step 8: Shape into Rolls or Logs and Proof in a Rectangular Loaf Pan
Turn the chilled dough onto a lightly floured surface, divide into three or four equal pieces, and shape each into a tight ball or short log by rolling to create surface tension and sealing seams. Arrange the shaped pieces seam-side down in the buttered 9 x 5–inch rectangular loaf pan so they sit snugly but with room to expand. Cover loosely and proof at warm room temperature until the dough has risen about 1–1 1/2 inches above the pan rim and springs back slowly when pressed.
Step 9: Egg Wash, Bake, Cool, and Slice
Preheat to 375°F (190°C). Whisk one large egg with a tablespoon of milk to a smooth egg wash and brush a thin even coat over the fully proofed loaf; sprinkle pearl sugar if you like a decorative crunchy top. Bake until a deep golden brown and the internal temperature reaches about 190–195°F (88–90°C), then cool in the pan 10–15 minutes before releasing onto a wire rack to stand upright and finish cooling completely. Once cooled, slice gently with a serrated knife and enjoy plain or toasted; wrap cooled leftovers tightly for short storage or freeze for longer keeping.
Notes
- Use room-temperature eggs to help the dough come together smoothly.
- If the dough feels too loose after butter is added, work in 1 to 2 tablespoons of reserved flour sparingly.
- Chill the dough at least 4 hours for better flavor and easier shaping.
- Bake until internal temperature reaches 190 to 195°F for a perfect crumb.
- Freeze sliced brioche for quick toasting later.
- For extra shine, brush with warmed apricot jam after baking.