Pancakes Recipe: a simple morning ritual that makes weekdays feel like a treat. I learned this Pancakes Recipe while fiddling with my grandmother’s old skillet, and it stuck because the batter is forgiving and the results are reliably tender. I make it when I want something comforting but not fussy, and it has become my go-to for slow weekend breakfasts. The smell of browned butter and warm vanilla always pulls everyone toward the table.
How This Recipe Became My Rainy-Day Favorite
I remember the first time I made this Pancakes Recipe for a rainy morning when the power flickered and the kitchen filled with that cozy, slow-light feeling. The house smelled of warm vanilla and browned butter as the pancakes bubbled gently on the griddle. I handed a plate to my neighbor through the open door, and we ate with our wool socks tucked under our chairs, talking about small, silly things until the plates were empty. The texture was pillowy, edges slightly crisp, and the syrup pooled around the stack like molten gold. It felt like making comfort from simple ingredients, and that warmth has kept me coming back.
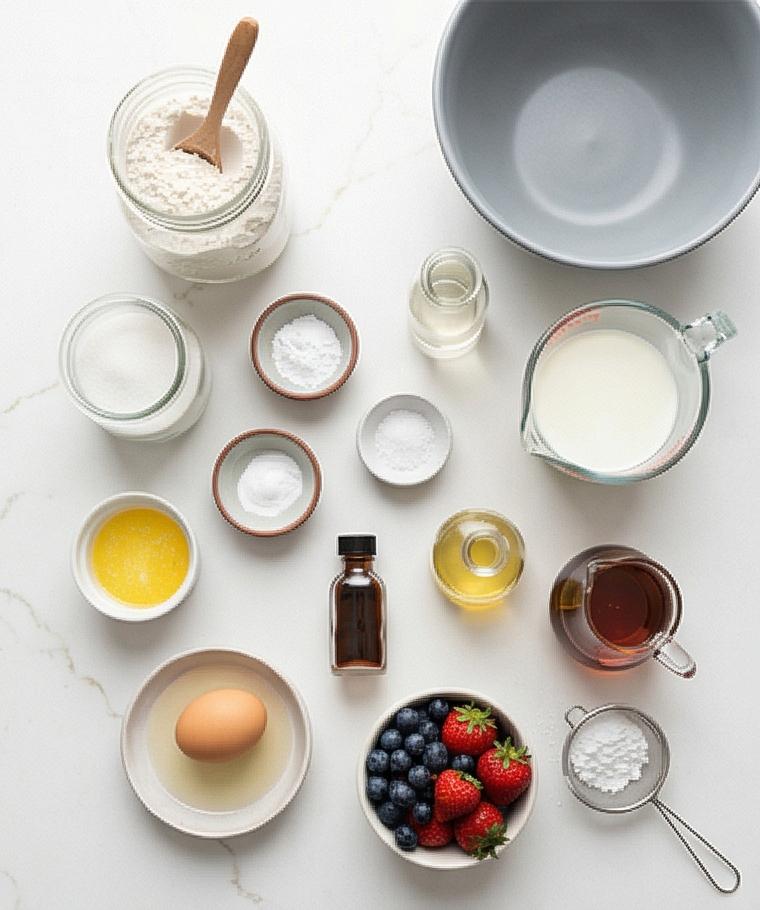
The Ingredients That Matter
- All-purpose flour: The structure provider. Use plain flour for classic texture; swap half with whole-wheat pastry flour for nuttier flavor but use no more than half to keep tenderness.
- Granulated sugar: Adds a touch of sweetness and helps browning. Brown sugar is a softer, caramel-forward substitute.
- Baking powder and baking soda: The lift agents. Fresh baking powder gives reliable rise; check dates for best results.
- Fine sea salt: Balances flavor; kosher salt works if you adjust volume.
- Whole milk and quick buttermilk: Milk gives richness; the vinegar or lemon makes tang and tender crumb. Buttermilk or plain yogurt diluted with milk can substitute.
- Egg and melted unsalted butter: Egg binds and adds structure; butter lends flavor and silkiness. Use oil if dairy-free and increase to 4 tablespoons for richness.
- Vanilla: Finishes the batter with warm aromatics.
Essential Kitchen Tools and Why They Matter
To make these pancakes well, the right tools save time and improve results. A sturdy whisk lets you aerate dry ingredients and break clumps; a rubber spatula folds the batter gently without deflating air; a nonstick skillet or cast iron griddle creates even browning and is forgiving at higher heat. A small ladle or measuring cup helps portion uniform pancakes for even cooking. For serving, a simple wire rack keeps stacks from steaming and a warmed glass jug for syrup looks inviting.
- Whisk: For aerating dry mix and blending wet ingredients.
- Rubber or silicone spatula: Gentle folding and scraping.
- Nonstick skillet or cast iron griddle: Even heat and nice browning.
- Measuring cups and spoons: Accurate proportions matter.
- Ladle or 1/4 cup measure: Consistent pancake sizes.
Step-by-Step Preparation Guide
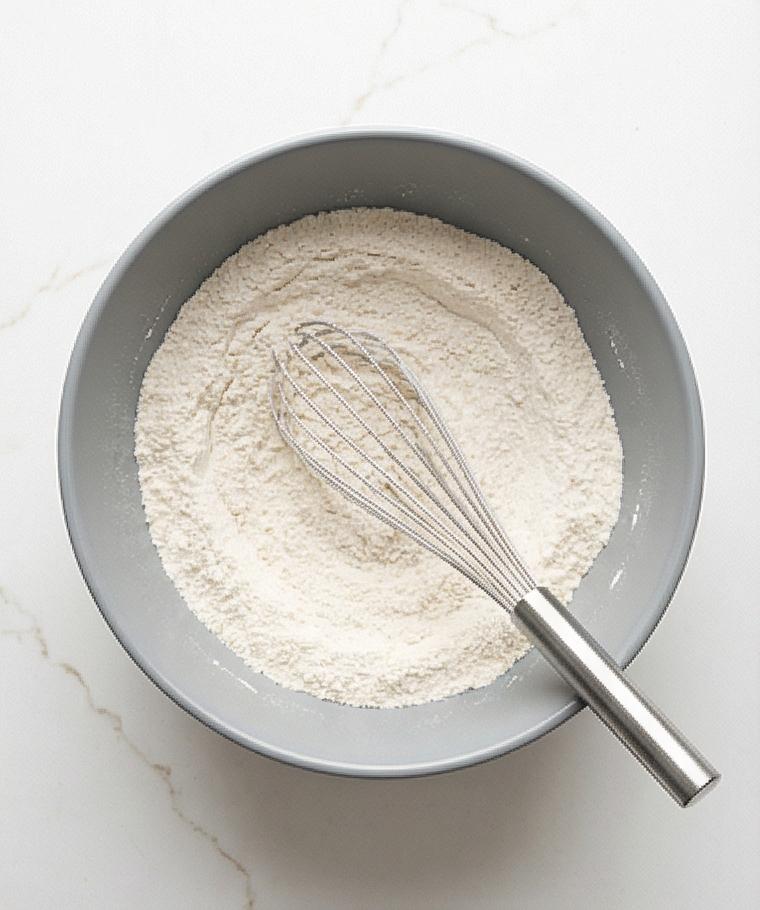
Step 1: Whisk the dry mix together
In a large, shallow matte-grey ceramic mixing bowl, whisk the all-purpose flour with granulated sugar, baking powder, baking soda, and fine sea salt until the mixture is uniform and no streaks of leavening remain. Aim for a light, even texture with the dry ingredients aerated—there should be a soft, powdery surface with the faintest dusting of sugar sitting on top. This is the foundation for tender pancakes, so take a moment to break up any tiny clumps with the whisk and show the bowl and whisk resting together on the surface.
Step 2: Make quick buttermilk and combine the wet elements
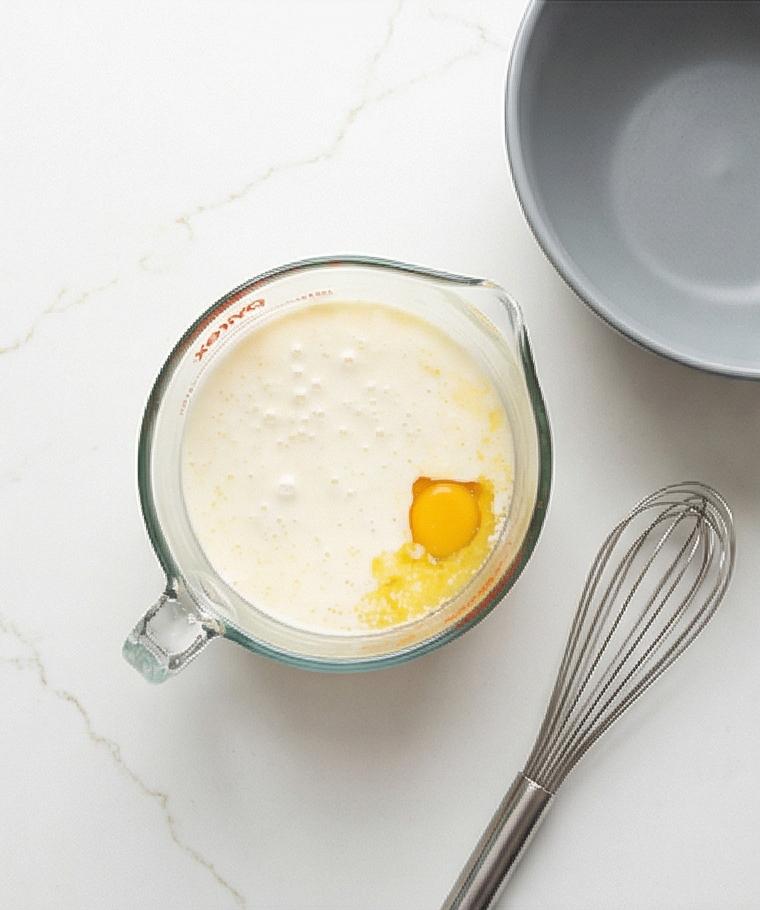
In a clear glass measuring jug, combine the whole milk with the white vinegar or lemon juice and let it stand until it thickens and looks gently curdled—this quick buttermilk will read slightly cloudy with tiny curds and a satiny surface. Add the room-temperature egg, the melted and cooled unsalted butter, and pure vanilla extract to the jug and whisk until completely smooth and homogeneous; the wet mix should read glossy, slightly viscous, and uniform in color. Keep the measuring jug and whisk visible beside the ceramic bowl so the tools persist visually.
Step 3: Fold wet into dry to form the batter
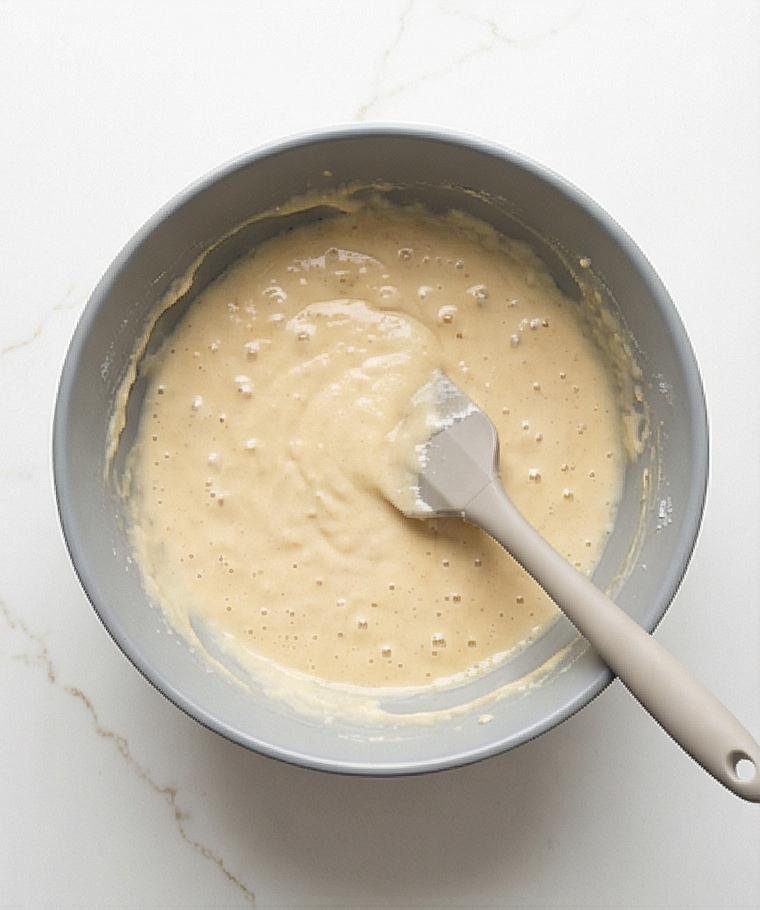
Pour the smooth wet mixture into the prepared dry bowl in one motion and, using a silicone spatula that rests on the rim when not active, fold gently just until the flour is moistened. The resulting batter should be thick, slightly lumpy, and shiny with small pockets of air—no streaks of raw flour, but not overly smooth. If it looks too stiff, add a tablespoon or two of milk to loosen; otherwise stop mixing to preserve tenderness. The bowl should show batter clinging to the spatula and soft peaks collapsing slowly.
Step 4: Rest the batter and reveal the cooked result
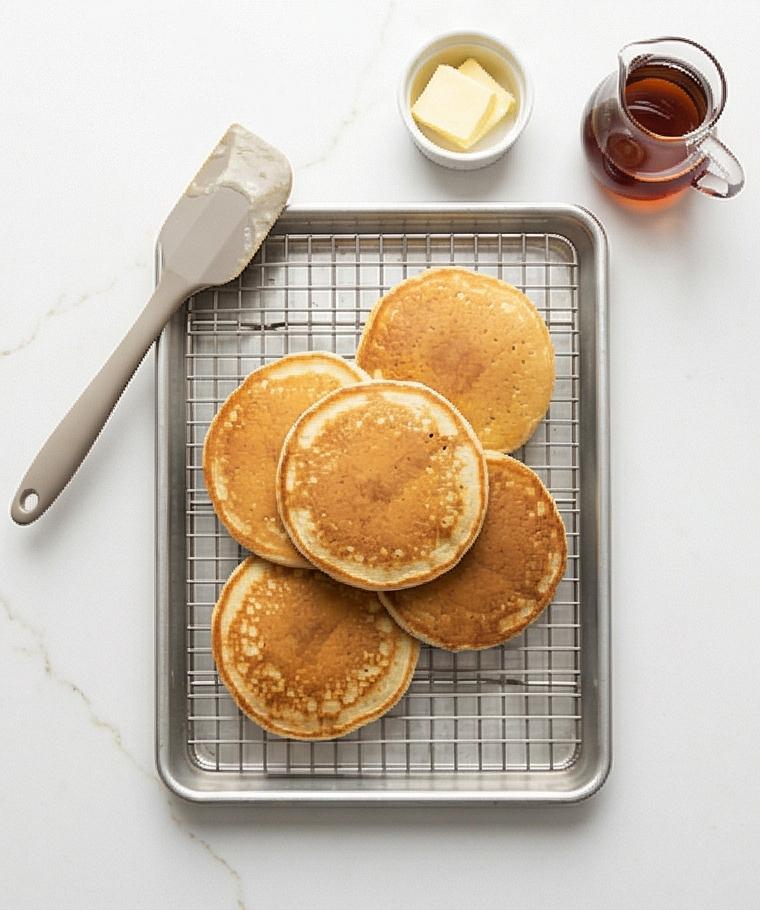
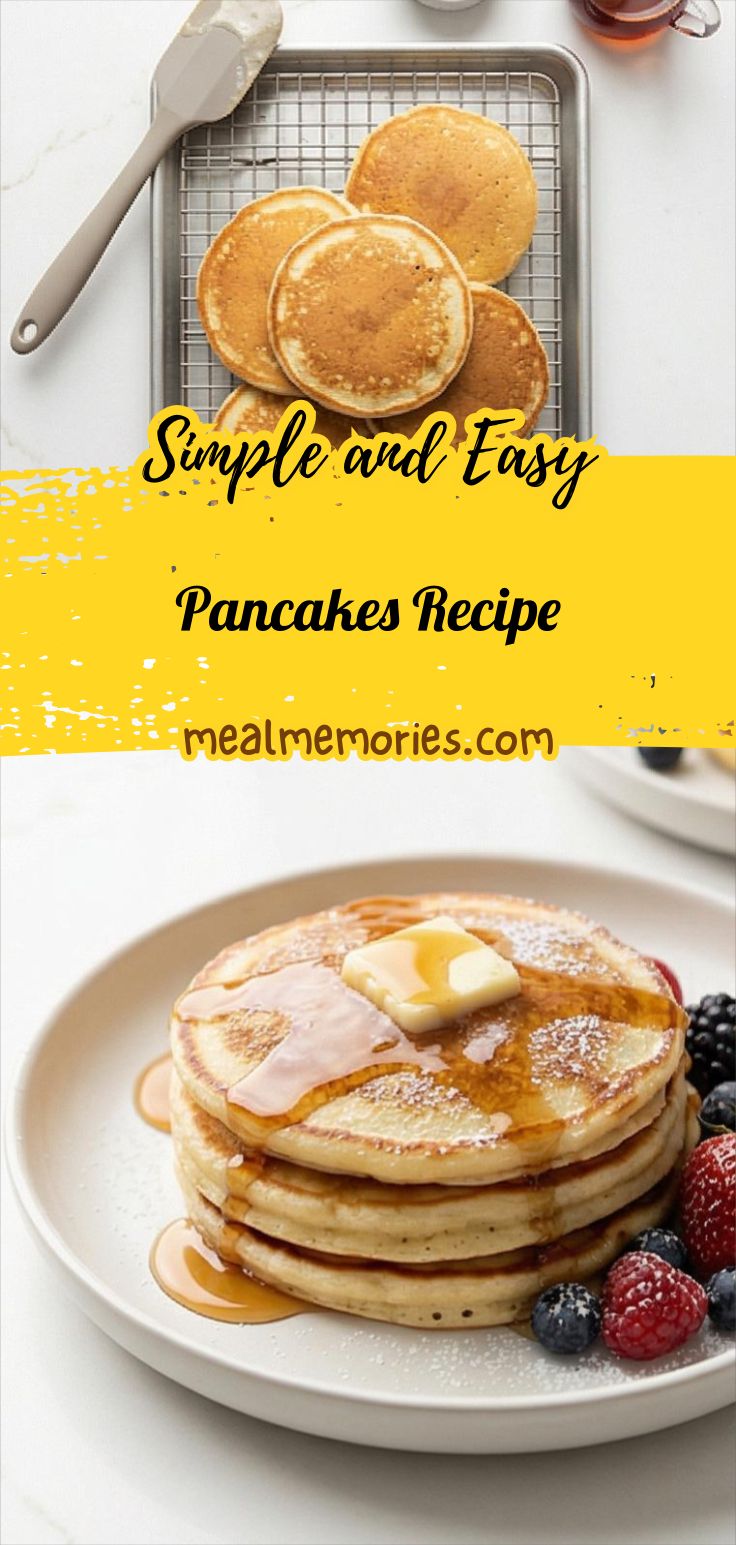
Let the batter rest at room temperature for 5–10 minutes so the surface smooths and tiny bubbles begin to form, then cook on a hot, lightly greased pan (result only shown). The visual milestone here is a small stack of 3–4 golden-brown pancakes on a wire rack over a baking sheet: the edges are matte and set, the surfaces dotted with small burst bubbles, the bottoms an even, warm-golden brown. Place a small ramekin of extra melted butter and a warmed small glass jug of pure maple syrup nearby (both contained), and keep the same spatula and ceramic bowl visible in the composition to show continuity.
Step 5: Plate, garnish, and store recommendations
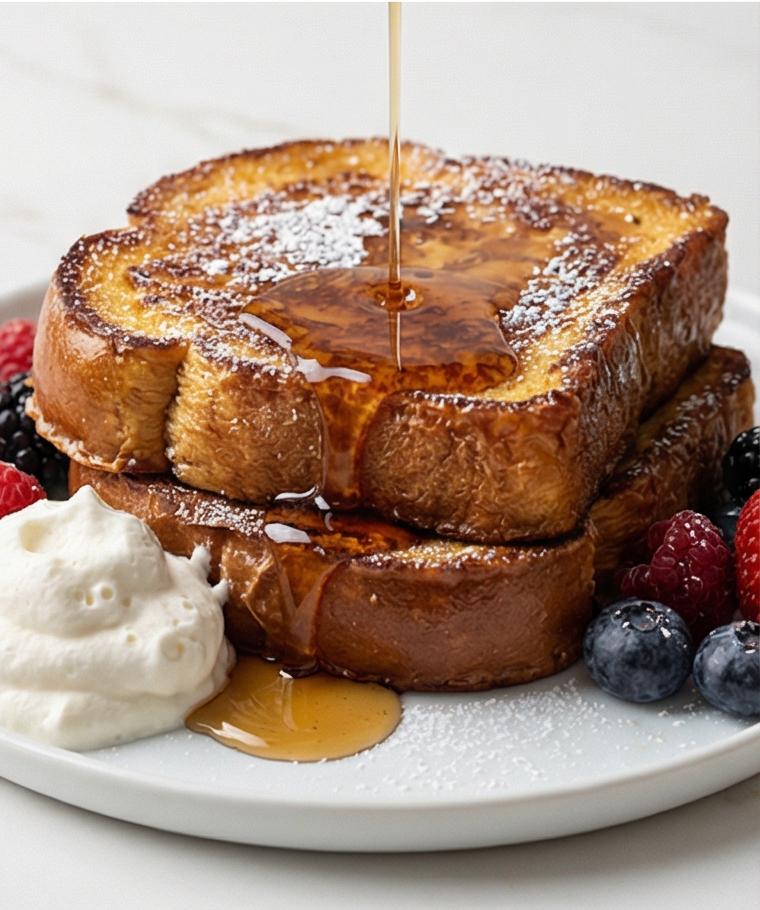
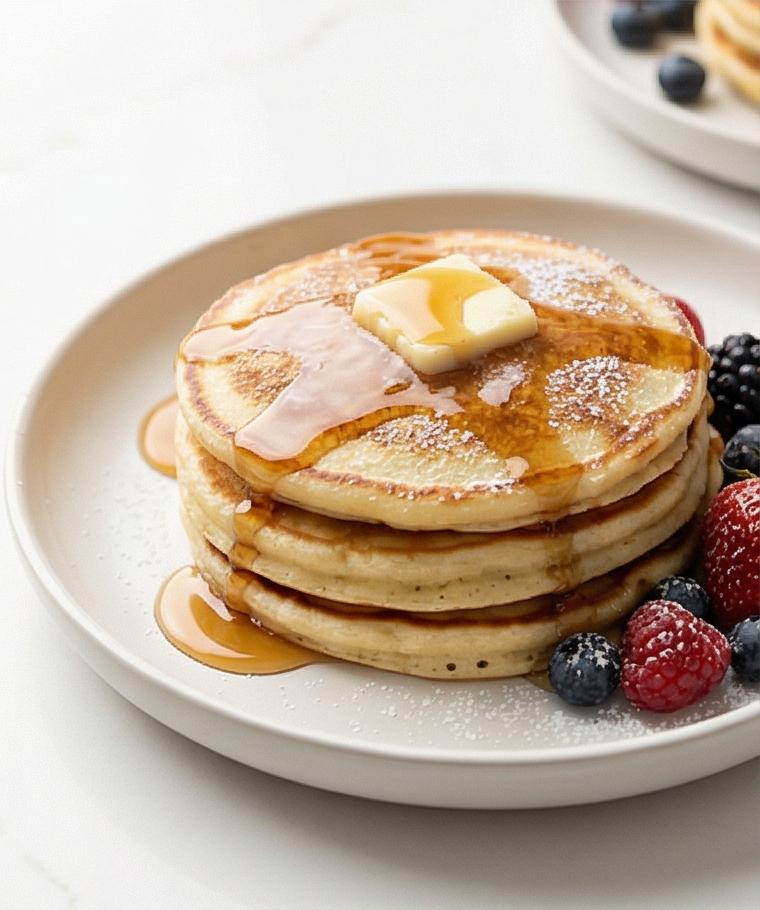
Stack the pancakes on a warm, simple white ceramic plate (plate geometry: round, slightly shallow), top with a small pat of softened unsalted butter, drizzle warmed maple syrup to form a glossy ribbon over the stack, add a scattering of fresh berries and a light dusting of powdered sugar through a fine sieve. The final plated presentation should be eye-level, very close-up: thick, pillowy pancake cross-sections visible, butter melting into glossy syrup pools, berry color pops against the pale marble-inspired surface. Include a note of storage: cool completely on a rack, refrigerate airtight up to 3 days or freeze in a single layer for up to 1 month, reheating instructions summarized briefly alongside the plate (no hands, no appliances visible).
Making It Your Own
I like to tinker with this Pancakes Recipe depending on the season. In spring I fold in lemon zest and a handful of blueberries; in autumn I add a pinch of ground cinnamon and swap 2 tablespoons of flour for oat flour. For a gluten-free version, a 1-to-1 gluten-free flour blend works well but needs a little extra rest and a gentle fold.
For a dairy-free swap, use almond milk and 4 tablespoons of neutral oil instead of butter; the texture will be slightly different but still tender. For a richer, more indulgent stack, brown the butter and use it in the batter. Small experiments like these keep the recipe feeling new.
How to Serve
When I host brunch, I multiply the Pancakes Recipe so stacks come out warm and uniform. Use a 1/4-cup measure or small ladle to portion each pancake so they cook evenly on a large griddle. Keep cooked pancakes on a wire rack in a low oven (about 200 F) while you finish the rest so they stay soft without steaming.
For larger groups, make small silver-dollar pancakes and offer a topping bar with warmed maple syrup, softened butter, roasted nuts, berry compote, and lemon curd. For an elegant plate, top a modest stack with a pat of butter, a drizzle of syrup, and a small handful of fresh berries arranged to one side.
Storage and Reheating Tips
Cool pancakes completely before storing to avoid sogginess. Lay single layers separated with parchment if freezing; place in an airtight container or freezer bag for up to 1 month. For refrigeration, keep in an airtight container for up to 3 days.
To reheat, pop frozen pancakes directly into a toaster or toaster oven on medium until warmed through and edges are crisp. For refrigerated pancakes, reheat gently in a nonstick skillet over low heat with a tiny knob of butter to refresh the surface.
Common Mistakes and How to Avoid Them
Overmixing is the most frequent mishap; it creates tough pancakes. Fold just until the flour is moistened and leave small lumps in the batter. Resting the batter for 5 to 10 minutes helps relax gluten and yields fluffier results.
Cooking at too-high heat will burn the exterior before the center cooks. Use medium heat and adjust as needed; a drop of batter should take about 1 to 2 minutes per side until bubbles form and edges set.
Final Thoughts and an Invitation
Give this Pancakes Recipe a try this weekend or a quiet weekday morning. It is forgiving, quick, and makes a cozy breakfast that feels special with minimal effort. I hope it becomes one of your simple joys as it has for me.
Frequently Asked Questions.
- Can I make the batter ahead of time? Yes, you can make the batter an hour ahead and keep it in the refrigerator; bring it to room temperature and give it a gentle stir before cooking.
- Can I use low-fat milk? You can, but whole milk yields richer, more tender pancakes; for tang, add the vinegar to mimic buttermilk.
- How do I get consistently round pancakes? Use a 1/4-cup measuring cup or small ladle and pour from low height onto the griddle for even circles.
- Can I freeze cooked pancakes? Absolutely, freeze in a single layer then stack in a bag; reheat from frozen in a toaster or oven.
- What if my pancakes are flat? Check your baking powder freshness and avoid overmixing; also make sure the skillet is hot enough so pancakes get immediate lift.
Pancakes Recipe
Make Pancakes Recipe for fluffy, tender stacks—simple steps for reliable, golden pancakes.
Ingredients
Instructions
Step 1: Whisk the dry mix together
In a large, shallow matte-grey ceramic mixing bowl, whisk the all-purpose flour with granulated sugar, baking powder, baking soda, and fine sea salt until the mixture is uniform and no streaks of leavening remain. Aim for a light, even texture with the dry ingredients aerated—there should be a soft, powdery surface with the faintest dusting of sugar sitting on top. This is the foundation for tender pancakes, so take a moment to break up any tiny clumps with the whisk and show the bowl and whisk resting together on the surface.
Step 2: Make quick buttermilk and combine the wet elements
In a clear glass measuring jug, combine the whole milk with the white vinegar or lemon juice and let it stand until it thickens and looks gently curdled—this quick buttermilk will read slightly cloudy with tiny curds and a satiny surface. Add the room-temperature egg, the melted and cooled unsalted butter, and pure vanilla extract to the jug and whisk until completely smooth and homogeneous; the wet mix should read glossy, slightly viscous, and uniform in color. Keep the measuring jug and whisk visible beside the ceramic bowl so the tools persist visually.
Step 3: Fold wet into dry to form the batter
Pour the smooth wet mixture into the prepared dry bowl in one motion and, using a silicone spatula that rests on the rim when not active, fold gently just until the flour is moistened. The resulting batter should be thick, slightly lumpy, and shiny with small pockets of air—no streaks of raw flour, but not overly smooth. If it looks too stiff, add a tablespoon or two of milk to loosen; otherwise stop mixing to preserve tenderness. The bowl should show batter clinging to the spatula and soft peaks collapsing slowly.
Step 4: Rest the batter and reveal the cooked result
Let the batter rest at room temperature for 5–10 minutes so the surface smooths and tiny bubbles begin to form, then cook on a hot, lightly greased pan (result only shown). The visual milestone here is a small stack of 3–4 golden-brown pancakes on a wire rack over a baking sheet: the edges are matte and set, the surfaces dotted with small burst bubbles, the bottoms an even, warm-golden brown. Place a small ramekin of extra melted butter and a warmed small glass jug of pure maple syrup nearby (both contained), and keep the same spatula and ceramic bowl visible in the composition to show continuity.
Step 5: Plate, garnish, and store recommendations
Stack the pancakes on a warm, simple white ceramic plate (plate geometry: round, slightly shallow), top with a small pat of softened unsalted butter, drizzle warmed maple syrup to form a glossy ribbon over the stack, add a scattering of fresh berries and a light dusting of powdered sugar through a fine sieve. The final plated presentation should be eye-level, very close-up: thick, pillowy pancake cross-sections visible, butter melting into glossy syrup pools, berry color pops against the pale marble-inspired surface. Include a note of storage: cool completely on a rack, refrigerate airtight up to 3 days or freeze in a single layer for up to 1 month, reheating instructions summarized briefly alongside the plate (no hands, no appliances visible).
Notes
- Rest batter 5 to 10 minutes before cooking to relax gluten and improve texture.
- Use a 1/4-cup measure for consistent pancake sizes and even cooking.
- Store cooled pancakes in airtight container for up to 3 days or freeze for up to 1 month.
- Reheat frozen pancakes in a toaster or toaster oven for best texture.
- Replace whole milk with dairy-free milk and butter with oil for a dairy-free version.