Waffles Recipe — a name that always brings me back to slow weekend mornings in my little kitchen. I learned this Waffles Recipe from a friend who insisted on perfect crispness and tender pockets, and after a few experiments it became my go-to. There is something so comforting about the scent of butter and warm batter filling the air, and the ritual of stacking hot waffles feels like a small celebration. Whether you want a simple breakfast or an indulgent brunch, this Waffles Recipe hits the sweet spot between reliable and special.
How Waffles Became My Weekend Hug
I remember the first time I set aside a whole Sunday morning just to test this Waffles Recipe: rain tapping the windows, a pot of coffee gently steaming, and the waffle iron glowing like a little promise. The batter smelled of warm vanilla and butter, and when the first waffle popped out, its edges were crisp and the inside felt soft like a cloud. I felt quietly triumphant handing the first piece to my partner, watching their eyes light up as syrup pooled in those honeycomb pockets. That small, ordinary moment—forks clinking, the scatter of berries, sticky fingers—turned the recipe into a ritual I crave on slow days. It taught me that a good waffle is less about perfection and more about the comfort it brings to the table.
Meet the Main Players
- All-purpose flour: The structural backbone that gives the waffle its tender crumb; swap with half whole wheat for nuttiness or use gluten-free blend for GF waffles, but expect a slightly different texture.
- Granulated sugar: Balances flavor and aids browning; reduce slightly for a less sweet version or use coconut sugar for a deeper caramel note.
- Buttermilk: Adds tang, tenderness, and reacts with baking soda for lift; plain yogurt thinned with milk is a fine substitute.
- Unsalted butter: Delivers rich flavor and crisp edges; use melted coconut oil for dairy-free results.
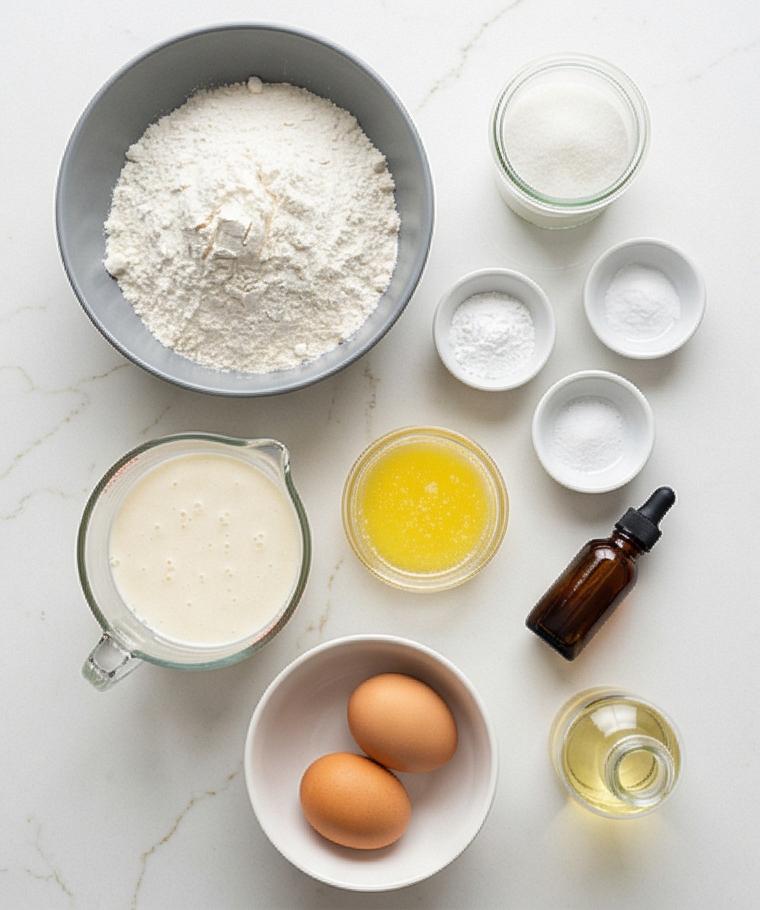
Essential Kitchen Tools and Why They Matter
A few reliable tools make waffle mornings effortless. A sturdy mixing bowl keeps everything tidy and gives you room to whisk without spills. A medium glass measuring jug is great for combining wet ingredients and lets you see consistency as you whisk. The waffle iron is crucial: a well-seasoned or nonstick model yields consistent browning and easy release. A flexible spatula or silicone scraper protects finishes and helps you fold batter gently.
- Large mixing bowl: For whisking dry ingredients and folding the batter.
- Glass measuring jug: For whisking and pouring wet ingredients with control.
- Waffle iron: The heart of the process; choose one with adjustable heat if possible.
- Spatula: For gentle folding and transferring batter.
- Wire cooling rack: Keeps cooked waffles crisp while you finish the batch.
Step-by-Step Preparation Guide
Step 1: Combine the dry ingredients
In a large matte grey ceramic mixing bowl, whisk together the all-purpose flour, granulated sugar, baking powder, baking soda, and fine sea salt until the dry mix is uniform and airy — no clumps, evenly distributed. Aim for a light, powdery texture where the leaveners are fully integrated and the mixture looks pale and slightly billowy. This is the foundation for even rise and a balanced browning later.
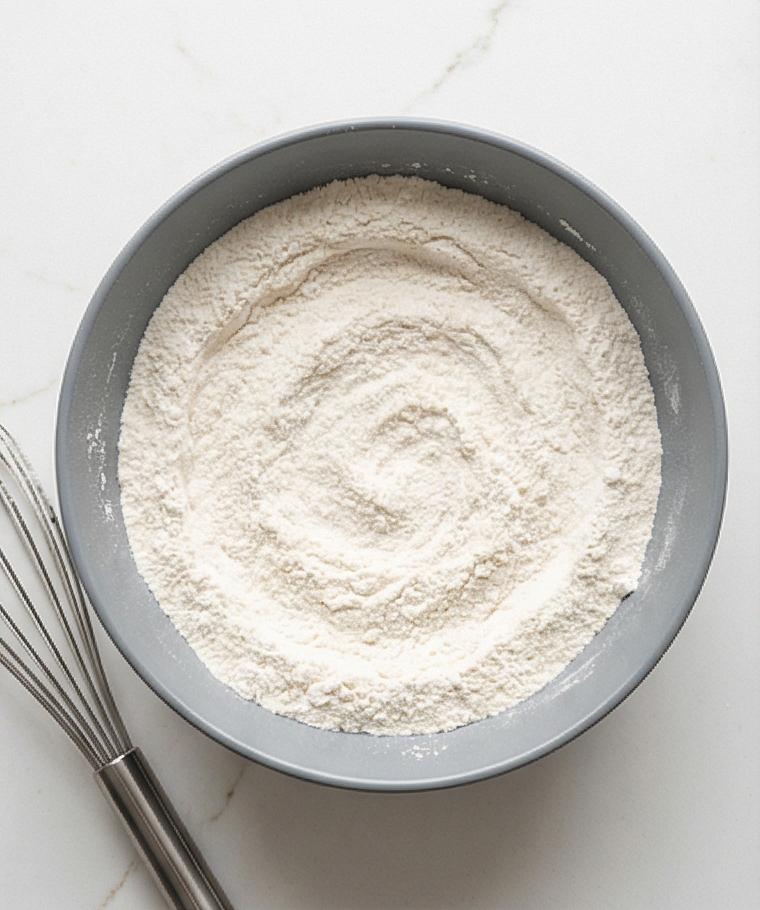
Step 2: Whisk the wet ingredients until smooth
In a medium glass measuring jug or the same matte grey bowl set aside, briskly whisk the room-temperature eggs until slightly frothy, then add the buttermilk, melted-and-cooled unsalted butter, and vanilla extract. Whisk to a glossy, homogenous liquid with tiny suspended air bubbles and a warm butter sheen — a smooth, fluid batter base ready to marry with the dry mix. Keep the small glass jug and a tiny ramekin of melted butter visible to emphasize vessels and scale.
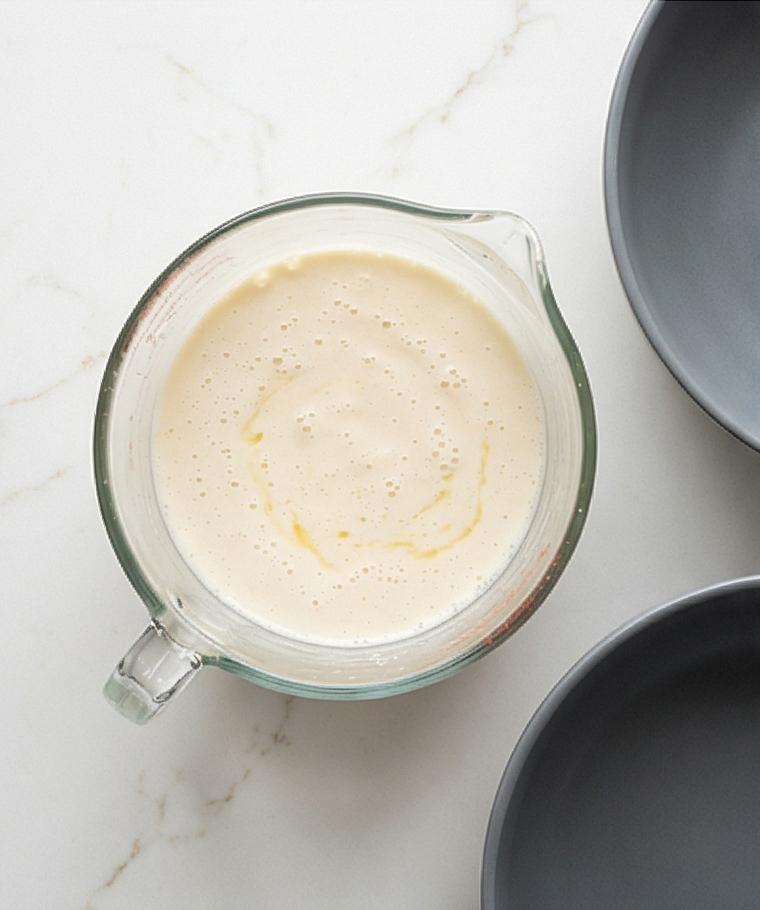
Step 3: Fold wet into dry and rest the batter
Make a well in the center of the dry bowl, pour the wet mixture in, and gently fold with a spatula just until the flour is incorporated. The resulting batter should be thick but pourable, with soft peaks and small lumps — glossy, slightly aerated, clinging to the spatula. Let it rest at room temperature for 5–10 minutes; during this time it will relax, thicken a touch, and develop small visible air pockets that promise crisp edges. The same matte grey bowl and whisk remain present, slightly speckled with batter.
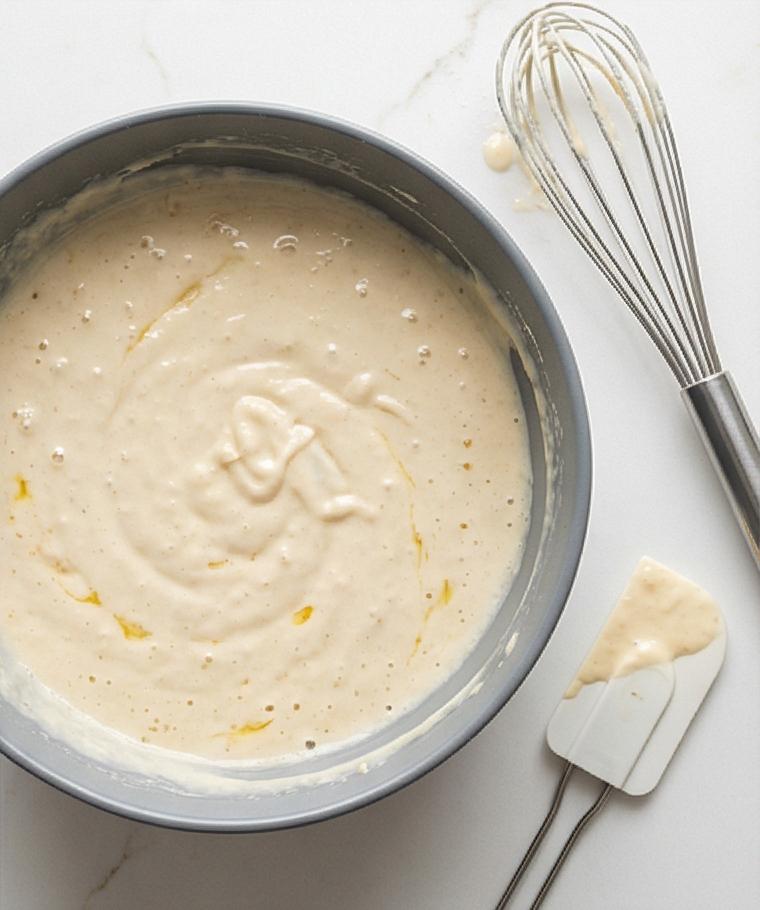
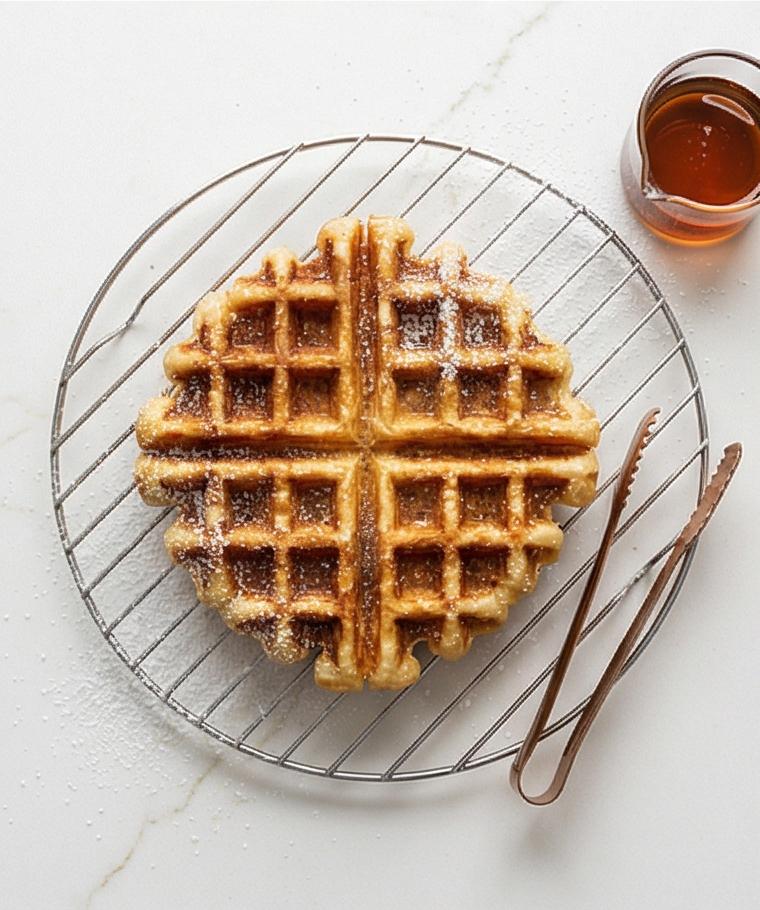
Step 4: Cooked waffle — the first cooked result kept crisp
After cooking each waffle until deep golden and crisp, transfer one finished waffle to a low-profile wire cooling rack set directly on the Calacatta-like surface. The waffle should read as a single, perfectly bronzed square with pronounced grid pockets, crisp ruffled edges, and a dry, craggy exterior texture contrasted against tender, pale interior glimpses at the pocket rims. Show the tongs and a small pot of warm maple syrup nearby — no appliances, no hands — emphasizing the cooked result and texture.
Step 5: Plate and serve — warm, topped, and irresistible
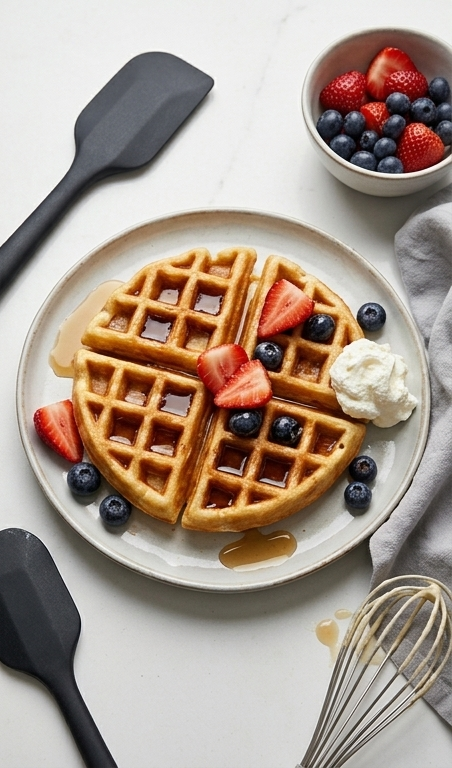
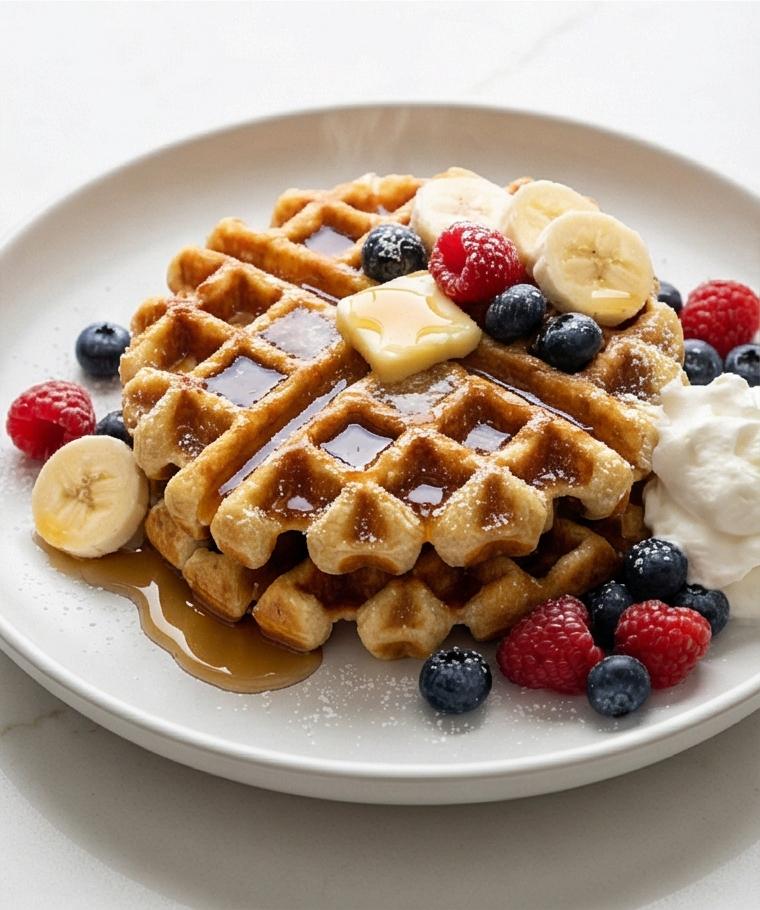
Arrange a single waffle (or a neat stack) on a simple shallow matte white plate, drizzle with warm maple syrup pooling lightly in the pockets, add a scatter of fresh berries and banana slices, a dollop of softly whipped cream, and a delicate dusting of powdered sugar. The presentation is warm and inviting: syrup-glossed honeycombs, melting butter sheen, and the contrast of bright berries against the pale marble surface. Enjoy immediately for maximum crispness.
Making It Your Own
Try adding a handful of grated lemon zest and poppy seeds for a bright twist, or fold in mashed banana and a pinch of cinnamon for a cozy, slightly denser waffle. For a chocolate lover’s experiment, whisk 2 tablespoons of cocoa powder into the dry mix and serve with chocolate-hazelnut spread and toasted hazelnuts. If you need a gluten-free morning, use a 1-to-1 gluten-free flour blend and let the batter rest a bit longer to hydrate. For a vegan version, sub the eggs with flax ‘eggs’ and use a plant-based buttermilk made from almond milk and lemon juice, plus coconut oil for richness.
How to Serve
When hosting, make small stations: keep a tray of warmed waffles on a wire rack in a low oven and set out bowls of toppings so guests can customize. For a brunch of eight, double the batter and work in two batches with a helper on syrup duty. If you want a more formal presentation, stack two waffles, cut them on the diagonal, and fan fruit along the top, finishing with a dusting of powdered sugar and a micro sprig of mint.
For family breakfasts, serve one waffle per person with a drizzle of warm maple syrup and a spoonful of whipped cream. To stretch servings, cut waffles into quarters and offer them as part of a waffle charcuterie board with cheeses, cured meats, fruit compotes, and sweet spreads.
Storage and Reheating Tips
Leftover waffles keep well when cooled completely, then wrapped tightly and stored in the fridge for up to 3 days or in the freezer for up to 2 months. Freeze them flat on a baking sheet before transferring to a bag so they do not stick together.
To reheat, pop frozen or refrigerated waffles directly into a toaster or toaster oven until heated through and crisp. For a batch approach, re-crisp on a baking sheet in a 375 F oven for 8 to 12 minutes; this refreshes the exterior while warming the interior evenly.
Oops-Proofing: Common Mistakes and How to Avoid Them
Overmixing the batter yields tough waffles because gluten develops; fold just until combined and accept a few small lumps for tender results. Resting the batter briefly allows leavening agents to hydrate and gives a lighter interior.
Underheating the waffle iron will make pale, soft waffles. Preheat fully and test with a small amount of batter to find the sweet spot for deep, even browning. Using cold eggs or cold buttermilk can also make the batter sluggish; bring wet ingredients to room temperature for best rise.
If waffles stick, check the iron’s surface and use a light brush of melted butter or neutral oil between batches. Worn nonstick coatings may need upgraded equipment to keep things simple.
Final Thoughts and an Invitation
If you try this Waffles Recipe, make a small ritual of it: good coffee, a favorite playlist, and a slow morning. Experiment with one variation and serve it to someone you care about. I hope these waffles become a dependable comfort in your weekend routine.
Frequently Asked Questions.
- Q: Can I make the batter ahead of time? A: Yes, you can refrigerate the batter for up to 24 hours; bring it back to room temperature and give it a gentle stir before cooking.
- Q: How do I get extra-crispy edges? A: Cook on a hotter setting and transfer waffles to a wire rack; avoid stacking while they are cooling so steam does not soften the exterior.
- Q: Can I freeze cooked waffles? A: Absolutely; freeze them flat on a tray, then store in a sealed bag for up to 2 months for quick mornings.
- Q: What if my waffles are dense? A: Check your leavening: make sure baking powder is fresh and do not overmix the batter; also ensure wet ingredients are room temperature.
- Q: Is there a good dairy-free swap? A: Use plant-based milk with an acid to mimic buttermilk, replace butter with coconut oil, and use flax eggs if you need to avoid eggs.
Waffles Recipe
Make this Waffles Recipe for crisp-on-the-outside, tender-inside waffles perfect for weekend breakfasts.
Ingredients
Instructions
Step 1: Combine the dry ingredients
In a large matte grey ceramic mixing bowl, whisk together the all-purpose flour, granulated sugar, baking powder, baking soda, and fine sea salt until the dry mix is uniform and airy — no clumps, evenly distributed. Aim for a light, powdery texture where the leaveners are fully integrated and the mixture looks pale and slightly billowy. This is the foundation for even rise and a balanced browning later.
Step 2: Whisk the wet ingredients until smooth
In a medium glass measuring jug or the same matte grey bowl set aside, briskly whisk the room-temperature eggs until slightly frothy, then add the buttermilk, melted-and-cooled unsalted butter, and vanilla extract. Whisk to a glossy, homogenous liquid with tiny suspended air bubbles and a warm butter sheen — a smooth, fluid batter base ready to marry with the dry mix. Keep the small glass jug and a tiny ramekin of melted butter visible to emphasize vessels and scale.
Step 3: Fold wet into dry and rest the batter
Make a well in the center of the dry bowl, pour the wet mixture in, and gently fold with a spatula just until the flour is incorporated. The resulting batter should be thick but pourable, with soft peaks and small lumps — glossy, slightly aerated, clinging to the spatula. Let it rest at room temperature for 5–10 minutes; during this time it will relax, thicken a touch, and develop small visible air pockets that promise crisp edges. The same matte grey bowl and whisk remain present, slightly speckled with batter.
Step 4: Cooked waffle — the first cooked result kept crisp
After cooking each waffle until deep golden and crisp, transfer one finished waffle to a low-profile wire cooling rack set directly on the Calacatta-like surface. The waffle should read as a single, perfectly bronzed square with pronounced grid pockets, crisp ruffled edges, and a dry, craggy exterior texture contrasted against tender, pale interior glimpses at the pocket rims. Show the tongs and a small pot of warm maple syrup nearby — no appliances, no hands — emphasizing the cooked result and texture.
Step 5: Plate and serve — warm, topped, and irresistible
Arrange a single waffle (or a neat stack) on a simple shallow matte white plate, drizzle with warm maple syrup pooling lightly in the pockets, add a scatter of fresh berries and banana slices, a dollop of softly whipped cream, and a delicate dusting of powdered sugar. The presentation is warm and inviting: syrup-glossed honeycombs, melting butter sheen, and the contrast of bright berries against the pale marble surface. Enjoy immediately for maximum crispness.
Notes
- Bring wet ingredients to room temperature for better rise
- Rest batter for 5-10 minutes to hydrate and relax the gluten
- Preheat waffle iron thoroughly for even browning
- Freeze waffles flat before storing to prevent sticking
- Use a wire rack to keep cooked waffles crisp while finishing a batch