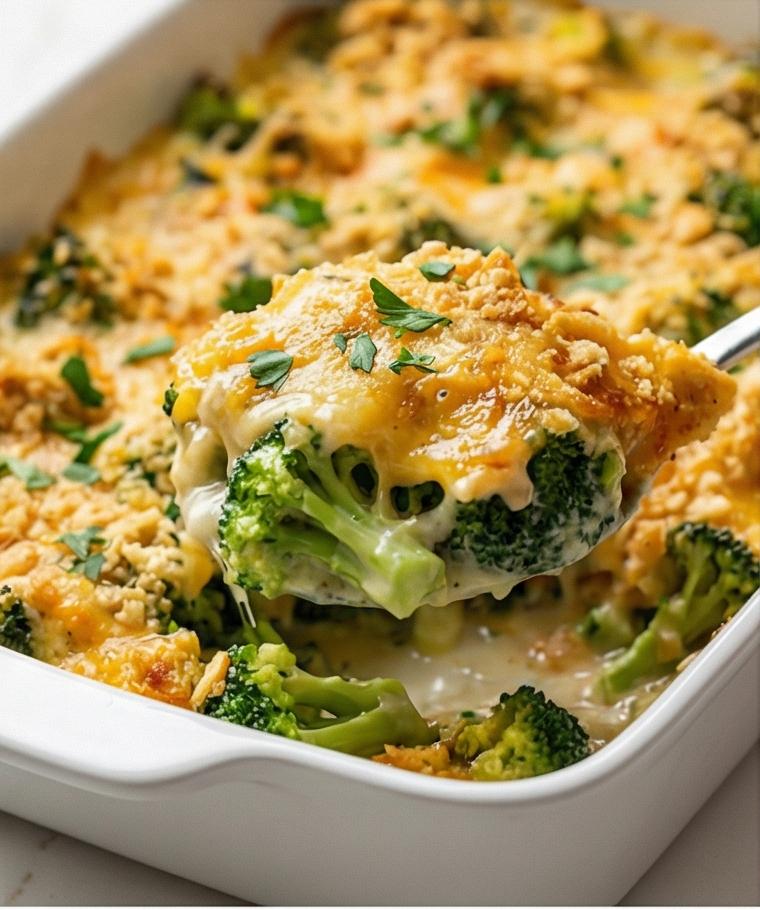
I make this Stuffing Recipe every holiday and for quiet Sunday dinners, and it always feels like a tiny, comforting celebration. The mix of toasted bread, aromatic herbs, and warm stock is the kind of home cooking that smells like memory and tastes like care. I learned to balance the textures so the top crisps while the center stays moist, and that little contrast is the secret that keeps people coming back for seconds. If you want a reliable Stuffing Recipe that tolerates tweaks and still sings, this is the one I reach for.
How This Recipe Became My Cozy Kitchen Staple
The first time I made this Stuffing Recipe I was trying to impress a small crowd with a limited pantry and too much enthusiasm. I remember tearing the crusty bread into cubes while the house filled with the onion and celery aroma. As the butter bubbled and the herbs bloomed, a friend wandered in, grabbed a spoon, and declared it dinner. That moment stuck with me. Over the years I learned to trust the simple technique: dry the bread so it soaks flavor without collapsing, bloom herbs off the heat, and rest the mixture so it binds without becoming mush. Each time I bake this stuffing, I think of that evening and how comforting a warm dish can be. The texture, the herb pockets, the little surprise of apple or nuts if I include them, all bring a quiet happiness to the table.
Primary Ingredients and What They Do
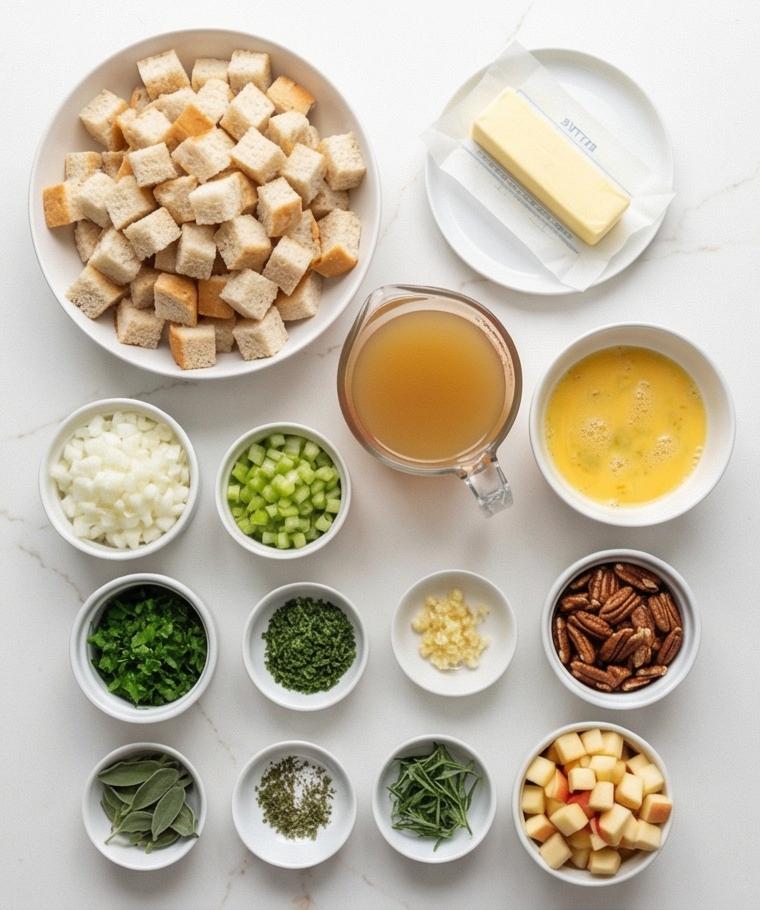
- Day-old Crusty Bread: The foundation that soaks up stock and flavor. Use French or Italian; substitute with sourdough for tang or gluten-free bread for dietary needs.
- Unsalted Butter: Adds richness and helps soften vegetables. For a lighter option, use olive oil.
- Yellow Onion and Celery: Provide the savory framework and texture. Shallots can replace onion for a milder note.
- Garlic and Fresh Herbs: Parsley, sage, thyme, and rosemary give bright, aromatic depth. Use dried herbs if fresh are not available, but reduce amounts.
- Stock and Eggs: Stock hydrates and flavors while eggs bind the mixture. Use vegetable stock for a vegetarian version.
- Optional Mix-ins: Toasted nuts and tart apple add crunch and brightness; swap in dried cranberries or sausage for a different profile.
Essential Kitchen Tools and Why They Matter
A few simple tools make this Stuffing Recipe come together predictably and happily. You do not need anything fancy, but the right utensils help control texture and timing.
- Large Rimmed Baking Sheet: For drying the bread so it crisps evenly; a rim keeps pieces from sliding off.
- 9 x 13-inch Baking Dish: The recipe is sized for this pan, which yields the ideal depth for even baking. Use a similar-sized dish if needed.
- Shallow Skillet: For softening vegetables and blooming herbs; a wide pan gives more surface area for evaporation.
- Large Mixing Bowl and Spatula: To combine bread and buttery vegetables gently so cubes remain distinct.
- Measuring Cups and a Jug: Warm stock is easier to pour and control from a jug, preventing a soggy mix.
Step-by-Step Preparation Guide
Step 1: Dry the Bread and Prep the Baking Dish
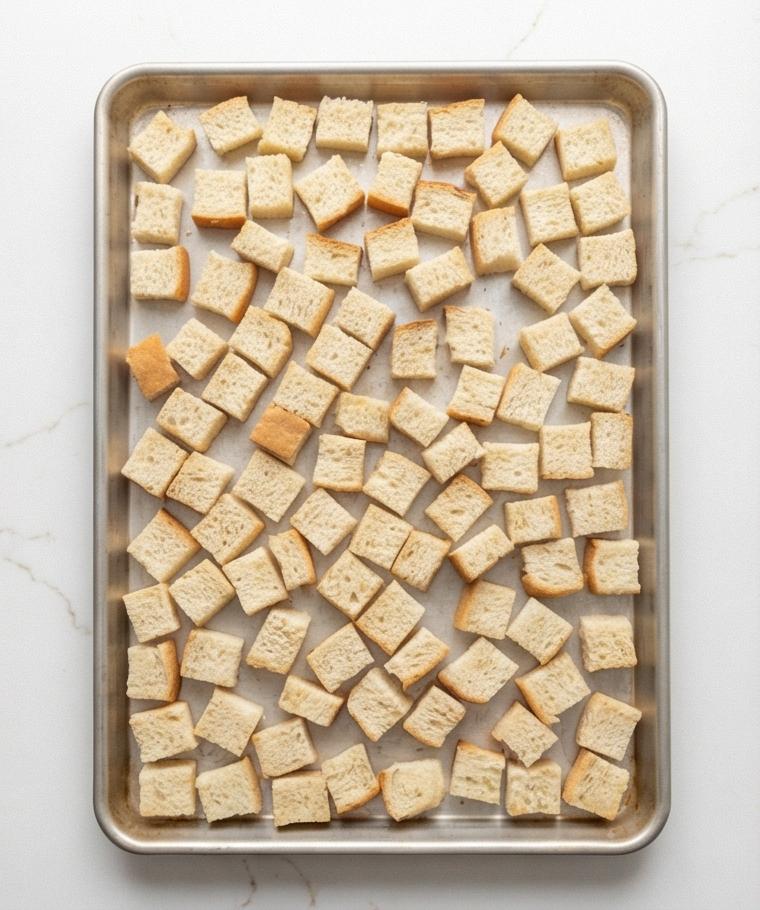
Spread the cubed, day‑old crusty bread in a single layer on a large rimmed baking sheet and dry it gently in a low oven until the cubes are dry and slightly crisp but not browned; let them cool for at least 10 minutes so they’re airy and ready to soak up flavor. While the bread cools, increase the oven temperature to 350°F (175°C) and quickly grease a 9 x 13‑inch rectangular baking dish with a thin layer of butter — you want a lightly coated vessel so the stuffing slides out cleanly after baking.
Step 2: Prepare the Aromatics and Herbs
Finely dice the yellow onion and celery, mince the garlic, and trim and finely chop the parsley, sage, thyme, and optional rosemary. Keep the chopped herbs separated from the diced vegetables so their fresh green color and delicate texture remain distinct when you bloom them later; this keeps the flavors bright and the visual contrast crisp when you assemble the stuffing.
Step 3: Soften the Vegetables and Bloom the Herbs
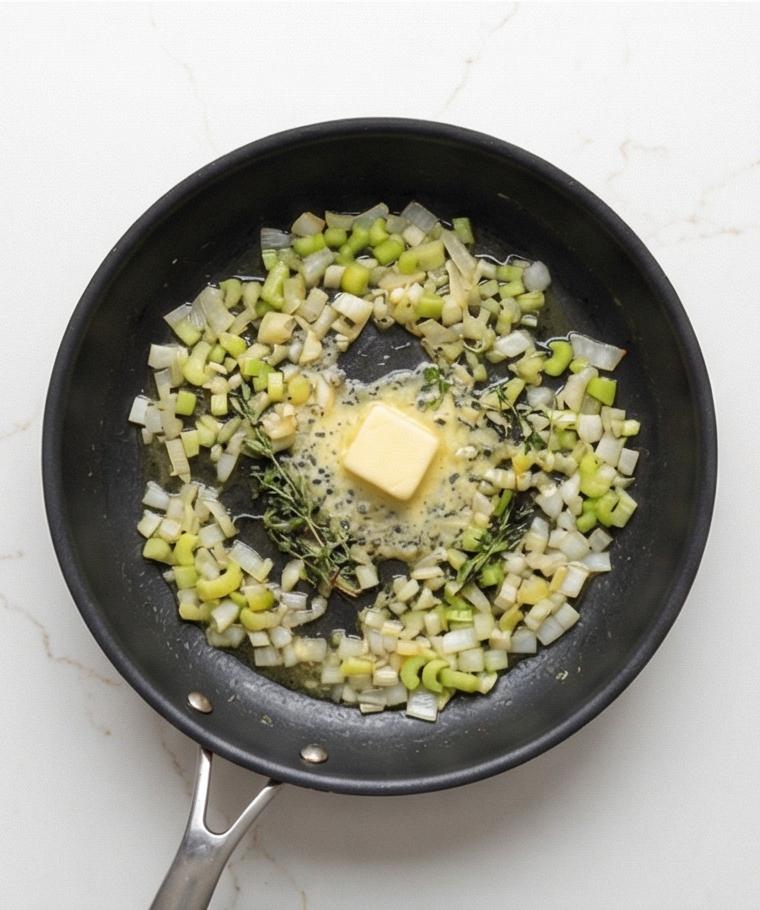
Melt the butter until foamy in a shallow skillet and add the diced onion and celery with a pinch of salt, cooking until the vegetables are very soft and translucent. Stir in the garlic for just a minute until fragrant, then add the chopped herbs briefly off the heat to bloom, releasing fragrance and a glossy, herb‑flecked butter that will cling to the bread. Remove the skillet from heat and let the vegetable‑herb mixture rest so it cools slightly before meeting the bread.
Step 4: Combine Bread, Vegetables, and Mix‑Ins
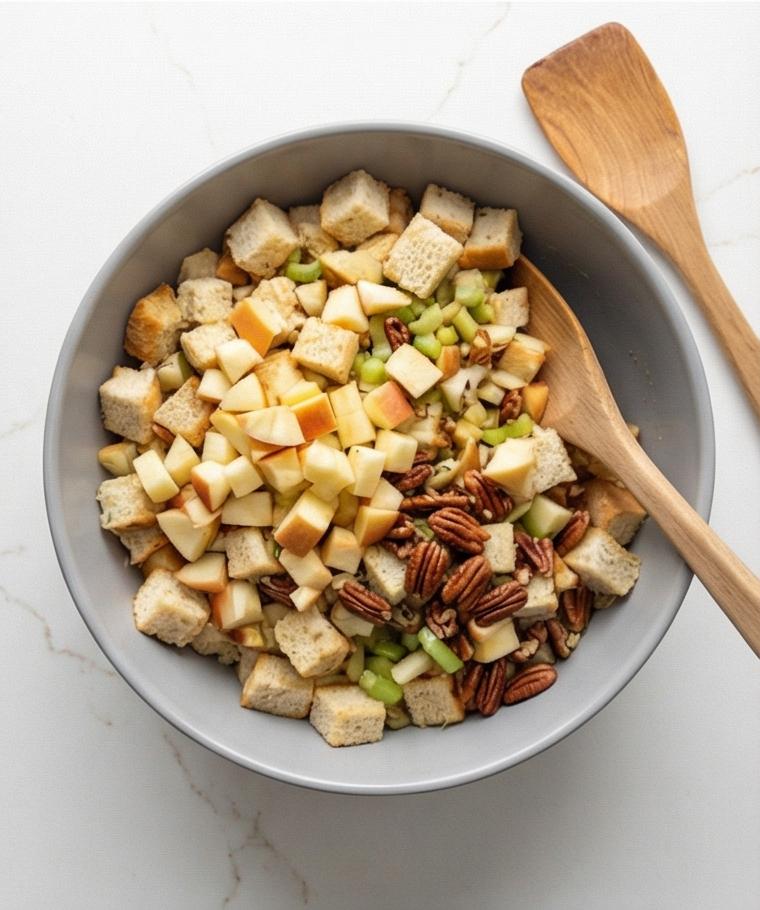
Transfer the dried bread cubes into a large mixing bowl and add the warm buttery vegetable and herb mixture along with the remaining salt, pepper, and optional mix‑ins — chopped toasted pecans or walnuts and diced tart apple. Gently toss with a spatula so every cube gets an even coating of butter, herbs, and small pockets of nuts and apple; the result should look loose and textured, with individual cubes still visible, studded with green parsley and pale apple dice.
Step 5: Whisk the Stock and Eggs
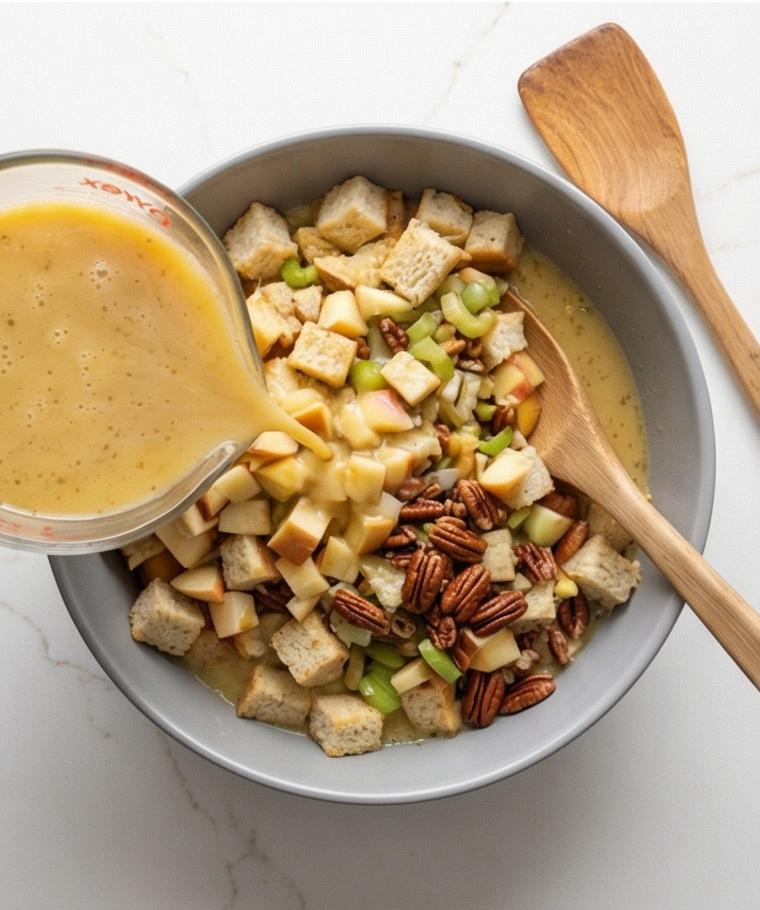
In a separate jug or medium bowl, whisk together the warmed low‑sodium stock and the lightly beaten eggs until fully emulgated and smooth; the mixture should be glossy and slightly viscous so it will coat and bind the bread without making it soupy. Keep the warm liquid in a jug for controlled pouring so the bread absorbs evenly.
Step 6: Hydrate the Bread and Let it Rest
Slowly pour the warm stock‑and‑egg mixture over the bread while tossing gently with a spatula to ensure even absorption; the goal is an evenly moistened mix that holds its shape. Add small additional splashes of stock only if you find dry pieces. Once moistened, let the mixture rest for about 10 minutes, tossing once halfway through so the liquid distributes and the cubes become cohesive but still airy.
Step 7: Transfer to the Baking Dish and Cover
Spread the hydrated stuffing into the greased rectangular 9 x 13 baking dish in an even, loose layer without packing. If you like a crisp top, drizzle with olive oil or melted butter, then cover tightly with foil to keep the interior moist as it gently cooks and sets in the oven.
Step 8: Bake, Uncover to Crisp, Rest, and Serve
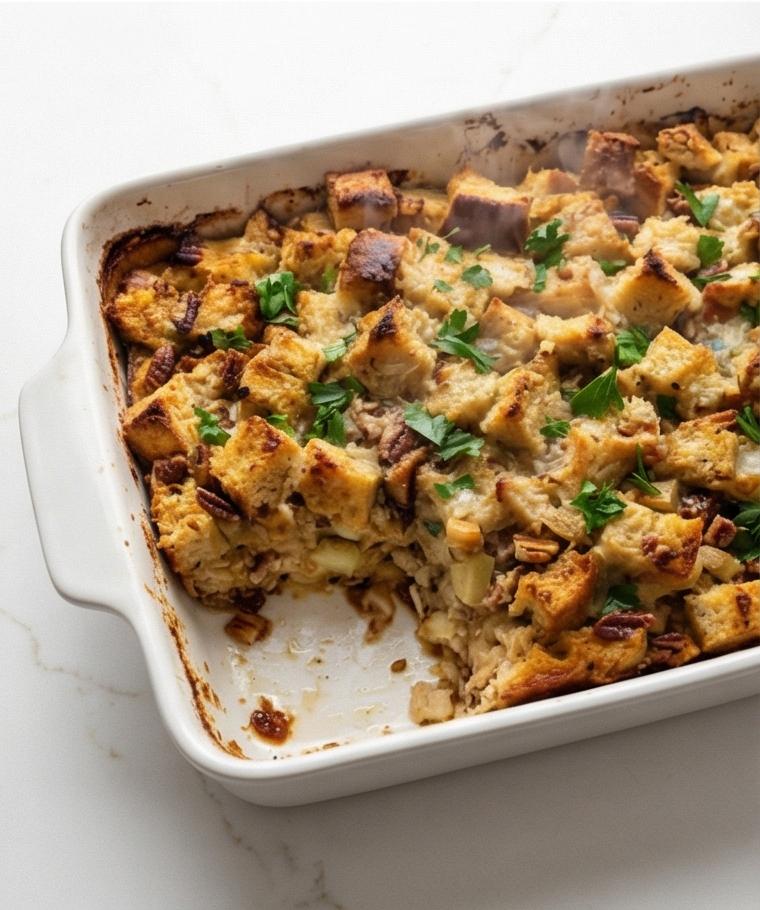
Bake the covered dish until the stuffing is heated through and set, then remove the foil and continue baking until the top is golden brown and crisp at the edges while the interior remains moist. Let the dish rest for 10–15 minutes so it firms slightly for clean serving, finish with a sprinkle of fresh parsley and a light pinch of salt if desired, and serve warm alongside roasted proteins or vegetables.
Making It Your Own
I treat the base Stuffing Recipe like a canvas. For a vegetarian table, I swap the chicken stock for a rich vegetable stock and add chopped mushrooms for savory heft. When it is apple season, I keep the tart apple and throw in a handful of dried cranberries for a sweet-tart contrast. If I want a rustic, nutty version, I add toasted walnuts and a dash of maple syrup for warmth. For a heartier, protein-forward twist, breakfast sausage browned with the vegetables before adding the herbs works beautifully. Small experiments yield big personality shifts, so I usually try one variation at a time.
How to Serve
When I host, this Stuffing Recipe goes into the center of the table in a warm baking dish so guests can help themselves. For a small gathering, halve the recipe and bake in an 8 x 8-inch dish for better depth and texture. For a large crowd, double the ingredients and use two pans; rotate them halfway through baking so both get an even crisp.
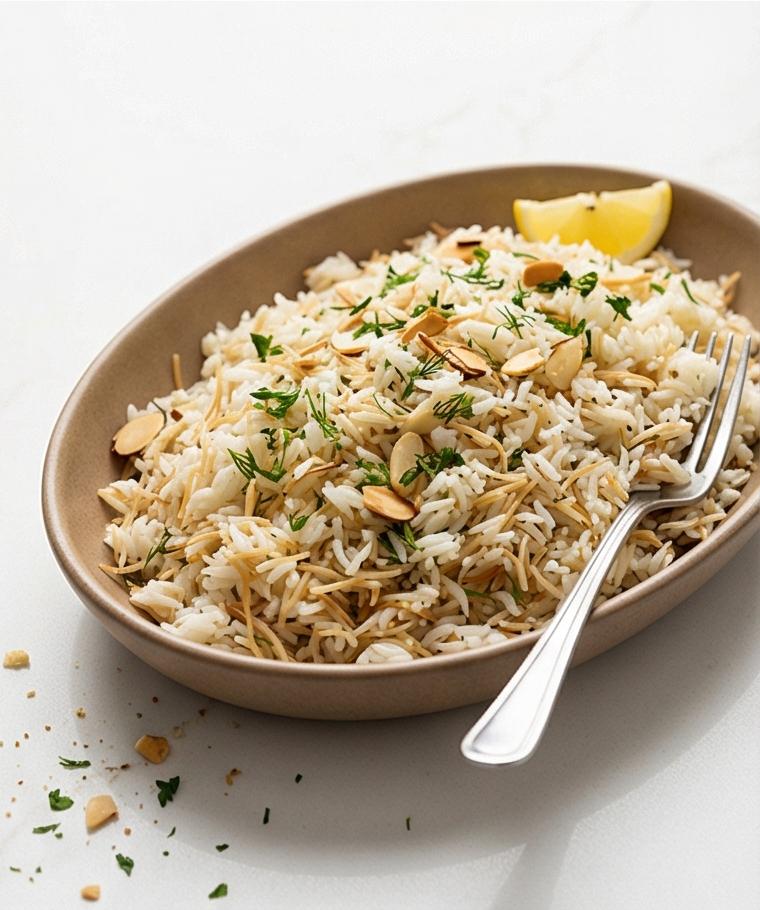
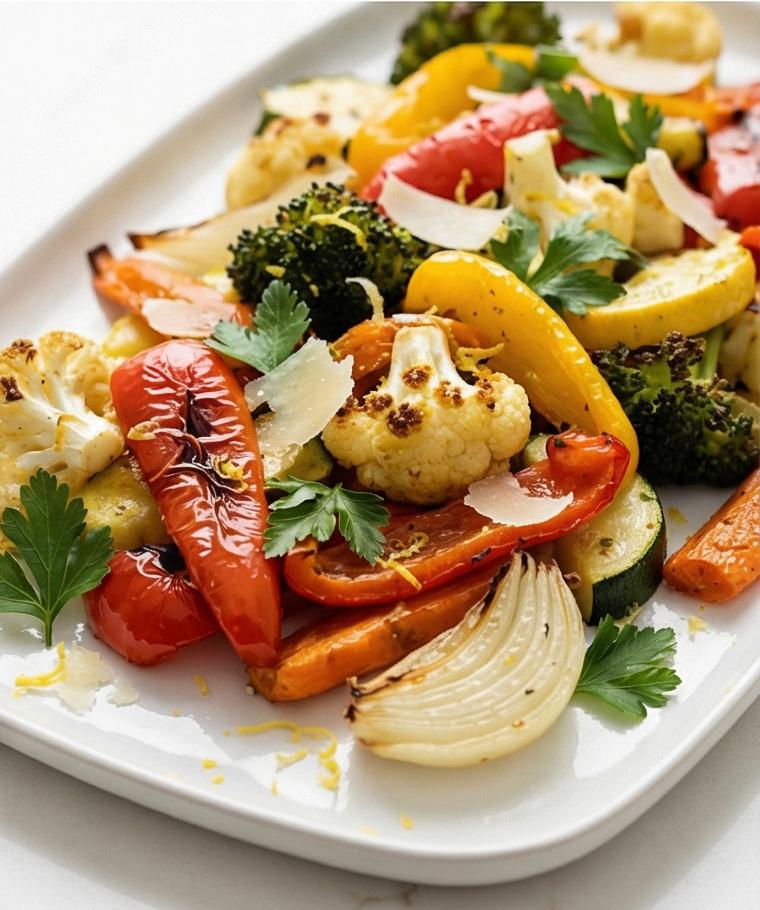
If you want to dress it up, top the stuffing with roasted pearl onions or slices of seared apples and a scattering of toasted nuts. Serve with a ladle of gravy on the side so guests can add moisture as they like. This stuffing pairs well with roasted turkey, pork, or a simple roast root vegetable platter.
Storage and Reheating Tips
Cool leftovers to room temperature before covering tightly and refrigerating for up to 3 days. If you plan to freeze, portion the stuffing into airtight containers or a freezer-safe bag for up to 3 months; thaw overnight in the refrigerator before reheating.
To reheat, spread the stuffing in a baking dish, sprinkle a little stock over the top to revive moisture, cover with foil, and bake at 350°F (175°C) until heated through, then uncover for the last 10 minutes to re-crisp the top. You can also reheat single servings in the microwave, adding a splash of stock and covering to keep moisture in.
Common Mistakes and How to Avoid Them
Overly soggy stuffing usually comes from adding too much stock at once. Pour the warmed stock gradually and stop when the bread is evenly moistened but not soupy. Resting the mix helps even absorption.
Another misstep is under-seasoning. Salt the vegetables as they cook and taste the assembled mixture before baking; you can always add a little more sea salt at the end. Finally, do not pack the dish tightly if you want a mix of crisp top and tender interior.
Final Thoughts and an Invitation
This Stuffing Recipe is forgiving, nostalgic, and endlessly adaptable. Try it once as written, then make one small change the next time and see how the flavors evolve. I hope it becomes a reliable favorite in your kitchen, bringing warmth and a little comfort to your table.
Frequently Asked Questions.
- What bread is best for this Stuffing Recipe? Use day-old French or Italian bread; sourdough gives a tang, and gluten-free bread works if needed.
- Can I make this stuffing vegetarian? Yes, substitute vegetable stock for the chicken stock and it will be vegetarian-friendly.
- How far in advance can I assemble the stuffing? You can assemble it up to a day ahead, cover, and refrigerate; bring to room temperature before baking.
- Can I freeze leftovers? Yes, freeze in airtight containers for up to 3 months and thaw overnight before reheating.
- How do I get a crisp top without drying the center? Bake covered until set, then uncover and bake a bit longer to crisp the top while keeping the interior moist.
Stuffing Recipe
Bake this Stuffing Recipe for a tender, savory side that complements any roast.
Ingredients
Instructions
Step 1: Dry the Bread and Prep the Baking Dish
Spread the cubed, day‑old crusty bread in a single layer on a large rimmed baking sheet and dry it gently in a low oven until the cubes are dry and slightly crisp but not browned; let them cool for at least 10 minutes so they’re airy and ready to soak up flavor. While the bread cools, increase the oven temperature to 350°F (175°C) and quickly grease a 9 x 13‑inch rectangular baking dish with a thin layer of butter — you want a lightly coated vessel so the stuffing slides out cleanly after baking.
Step 2: Prepare the Aromatics and Herbs
Finely dice the yellow onion and celery, mince the garlic, and trim and finely chop the parsley, sage, thyme, and optional rosemary. Keep the chopped herbs separated from the diced vegetables so their fresh green color and delicate texture remain distinct when you bloom them later; this keeps the flavors bright and the visual contrast crisp when you assemble the stuffing.
Step 3: Soften the Vegetables and Bloom the Herbs
Melt the butter until foamy in a shallow skillet and add the diced onion and celery with a pinch of salt, cooking until the vegetables are very soft and translucent. Stir in the garlic for just a minute until fragrant, then add the chopped herbs briefly off the heat to bloom, releasing fragrance and a glossy, herb‑flecked butter that will cling to the bread. Remove the skillet from heat and let the vegetable‑herb mixture rest so it cools slightly before meeting the bread.
Step 4: Combine Bread, Vegetables, and Mix‑Ins
Transfer the dried bread cubes into a large mixing bowl and add the warm buttery vegetable and herb mixture along with the remaining salt, pepper, and optional mix‑ins — chopped toasted pecans or walnuts and diced tart apple. Gently toss with a spatula so every cube gets an even coating of butter, herbs, and small pockets of nuts and apple; the result should look loose and textured, with individual cubes still visible, studded with green parsley and pale apple dice.
Step 5: Whisk the Stock and Eggs
In a separate jug or medium bowl, whisk together the warmed low‑sodium stock and the lightly beaten eggs until fully emulgated and smooth; the mixture should be glossy and slightly viscous so it will coat and bind the bread without making it soupy. Keep the warm liquid in a jug for controlled pouring so the bread absorbs evenly.
Step 6: Hydrate the Bread and Let it Rest
Slowly pour the warm stock‑and‑egg mixture over the bread while tossing gently with a spatula to ensure even absorption; the goal is an evenly moistened mix that holds its shape. Add small additional splashes of stock only if you find dry pieces. Once moistened, let the mixture rest for about 10 minutes, tossing once halfway through so the liquid distributes and the cubes become cohesive but still airy.
Step 7: Transfer to the Baking Dish and Cover
Spread the hydrated stuffing into the greased rectangular 9 x 13 baking dish in an even, loose layer without packing. If you like a crisp top, drizzle with olive oil or melted butter, then cover tightly with foil to keep the interior moist as it gently cooks and sets in the oven.
Step 8: Bake, Uncover to Crisp, Rest, and Serve
Bake the covered dish until the stuffing is heated through and set, then remove the foil and continue baking until the top is golden brown and crisp at the edges while the interior remains moist. Let the dish rest for 10–15 minutes so it firms slightly for clean serving, finish with a sprinkle of fresh parsley and a light pinch of salt if desired, and serve warm alongside roasted proteins or vegetables.
Notes
- Dry the bread in a low oven and cool completely for best texture
- Warm the stock before adding so the bread absorbs evenly
- Add optional mix-ins like nuts or apple sparingly to keep balance