Rice Pilaf Recipe has been my go-to side for dinner parties and quiet weeknight meals for years. I first learned this version from a friend who swore by the toasted vermicelli, and it quickly became a staple in my kitchen. It hits the sweet spot between simple and impressive: fragrant basmati, nutty toasted pasta, and a gentle touch of butter and herbs. If you love rice that stays loose and tender with a little glossy sheen, this Rice Pilaf Recipe will feel like an instant favorite.
How This Recipe Became My Rainy-Day Favorite
There was one late afternoon when the sky was low and it smelled like wet earth, and I decided to make this Rice Pilaf Recipe as a little comfort project. I remember the kitchen filling with the toasty scent of vermicelli and butter, the soft hiss of simmering broth, and the way the house felt warmer with every minute. I stirred gently, waiting for the rice to finish, and when I finally unveiled the steaming bowl the aroma was like a small celebration. That first bite was light, herb-bright, and a little nutty from the toasted pasta. It was simple but deeply satisfying, the kind of dish that feels like a hug in a bowl. Ever since then, this recipe has been my rainy-day ritual and a reliable companion for whatever mood I bring into the kitchen.
Ingredients and What They Do
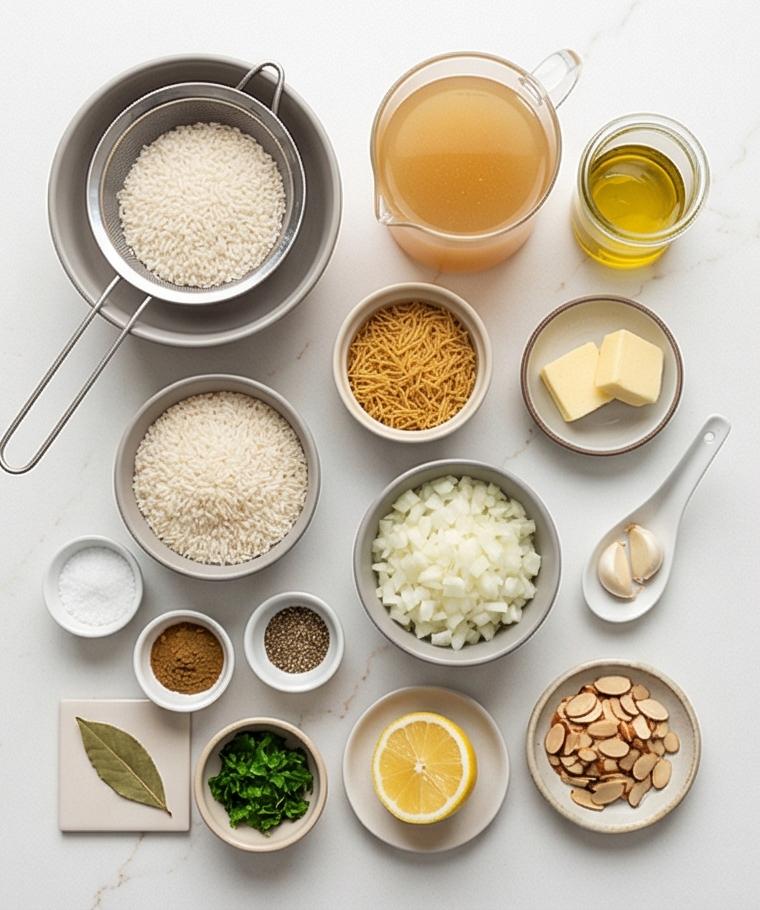
- Long-grain basmati rice: The star of the Rice Pilaf Recipe – choose well-rinsed, dry grains for fluffy results. Substitute with jasmine for a softer aroma but expect a slightly stickier texture. Look for aged basmati if you can.
- Chicken or vegetable broth: Provides the savory base; low-sodium lets you control saltiness. Use mushroom or homemade stock for deeper flavor.
- Butter and olive oil: Butter adds richness and olive oil raises smoke point – swap for ghee for a nutty note or vegan butter for a dairy-free option.
- Vermicelli: Traditional little toasty threads – you can omit for a simpler pilaf or replace with orzo for a different texture.
- Onion, garlic, spices, herbs, nuts: Build aroma, freshness, and crunch. Parsley and lemon brighten, toasted almonds add contrast.
Essential Kitchen Tools and Why They Matter
A few good tools make this Rice Pilaf Recipe effortless. A medium, heavy-bottomed saucepan with a tight-fitting lid gives even heat and prevents hot spots that can burn the vermicelli or leave the rice uneven. A fine-mesh strainer speeds up rinsing and draining, which is crucial for light, separate grains. A wooden spoon or heatproof spatula helps you toast and stir without scratching cookware. A small saucepan to warm the broth keeps the liquid hot and ready, which promotes even cooking.
- Heavy-bottomed saucepan: Provides steady heat and even cooking.
- Tight-fitting lid: Keeps steam in for perfect absorption.
- Fine-mesh strainer: Essential for rinsing basmati thoroughly.
- Wooden spoon or spatula: Gentle on pots and good for folding herbs in.
- Small saucepan: Keeps broth warm and ready to pour.
Step-by-Step Preparation Guide
Step 1: Rinse the rice and warm the broth
Begin by rinsing the basmati in a fine-mesh strainer under cold running water, gently rubbing the grains with your fingers until the water runs mostly clear; let it drain for at least ten minutes so excess surface water doesn’t make the pilaf gummy. While the rice drains, warm the chicken (or vegetable) broth in a small saucepan until it’s just at a gentle simmer (about 180°F / 82°C), then lower the heat to keep it warm but not boiling. This parallel prep keeps the hot liquid ready to receive the rice so the cooking is even and immediate. Friendly tip: aim for a clear, nutty-smelling rice surface before moving on — that little translucence at the grain edges is what you want.
Step 2: Toast the vermicelli and soften the onion
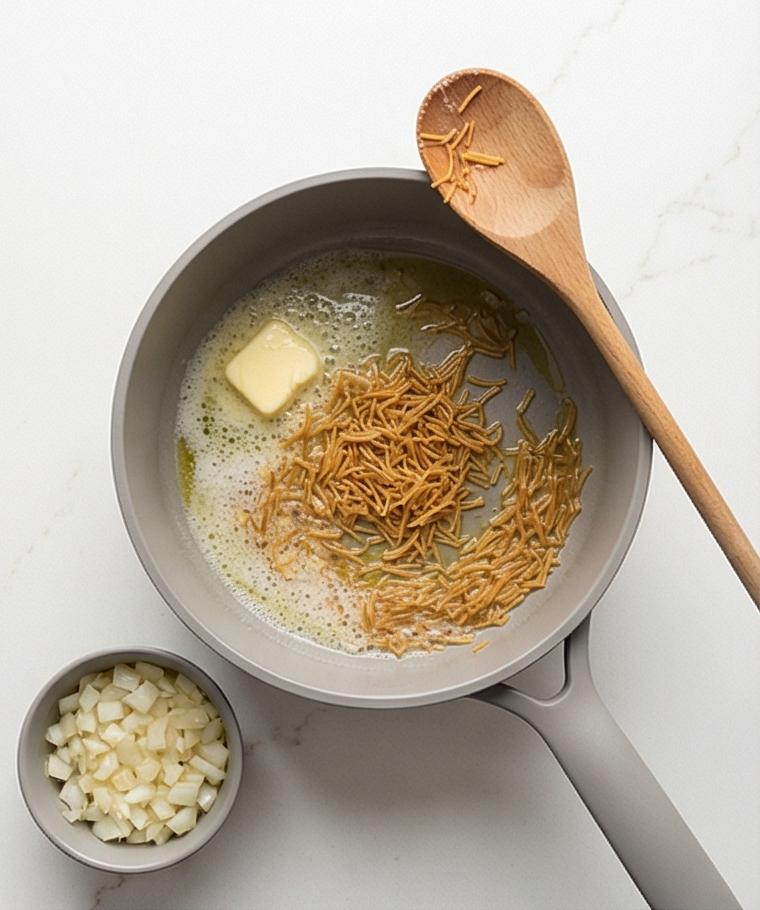
Choose a medium, heavy-bottomed saucepan with a tight-fitting lid. Melt butter with the olive oil until foamy, then add the broken vermicelli (if using). Toast the short pasta pieces in the fat, stirring constantly, until they are an even, toasty golden brown – not dark, just warm amber – then add the finely diced yellow onion and continue to cook over medium heat until the onion is softened and translucent with the tiniest pearl of golden edge. The scene should smell warm and toasty: toasted wheat, butter, and the gentle sweetness of soft onion. This stage is all about building a gently caramelized, glossy base that will coat the rice.
Step 3: Briefly cook the garlic, add the rice, and bloom the spices
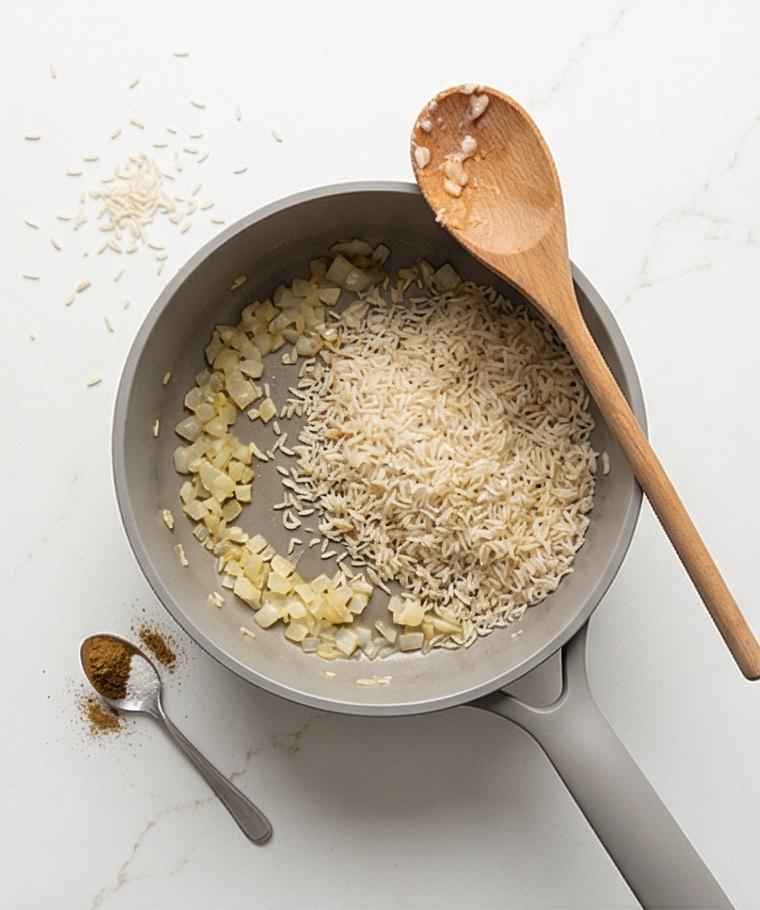
Toss in the minced garlic and stir just until fragrant – about 30–45 seconds – taking care not to let it color. Add the well-drained basmati and stir to coat every grain in the buttery, aromatic fat; you should see each grain pick up a faint sheen and the edges grow slightly opaque as they toast for 2–3 minutes. Sprinkle in the salt, black pepper, and ground cumin and stir briefly so the spices bloom in the warm fat, aromatizing the rice without making it wet. The rice at this point is dry-to-touch, lightly nutty, each grain separate and glossy, ready to accept the simmering broth.
Step 4: Add hot broth and simmer gently covered
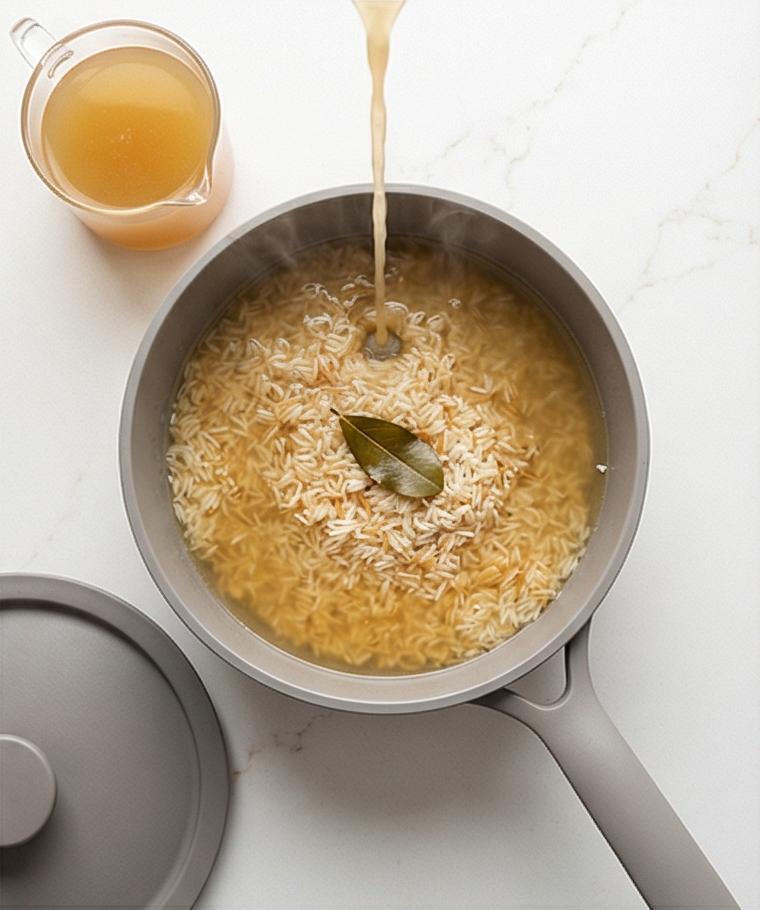
Carefully pour the warmed broth over the rice mixture, add the small dried bay leaf, stir once or twice to distribute, then stop stirring. Bring the pot to a steady boil, then reduce to low, cover tightly, and cook undisturbed for 15–18 minutes until the liquid is fully absorbed and the rice is tender – you’ll notice tiny steam holes and no visible pooled liquid when you tilt the pot. The visual state here is a smooth, slightly domed rice surface with gentle steam vents, the grains holding their shape. Let the pot rest off the heat for 10 minutes, still covered, so the moisture redistributes and the grains finish becoming tender and separated.
Step 5: Fluff, finish with herbs, nuts, and serve
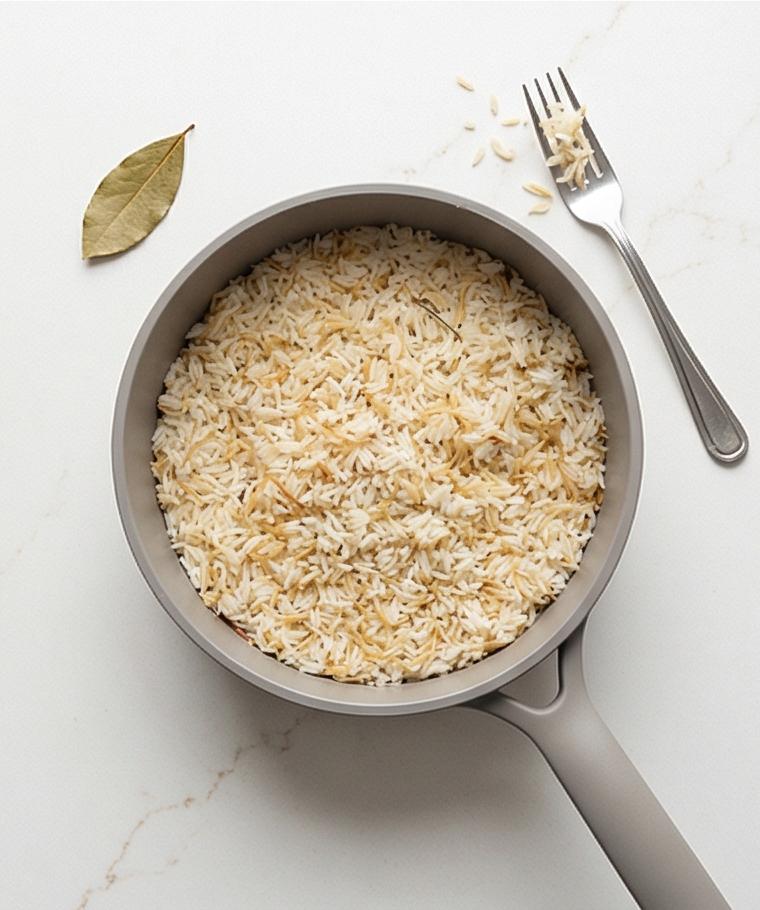
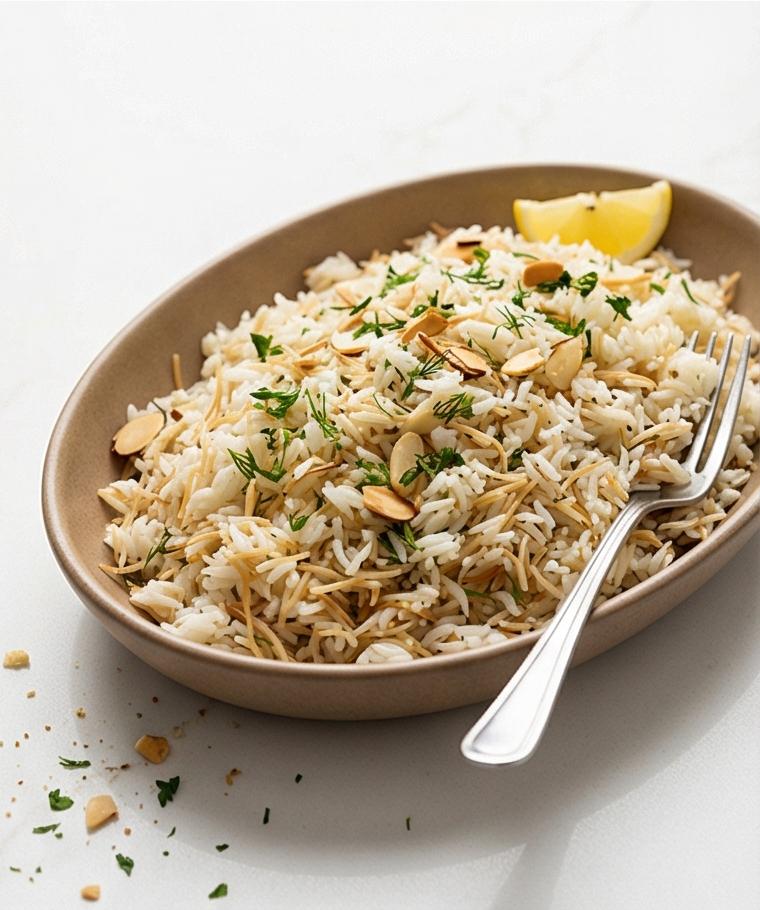
Uncover and remove the bay leaf, then gently fluff the pilaf with a fork by lifting and turning the grains rather than mashing. Fold in the finely chopped parsley (and dill or cilantro if using), taste and adjust salt and pepper, and, if you like, brighten it with a teaspoon of freshly squeezed lemon juice. Transfer the warm, fluffy pilaf to a shallow serving bowl and finish with toasted sliced almonds or pine nuts and a final pinch of chopped parsley for contrast. The finished dish should read as loose, pearl-like grains with scattered pale gold vermicelli threads, bright green herb flecks, and the soft sheen of butter – ready to serve hot.
Making It Your Own
I like to experiment with this Rice Pilaf Recipe depending on the season. For a lighter summer version I fold in lots of fresh herbs like mint and dill and add lemon zest for brightness. In cooler months I swap the almonds for toasted pine nuts and stir in a handful of golden raisins for subtle sweetness. For a vegan twist I use olive oil and vegan butter and choose vegetable broth. If you want more protein, fold in cooked chickpeas or toss with shredded rotisserie chicken right before serving. Small swaps like toasted spices or different nuts will change the personality but keep the comforting base intact.
How to Serve
When I host, I spoon the Rice Pilaf Recipe into a shallow serving bowl so the grains stay loose and the surface cools evenly; it makes passing around plates easier and looks inviting on the table. For a casual family meal, serve it alongside roasted chicken, grilled fish, or a big tray of roasted vegetables. To scale up for a crowd, double the rice and broth and use a wider, heavier pot so the rice cooks evenly. If plating for a dinner party, garnish with extra chopped parsley, sprinkle toasted nuts at the last moment, and serve lemon wedges on the side so guests can finish each portion to taste.
Storage and Reheating Tips
Store leftovers in an airtight container in the refrigerator for up to 3 days. Cool the pilaf quickly to avoid sogginess by spreading it in a shallow container before sealing. When you reheat, add a splash of broth or water and gently warm on the stovetop over low heat, stirring occasionally until the grains separate and steam through.
For longer storage, freeze portions in freezer-safe containers for up to 1 month. Thaw overnight in the refrigerator and reheat gently with a little extra liquid so the texture comes back to life.
Common Mistakes and How to Avoid Them
One common misstep is not rinsing the basmati thoroughly – that can make the pilaf gummy. Rinse until the water runs mostly clear and let the rice drain well. Another mistake is lifting the lid while the rice cooks; resist the urge, as it disturbs steam and can make the texture uneven. Finally, watch the vermicelli closely while toasting – it goes from golden to too-dark quickly, so stir constantly and aim for warm amber color.
Final Thoughts
This Rice Pilaf Recipe is simple, forgiving, and endlessly adaptable. Try it as written, then play with herbs, nuts, or proteins to make it your own. I hope it becomes as comforting and reliable in your kitchen as it has been in mine.
Frequently Asked Questions.
- Can I use jasmine rice instead of basmati? Yes, you can use jasmine but expect a slightly stickier texture; reduce water slightly if needed and rinse well.
- Is vermicelli required? No, vermicelli is traditional but optional; omit it for a simpler rice or replace with orzo for a twist.
- Can I make the rice pilaf ahead of time? Yes, you can make it a day ahead and reheat gently with a splash of broth to refresh the grains.
- How do I make this vegan? Use vegetable broth and swap butter for vegan butter or extra olive oil.
- Why did my rice turn out mushy? Likely due to not draining the rice well or using too much liquid; rinse thoroughly and measure broth accurately.
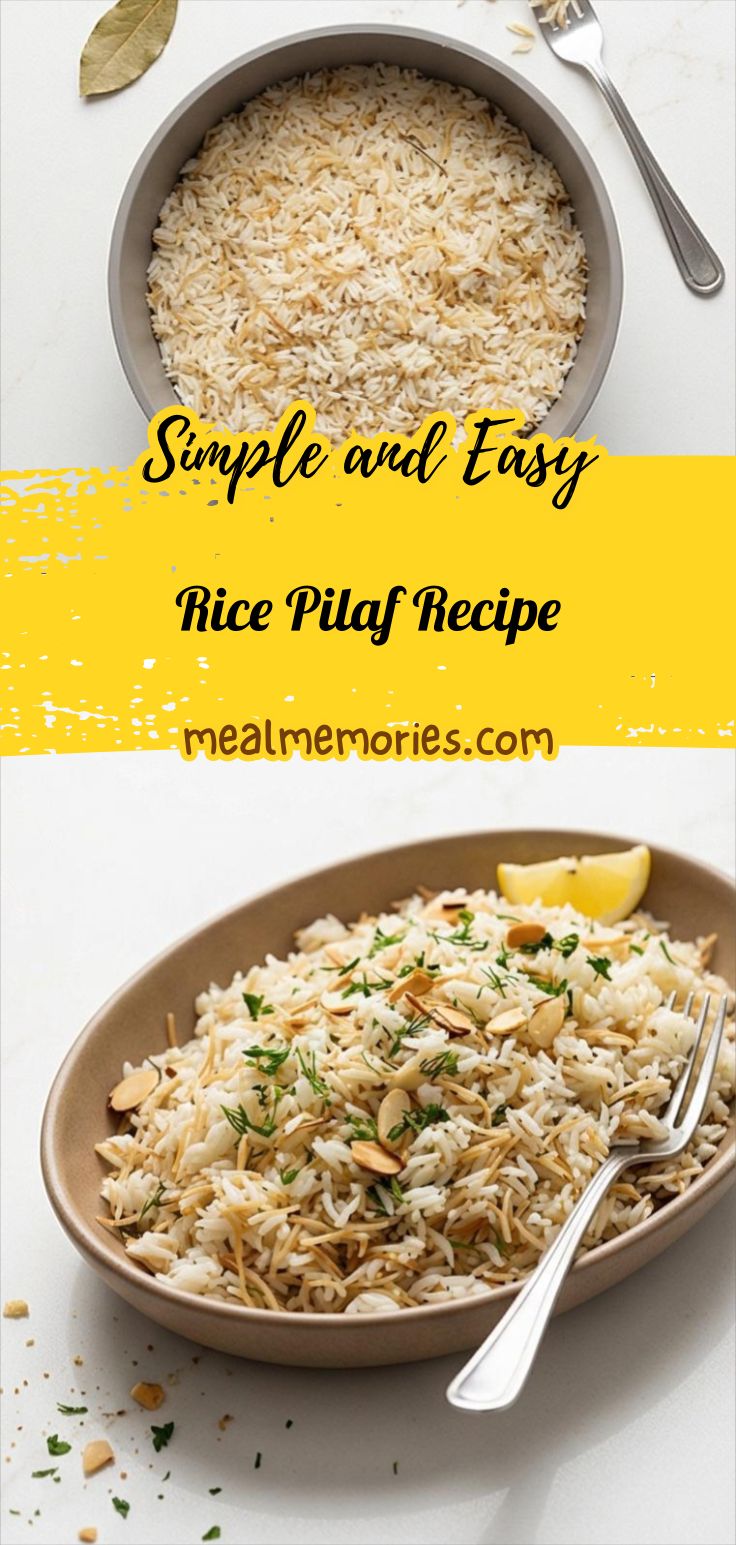
Rice Pilaf Recipe
Make Rice Pilaf Recipe now: fragrant basmati with toasted vermicelli, herbs, and toasted nuts for a fluffy, showstopping side.
Ingredients
Instructions
Step 1: Rinse the rice and warm the broth
Begin by rinsing the basmati in a fine-mesh strainer under cold running water, gently rubbing the grains with your fingers until the water runs mostly clear; let it drain for at least ten minutes so excess surface water doesn’t make the pilaf gummy. While the rice drains, warm the chicken (or vegetable) broth in a small saucepan until it’s just at a gentle simmer (about 180°F / 82°C), then lower the heat to keep it warm but not boiling. This parallel prep keeps the hot liquid ready to receive the rice so the cooking is even and immediate. Friendly tip: aim for a clear, nutty-smelling rice surface before moving on — that little translucence at the grain edges is what you want.
Step 2: Toast the vermicelli and soften the onion
Choose a medium, heavy-bottomed saucepan with a tight-fitting lid. Melt butter with the olive oil until foamy, then add the broken vermicelli (if using). Toast the short pasta pieces in the fat, stirring constantly, until they are an even, toasty golden brown — not dark, just warm amber — then add the finely diced yellow onion and continue to cook over medium heat until the onion is softened and translucent with the tiniest pearl of golden edge. The scene should smell warm and toasty: toasted wheat, butter, and the gentle sweetness of soft onion. This stage is all about building a gently caramelized, glossy base that will coat the rice.
Step 3: Briefly cook the garlic, add the rice, and bloom the spices
Toss in the minced garlic and stir just until fragrant — about 30–45 seconds — taking care not to let it color. Add the well-drained basmati and stir to coat every grain in the buttery, aromatic fat; you should see each grain pick up a faint sheen and the edges grow slightly opaque as they toast for 2–3 minutes. Sprinkle in the salt, black pepper, and ground cumin and stir briefly so the spices bloom in the warm fat, aromatizing the rice without making it wet. The rice at this point is dry-to-touch, lightly nutty, each grain separate and glossy, ready to accept the simmering broth.
Step 4: Add hot broth and simmer gently covered
Carefully pour the warmed broth over the rice mixture, add the small dried bay leaf, stir once or twice to distribute, then stop stirring. Bring the pot to a steady boil, then reduce to low, cover tightly, and cook undisturbed for 15–18 minutes until the liquid is fully absorbed and the rice is tender — you’ll notice tiny steam holes and no visible pooled liquid when you tilt the pot. The visual state here is a smooth, slightly domed rice surface with gentle steam vents, the grains holding their shape. Let the pot rest off the heat for 10 minutes, still covered, so the moisture redistributes and the grains finish becoming tender and separated.
Step 5: Fluff, finish with herbs, nuts, and serve
Uncover and remove the bay leaf, then gently fluff the pilaf with a fork by lifting and turning the grains rather than mashing. Fold in the finely chopped parsley (and dill or cilantro if using), taste and adjust salt and pepper, and, if you like, brighten it with a teaspoon of freshly squeezed lemon juice. Transfer the warm, fluffy pilaf to a shallow serving bowl and finish with toasted sliced almonds or pine nuts and a final pinch of chopped parsley for contrast. The finished dish should read as loose, pearl-like grains with scattered pale gold vermicelli threads, bright green herb flecks, and the soft sheen of butter — ready to serve hot.
Notes
- Rinse basmati until water runs mostly clear to avoid gummy rice.
- Keep the broth warm before adding to rice for even cooking.
- Toast vermicelli until warm amber, not dark, to avoid bitterness.
- Rest the rice covered for 10 minutes after cooking to let moisture redistribute.
- Reheat gently with a splash of broth to refresh leftover pilaf.