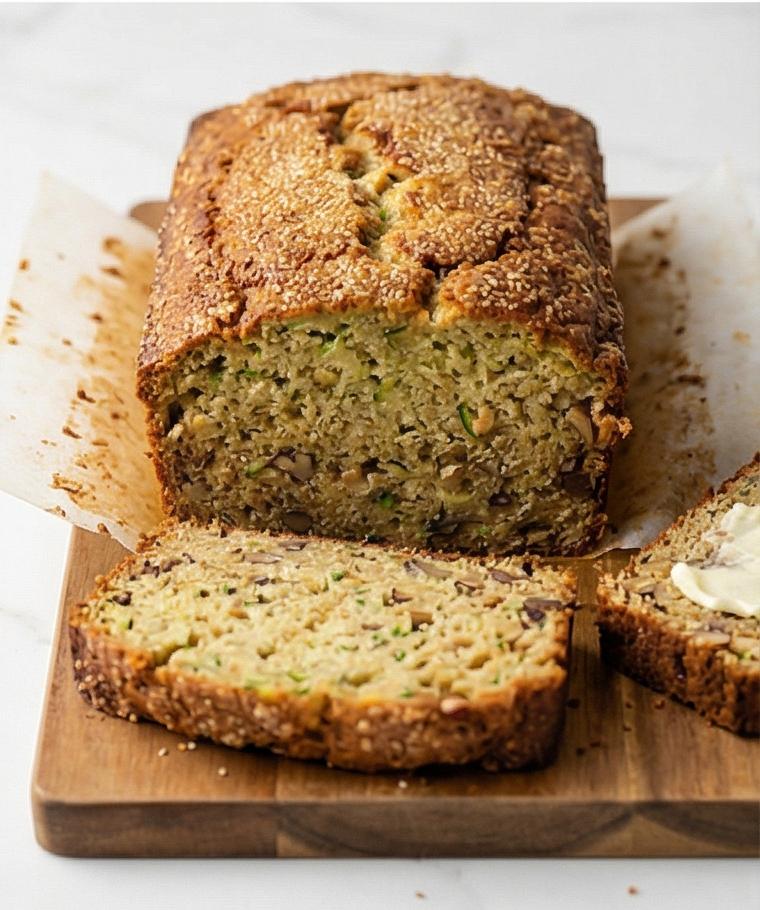
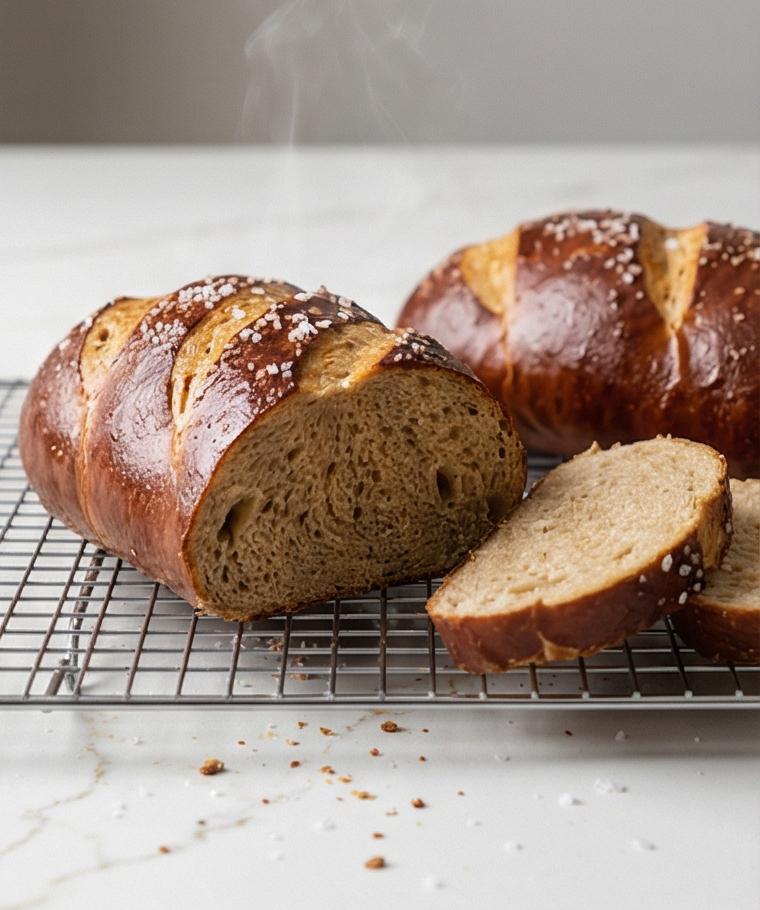
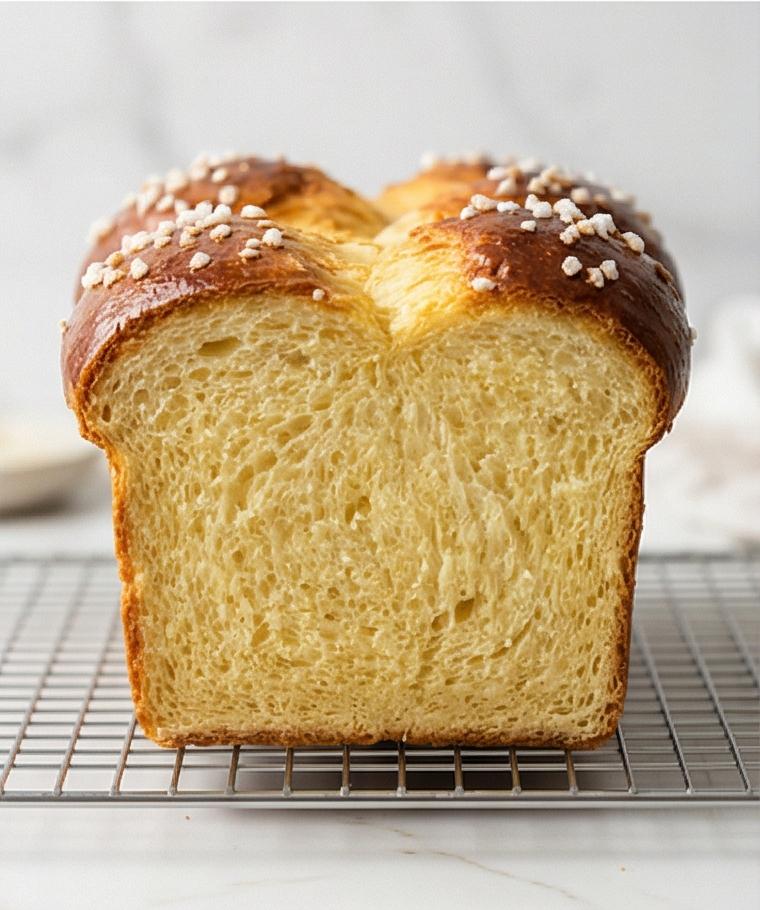
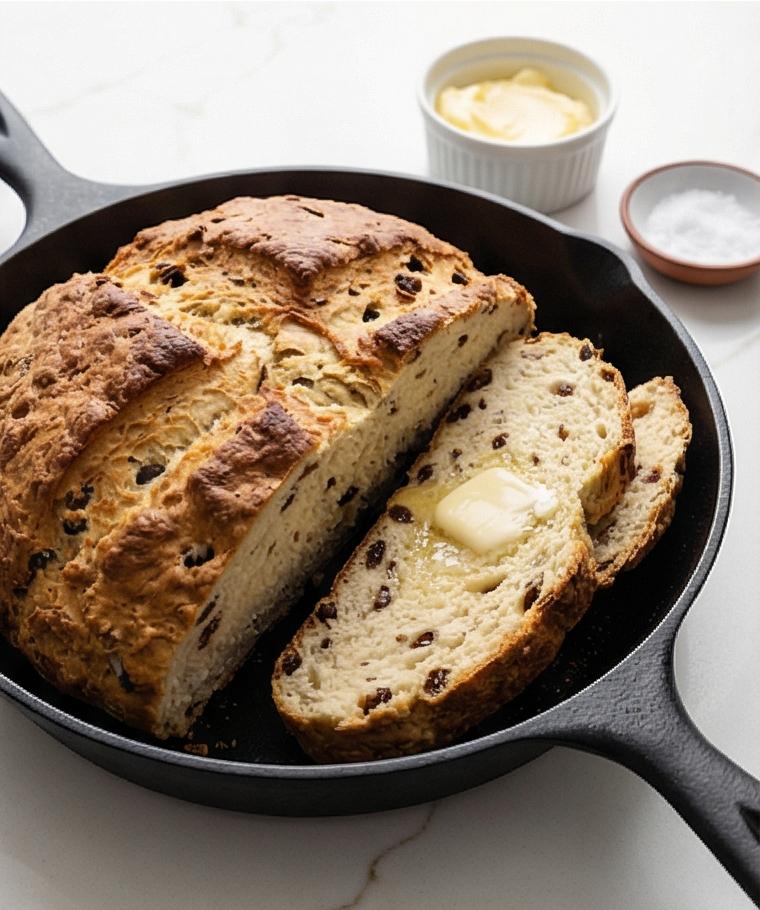
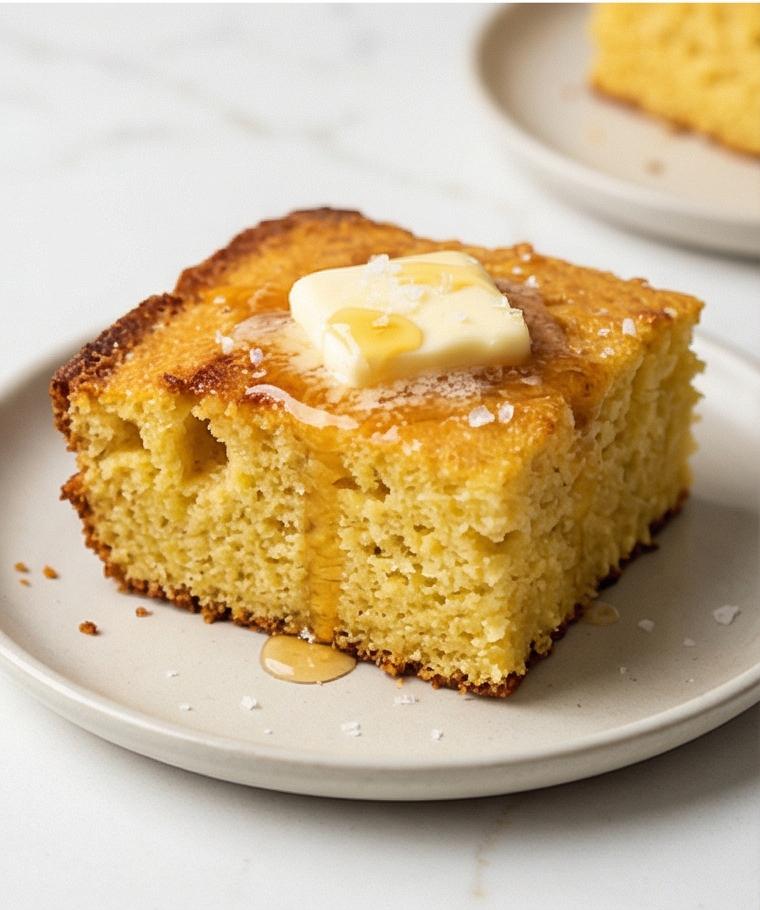
Whole Wheat Bread Recipe: a simple loaf that feels like home. I fell in love with this Whole Wheat Bread Recipe the first time I pulled a steaming slice from the oven — the smell filled the kitchen and the crumb was tender and slightly sweet. Over the years I’ve adjusted little things, like the water-to-milk ratio and a touch more honey, until the loaf reliably turns out soft but substantial. If you love baking with whole grains, this Whole Wheat Bread Recipe is the one you’ll reach for on busy mornings and slow Sundays alike.
How This Recipe Became My Rainy-Day Favorite
I remember the afternoon it all clicked: rain tapping the windows, a kettle humming, and the yeasty perfume of the dough as it rose. I pressed my fingertips into the soft surface and felt comfort in the slow, patient rhythms of folding, shaping, and waiting. The crust browned into a warm, inviting color and the first slice steamed gently, releasing a nutty aroma that felt like a warm scarf. That loaf fed friends who stayed late talking and fueled breakfasts the whole week. Baking this Whole Wheat Bread Recipe is as much about the ritual as it is about the bread itself.
Why These Ingredients Matter
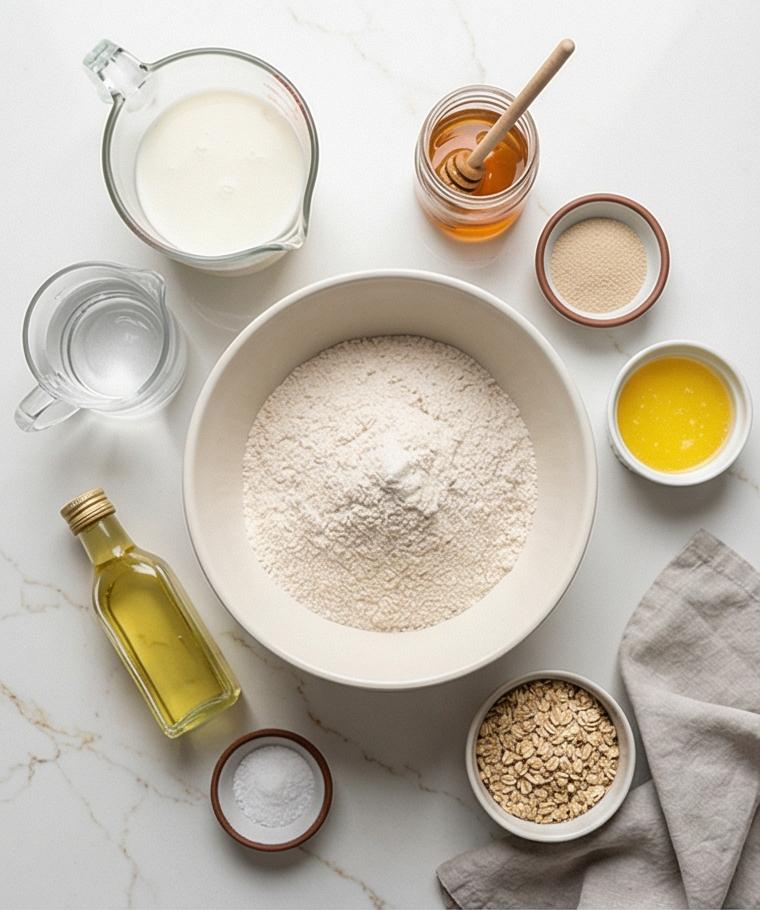
- Whole wheat flour: The backbone here, giving the loaf its nutty flavor and hearty texture. Choose freshly milled or high-quality whole wheat for better taste; white whole wheat can be a milder substitute.
- Warm water and whole milk: Liquids hydrate the flour and feed the yeast. The milk adds tenderness and richness; you can use all water for a leaner loaf or plant milk for dairy-free needs.
- Honey: A subtle sweetener that helps yeast bloom and improves crust color. Maple syrup or agave can work in a pinch.
- Active dry yeast: The leavening agent; fresh yeast blooms reliably when the liquid is the right temperature.
- Salt: Enhances flavor and controls fermentation; don’t skip it.
- Neutral oil: Keeps the crumb soft and extends shelf life. Butter adds flavor but can shorten keeping time.
Essential Kitchen Tools and Friendly Advice
Start simple and you’ll get great results. A few reliable tools make this loaf easy to manage and improve your consistency.
- Large mixing bowl: Gives the dough room to bloom; a glass or metal bowl is fine.
- Wooden spoon or spatula: Handy for mixing the shaggy dough; use a stand mixer with a dough hook if you want less hands-on kneading.
- Stand mixer (optional): Speeds kneading and is kinder to your forearms; use low speed and watch the dough closely.
- 9 x 5-inch loaf pan: Keeps shape and helps even browning; an alternate size will change baking time.
- Instant-read thermometer: Helpful to check doneness (195–200°F is ideal).
- Bench scraper: Makes shaping and cleanup neater but a sturdy spatula works too.
Step-by-Step Preparation Guide
Step 1: Bloom the yeast
Warm the water and milk until they feel comfortably warm to the wrist, stir in the honey until fully dissolved, then sprinkle the active dry yeast over the surface and let it sit undisturbed. After 5–10 minutes the mixture should be visibly foamy with a light yeasty aroma; that glossy, bubbly surface is your signal the yeast is alive and ready to leaven. Treat this as a gentle, patient moment — keep the vessel clean and still so the foam can develop properly.

Step 2: Combine dry ingredients and add wet
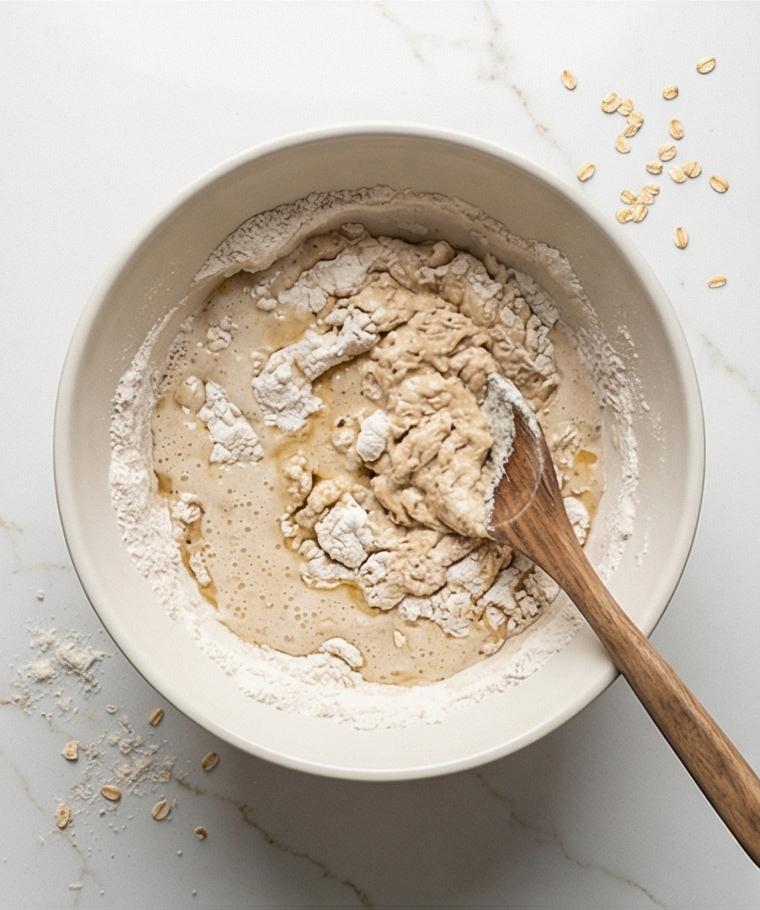
In a large mixing bowl whisk the whole wheat flour and salt thoroughly so the salt is evenly distributed. Make a well in the center, pour in the foamy yeast mixture and the neutral oil, then stir from the center outward with a sturdy wooden spoon or spatula until the dough comes together into a shaggy mass with no dry pockets. If it feels excessively wet, dust in 1–2 tablespoons of the reserved flour until it holds shape as a rough, cohesive dough.
Step 3: Knead to a smooth, elastic dough
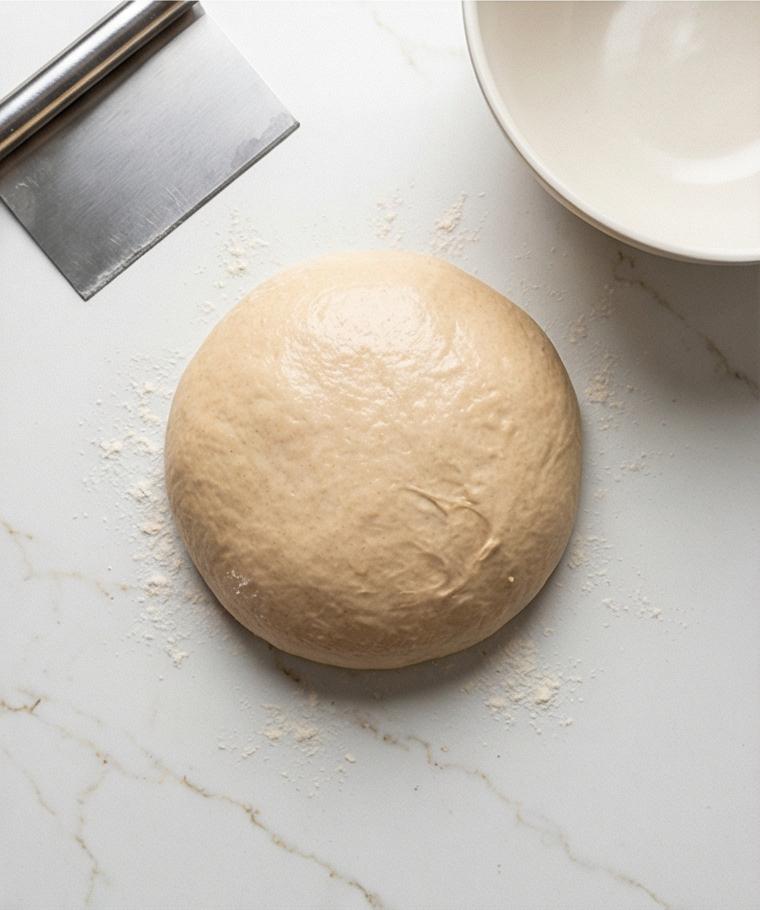
Turn the shaggy dough onto a lightly floured surface and knead by hand for 8–10 minutes (or with a stand mixer 5–7 minutes on low) until the exterior becomes smoother and the interior springs back when pinched; the final dough should be slightly tacky but not gluey. Keep only small dustings of flour to prevent sticking — you want a supple, elastic ball with visible gluten sheen and a satiny surface.
Step 4: Bulk rise in an oiled bowl
Lightly grease a clean mixing bowl with a film of neutral oil, shape the dough into a smooth ball and turn it once to coat. Cover tightly with plastic wrap or a clean, damp towel and let it rise in a warm, draft-free spot until doubled in size, about 60–75 minutes. The dough is ready when a fingertip indentation springs back slowly but doesn’t disappear completely — that gentle resilience tells you the gluten is relaxed and airy pockets have developed.
Step 5: Shape into a loaf and proof in the pan
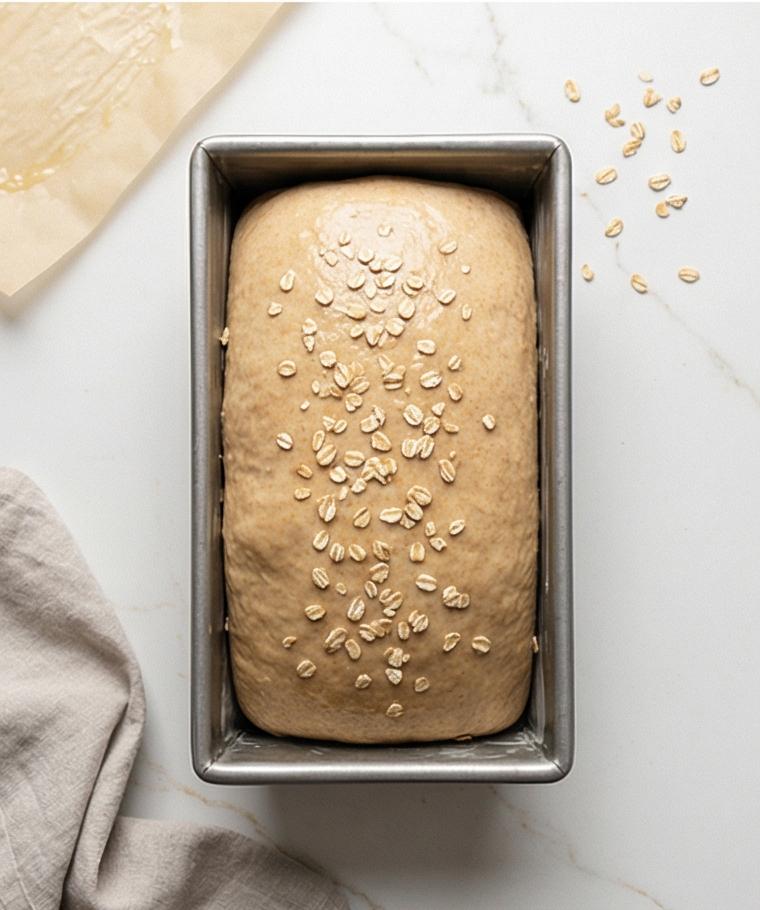
Gently deflate the risen dough, turn it out, and pat it into an 8 x 10 inch rough rectangle with the short side toward you. Roll from the short edge into a tight log, seal the seam and tuck the ends under to form a neat loaf. Lightly grease a 9 x 5-inch loaf pan and place the shaped dough seam-side down, centered in the pan. Cover loosely and let it proof a second time until it rises about 1 inch above the rim and looks puffy; if using toppings, brush gently with warm water or melted butter and press 1–2 tablespoons of rolled oats onto the surface.
Step 6: Bake, cool, and serve
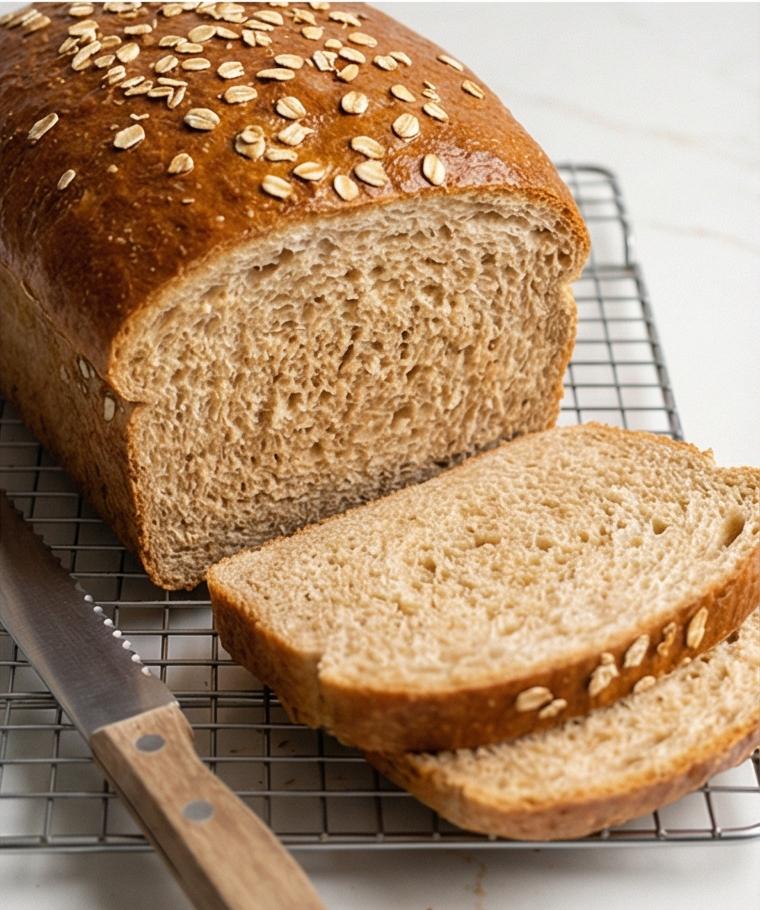
Preheat the oven to 375°F (190°C) and bake the loaf for 30–35 minutes until the crust is deep golden brown and the loaf sounds hollow when tapped, or registers 195–200°F (90–93°C) at the center. If the top browns too fast, tent loosely with foil for the last 10–15 minutes. Remove from the pan immediately onto a wire rack, brush with melted butter if desired, and cool completely (ideally 1½–2 hours) before slicing so the crumb sets and stays tender. Slice with a serrated knife and store fully cooled in an airtight bag at room temperature for up to 3 days or freeze for up to 2 months.
Making It Your Own
I like to tinker. For a nuttier loaf I fold in 2 tablespoons of toasted flaxseed or sunflower seeds during the final knead. When I want a softer crumb I substitute one quarter of the whole wheat flour with bread flour; when a lighter texture is desired I try white whole wheat. For a savory twist, a tablespoon of chopped fresh rosemary or a teaspoon of smoked paprika makes the crust sing. To make it vegan swap the milk for plant milk and brush with oil instead of butter.
How to Serve
If I’m hosting brunch I slice the Whole Wheat Bread Recipe into even pieces and arrange them on a long platter with bowls of butter, jam, and whipped ricotta. For a casual sandwich buffet, cut thick slices and label options like “toasted” or “room temperature.” To scale up, bake in two loaves or use larger pans and increase bake time slightly, checking doneness with an instant-read thermometer. Thin slices are great for crostini, while thicker slabs hold up to avocado smash or hearty soups.
Storage and Reheating Tips
Store a fully cooled loaf in an airtight bag at room temperature for up to 3 days; I find it keeps its best texture when sliced as needed. For longer storage, freeze whole or sliced loaves for up to 2 months, wrapping tightly in plastic and an outer layer of foil.
To refresh a slice, toast it straight from frozen or warm a wrapped slice in a 350°F oven for 8–10 minutes until just tender. A quick brush of butter after reheating perks up both flavor and mouthfeel.
Common Mistakes and How to Fix Them
Underproofing often shows as a dense crumb. If your loaf seems heavy, allow the dough more time in a warm spot until it rises visibly and a gentle poke springs back slowly.
Too much flour during kneading can make the bread dry. Use the extra 1–2 tablespoons sparingly and focus on developing elasticity rather than a totally dry surface.
Final Encouragement
Give this Whole Wheat Bread Recipe a try even if you think you’re not a baker. The steps are forgiving, and the ritual of mixing, waiting, and smelling that first warm slice is quietly rewarding. You might just find yourself baking it again and again.
Frequently Asked Questions
- How do I know my yeast is active? If the yeast mixture is foamy and bubbling after 5–10 minutes it is active and ready to use.
- Can I use all water instead of milk? Yes, you can substitute water for milk for a leaner loaf, though the crumb will be less rich.
- Why is my bread dense? Common causes are underproofing, using too much flour during kneading, or old yeast that no longer rises well.
- Can I make this recipe gluten-free? This recipe is built for whole wheat and won’t work as written for gluten-free baking; use a tested gluten-free flour blend and xanthan gum for structure.
- How should I freeze and thaw the loaf? Slice and freeze in a sealed bag; thaw at room temperature or toast slices directly from frozen.
Whole Wheat Bread Recipe
Bake a comforting Whole Wheat Bread Recipe with simple steps for a tender, nutty loaf — perfect for sandwiches and breakfasts.
Ingredients
Instructions
Step 1: Bloom the yeast
Warm the water and milk until they feel comfortably warm to the wrist, stir in the honey until fully dissolved, then sprinkle the active dry yeast over the surface and let it sit undisturbed. After 5–10 minutes the mixture should be visibly foamy with a light yeasty aroma; that glossy, bubbly surface is your signal the yeast is alive and ready to leaven. Treat this as a gentle, patient moment — keep the vessel clean and still so the foam can develop properly.
Step 2: Combine dry ingredients and add wet
In a large mixing bowl whisk the whole wheat flour and salt thoroughly so the salt is evenly distributed. Make a well in the center, pour in the foamy yeast mixture and the neutral oil, then stir from the center outward with a sturdy wooden spoon or spatula until the dough comes together into a shaggy mass with no dry pockets. If it feels excessively wet, dust in 1–2 tablespoons of the reserved flour until it holds shape as a rough, cohesive dough.
Step 3: Knead to a smooth, elastic dough
Turn the shaggy dough onto a lightly floured surface and knead by hand for 8–10 minutes (or with a stand mixer 5–7 minutes on low) until the exterior becomes smoother and the interior springs back when pinched; the final dough should be slightly tacky but not gluey. Keep only small dustings of flour to prevent sticking — you want a supple, elastic ball with visible gluten sheen and a satiny surface.
Step 4: Bulk rise in an oiled bowl
Lightly grease a clean mixing bowl with a film of neutral oil, shape the dough into a smooth ball and turn it once to coat. Cover tightly with plastic wrap or a clean, damp towel and let it rise in a warm, draft-free spot until doubled in size, about 60–75 minutes. The dough is ready when a fingertip indentation springs back slowly but doesn’t disappear completely — that gentle resilience tells you the gluten is relaxed and airy pockets have developed.
Step 5: Shape into a loaf and proof in the pan
Gently deflate the risen dough, turn it out, and pat it into an 8 x 10 inch rough rectangle with the short side toward you. Roll from the short edge into a tight log, seal the seam and tuck the ends under to form a neat loaf. Lightly grease a 9 x 5-inch loaf pan and place the shaped dough seam-side down, centered in the pan. Cover loosely and let it proof a second time until it rises about 1 inch above the rim and looks puffy; if using toppings, brush gently with warm water or melted butter and press 1–2 tablespoons of rolled oats onto the surface.
Step 6: Bake, cool, and serve
Preheat the oven to 375°F (190°C) and bake the loaf for 30–35 minutes until the crust is deep golden brown and the loaf sounds hollow when tapped, or registers 195–200°F (90–93°C) at the center. If the top browns too fast, tent loosely with foil for the last 10–15 minutes. Remove from the pan immediately onto a wire rack, brush with melted butter if desired, and cool completely (ideally 1½–2 hours) before slicing so the crumb sets and stays tender. Slice with a serrated knife and store fully cooled in an airtight bag at room temperature for up to 3 days or freeze for up to 2 months.
Notes
- Use an instant-read thermometer to check for 195–200°F inside the loaf for perfect doneness.
- If the top browns too quickly, tent with foil for the last 10–15 minutes.
- For more tender crumb, replace up to 25% of the whole wheat flour with bread flour.
- Store sliced bread in an airtight bag and freeze any extra slices for quick toasting.
- If yeast doesn't foam, discard and start again with fresh yeast and properly warmed liquid.