Brioche Recipe
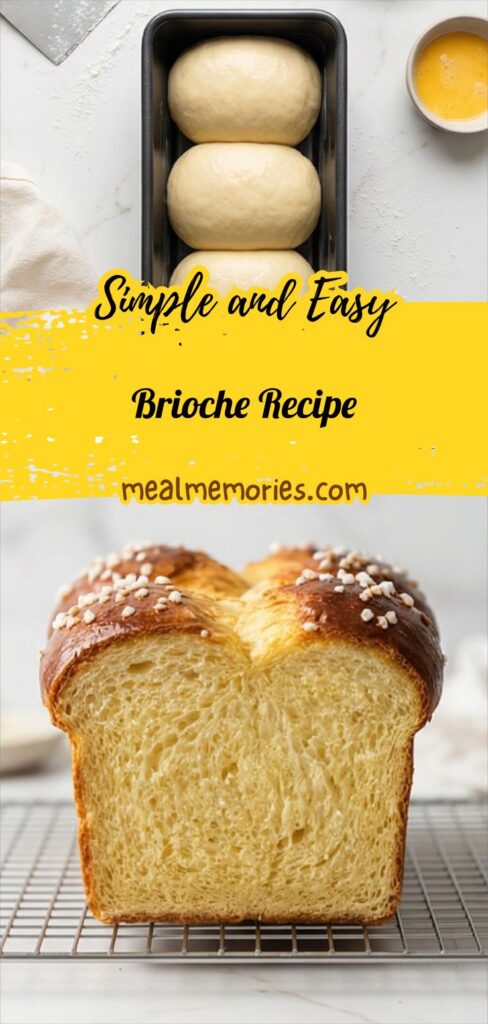
Make a buttery, tender Brioche Recipe loaf with simple steps for a rich, elegant everyday bread.
Ingredients
- 1/2 cup (120 ml) whole milk, warmed to 105–110°F (40–43°C)
- 2 1/4 teaspoons (7 g) active dry or instant yeast
- 1 teaspoon (4 g) granulated sugar, for activating the yeast
- 4 large eggs (about 200 g), at room temperature
- 3 1/2 cups (420 g) bread flour, plus up to 1/4 cup (30 g) extra as needed for mixing and shaping
- 1/4 cup (50 g) granulated sugar
- 1 1/4 teaspoons (7 g) fine sea salt
- 10 tablespoons (140 g) unsalted butter, very soft, cut into 1/2-inch (1.25 cm) pieces
- 1 tablespoon (14 g) unsalted butter, at room temperature, for greasing the bowl and loaf pan
- 1 large egg, at room temperature, for egg wash
- 1 tablespoon (15 ml) whole milk, for egg wash
- 1–2 tablespoons (10–20 g) pearl sugar or coarse sugar, optional, for topping
Instructions
Step 1: Bloom the Yeast
Warm the whole milk to a comfortably warm 105–110°F (40–43°C) and stir in the yeast with a teaspoon of sugar in a small glass jug. Leave it undisturbed until the surface becomes glossy and foamy and the mixture has visibly expanded; that light, bubbly foam signals an active yeast starter. If it remains flat, discard and start again—brioche depends on a lively starter for lift.
Step 2: Beat the Eggs
Crack the four large room-temperature eggs into a small ceramic bowl and whisk briefly until yolks and whites are fully combined and the mixture is uniformly pale and slightly viscous. Set the beaten eggs aside in a clear small bowl so they’re ready to be added to the dry mix—this keeps the workflow smooth and avoids temperature shock to the dough.
Step 3: Combine the Dry Ingredients in the Mixer Bowl
Into the polished stainless-steel bowl of the stand mixer, add the bread flour, granulated sugar, and fine sea salt. Whisk gently by hand or use a dry paddle briefly to distribute the sugar and salt evenly through the flour so every spoonful of dough will be balanced and consistent in texture.
Step 4: Mix Wet into Dry until a Shaggy Dough Forms
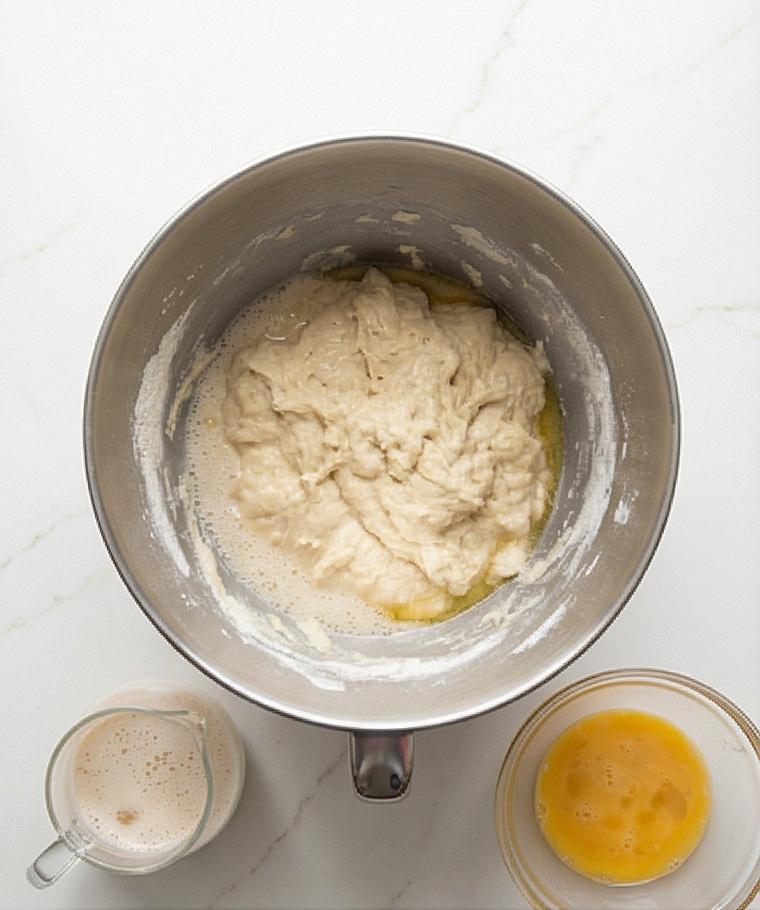
Pour the foamy yeast mixture and the beaten eggs into the flour in the mixer bowl and begin mixing on low with the dough hook. Mix just until a rough, shaggy dough forms with no streaks of dry flour; it will be very soft and sticky but not pooled and watery—add the reserved tablespoon of flour only if the dough is excessively puddly. This is the first true dough state: irregular, tacky, and promising.
Step 5: Knead to Smooth, Elastic Dough (Windowpane Stage)
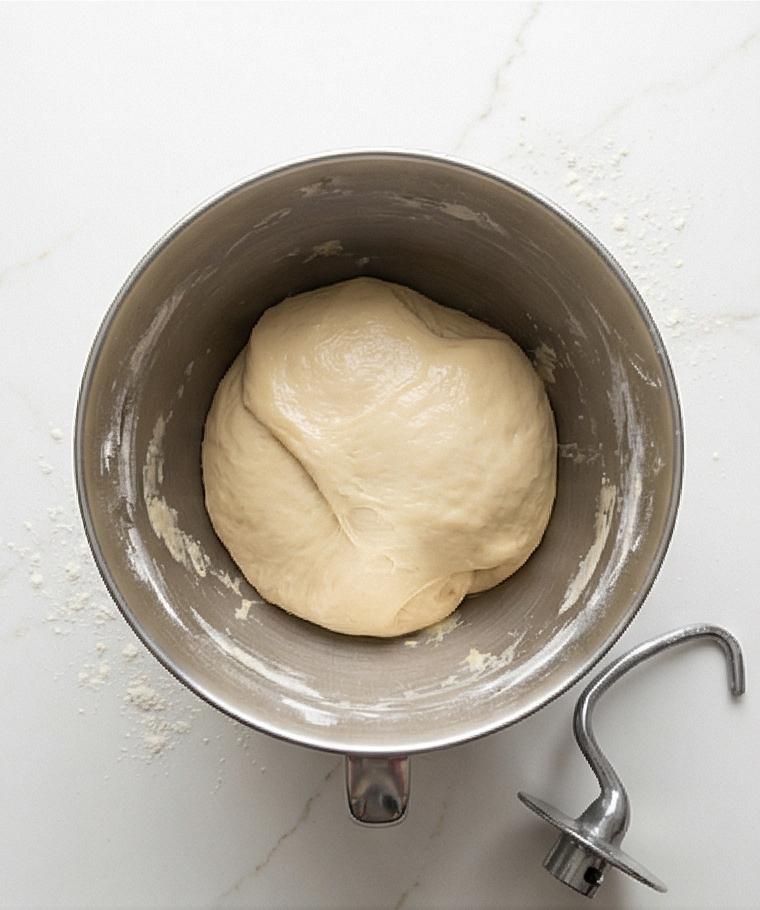
Increase the mixer to medium and knead for about 8–10 minutes, scraping the bowl once or twice. Watch the transformation: the mass rounds, becomes smoother and more cohesive, and when gently stretched it should form a thin translucent windowpane without tearing. The dough should clear the sides of the bowl but still cling lightly to the bottom — soft, slightly tacky, and noticeably elastic.
Step 6: Incorporate Butter Gradually until Glossy and Suppleness Achieved
With the mixer on low, add the very soft butter a few pieces at a time, waiting for each addition to meld in fully. The dough will briefly look greasy and may collapse, then slowly regain structure and turn glossy, smooth, and satiny as the butter is fully absorbed. Once all butter is incorporated, increase speed and knead another 4–6 minutes until the dough is extremely soft, silky, and elastic; it should sheet without tearing. If it feels too loose, work in 1–2 tablespoons of reserved flour sparingly.
Step 7: Bulk Rise, Deflate, and Chill for Flavor and Handling
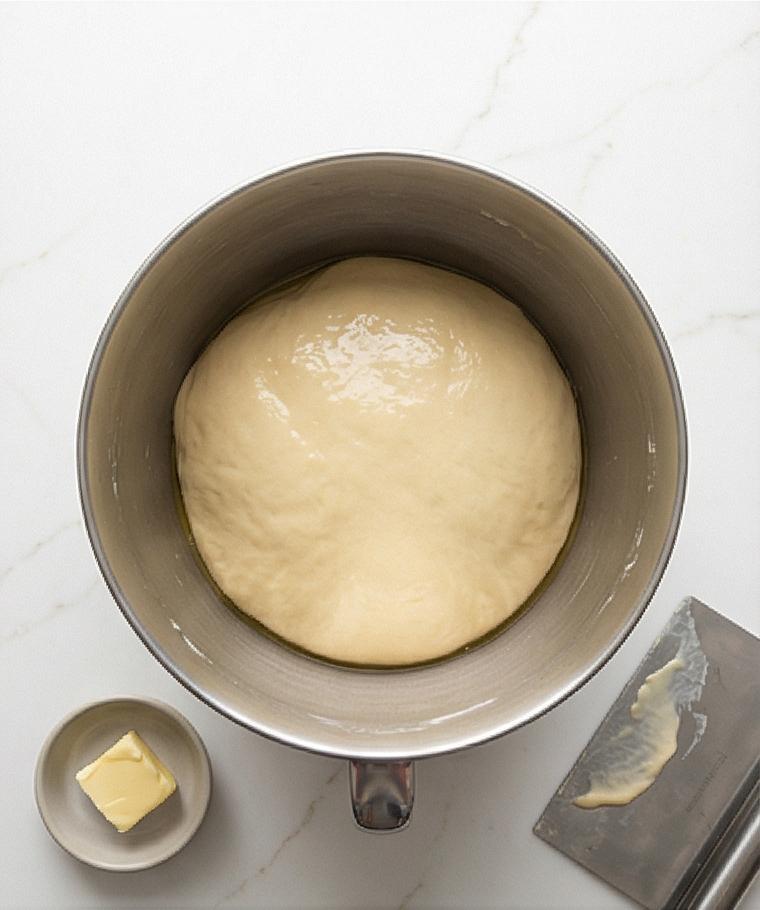
Lightly grease a large mixing bowl with a tablespoon of room-temperature butter, scrape the dough in with a spatula, shape it into a rough ball, and cover tightly. Let it rise in a warm spot until doubled in volume, then gently press to deflate and re-cover. Transfer to the refrigerator for at least 4 hours and up to 12–16 hours — chilling firms the dough, concentrates flavor, and makes shaping far easier.
Step 8: Shape into Rolls or Logs and Proof in a Rectangular Loaf Pan
Turn the chilled dough onto a lightly floured surface, divide into three or four equal pieces, and shape each into a tight ball or short log by rolling to create surface tension and sealing seams. Arrange the shaped pieces seam-side down in the buttered 9 x 5–inch rectangular loaf pan so they sit snugly but with room to expand. Cover loosely and proof at warm room temperature until the dough has risen about 1–1 1/2 inches above the pan rim and springs back slowly when pressed.
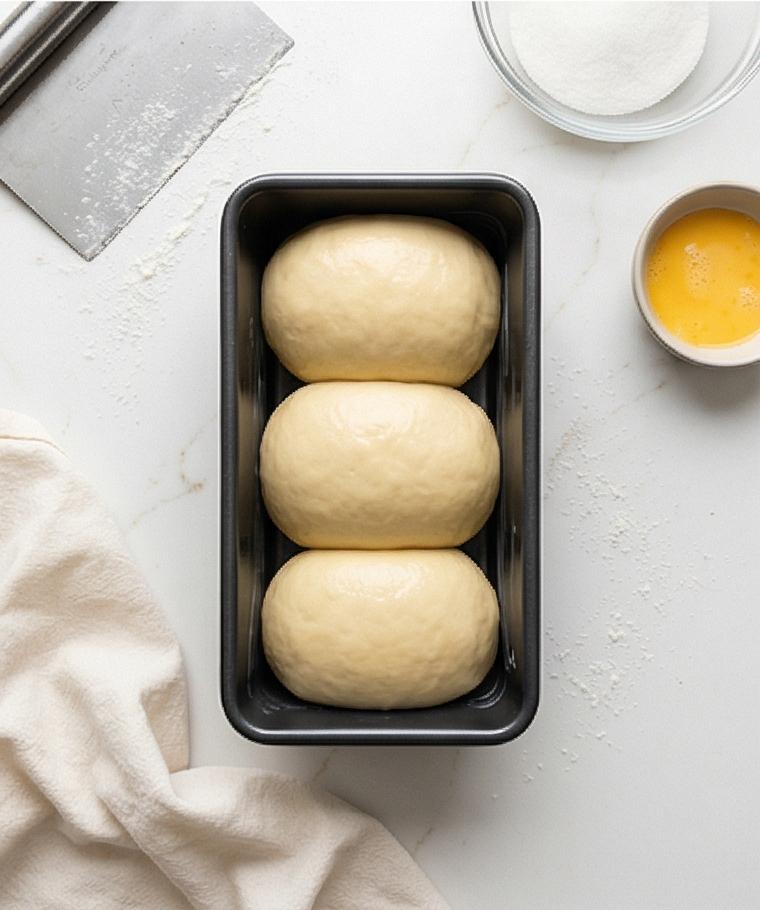
Step 9: Egg Wash, Bake, Cool, and Slice
Preheat to 375°F (190°C). Whisk one large egg with a tablespoon of milk to a smooth egg wash and brush a thin even coat over the fully proofed loaf; sprinkle pearl sugar if you like a decorative crunchy top. Bake until a deep golden brown and the internal temperature reaches about 190–195°F (88–90°C), then cool in the pan 10–15 minutes before releasing onto a wire rack to stand upright and finish cooling completely. Once cooled, slice gently with a serrated knife and enjoy plain or toasted; wrap cooled leftovers tightly for short storage or freeze for longer keeping.
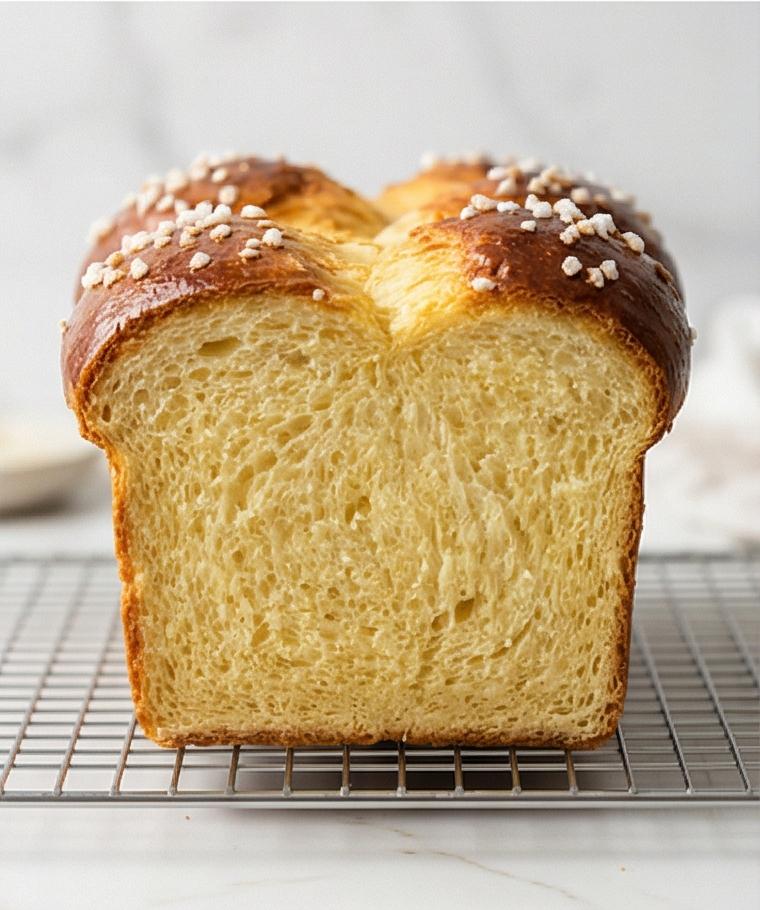
Notes
- Use room-temperature eggs to help the dough come together smoothly.
- If the dough feels too loose after butter is added, work in 1 to 2 tablespoons of reserved flour sparingly.
- Chill the dough at least 4 hours for better flavor and easier shaping.
- Bake until internal temperature reaches 190 to 195°F for a perfect crumb.
- Freeze sliced brioche for quick toasting later.
- For extra shine, brush with warmed apricot jam after baking.