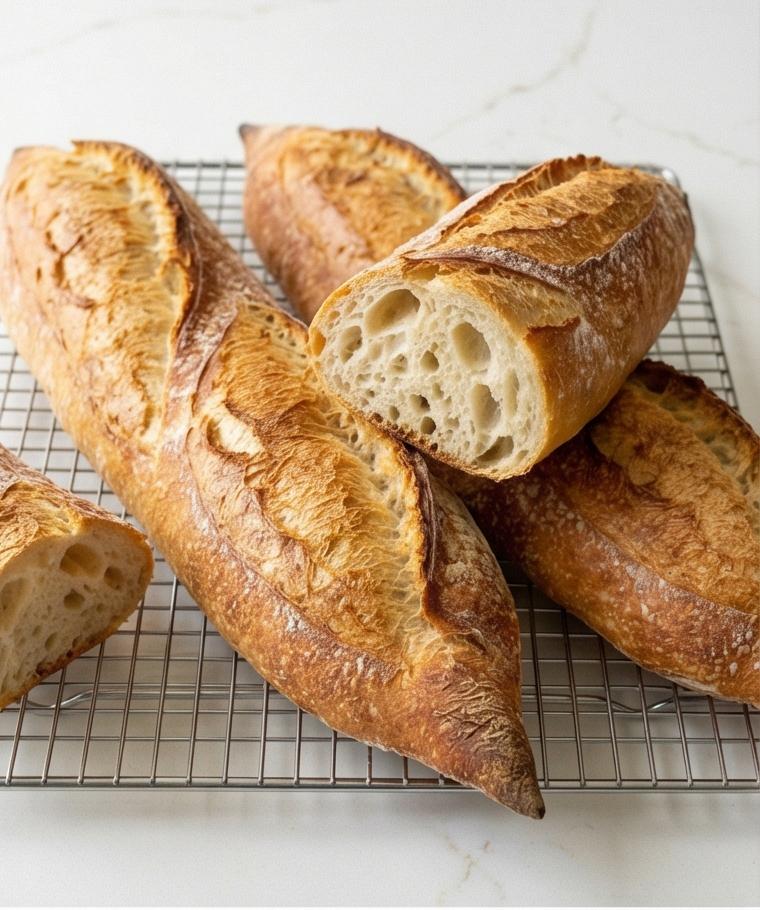
Sourdough Bread Recipe has been my go-to weekend project for years, a slow and rewarding ritual that fills the house with warm, tangy aroma. I fell into baking this loaf when I wanted something reliably soulful to share with friends, and now the Sourdough Bread Recipe is what I bring to every casual brunch. It teaches patience, rewards attention, and makes a crust that crackles in the perfect way. If you like hands-on cooking that feels part craft and part science, this Sourdough Bread Recipe will become a comforting ritual for you too.
How This Loaf Became My Weekend Ritual
When I first started baking, the idea of keeping a living starter felt intimidating, but the moment I pulled a steaming, blistered loaf from the oven it hooked me. I remember the first time I scored the dough and watched it bloom in the oven; the sound of the crust setting was like applause. Over time I learned to read the dough — the way it jiggles, the soft sour scent that tells you it is ready — and those sensory cues turned baking from a checklist into a small meditation. I now bake this loaf when I want to slow down, to invite friends, or to turn a simple meal into something a little celebratory, and each batch carries the memory of the kitchen smells, the flour on my fingers, and the quiet satisfaction of a perfect slice.
Meet the Main Ingredients
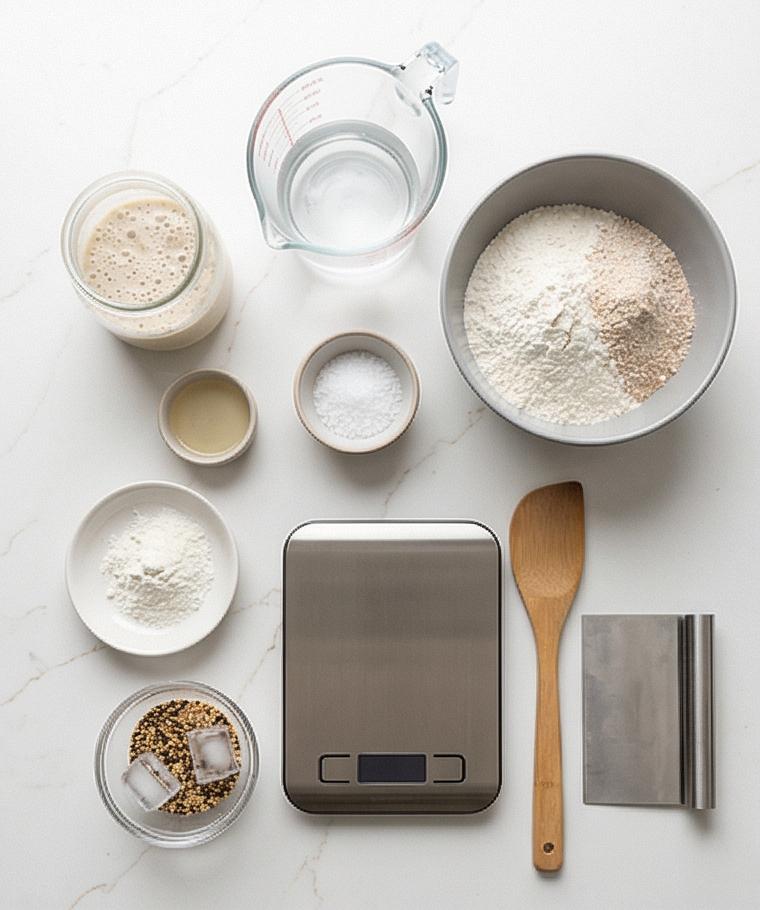
- 100% Hydration Sourdough Starter: The engine of flavor and lift; use active, bubbly starter at peak. Substitute with commercial yeast if you must, but you will lose the layered tang and depth. Keep your starter fed and use a portion that floats in water as a readiness test.
- Water: Hydrates the dough and controls texture; filtered or spring is best. Slightly warmer water speeds fermentation, colder slows it. Adjust a tablespoon or two if your flour drinks more.
- Bread Flour: Provides strong gluten and structure; substitute part with all-purpose for a softer crumb but expect less oven spring.
- Whole Wheat Flour: Adds flavor and color and a touch of chew; swap for spelt or rye in small amounts for variation.
- Sea Salt: Balances flavor and tightens gluten; use fine sea salt for even distribution.
- Rice Flour: Keeps the dough from sticking to the banneton; a 50/50 rice/bread flour mix works well.
Essential Kitchen Tools You’ll Want
This recipe rewards a few thoughtful tools but you can improvise if needed. Here are the essentials and why they matter:
- Digital Scale: Accurate weighing makes the difference between success and a gummy loaf; use grams for consistency.
- Mixing Bowl: A large, sturdy bowl for combining and stretch-and-folds; a lightly oiled bowl prevents sticking.
- Bench Scraper: Great for handling sticky dough and shaping; a plastic card can substitute in a pinch.
- Proofing Basket (Banneton): Keeps shape during final rise and gives that signature pattern; you can use a bowl lined with a well-floured towel instead.
- Dutch Oven or Baking Stone with Steam Setup: Traps steam for good crust and oven spring; an inverted metal bowl can act as a lid if needed.
- Sharp Lame or Razor: For decisive scoring; a utility knife will do in a tight spot.
- Instant-Read Thermometer and Wire Rack: For checking doneness and cooling the loaf properly.
Step-by-Step Preparation Guide
Step 1: Feed and Activate the Starter
Feed your sourdough starter 4–8 hours before you plan to mix so it becomes very active: it should roughly double, dome, and be visibly bubbly and aerated. When it’s at or just past peak it will float in a glass of water; that airy, fragrant starter is what you want to use to build lift and flavor for the dough.
Step 2: Make the Starter–Water Mix
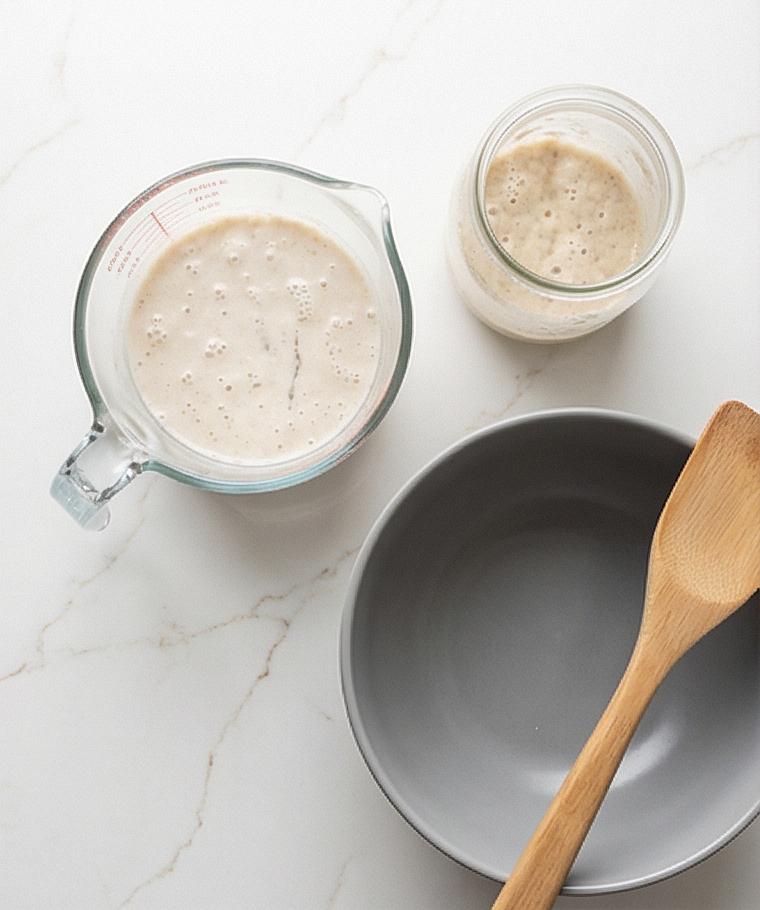
Pour 350 g water (75–80°F / 24–27°C) into a medium measuring jug and stir in 100 g of the active starter until mostly dispersed; the liquid should look cloudy with a few small streaks of starter remaining and a light, yeasty aroma. This is the hydrating slurry that will jump-start gluten formation once it meets the flour.
Step 3: Combine Flours and Form the Shaggy Dough
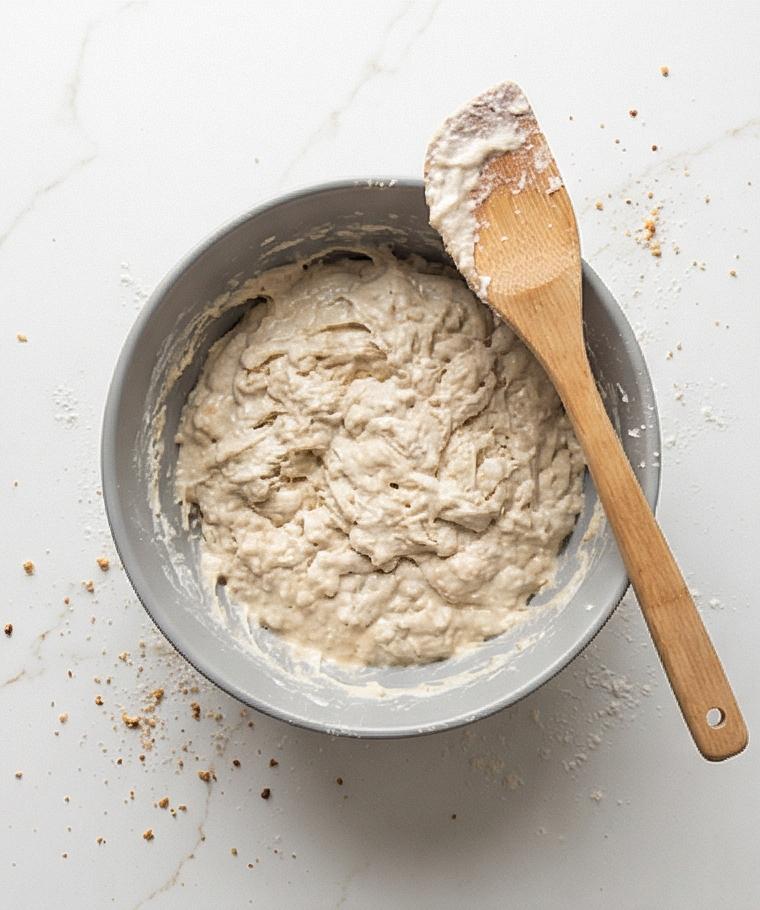
In a large mixing bowl combine 400 g bread flour and 50 g whole wheat flour until evenly blended. Pour the starter–water mixture into the flours and mix with your hand or a sturdy spatula until no dry flour pockets remain and you have a rough, shaggy, sticky mass. Scrape the bowl clean so the dough gathers into one sticky, irregular ball; this is intentionally coarse and tacky at this stage.
Step 4: Autolyse, Add Salt, and Integrate
Cover the bowl and let the dough rest for 30–45 minutes so the flour hydrates and the dough relaxes. After the rest, sprinkle 10 g fine sea salt evenly over the surface and, with a small bowl of water nearby to wet fingertips, pinch and fold the dough repeatedly until the salt is fully incorporated and you no longer feel grains. The dough will transform from floppy to slightly more cohesive.
Step 5: Stretch-and-Fold Rhythm and Bulk Fermentation
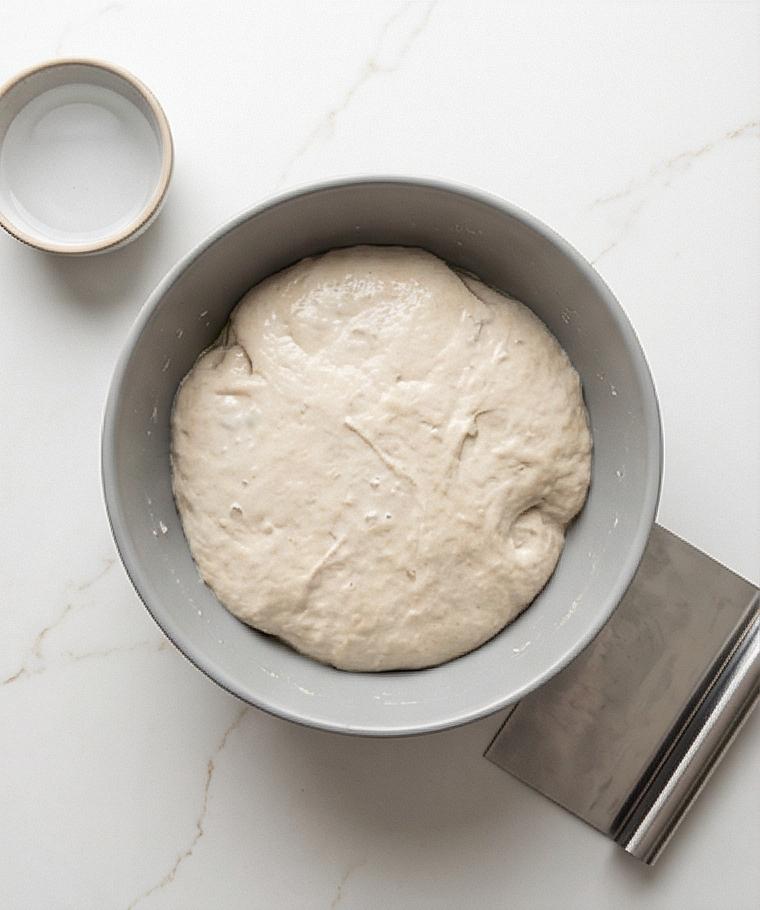
Begin the series of stretch-and-folds: with slightly wet hands lift one edge, stretch until it resists, then fold it over; rotate the bowl and repeat 4–6 times. Rest 30 minutes and repeat this cycle two more times (three total; optionally a fourth if the dough is slack). Over the next 1½–3 hours the dough will rise ~50–75%, develop small bubbles along the sides, feel airier and jiggle slightly when you shake the bowl ” that’s your bulk fermentation milestone.
Step 6: Pre-shape, Rest, and Prepare the Banneton
Lightly flour the bench and gently tip the dough out without deflating it. Pre-shape into a loose round by tucking edges toward the center, flip seam-side down and use the bench to create light surface tension. Let the pre-shaped round rest 20–30 minutes. While it rests, thoroughly dust your proofing basket with rice flour (or a 50/50 rice/bread flour mix) so the dough won’t stick.
Step 7: Final Shape and Cold Retard
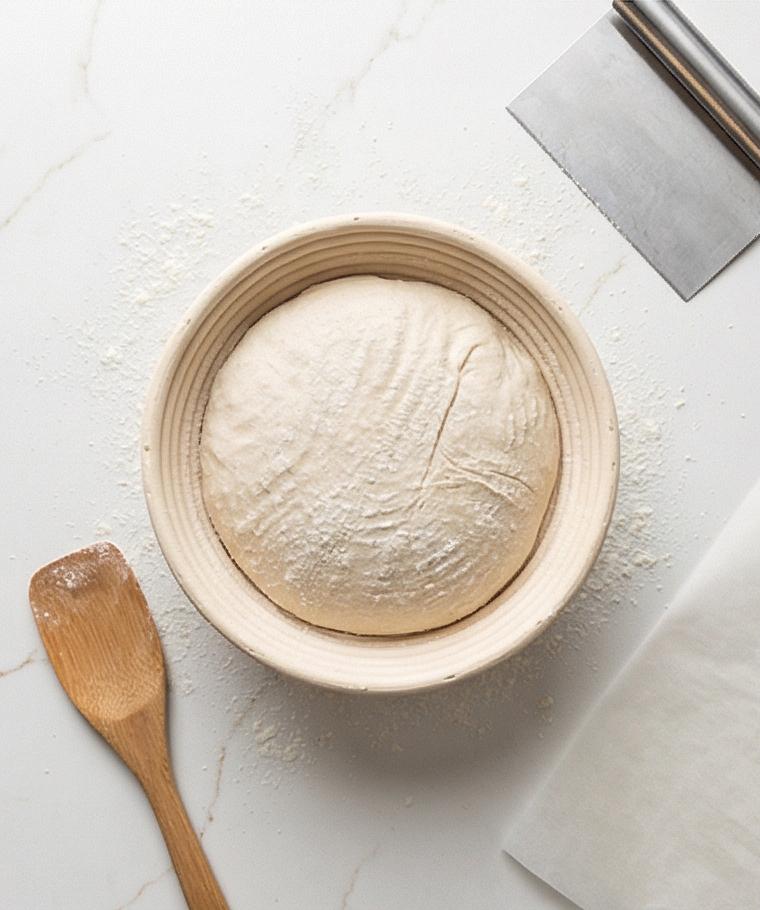
After the bench rest, lightly flour the top, flip the dough so the floured side is down, then fold the dough into a tight package (letter fold then side folds) and shape it into a taut round or oval. Place the shaped dough seam-side up into the prepared banneton, dust the surface lightly, cover tightly with plastic, and refrigerate at 38–42°F (3–6°C) for 8–16 hours until it puffs and firms.
Step 8: Preheat and Bake Preparation
About 45–60 minutes before baking, place a heavy lidded Dutch oven (or baking stone setup) on the middle oven rack and preheat to 475°F (245°C) so it’s blazing hot. When ready, place a piece of parchment over the banneton and invert it so the dough turns out seam-side down onto the parchment; gently remove the basket. If desired, mist the top lightly with water and sprinkle 1–2 tablespoons mixed seeds. Score decisively with a sharp lame or blade to control the oven spring, then transfer the parchment-and-loaf into the hot vessel and lower the oven temperature to 450°F (230°C).
Step 9: Bake, Cool, and Serve
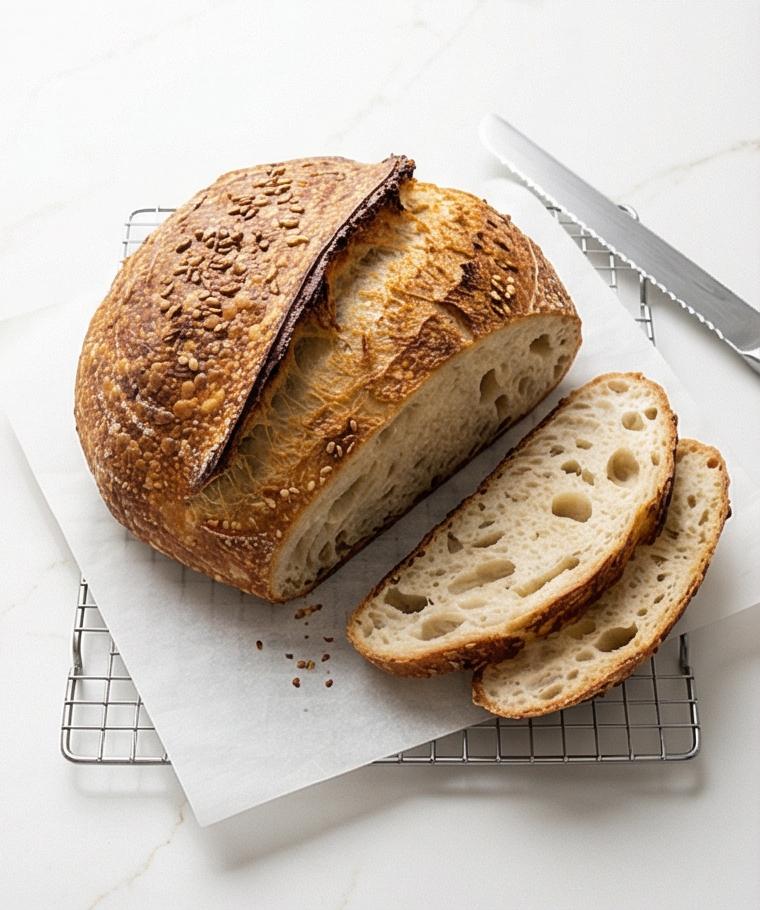
Bake covered at 450°F (230°C) for 20 minutes to trap steam, then remove the lid and continue uncovered for 20–25 minutes until a deep golden-brown crust forms, the ear has opened, and the loaf sounds hollow when tapped; internal temperature should reach 205–210°F (96–99°C). Remove the loaf and cool completely on a wire rack for 1–2 hours before slicing. Store at room temperature in a paper bag for 2–3 days or freeze sliced for longer keeping.
Making It Your Own
I often tweak this loaf to suit the season. In autumn I add 1 tablespoon toasted pumpkin seeds to the dough and top with a scatter of seeds before baking. For a whole-grain tilt I replace 25 g of bread flour with toasted spelt and enjoy the nuttier flavor. If you need a softer crumb, try swapping 50 g bread flour for all-purpose, and if you want a quicker bake, use a bit more active starter and a slightly warmer environment to shorten bulk fermentation. These small experiments keep the recipe fresh and teach you what each change does to the crumb and crust.
How to Serve
When I host, I slice the loaf thin for a crostini trio: olive tapenade, whipped ricotta with lemon zest, and roasted tomatoes. For a family dinner, thick slices with butter and a good jar of jam make everyone smile. To stretch the loaf for a crowd, halve the slices and arrange on a long board with cheeses and pickles. For breakfast, toast slices and top with avocado, lemon, and flaky salt. Warm the bread briefly in a low oven to revive the crust before serving and pair with a bold olive oil for dipping.
Storage and Reheating Tips
Store a whole cooled loaf in a paper bag at room temperature for 2 to 3 days; avoid plastic which softens the crust. If you need longer keeping, slice and freeze in a zip-top bag with parchment between slices so you can pull what you need.
To reheat, toast individual slices or warm a whole loaf in a 350°F oven for 10 minutes wrapped in foil, then open for 3 minutes to crisp the crust. For a just-baked texture, sprinkle the surface lightly with water and heat in a 400°F oven for 4 to 6 minutes.
Oops Moments and How to Fix Them
If your loaf is flat, it is usually underproofed or your starter was not active enough. Next time, give the starter more time to peak and watch the dough for gentle jiggles and bubble development rather than relying on strict times.
If the crumb is gummy, bake a few minutes longer and confirm the internal temperature reaches about 205°F to 210°F. Overhandling the dough after bulk fermentation can knock out too much gas; be gentle when shaping to keep those lovely air pockets.
A Warm Send-off
I hope this Sourdough Bread Recipe invites you to slow down and enjoy a little bread-making ritual. Whether you follow it exactly or experiment, the learning and the delicious loaves are worth the effort. Bake, share, and savor the result.
Frequently Asked Questions.
- Q: How do I know my starter is active enough? A: It should double, dome, and be bubbly; a simple float test in water helps but the real test is consistent rise in the dough.
- Q: Can I use all-purpose flour instead of bread flour? A: Yes, but expect a slightly softer, less open crumb and reduced oven spring; mix with bread flour for best results.
- Q: What is the ideal internal temperature for doneness? A: Aim for 205°F to 210°F; the loaf should sound hollow when tapped and have a deep golden crust.
- Q: How long can I keep the loaf at room temperature? A: Store in a paper bag for 2 to 3 days; slice and freeze for longer storage.
- Q: Can I skip the cold retard in the fridge? A: You can, but cold retard improves flavor and structure; skipping it shortens the timeline but changes the final taste.
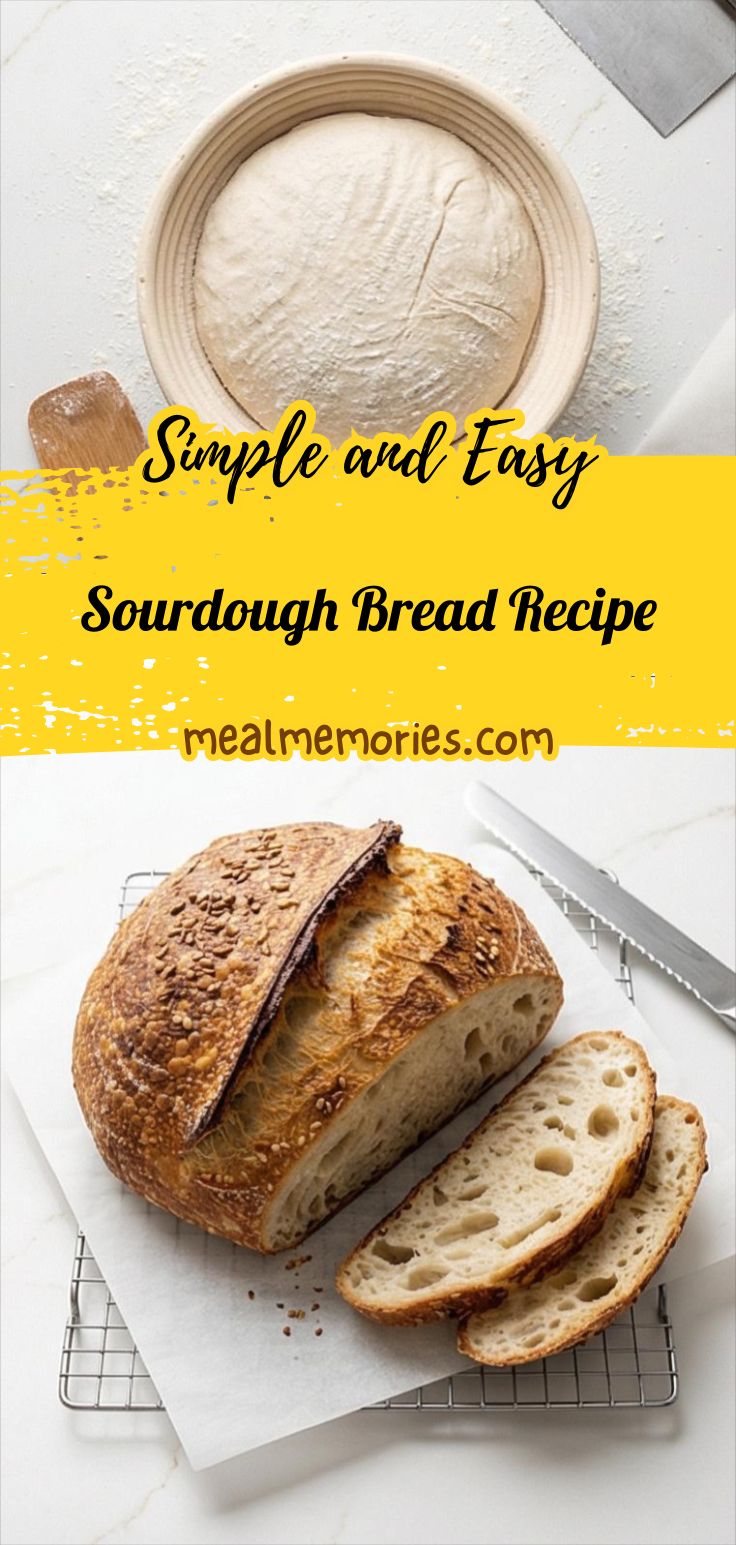
Sourdough Bread Recipe
Make the Sourdough Bread Recipe at home: active starter, simple steps, and a crisp, crackly crust.
Ingredients
Instructions
Step 1: Feed and Activate the Starter
Feed your sourdough starter 4–8 hours before you plan to mix so it becomes very active: it should roughly double, dome, and be visibly bubbly and aerated. When it’s at or just past peak it will float in a glass of water; that airy, fragrant starter is what you want to use to build lift and flavor for the dough.
Step 2: Make the Starter–Water Mix
Pour 350 g water (75–80°F / 24–27°C) into a medium measuring jug and stir in 100 g of the active starter until mostly dispersed; the liquid should look cloudy with a few small streaks of starter remaining and a light, yeasty aroma. This is the hydrating slurry that will jump-start gluten formation once it meets the flour.
Step 3: Combine Flours and Form the Shaggy Dough
In a large mixing bowl combine 400 g bread flour and 50 g whole wheat flour until evenly blended. Pour the starter–water mixture into the flours and mix with your hand or a sturdy spatula until no dry flour pockets remain and you have a rough, shaggy, sticky mass. Scrape the bowl clean so the dough gathers into one sticky, irregular ball; this is intentionally coarse and tacky at this stage.
Step 4: Autolyse, Add Salt, and Integrate
Cover the bowl and let the dough rest for 30–45 minutes so the flour hydrates and the dough relaxes. After the rest, sprinkle 10 g fine sea salt evenly over the surface and, with a small bowl of water nearby to wet fingertips, pinch and fold the dough repeatedly until the salt is fully incorporated and you no longer feel grains. The dough will transform from floppy to slightly more cohesive.
Step 5: Stretch-and-Fold Rhythm and Bulk Fermentation
Begin the series of stretch-and-folds: with slightly wet hands lift one edge, stretch until it resists, then fold it over; rotate the bowl and repeat 4–6 times. Rest 30 minutes and repeat this cycle two more times (three total; optionally a fourth if the dough is slack). Over the next 1½–3 hours the dough will rise ~50–75%, develop small bubbles along the sides, feel airier and jiggle slightly when you shake the bowl — that’s your bulk fermentation milestone.
Step 6: Pre-shape, Rest, and Prepare the Banneton
Lightly flour the bench and gently tip the dough out without deflating it. Pre-shape into a loose round by tucking edges toward the center, flip seam-side down and use the bench to create light surface tension. Let the pre-shaped round rest 20–30 minutes. While it rests, thoroughly dust your proofing basket with rice flour (or a 50/50 rice/bread flour mix) so the dough won’t stick.
Step 7: Final Shape and Cold Retard
After the bench rest, lightly flour the top, flip the dough so the floured side is down, then fold the dough into a tight package (letter fold then side folds) and shape it into a taut round or oval. Place the shaped dough seam-side up into the prepared banneton, dust the surface lightly, cover tightly with plastic, and refrigerate at 38–42°F (3–6°C) for 8–16 hours until it puffs and firms.
Step 8: Preheat and Bake Preparation
About 45–60 minutes before baking, place a heavy lidded Dutch oven (or baking stone setup) on the middle oven rack and preheat to 475°F (245°C) so it’s blazing hot. When ready, place a piece of parchment over the banneton and invert it so the dough turns out seam-side down onto the parchment; gently remove the basket. If desired, mist the top lightly with water and sprinkle 1–2 tablespoons mixed seeds. Score decisively with a sharp lame or blade to control the oven spring, then transfer the parchment-and-loaf into the hot vessel and lower the oven temperature to 450°F (230°C).
Step 9: Bake, Cool, and Serve
Bake covered at 450°F (230°C) for 20 minutes to trap steam, then remove the lid and continue uncovered for 20–25 minutes until a deep golden-brown crust forms, the ear has opened, and the loaf sounds hollow when tapped; internal temperature should reach 205–210°F (96–99°C). Remove the loaf and cool completely on a wire rack for 1–2 hours before slicing. Store at room temperature in a paper bag for 2–3 days or freeze sliced for longer keeping.
Notes
- Ensure your starter is at peak activity before mixing.
- Use a digital scale for consistent results.
- Dust banneton liberally with rice flour to prevent sticking.
- Allow the loaf to cool completely before slicing to set the crumb.
- Freeze slices for longer storage and toast directly from frozen.