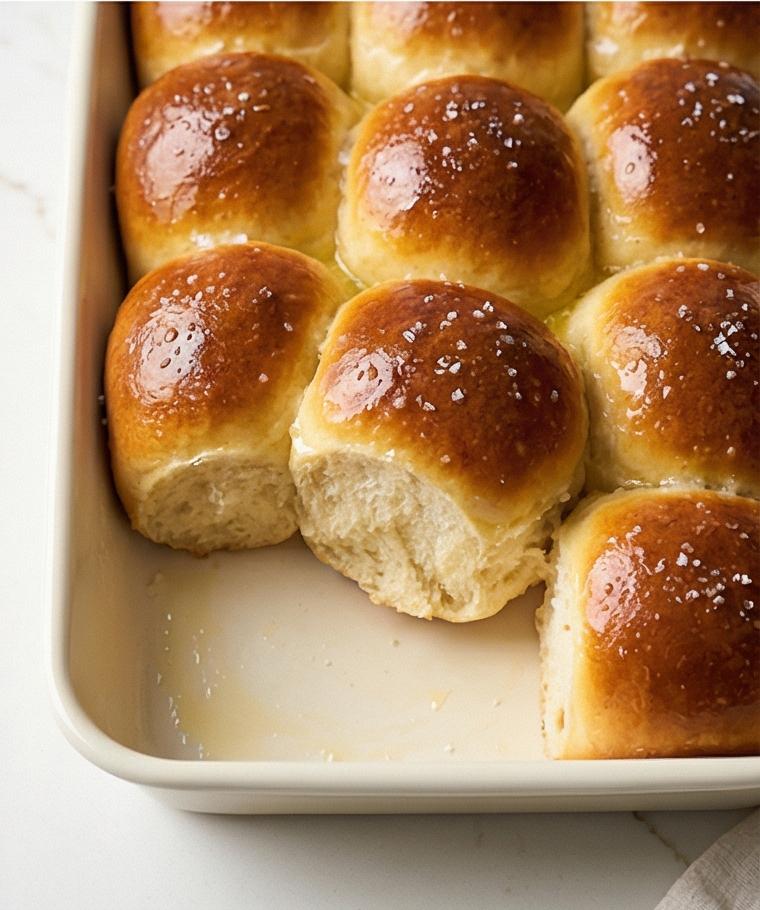
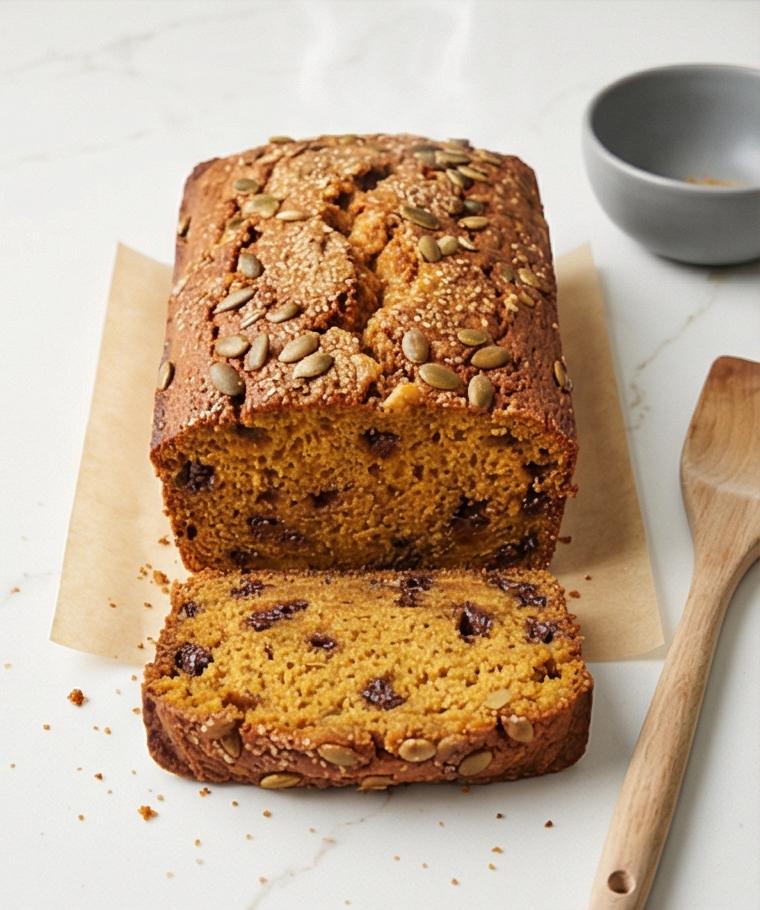
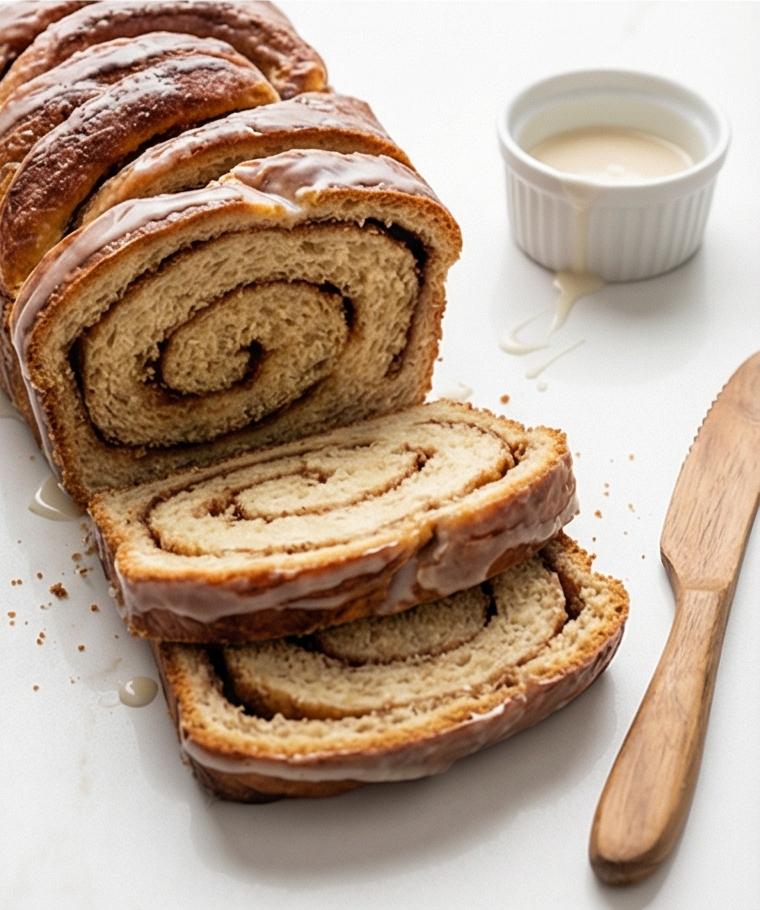
Pretzel Bread Recipe has been a sidebar obsession for me for years, and I still get giddy when the oven fills the kitchen with that deep, toasty aroma. This Pretzel Bread Recipe delivers chewy, glossy loaves with a salty crunch that makes sandwiches feel like celebrations. I learned to love the ritual of the baking soda bath and the way the crust blisters to a mahogany sheen. If you enjoy hands-on bread that rewards patience, this Pretzel Bread Recipe is worth carving out an afternoon for.
How This Recipe Became My Rainy-Day Favorite
I remember the first time I made this Pretzel Bread Recipe on a gray, rainy afternoon when the city felt slow and soft. The kitchen fogged with warm steam as the dough rose, and I pressed my forehead to the cool windowpane while the yeasty scent braided through the apartment. When I boiled the dough briefly in the baking soda bath, it hissed and put on a glossy skin that felt almost lacquered. Pulling the baked loaf from the oven and brushing it with butter was pure comfort; the first bite was crunchy, chewy, and slightly sweet, and I felt like the rain outside had turned into something cozy. That loaf made the whole week better.
Pantry Players and Why They Matter
- Warm Water: Activates the yeast and controls temperature. If too hot, yeast dies; if too cool, it sits dormant. Use filtered water if your tap is heavily chlorinated.
- Active Dry Yeast: The lift-maker. You can substitute instant yeast (reduce proof time) but skip dissolving if using instant. Check the packet date for potency.
- Bread Flour: Provides structure and chew. All-purpose can work, but expect a softer crumb; add a bit more flour while kneading if needed.
- Baking Soda: Creates that classic pretzel crust in the alkaline bath. Substitute a smaller amount of lye only if experienced; stick with baking soda for safety and ease.
Essential Tools You Really Want on Hand
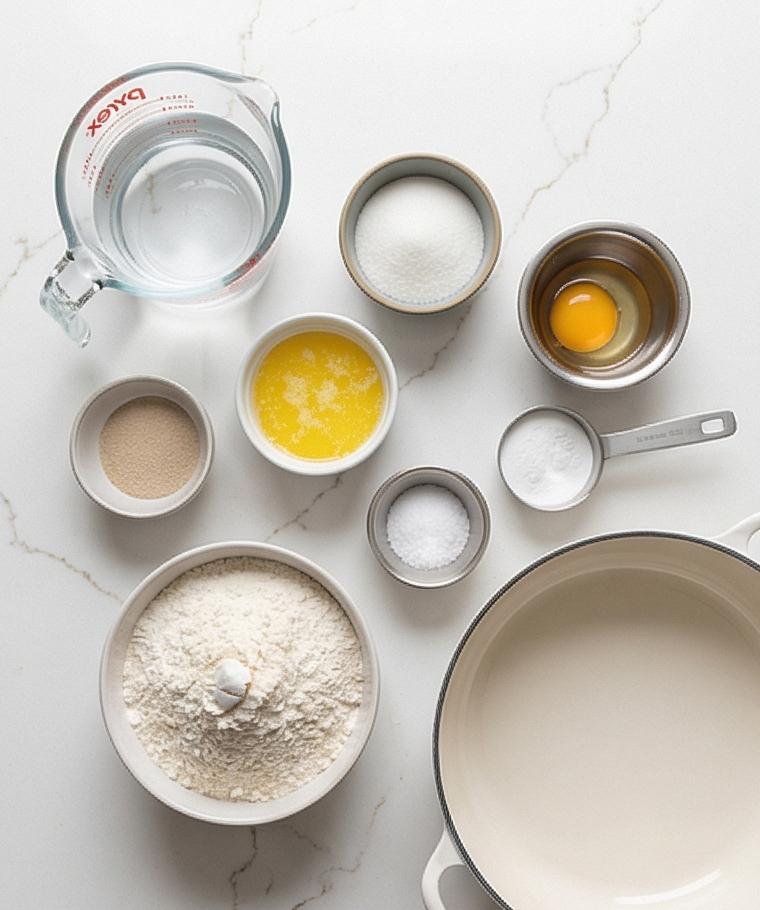
A few good tools make the Pretzel Bread Recipe feel easy instead of fussy. A sturdy mixing bowl gives you room for proofing and mixing; a stand mixer with a dough hook is a great time-saver for those who prefer hands-off kneading. A large pot and slotted spoon are essential for the baking soda bath – the more surface area the pot has, the gentler the boil will be. A rimmed baking sheet lined with parchment protects the crust and makes transferring simple. If you don’t have a bench scraper, use a large knife to divide dough cleanly.
- Large mixing bowl: For proofing and mixing; glass or stainless work well.
- Stand mixer with dough hook: Optional but speeds kneading; hand-knead on a floured surface if needed.
- Large pot and slotted spoon: For the baking soda bath; alternatives include a shallow roasting pan and wire spider.
- Rimmed baking sheet and parchment: Keeps loaves from sticking and helps with transfer.
Step-by-Step Preparation Guide
Step 1: Activate the yeast
Warm water and sugar meet in a deep matte charcoal ceramic mixing bowl; sprinkle the dry active yeast over the surface and leave it undisturbed until a creamy, foamy cap forms- five to ten minutes. The paragraph explains how to judge activity (a dome of tiny bubbles and a yeasty aroma) and gently notes to restart if it stays flat. This bowl is the consistent mixing vessel carried through the next step, and a small stainless spoon rests idle on the rim.
Step 2: Combine fats, salt, and flour to form a shaggy dough
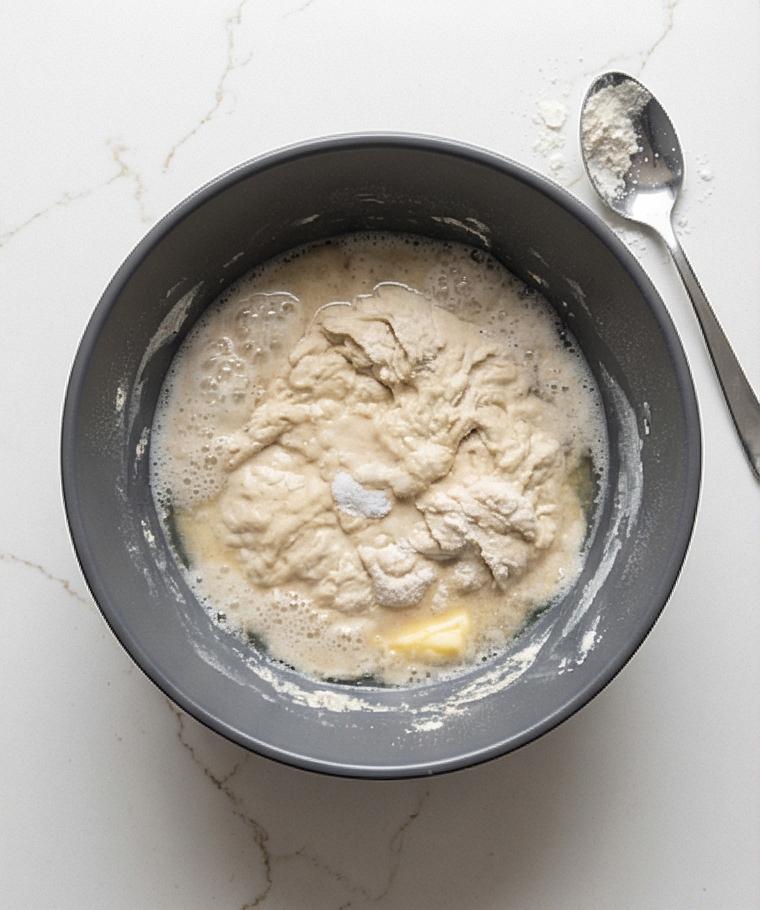
Add the melted, slightly cooled butter and fine sea salt into the same matte charcoal bowl, stir briefly, then fold in the bread flour until a rough, shaggy dough forms clinging to the dough hook or wooden spoon. The texture is uneven: partially hydrated flour pockets, sticky patches and dry ridges- this is the work-in-progress dough before kneading. The dough is still in the mixing bowl, showing flour dust on the rim and a faint smear of butter.
Step 3: Knead to a smooth, elastic dough
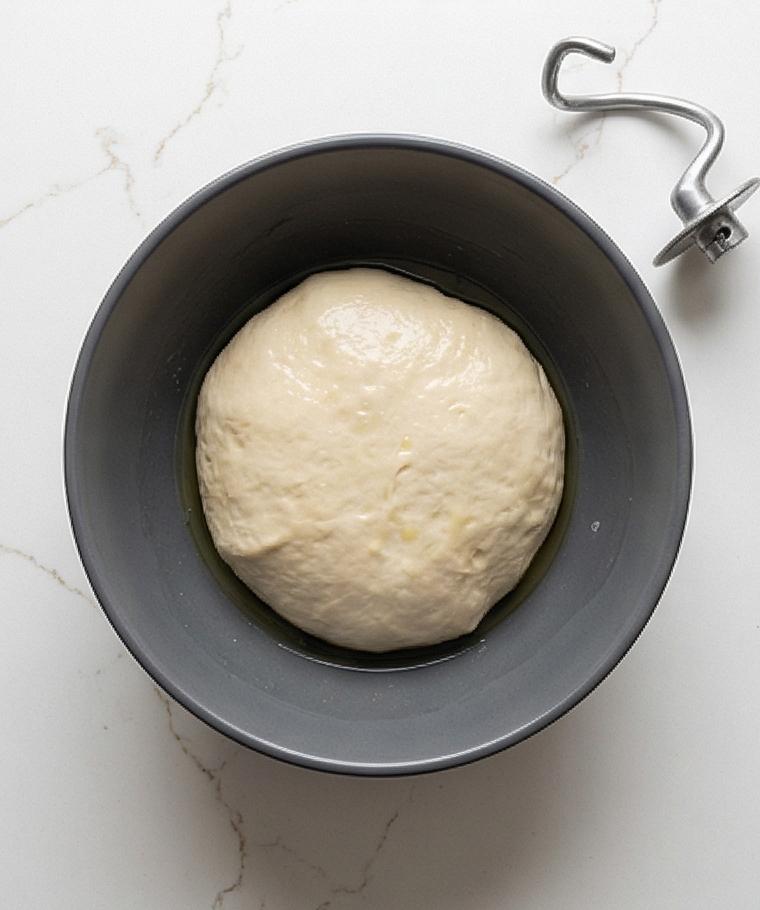
Continue kneading (by mixer or by hand on a lightly floured surface) until the dough becomes smooth, elastic and slightly tacky but no longer sticky- stretchy when pulled, with a faint sheen from the butter. Shape it into a tight ball in the same matte charcoal mixing bowl, coat lightly with neutral oil by turning to prevent drying, and rest it for the bulk rise. The surface should look satiny and hold gentle finger indentations that spring back slowly.
Step 4: First rise until doubled
Cover the oiled dough in the bowl with a clean towel or plastic wrap and let it proof in a warm, draft-free nook until doubled- plump, airy, and cushioned. When ready, the dough shows visible bubbles beneath the surface; a fingertip indentation will collapse slowly. Gently deflate the dough, transfer it to a lightly floured work surface and divide into equal portions for two loaves or several rolls, keeping the recipe’s proportions in mind.
Step 5: Shape the loaves and proof briefly on parchment
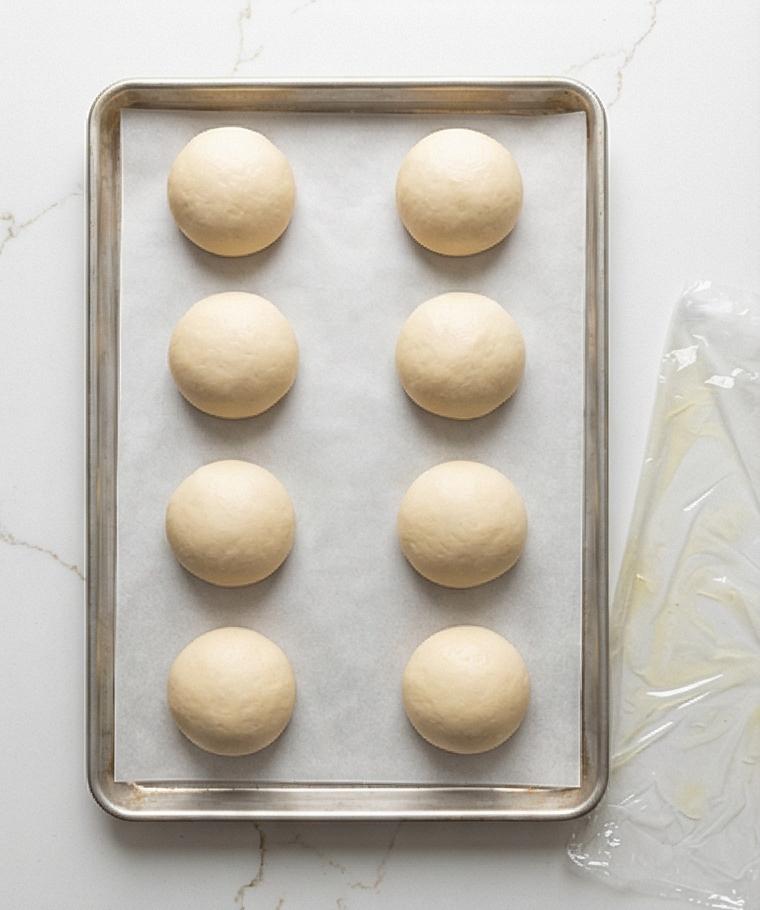
Bring each portion into a tight, smooth ball by pulling edges to the center, flipping seam-side down, and rolling to build surface tension. Place the shaped balls on a parchment-lined rectangular baking sheet with spacing between them, cover loosely, and let them puff until slightly domed- visually puffy but not doubled. The parchment shows faint flour dust and a few elastic dimples where dough rests.
Step 6: Baking soda bath and surface transformation
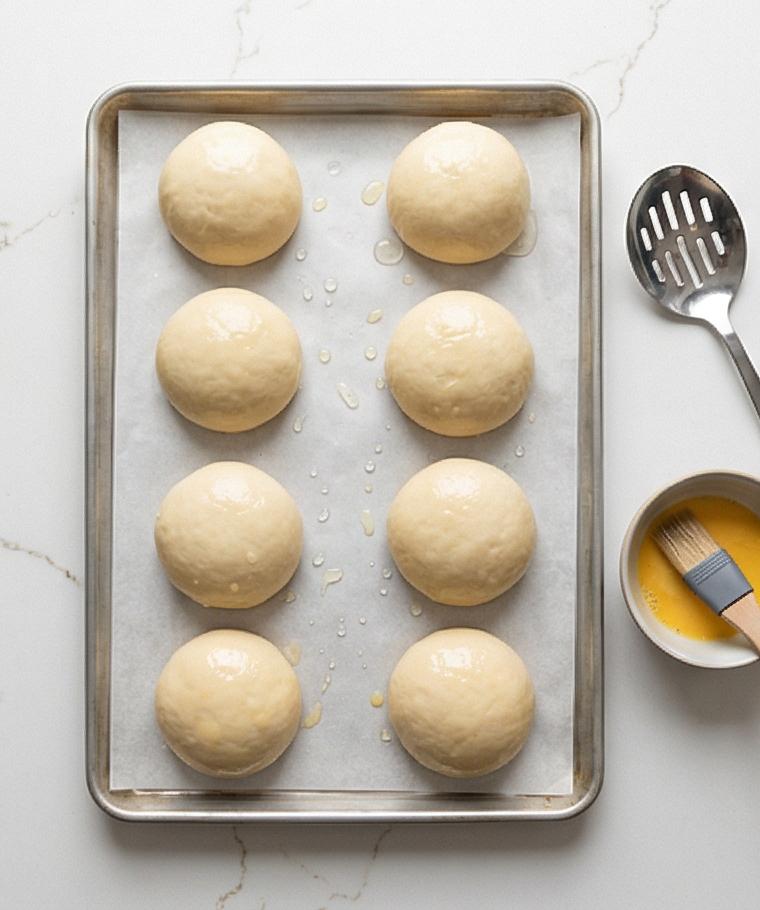
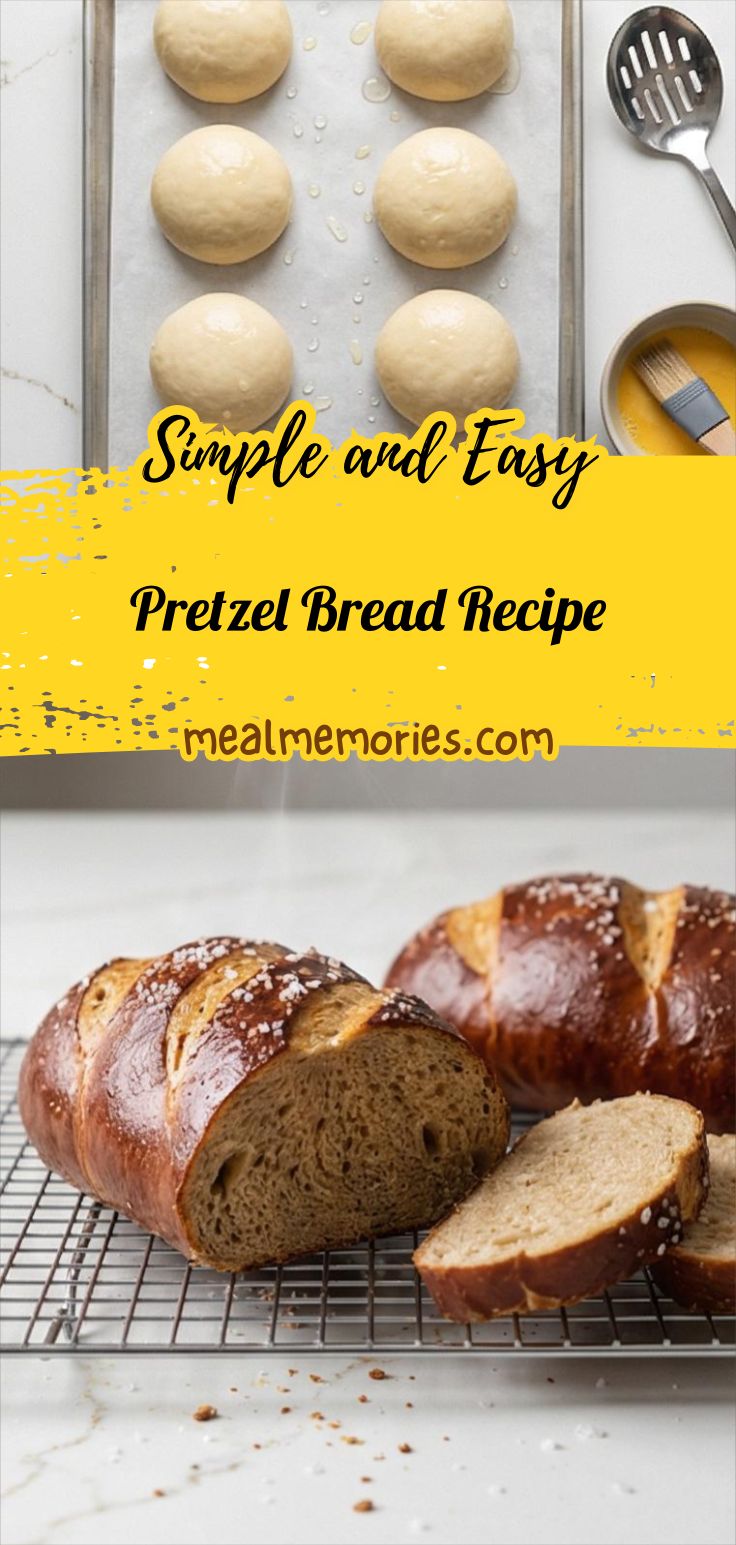
Nearby, a wide stainless pot (not shown on a stove) supplied a gentle, foaming baking soda bath; the boiled dough pieces emerge slightly swollen, tacky, and with a glossy, taut skin from the alkaline bath. Using a slotted spoon they are set back onto the clean parchment-lined baking sheet to drip, the surface now denser and slightly sticky- ready for egg wash, scoring, and coarse salt. A slotted spoon and a small bowl with yolk-and-water egg wash sit beside the sheet.
Step 7: Egg wash, scoring, deep brown bake and finish
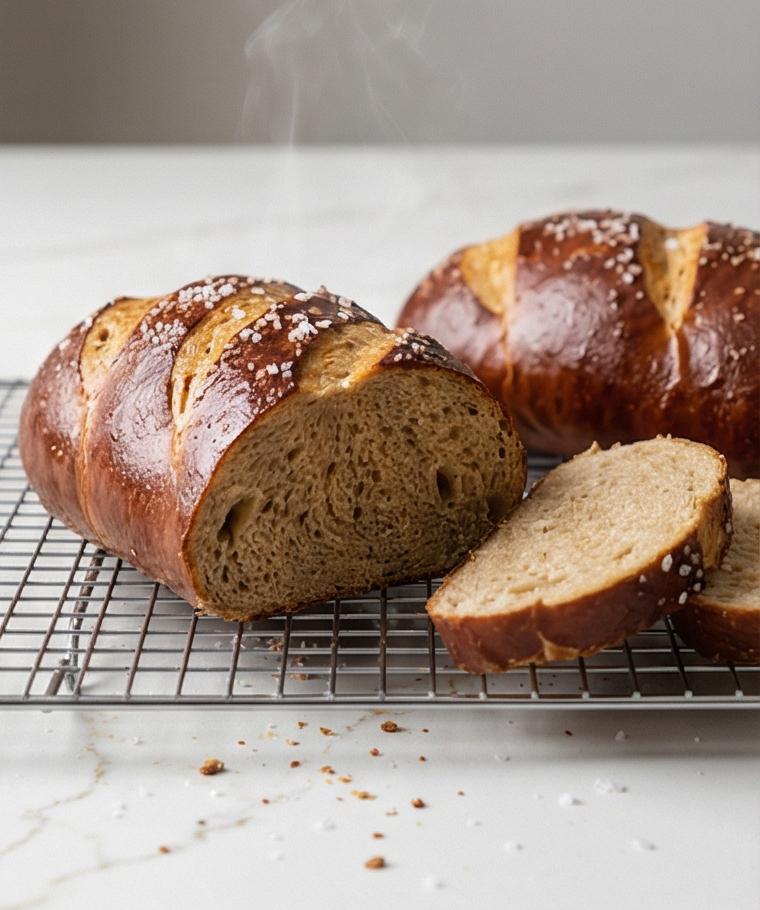
Brush each loaf generously with the glossy egg yolk wash, score shallow slashes across the top, and press coarse pretzel salt lightly so it adheres. After a hot bake the crust is a deep mahogany sheen; transfer the finished loaves to a wire cooling rack and, if desired, brush immediately with melted butter for a soft sheen. Let cool slightly before slicing to reveal a tender, glossy crumb and dense, chewy interior- serve warm or at room temperature.
Making It Your Own
I like to experiment with fillings and toppings when I make this Pretzel Bread Recipe. Try folding in a handful of chopped rosemary and grated cheddar for a savory twist; the herb brightens the dough while the cheese adds pockets of molten, salty goodness. For a sweet spin, brush the cooled loaf with cinnamon-sugar butter and serve alongside fruit compote. If you need it dairy-free, swap the butter for vegan margarine and use plant-based milk for a richer wash. For a regional touch, add caraway seeds for a Scandinavian note or smoked salt for a more rustic, campfire edge.
How to Serve
If I’m hosting, I slice pretzel loaves into thick slabs and lay them in a basket lined with a clean towel to keep them warm. For a casual gathering, halve the loaves and set them with sharp mustard, beer cheese, and pickles for building hearty sandwiches. To scale for a dinner party, one loaf serves about 4 when sliced for sandwiches or 6 as a bread course; warm slices briefly under foil if serving several trays. For brunch, offer soft butter and honey alongside small bowls of jam and whole grain mustard for contrast.
Storage and Reheating Tips
Cool the loaves completely before storing to avoid sogginess. For short-term storage, keep a whole loaf wrapped in a clean tea towel inside a bread box or paper bag at room temperature for up to two days.
For longer storage, slice and freeze in an airtight bag for up to three months. Reheat frozen slices straight from the freezer in a toaster oven or wrapped in foil at 325 F until warmed through. If you want a crisp crust, hit slices quickly under the broiler for a minute, watching carefully.
Oops-Proofing: Common Mistakes and How to Avoid Them
Underproofing will give you dense, tight loaves; give the dough a gentle poke and look for a slow spring back to know it’s ready. Overproofing makes the dough collapse- keep an eye on size rather than time alone.
Skipping the baking soda bath means missing the signature pretzel crust; don’t rush this step and be gentle when transferring dough so the skin stays intact.
Final Thoughts and an Invitation
I hope this Pretzel Bread Recipe tempts you into the kitchen. It rewards patience, and the payoff is a glossy, deeply flavored loaf that feels special yet approachable. Give it a try this weekend, and let me know which variation becomes your favorite.
Frequently Asked Questions.
- What temperature should the water be to activate the yeast?
The water should be warm, about 105-110°F (40-43°C). Too hot and the yeast can die; too cool and it won’t wake up properly.
- Can I use all-purpose flour instead of bread flour?
Yes, you can, but expect a slightly softer crumb and less chew. Add a touch more flour during kneading if the dough feels overly sticky.
- Is the baking soda bath necessary?
Yes, the alkaline bath is what creates the classic pretzel crust and deep color. Skipping it will change the texture and appearance significantly.
- How do I store leftover Pretzel Bread Recipe loaves?
Cool completely, wrap in a towel or paper bag for up to two days at room temperature, or slice and freeze for longer storage.
- Can I make this dough ahead of time?
Yes, you can retard the dough in the refrigerator after the first rise for up to 24 hours; bring it back to room temperature before shaping and proofing.
Pretzel Bread Recipe
Bake Pretzel Bread Recipe for chewy, glossy loaves with a crunchy salted crust.
Ingredients
Instructions
Step 1: Activate the yeast
Warm water and sugar meet in a deep matte charcoal ceramic mixing bowl; sprinkle the dry active yeast over the surface and leave it undisturbed until a creamy, foamy cap forms—five to ten minutes. The paragraph explains how to judge activity (a dome of tiny bubbles and a yeasty aroma) and gently notes to restart if it stays flat. This bowl is the consistent mixing vessel carried through the next step, and a small stainless spoon rests idle on the rim.
Step 2: Combine fats, salt, and flour to form a shaggy dough
Add the melted, slightly cooled butter and fine sea salt into the same matte charcoal bowl, stir briefly, then fold in the bread flour until a rough, shaggy dough forms clinging to the dough hook or wooden spoon. The texture is uneven: partially hydrated flour pockets, sticky patches and dry ridges—this is the work-in-progress dough before kneading. The dough is still in the mixing bowl, showing flour dust on the rim and a faint smear of butter.
Step 3: Knead to a smooth, elastic dough
Continue kneading (by mixer or by hand on a lightly floured surface) until the dough becomes smooth, elastic and slightly tacky but no longer sticky—stretchy when pulled, with a faint sheen from the butter. Shape it into a tight ball in the same matte charcoal mixing bowl, coat lightly with neutral oil by turning to prevent drying, and rest it for the bulk rise. The surface should look satiny and hold gentle finger indentations that spring back slowly.
Step 4: First rise until doubled
Cover the oiled dough in the bowl with a clean towel or plastic wrap and let it proof in a warm, draft-free nook until doubled—plump, airy, and cushioned. When ready, the dough shows visible bubbles beneath the surface; a fingertip indentation will collapse slowly. Gently deflate the dough, transfer it to a lightly floured work surface and divide into equal portions for two loaves or several rolls, keeping the recipe’s proportions in mind.
Step 5: Shape the loaves and proof briefly on parchment
Bring each portion into a tight, smooth ball by pulling edges to the center, flipping seam-side down, and rolling to build surface tension. Place the shaped balls on a parchment-lined rectangular baking sheet with spacing between them, cover loosely, and let them puff until slightly domed—visually puffy but not doubled. The parchment shows faint flour dust and a few elastic dimples where dough rests.
Step 6: Baking soda bath and surface transformation
Nearby, a wide stainless pot (not shown on a stove) supplied a gentle, foaming baking soda bath; the boiled dough pieces emerge slightly swollen, tacky, and with a glossy, taut skin from the alkaline bath. Using a slotted spoon they are set back onto the clean parchment-lined baking sheet to drip, the surface now denser and slightly sticky—ready for egg wash, scoring, and coarse salt. A slotted spoon and a small bowl with yolk-and-water egg wash sit beside the sheet.
Step 7: Egg wash, scoring, deep brown bake and finish
Brush each loaf generously with the glossy egg yolk wash, score shallow slashes across the top, and press coarse pretzel salt lightly so it adheres. After a hot bake the crust is a deep mahogany sheen; transfer the finished loaves to a wire cooling rack and, if desired, brush immediately with melted butter for a soft sheen. Let cool slightly before slicing to reveal a tender, glossy crumb and dense, chewy interior—serve warm or at room temperature.
Notes
- Ensure water for activating yeast is 105-110°F to guarantee proper bloom.
- Use bread flour for best chew; substitute all-purpose with a firmer knead if needed.
- Be gentle during the baking soda bath transfer to preserve the glossy skin.
- Freeze sliced loaves for up to three months and reheat in a toaster oven for best texture.
- Brush with melted butter after baking for a softer sheen and richer flavor.