I still remember the first time I followed this Baguette Recipe and filled my kitchen with that warm, toasty smell. It felt like a small miracle that a handful of simple ingredients could produce crisp crust and an airy crumb. Ever since then, this Baguette Recipe has been my go-to when I want bread that impresses but doesn’t demand a day in the bakery. If you enjoy hands-on baking with a reliable payoff, this recipe will make you feel like you can tame dough and celebrate the result.
How This Baguette Recipe Became My Rainy-Day Favorite
It was raining the afternoon I decided to try the Baguette Recipe for the first time. The windows fogged and I wrapped my hands in flour, feeling oddly calm as I mixed a shaggy mass of dough. The sound of the rain, the faint scent of yeast waking up, and the soft click of my bench scraper became a kind of ritual. When the loaves rose and the oven filled the house with an irresistible aroma, I felt a small, quiet triumph. Pulling a warm baguette free of its crust and tasting the light, slightly chewy crumb was pure comfort. That day taught me patience and reward: bread needs time, and time gives back in flavor and texture.
Key Ingredients and Why They Matter
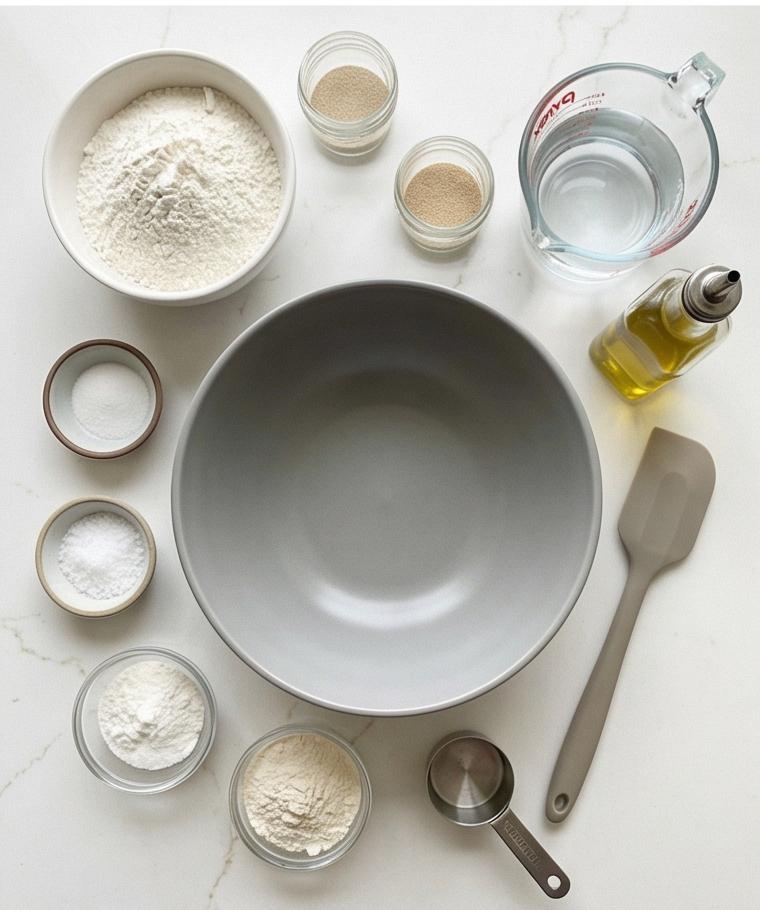
- Bread Flour: The backbone of the baguette; its higher protein content builds gluten for a chewy, open crumb. Substitute with all-purpose flour if needed, but expect a softer crumb. Choose high-quality, unbleached flour.
- Cool Water: Hydrates the flour and controls fermentation speed. If your kitchen is warm, use cooler water; colder water slows yeast activity.
- Fine Sea Salt: Balances flavor and strengthens gluten. Avoid iodized table salt; weigh for accuracy.
- Instant Yeast: Reliable rise and ease of use. You can use active dry yeast if you proof it in water first.
- Diastatic Malt (optional): Enhances browning and flavor; skip if unavailable or swap for a pinch of sugar.
Essential Kitchen Tools and What to Do if You Don’t Have Them
A few simple tools make this Baguette Recipe much easier and more consistent, but most have workable alternatives. A sturdy mixing bowl gives the dough room to breathe and ferment; a metal or plastic bowl is fine. A bench scraper is incredibly helpful for dividing and shaping; use a thin spatula if you do not own one. A couche or heavily floured towel keeps baguettes from spreading; a folded kitchen towel dusted with rice flour will do the job. A lame or very sharp knife is best for scoring; a straight razor or sharp serrated knife can work in a pinch. Lastly, a baking stone or steel helps achieve a crisp crust; if you do not have one, a heavy baking sheet flipped upside down and preheated works well.
Step-by-Step Preparation Guide
Step 1: Combine dry ingredients and form a shaggy dough
In a large mixing bowl whisk together the bread flour, instant yeast, and the optional diastatic malt until evenly blended. Pour the cool water into the dry mix and, using a sturdy spatula or your hand, fold and scrape until no dry flour remains and a rough, shaggy, slightly sticky mass has formed — patches of dry flour and wet streaks should still be visible and the surface will look irregular and glossy where hydrated. This is the raw, hydrated dough stage: messy, tacky, and full of promise.
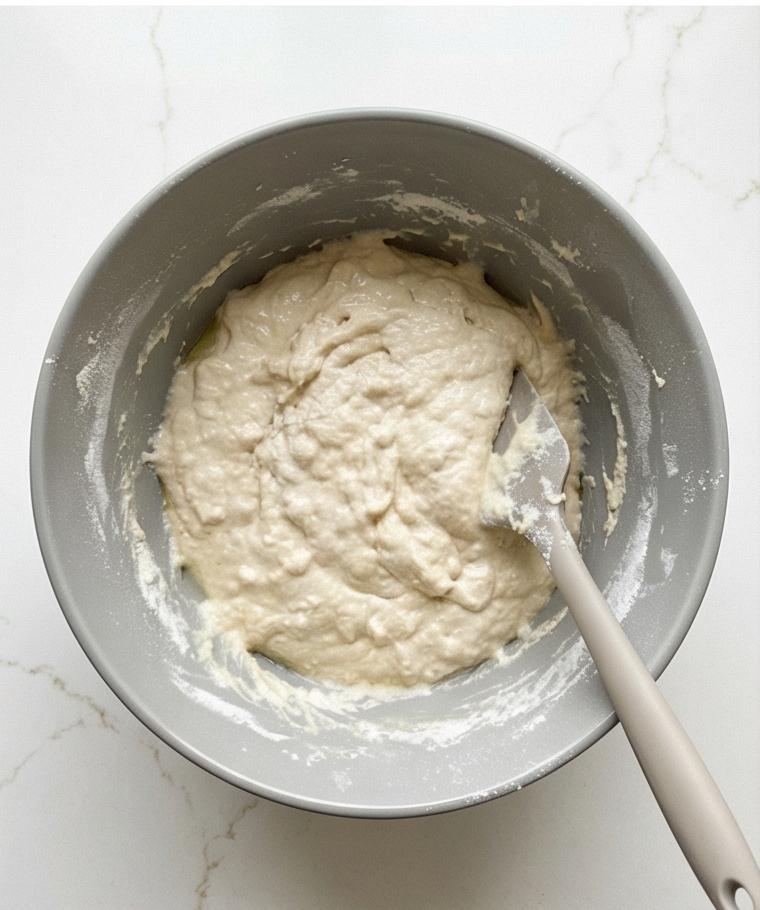
Step 2: Rest for autolyse and begin gluten development
Cover the bowl tightly and let the dough rest at room temperature for about thirty minutes to hydrate the flour fully; during this time the dough will relax, the surface becoming less powdery and more cohesive, though still delicate and springy. This quiet resting period helps the flour swell and the gluten begin to align without any handling — the dough’s texture should shift from ragged clumps to a more joined, slightly smoother mass with faint strands visible when you stretch a piece.
Step 3: Incorporate salt and build structure with folds
Sprinkle the fine sea salt evenly over the dough, wet your hand, and perform pinch-and-folds: lift an edge, stretch it up, fold it toward the center, rotate the bowl and repeat until the salt is fully incorporated and the dough surface feels noticeably smoother and more cohesive. These simple folds develop strength without intensive kneading; you’ll see the dough tighten a bit, the surface losing some of its initial stickiness and gaining gentle sheen and elasticity as gluten forms.
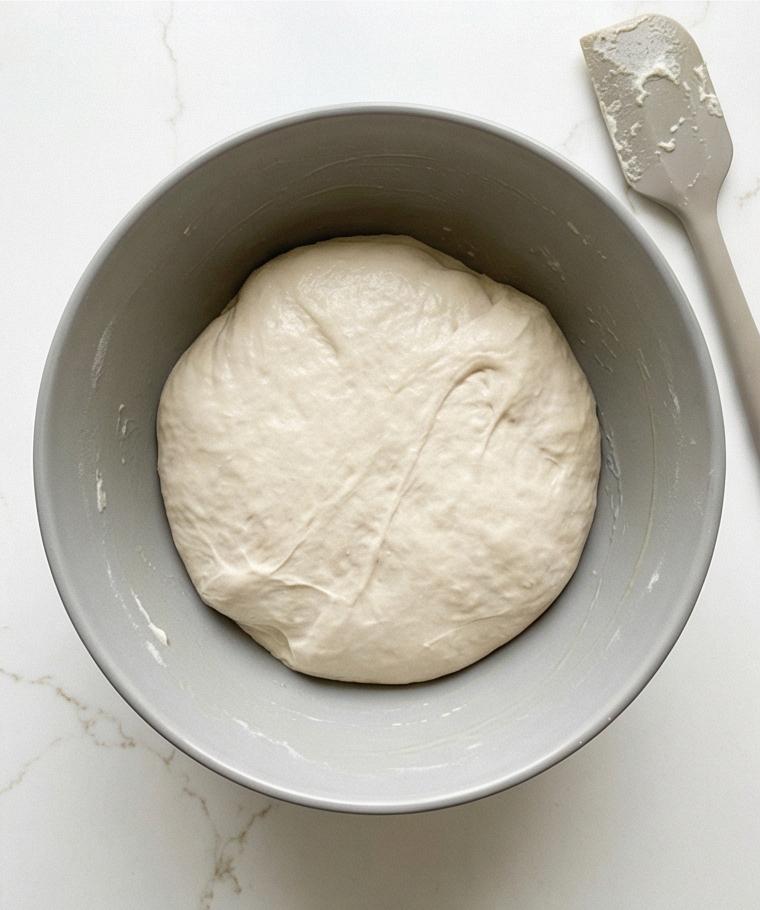
Step 4: Bulk fermentation with gentle stretch-and-folds
Lightly grease a clean medium bowl and transfer the dough seam-side down into it. Cover and leave to ferment at room temperature for 1½–2 hours, performing 2–3 sets of quick stretch-and-folds during the first hour (every 30 minutes, reach into the bowl, stretch one side up and fold it over). Between sets the dough will relax, then puff and become smoother and slightly jiggly — the overall volume should increase and the surface should look domed with tiny bubbles just under the skin, indicating active fermentation and internal gas development.
Step 5: Divide and preshape into loose logs
Turn the fermented dough gently onto a lightly floured work surface, taking care not to fully deflate it. Using a bench scraper, divide the mass into three equal portions. For each piece, pat into a loose rectangle, fold the top third down and the bottom third up, then turn seam-side down and cup your hands to form a soft log — the preshaped pieces should look delicate, slightly tacky, with soft seam lines and a pillowy feel that promises more tension during final shaping.
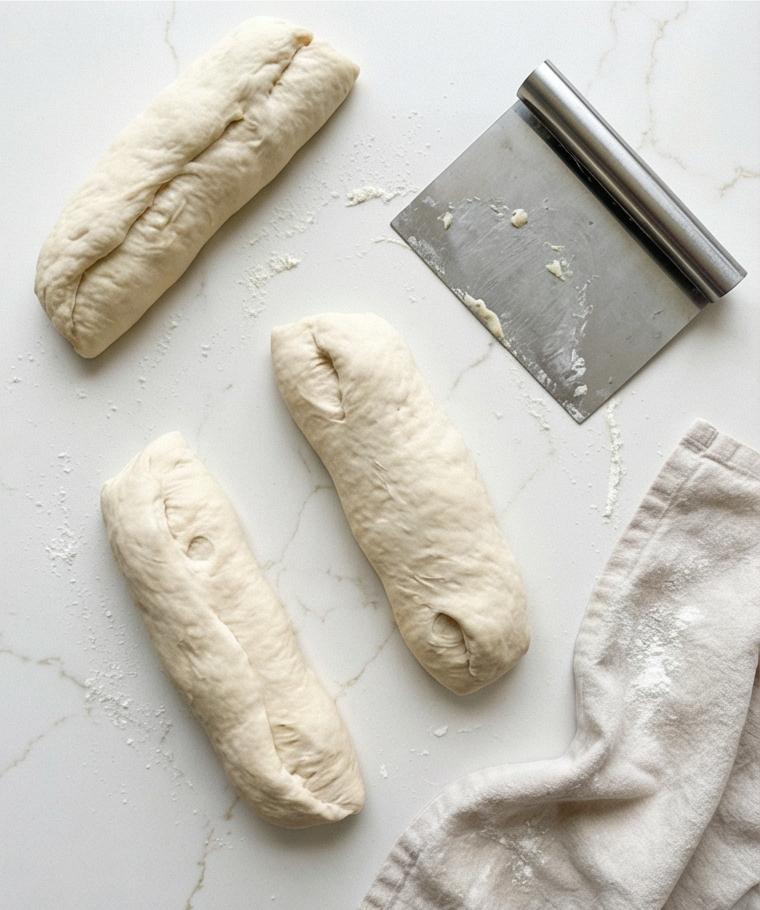
Step 6: Rest, prepare the couche, and shape into baguettes
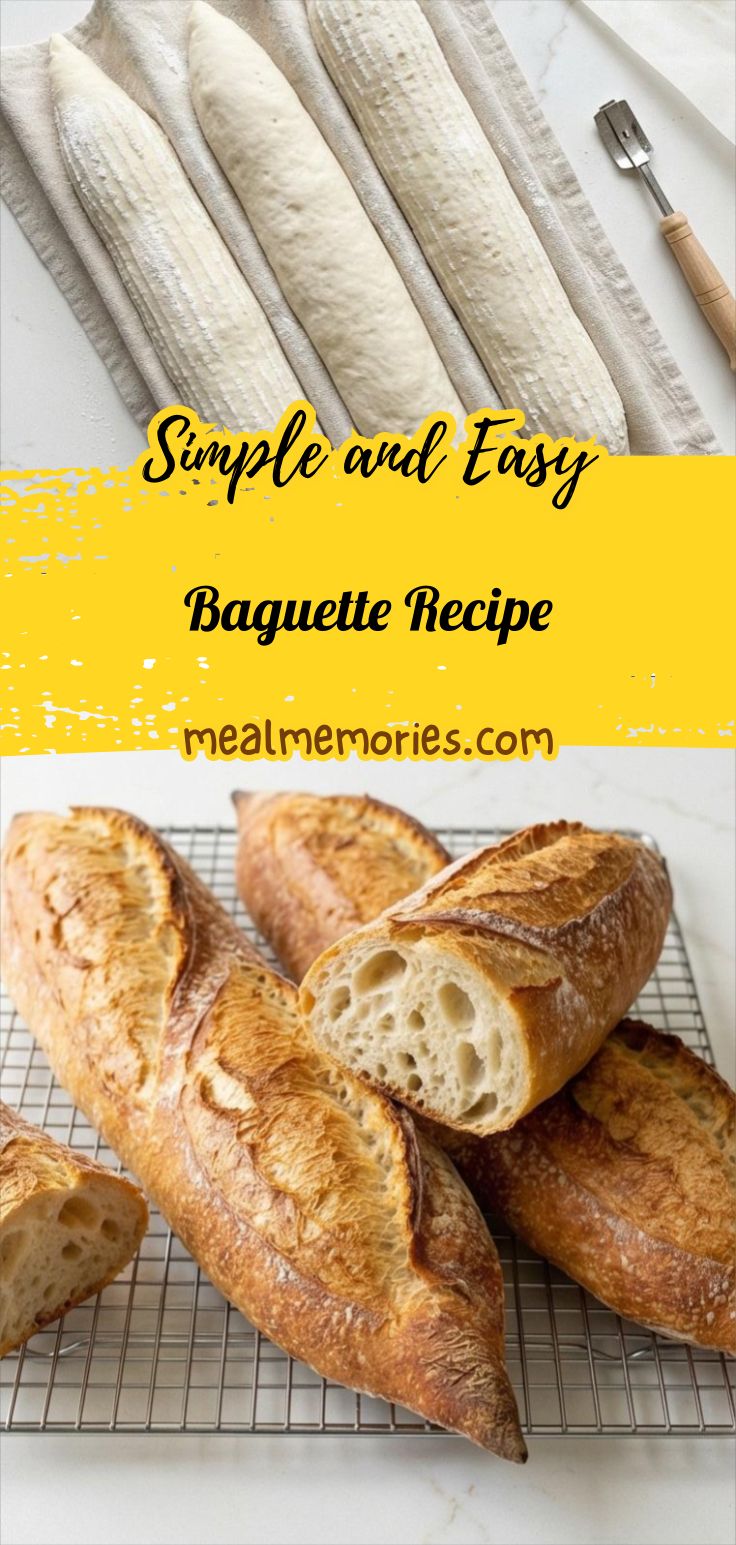
Cover the preshaped logs with a lightly floured towel and let them rest 20–25 minutes until they relax. Meanwhile, arrange a linen couche or smooth kitchen towel on a large sheet and dust generously with a blend of rice flour and all-purpose flour, creating parallel ridges to support the loaves. Take each relaxed log, flip seam up, fold the long edges to the center, seal with the heel of your hand, then fold lengthwise and roll gently to 13–15 inches, tapering the ends to classic points. Place each shaped baguette seam-side up into the floured ridges, spacing them so their sides are supported and the exterior shows a lightly floured, taut skin.
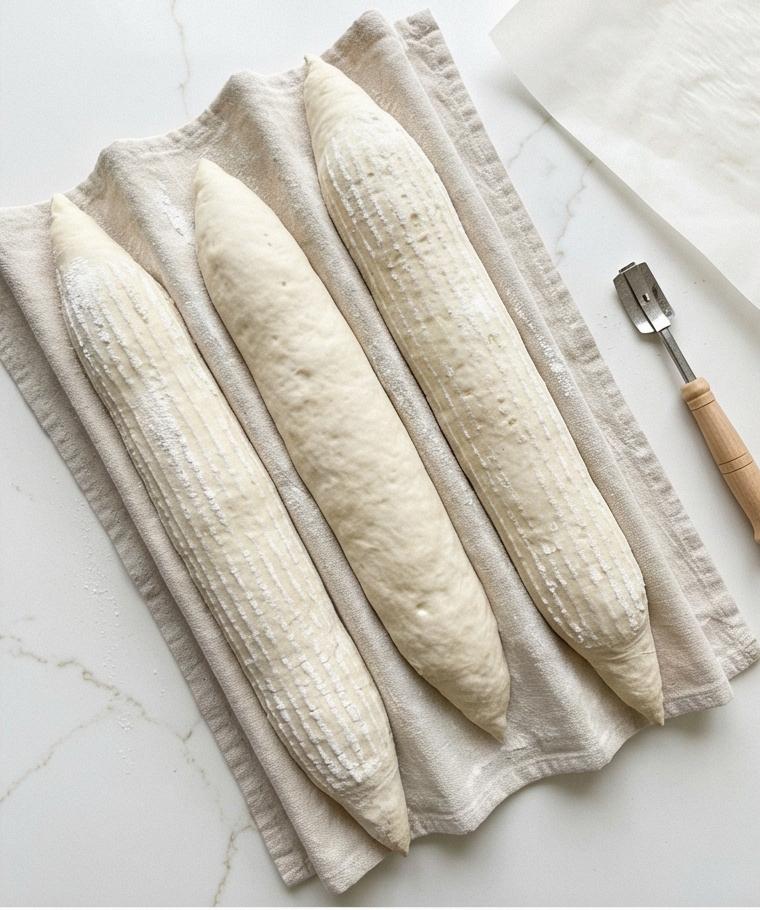
Step 7: Final proof, score, and ready for the oven
Cover the couche loosely and proof at room temperature until the loaves are noticeably puffy and spring back slowly when prodded; they should neither collapse nor double. When almost ready, transfer each baguette seam-side down onto parchment, dust lightly with a little all-purpose flour for rustic contrast, and use a very sharp lame or serrated blade to score 3–5 diagonal slashes at a 30–45° angle to create the classic ears — the scored surface should show clean, slightly floured edges and a taut skin ready to burst and bloom in heat.
Step 8: Bake, cool, and serve
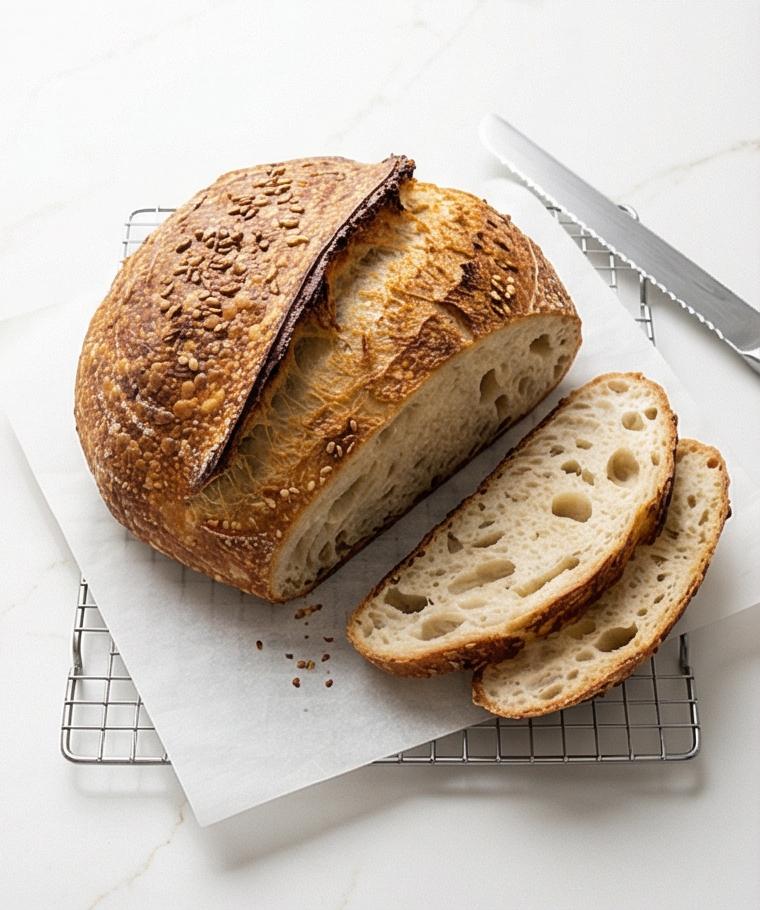
Bake with steam until a deep golden-brown crust develops and the loaves sound hollow when tapped; if needed, adjust final minutes for color and crispness. Remove the baguettes and transfer them to a wire cooling rack placed on the same work surface, allowing them to rest at least 45–60 minutes so the crumb sets. When cooled, slice on a slight diagonal to reveal an open, fragrant crumb and serve simply — butter, olive oil and sea salt, or use for sandwiches.
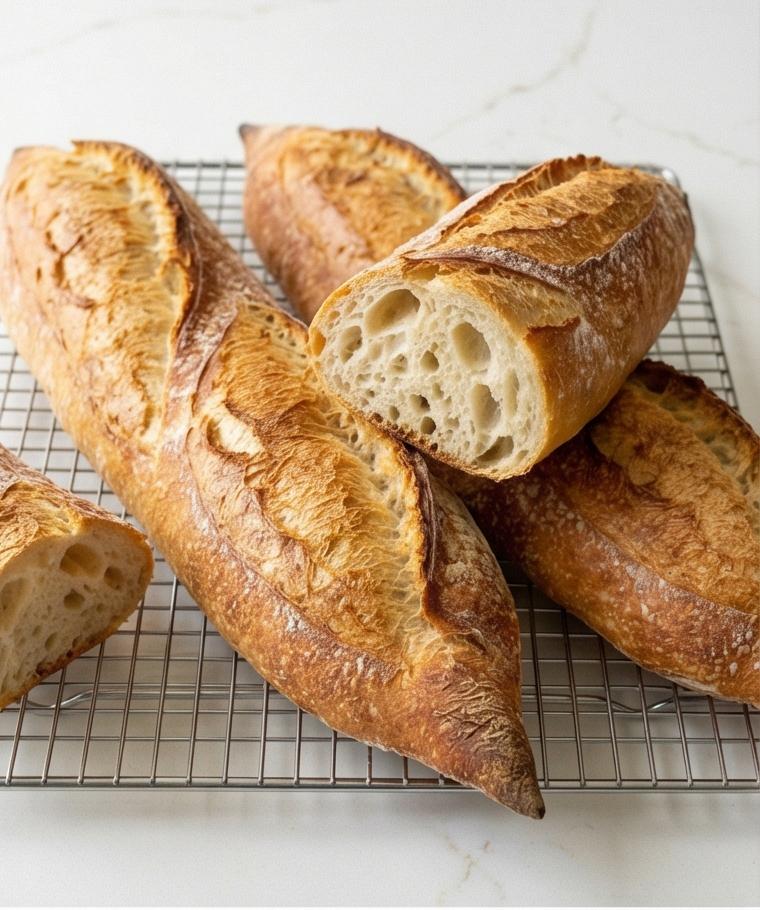
Making It Your Own
I like to treat the Baguette Recipe as a base formula and then play around with small changes to see how they alter the crumb and crust. One season I swapped a cup of bread flour for whole wheat and enjoyed an earthier loaf that still had good structure. For a gluten-free approach, I have experimented with baguette-style rolls using a blend of gluten-free flours and xanthan gum, though the texture is different. Adding a tablespoon of olive oil inside the dough gives a softer crust for sandwiches. When I want a fragrant twist, I brush the tops lightly with garlic-infused butter right after baking. Little experiments like these let the Baguette Recipe stay familiar but exciting.
How to Serve
Imagine hosting a small dinner and placing a few warm baguettes in the center of the table; they naturally invite people to tear and share. For a simple wine night, slice the baguette thin and serve with a trio of bowls: good olive oil with lemon zest, whipped herbed butter, and a tapenade. For a heartier meal, split loaves for sandwiches and toast the cut sides for crispness. If you need to stretch servings, cut into thin diagonal slices and present on a wooden board with cheeses, charcuterie, and seasonal fruit. For brunch, serve thick slices with soft scrambled eggs and smoked salmon.
Storage and Reheating Tips
To keep crust crisp, I avoid storing baguettes in plastic. If you plan to eat within a day, leave the loaf at room temperature wrapped loosely in a paper bag; this preserves the crust better than airtight storage. For longer storage, slice and freeze airtight. When you want to revive frozen slices, toast them or warm them in a 350 F oven for 5 to 10 minutes.
If the baguette has gone a bit stale, sprinkle the surface lightly with water and heat in a hot oven for a few minutes. The steam helps soften and refresh the crumb while crisping the crust. Small reheating tricks bring the Baguette Recipe back to life for sandwiches and toasts.
Common Baguette Baking Mistakes and How to Avoid Them
Underproofing is a frequent issue; if your loaves spring back too quickly, let them proof a little longer until they feel pillowy and spring slowly. Overproofing leads to flat loaves, so watch for a gentle puff rather than a full double.
Scoring with a dull blade can tear the crust and prevent proper oven spring. Use a very sharp lame or razor and score with confident, swift strokes. And if your oven lacks steam, add a pan of hot water to create that crucial humid environment for a glossy crust.
Final Thoughts and Invitation
This Baguette Recipe rewards patience and small rituals: measuring, feeling the dough, and paying attention to proofs. Give it a try, enjoy the process, and share the results—there is real joy in a warm, crisp baguette pulled straight from the oven.
Frequently Asked Questions.
- Q: Can I use active dry yeast instead of instant yeast? A: Yes, proof active dry yeast in warm water first and adjust the timing slightly.
- Q: How do I get a really open crumb? A: Higher hydration, gentle handling, and proper bulk fermentation help create larger holes in the crumb.
- Q: What if my baguette dough sticks to the couche? A: Dust the couche generously with rice flour or use more all-purpose flour to prevent sticking.
- Q: Can I make the dough ahead and refrigerate? A: Yes, a cold retard overnight in the fridge develops flavor; bring to room temperature before shaping and proofing.
- Q: How long does a baguette stay fresh? A: Best the day it is baked; stored properly it keeps a second day, and slices freeze well for longer storage.
Baguette Recipe
Bake a crisp, airy Baguette Recipe with simple ingredients; make warm baguettes for sandwiches, dipping, or entertaining.
Ingredients
Instructions
Step 1: Combine dry ingredients and form a shaggy dough
In a large mixing bowl whisk together the bread flour, instant yeast, and the optional diastatic malt until evenly blended. Pour the cool water into the dry mix and, using a sturdy spatula or your hand, fold and scrape until no dry flour remains and a rough, shaggy, slightly sticky mass has formed — patches of dry flour and wet streaks should still be visible and the surface will look irregular and glossy where hydrated. This is the raw, hydrated dough stage: messy, tacky, and full of promise.
Step 2: Rest for autolyse and begin gluten development
Cover the bowl tightly and let the dough rest at room temperature for about thirty minutes to hydrate the flour fully; during this time the dough will relax, the surface becoming less powdery and more cohesive, though still delicate and springy. This quiet resting period helps the flour swell and the gluten begin to align without any handling — the dough’s texture should shift from ragged clumps to a more joined, slightly smoother mass with faint strands visible when you stretch a piece.
Step 3: Incorporate salt and build structure with folds
Sprinkle the fine sea salt evenly over the dough, wet your hand, and perform pinch-and-folds: lift an edge, stretch it up, fold it toward the center, rotate the bowl and repeat until the salt is fully incorporated and the dough surface feels noticeably smoother and more cohesive. These simple folds develop strength without intensive kneading; you’ll see the dough tighten a bit, the surface losing some of its initial stickiness and gaining gentle sheen and elasticity as gluten forms.
Step 4: Bulk fermentation with gentle stretch-and-folds
Lightly grease a clean medium bowl and transfer the dough seam-side down into it. Cover and leave to ferment at room temperature for 1½–2 hours, performing 2–3 sets of quick stretch-and-folds during the first hour (every 30 minutes, reach into the bowl, stretch one side up and fold it over). Between sets the dough will relax, then puff and become smoother and slightly jiggly — the overall volume should increase and the surface should look domed with tiny bubbles just under the skin, indicating active fermentation and internal gas development.
Step 5: Divide and preshape into loose logs
Turn the fermented dough gently onto a lightly floured work surface, taking care not to fully deflate it. Using a bench scraper, divide the mass into three equal portions. For each piece, pat into a loose rectangle, fold the top third down and the bottom third up, then turn seam-side down and cup your hands to form a soft log — the preshaped pieces should look delicate, slightly tacky, with soft seam lines and a pillowy feel that promises more tension during final shaping.
Step 6: Rest, prepare the couche, and shape into baguettes
Cover the preshaped logs with a lightly floured towel and let them rest 20–25 minutes until they relax. Meanwhile, arrange a linen couche or smooth kitchen towel on a large sheet and dust generously with a blend of rice flour and all-purpose flour, creating parallel ridges to support the loaves. Take each relaxed log, flip seam up, fold the long edges to the center, seal with the heel of your hand, then fold lengthwise and roll gently to 13–15 inches, tapering the ends to classic points. Place each shaped baguette seam-side up into the floured ridges, spacing them so their sides are supported and the exterior shows a lightly floured, taut skin.
Step 7: Final proof, score, and ready for the oven
Cover the couche loosely and proof at room temperature until the loaves are noticeably puffy and spring back slowly when prodded; they should neither collapse nor double. When almost ready, transfer each baguette seam-side down onto parchment, dust lightly with a little all-purpose flour for rustic contrast, and use a very sharp lame or serrated blade to score 3–5 diagonal slashes at a 30–45° angle to create the classic ears — the scored surface should show clean, slightly floured edges and a taut skin ready to burst and bloom in heat.
Step 8: Bake, cool, and serve
Bake with steam until a deep golden-brown crust develops and the loaves sound hollow when tapped; if needed, adjust final minutes for color and crispness. Remove the baguettes and transfer them to a wire cooling rack placed on the same work surface, allowing them to rest at least 45–60 minutes so the crumb sets. When cooled, slice on a slight diagonal to reveal an open, fragrant crumb and serve simply — butter, olive oil and sea salt, or use for sandwiches.
Notes
- Use a kitchen scale for best results when measuring flour and water
- Dust the couche liberally with rice flour to prevent sticking
- Allow the baguettes to cool 45-60 minutes before slicing to set the crumb
- For extra crust, bake with steam by adding a pan of hot water to the oven
- Refrigerate the shaped dough overnight for deeper flavor and flexible timing