Pretzel Bread Recipe
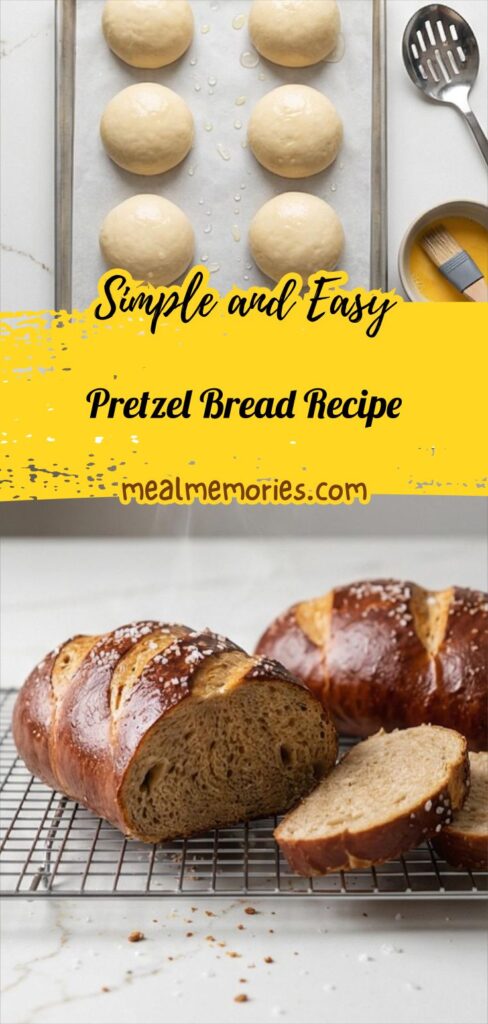
Bake Pretzel Bread Recipe for chewy, glossy loaves with a crunchy salted crust.
Ingredients
- 1 1/2 cups (360 ml) warm water, 105–110°F (40–43°C)
- 2 tablespoons (25 g) granulated sugar
- 2 1/4 teaspoons (7 g) active dry yeast (1 standard packet)
- 4 cups (500 g) bread flour, plus up to 1/2 cup (60 g) more as needed for kneading
- 2 teaspoons (10 g) fine sea salt
- 3 tablespoons (45 g) unsalted butter, melted and slightly cooled
- 2 teaspoons (10 ml) neutral oil (such as canola or vegetable oil), for greasing the bowl
- 10 cups (2.4 L) water, for the baking soda bath
- 2/3 cup (160 g) baking soda, for the boiling bath
- 1 large egg yolk, at room temperature
- 1 tablespoon (15 ml) water, for egg wash
- 1–2 tablespoons (10–20 g) coarse pretzel salt or coarse sea salt, for topping
- 1 tablespoon (14 g) unsalted butter, melted, optional for brushing baked loaves
Instructions
Step 1: Activate the yeast
Warm water and sugar meet in a deep matte charcoal ceramic mixing bowl; sprinkle the dry active yeast over the surface and leave it undisturbed until a creamy, foamy cap forms—five to ten minutes. The paragraph explains how to judge activity (a dome of tiny bubbles and a yeasty aroma) and gently notes to restart if it stays flat. This bowl is the consistent mixing vessel carried through the next step, and a small stainless spoon rests idle on the rim.
Step 2: Combine fats, salt, and flour to form a shaggy dough
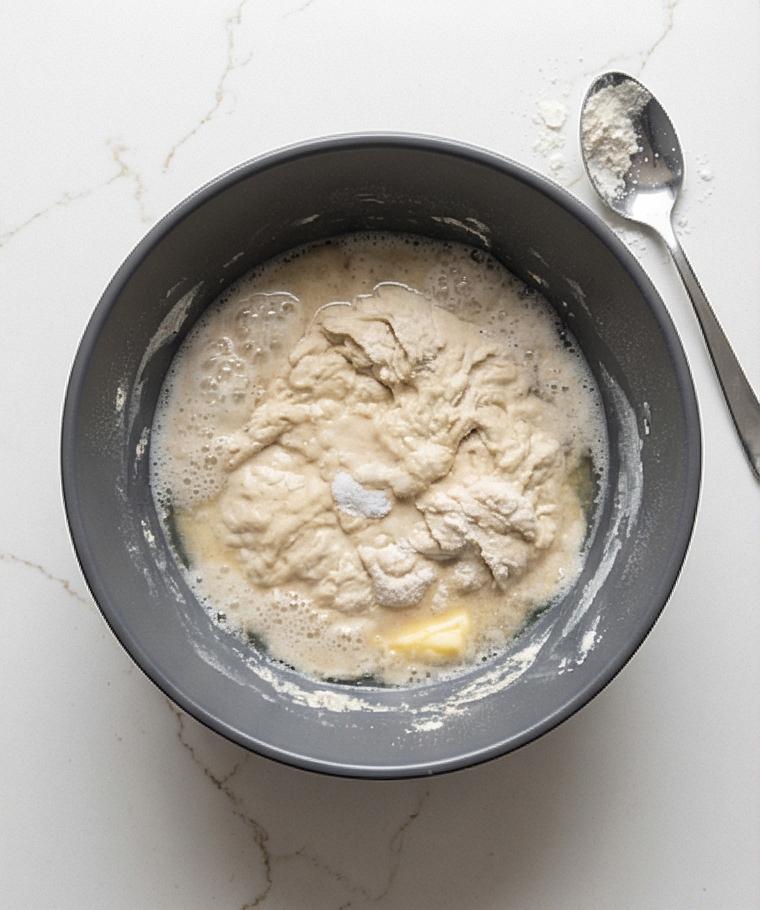
Add the melted, slightly cooled butter and fine sea salt into the same matte charcoal bowl, stir briefly, then fold in the bread flour until a rough, shaggy dough forms clinging to the dough hook or wooden spoon. The texture is uneven: partially hydrated flour pockets, sticky patches and dry ridges—this is the work-in-progress dough before kneading. The dough is still in the mixing bowl, showing flour dust on the rim and a faint smear of butter.
Step 3: Knead to a smooth, elastic dough
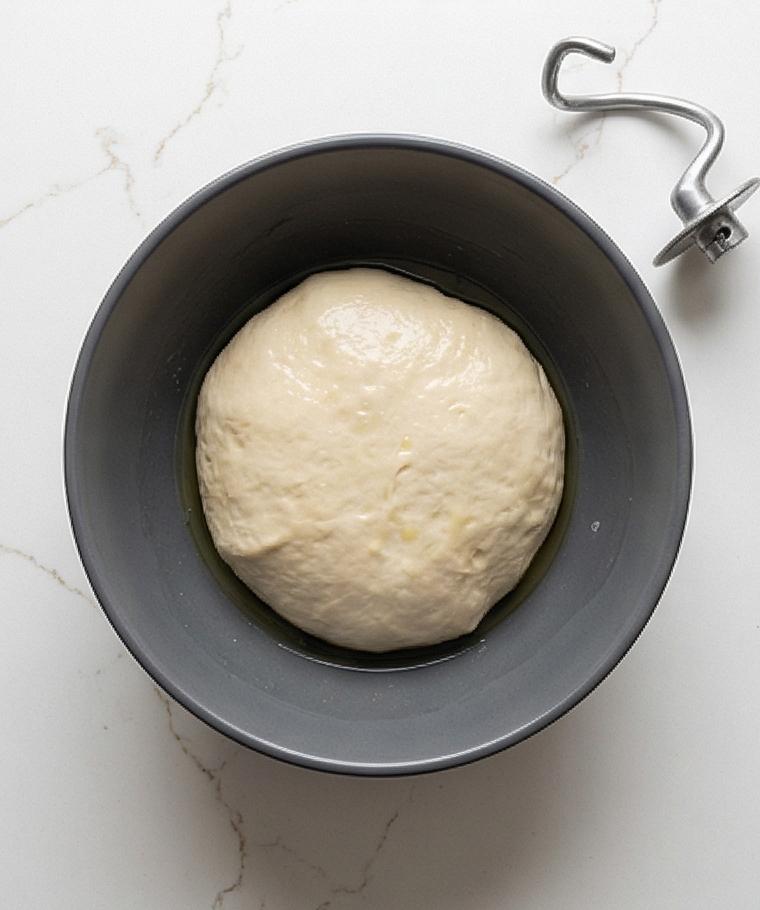
Continue kneading (by mixer or by hand on a lightly floured surface) until the dough becomes smooth, elastic and slightly tacky but no longer sticky—stretchy when pulled, with a faint sheen from the butter. Shape it into a tight ball in the same matte charcoal mixing bowl, coat lightly with neutral oil by turning to prevent drying, and rest it for the bulk rise. The surface should look satiny and hold gentle finger indentations that spring back slowly.
Step 4: First rise until doubled
Cover the oiled dough in the bowl with a clean towel or plastic wrap and let it proof in a warm, draft-free nook until doubled—plump, airy, and cushioned. When ready, the dough shows visible bubbles beneath the surface; a fingertip indentation will collapse slowly. Gently deflate the dough, transfer it to a lightly floured work surface and divide into equal portions for two loaves or several rolls, keeping the recipe’s proportions in mind.
Step 5: Shape the loaves and proof briefly on parchment
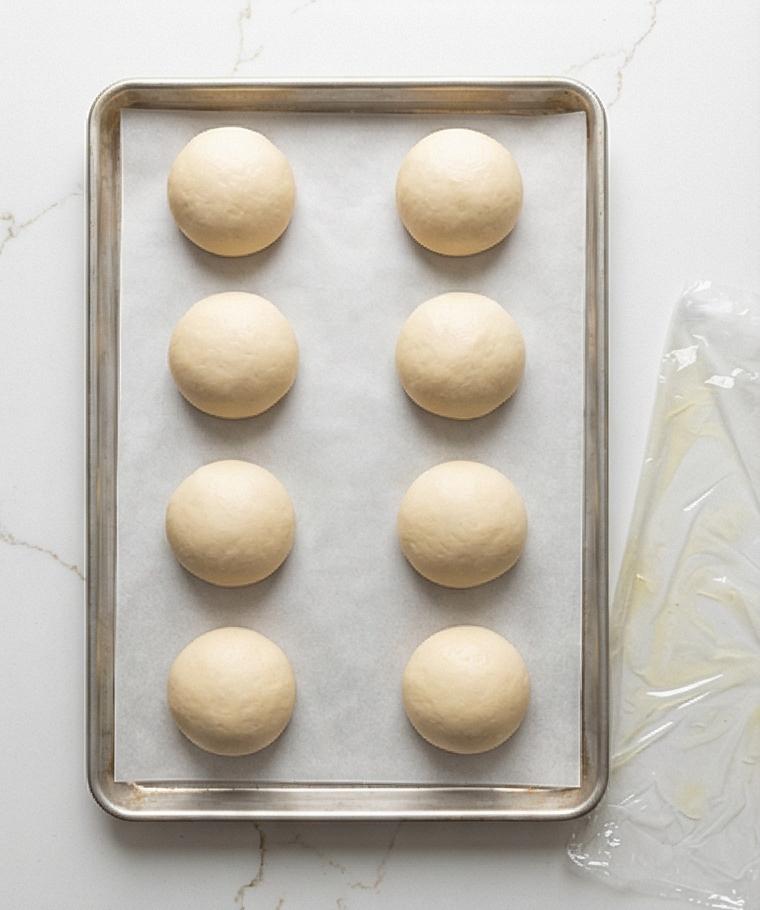
Bring each portion into a tight, smooth ball by pulling edges to the center, flipping seam-side down, and rolling to build surface tension. Place the shaped balls on a parchment-lined rectangular baking sheet with spacing between them, cover loosely, and let them puff until slightly domed—visually puffy but not doubled. The parchment shows faint flour dust and a few elastic dimples where dough rests.
Step 6: Baking soda bath and surface transformation
Nearby, a wide stainless pot (not shown on a stove) supplied a gentle, foaming baking soda bath; the boiled dough pieces emerge slightly swollen, tacky, and with a glossy, taut skin from the alkaline bath. Using a slotted spoon they are set back onto the clean parchment-lined baking sheet to drip, the surface now denser and slightly sticky—ready for egg wash, scoring, and coarse salt. A slotted spoon and a small bowl with yolk-and-water egg wash sit beside the sheet.
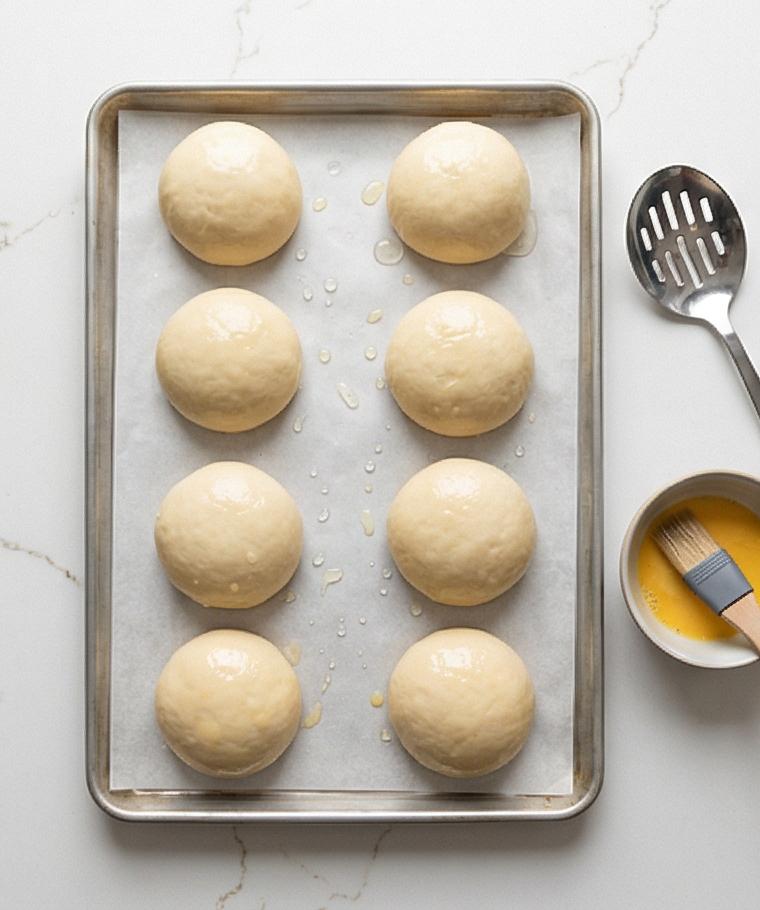
Step 7: Egg wash, scoring, deep brown bake and finish
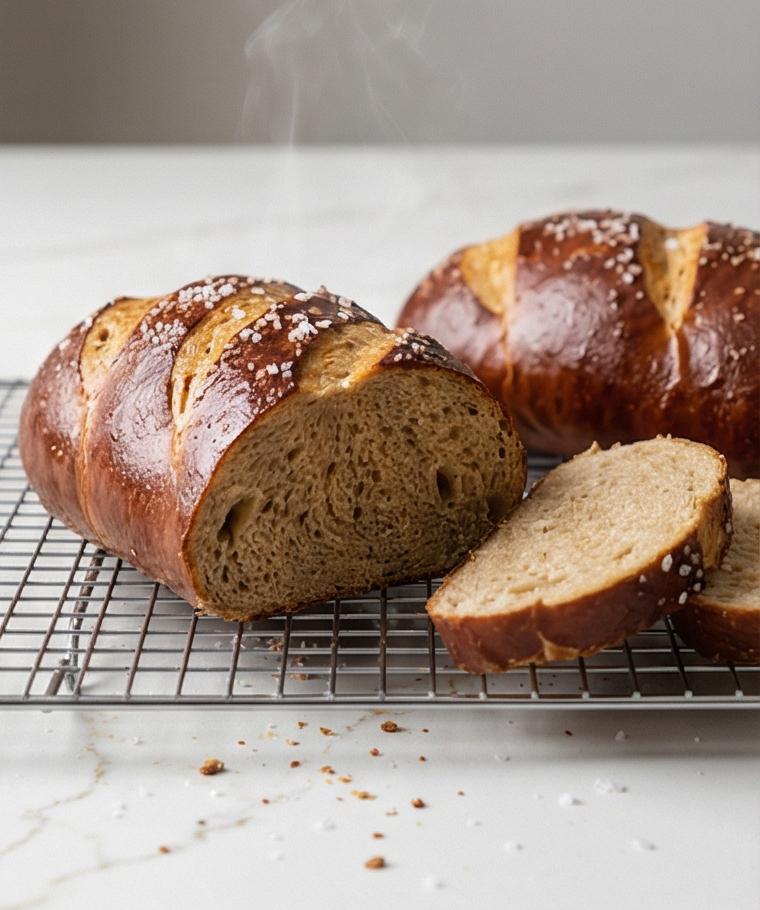
Brush each loaf generously with the glossy egg yolk wash, score shallow slashes across the top, and press coarse pretzel salt lightly so it adheres. After a hot bake the crust is a deep mahogany sheen; transfer the finished loaves to a wire cooling rack and, if desired, brush immediately with melted butter for a soft sheen. Let cool slightly before slicing to reveal a tender, glossy crumb and dense, chewy interior—serve warm or at room temperature.
Notes
- Ensure water for activating yeast is 105-110°F to guarantee proper bloom.
- Use bread flour for best chew; substitute all-purpose with a firmer knead if needed.
- Be gentle during the baking soda bath transfer to preserve the glossy skin.
- Freeze sliced loaves for up to three months and reheat in a toaster oven for best texture.
- Brush with melted butter after baking for a softer sheen and richer flavor.