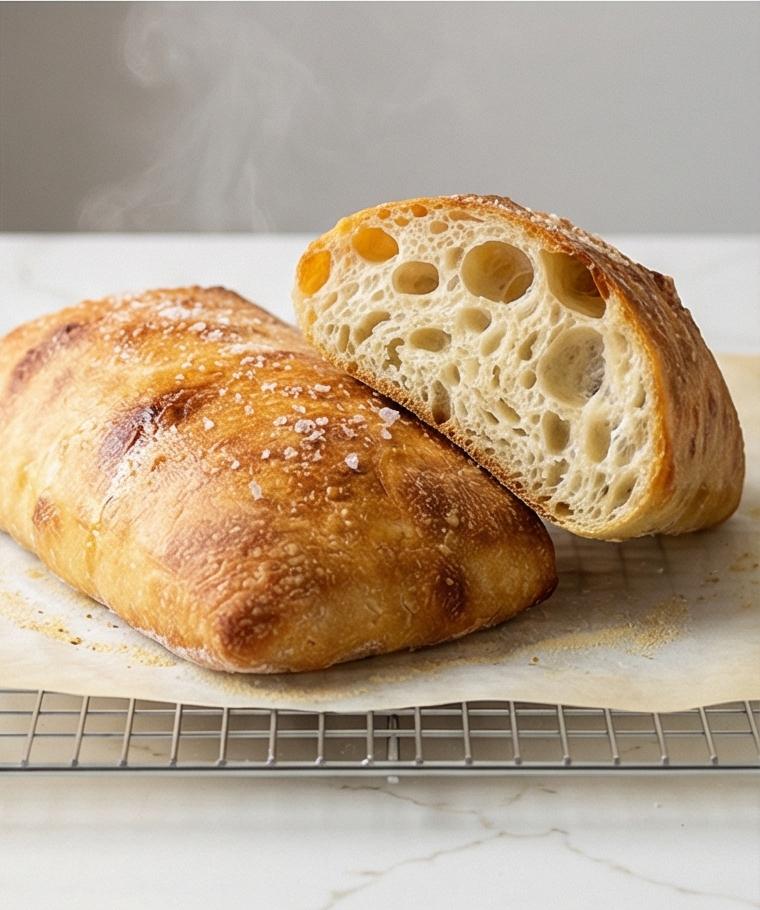
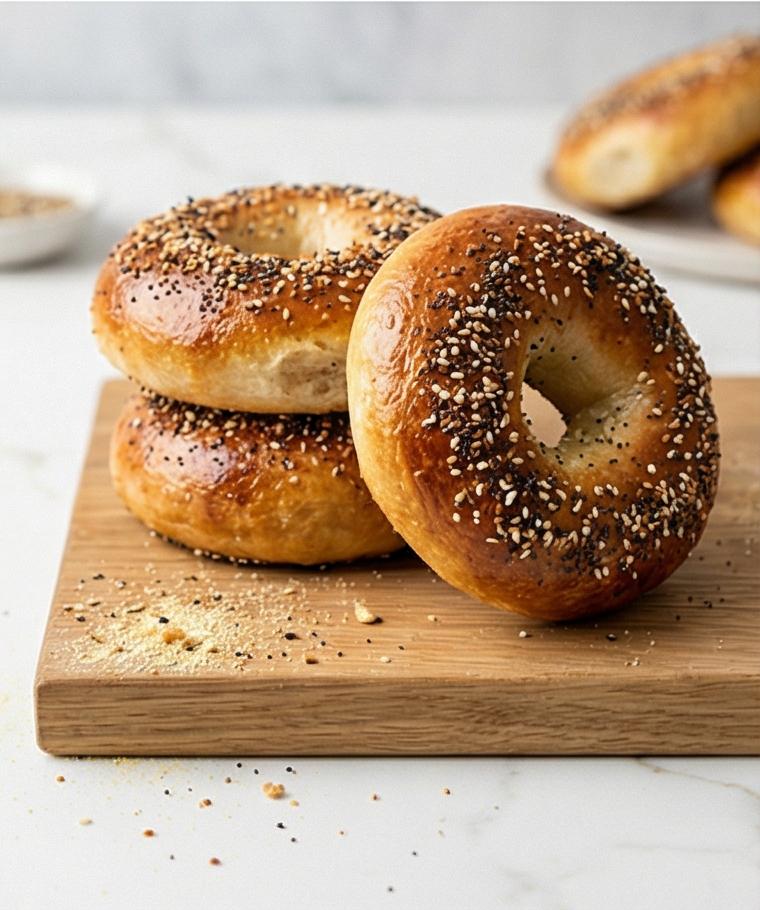
Irish Soda Bread Recipe has been a kitchen staple for me for years, the sort of loaf I turn to when I want something with a warm crust and honest crumb. I learned this version on a slow Sunday morning and it stuck because it is fast, forgiving, and rewarding. The first bite is always the best part: crunchy crust, tender interior, a hint of tang from the buttermilk. I like that it requires just pantry basics and a little attention, which is why I keep making the Irish Soda Bread Recipe again and again.
How This Loaf Became My Cozy-Weekend Tradition
I remember the first time I baked this Irish Soda Bread Recipe on a rainy morning. The house smelled like toasted flour and butter; steam curled from the oven when I opened the door and the crust felt like a promise under my palms. I was anxious about scoring the top, worried the cross would close up, but when it cracked open I felt proud and silly at the same time. We ate it warm with butter and a dab of jam, and the simple ritual of slicing and passing wedges made the day feel smaller and kinder. That memory is baked into the recipe for meit always brings a calm, familiar comfort.
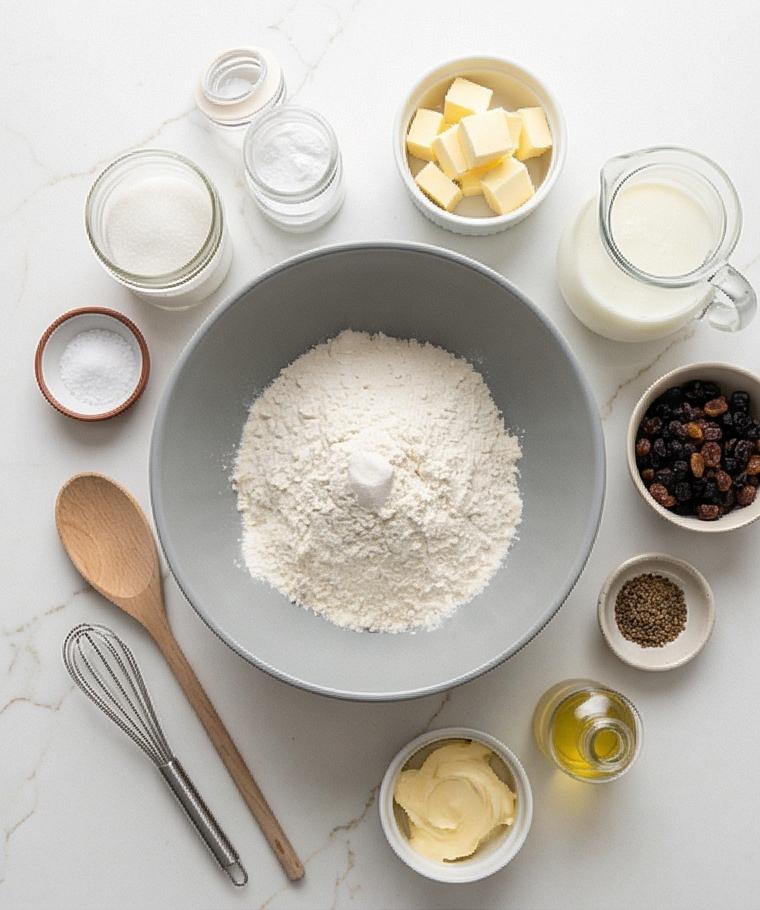
Essential Ingredients and What They Do
- All-purpose flour: The structure builder. Use a good-quality, unbleached flour; for a slightly denser loaf, swap half for whole-wheat pastry flour. Keep it spooned and leveled when measuring.
- Granulated sugar: Optional for a gently sweet crust; omit for a savory loaf.
- Baking soda: The leavener; make sure it is fresh so the loaf rises properly.
- Fine sea salt: Balances flavors. Kosher salt works too; adjust quantity by taste.
- Unsalted butter: Cold cubes create steam pockets for flakiness; you can use salted butter and reduce added salt.
- Buttermilk: The tang and tenderizer; substitute cultured non-dairy milk plus 1 tsp vinegar in a pinch.
- Raisins/currants and caraway: Optional traditional inclusions; toast raisins briefly for extra depth.
- Extra flour and neutral oil: For dusting and greasing; olive oil can be used for flavor.
Essential Kitchen Tools and Why They Matter
A short intro: this recipe is low-tech but a few tools make the result consistent and easy.
- Large mixing bowl: Provides room to whisk dry ingredients without spilling and to combine buttermilk without overworking.
- Pastry cutter or fingertips: For cutting cold butter into the flour; a food processor works but can overmix.
- Wooden spoon: Perfect for bringing the shaggy dough together; it’s forgiving and tactile.
- 9-10 inch cast-iron skillet or baking sheet: Cast iron promotes an even, bronzed crust; if you don’t have one, a heavy baking sheet is a fine substitute.
- Sharp knife or bench scraper: For scoring a clean cross which guides the loaf as it expands.
- Instant-read thermometer: Optional but helpful to confirm an internal 200-205°F for perfect doneness.
Step-by-Step Preparation Guide
Step 1: Preheat and prepare the pan
Preheat the oven to 425°F (220°C) and position a rack in the center – then lightly grease a heavy baking sheet or a 9 6-inch castiron skillet with a teaspoon of neutral oil or softened butter so it’s ready when the dough is shaped. Greasing is a simple, tactile step that ensures a clean release and a gently bronzed bottom; set the greased vessel nearby on the Calacatta-like surface so its in frame for later photos.
Step 2: Whisk the dry ingredients until even
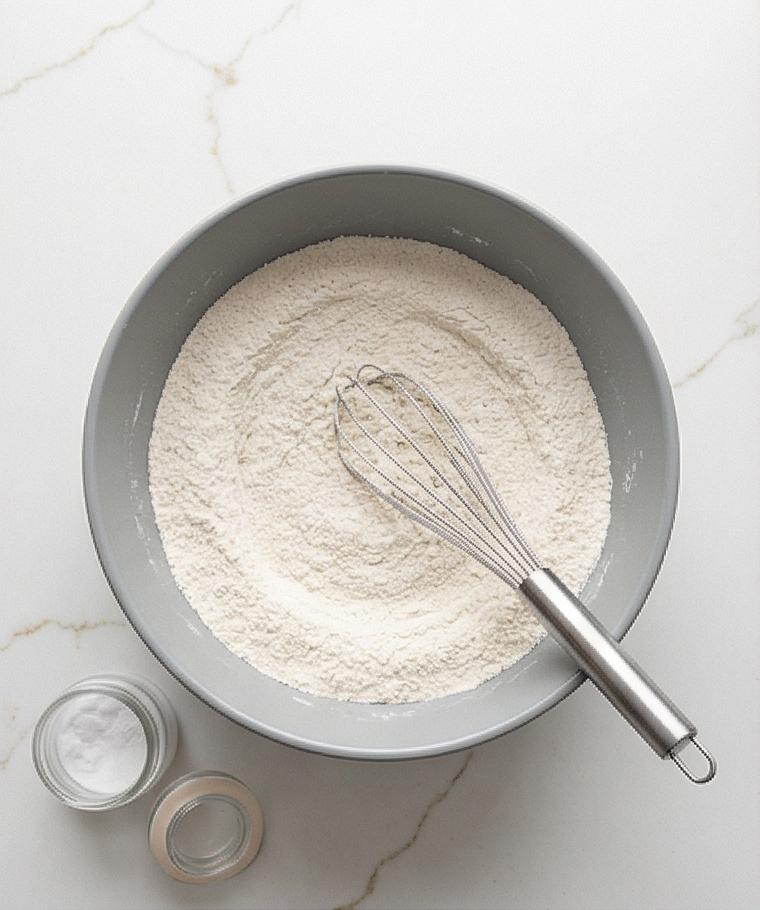
In a large mixing bowl whisk together the allpurpose flour, granulated sugar (if using), baking soda and fine sea salt until uniformly distributed and no pockets of soda remain – the texture should be a fine, even flour cloud with the soda fully incorporated. This is the visual baseline for the doughs lift and texture, a powdery, matte field of pale flour ready to receive cold butter and buttermilk.
Step 3: Cut the cold butter into coarse crumbs
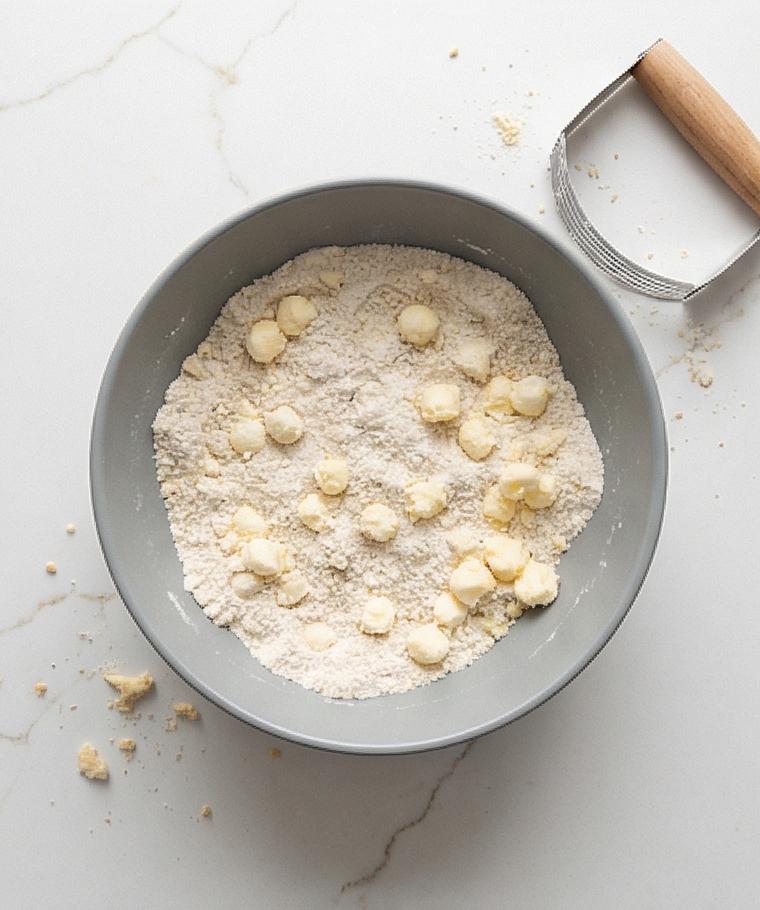
Add the cold, cubed unsalted butter to the dry mix and work quickly so the butter stays cold; using a pastry cutter or fingertips, rub the butter into the flour until the mixture resembles coarse crumbs with scattered peasized butter pieces. The result is intentionally uneven – a mix of fine sand and small butter pearls that will produce steam pockets during baking. Keep the same bowl and show the grainy, bumpy crumb texture as evidence of correct technique.
Step 4: Toss in raisins or currants and seeds (optional)
If using raisins or currants and caraway seeds, toss them into the crumbly mixture so they are lightly coated with flour and evenly distributed. This little step is purely visual but crucial – the speckled dark fruit and tiny seeds punctuate the pale crumb and indicate flavor points throughout the loaf. Gently fold so inclusions are visible but not crushed.
Step 5: Add cold buttermilk and form a shaggy dough
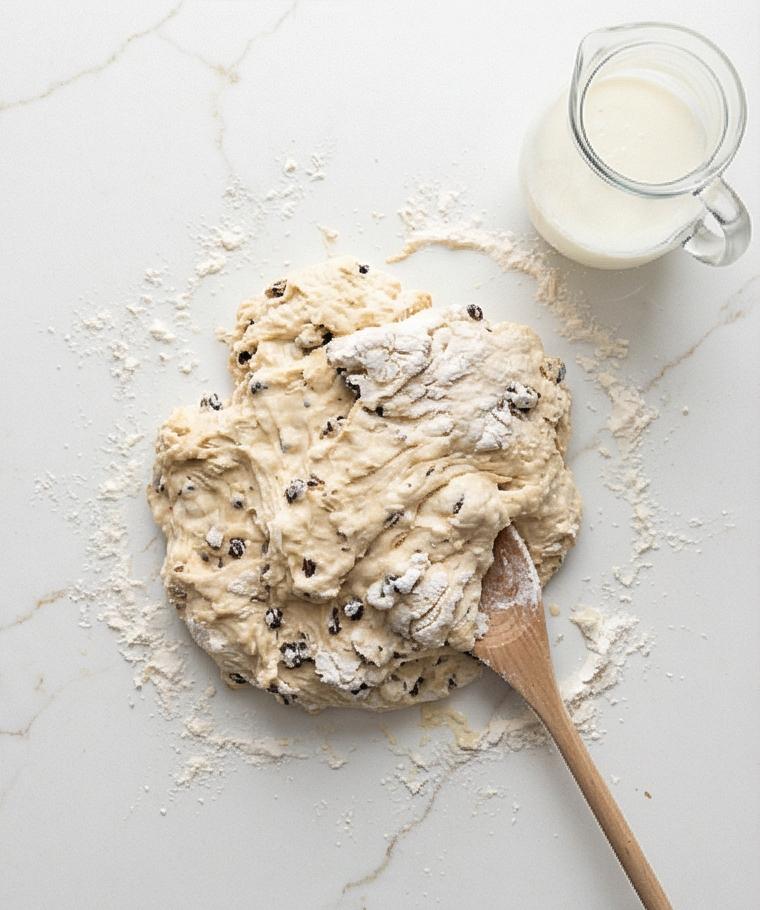
Make a deep well in the center of the dry ingredients, pour in cold, wellshaken buttermilk, and stir from the center outward with a wooden spoon until a shaggy, slightly sticky dough forms – about 20 630 seconds of gentle pulling and folding. The bowl should show a moist, clumping mass with loose flour at the edges; the dough is soft and slightly tacky, not smooth. Turn the shaggy mass out onto a lightly floured surface for minimal kneading, just enough to bring it together into a cohesive round.
Step 6: Light, careful shaping into a round loaf
On a lightly dusted work surface, bring the dough together with floured hands and knead no more than 6 68 gentle turns to produce a smooth-ish round about 7 68 inches wide and 2 inches high. The surface should be taut and slightly domed, with gentle seams tucked underneath; avoid adding excess flour. Transfer the shaped loaf seamside down to the prepared greased vessel so the geometry of the pan frames the loaf.
Step 7: Score the loaf for even expansion
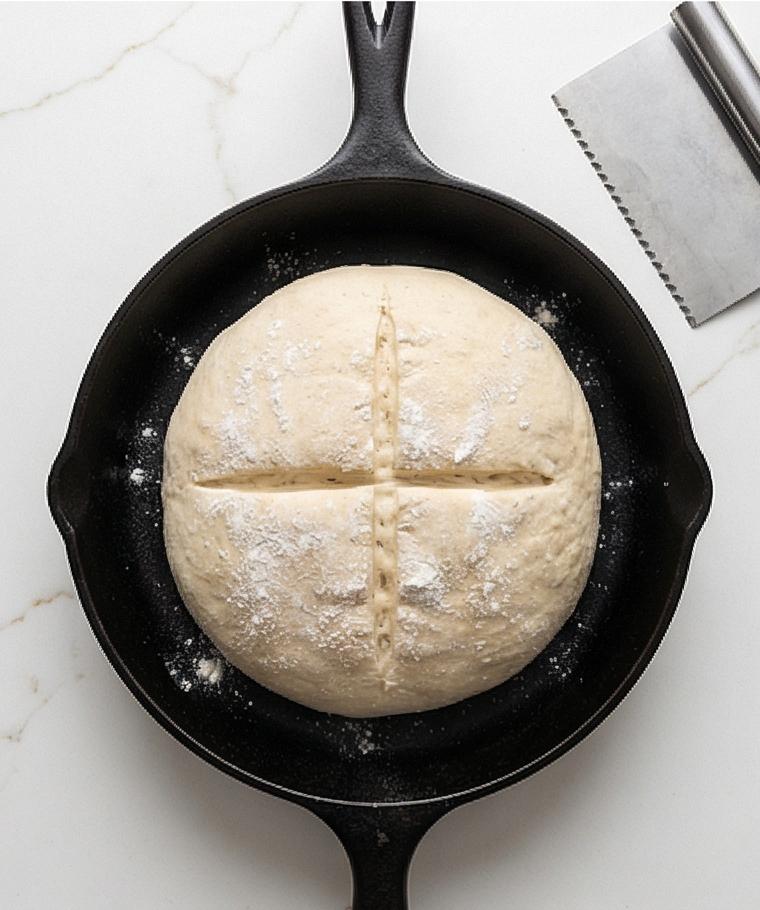
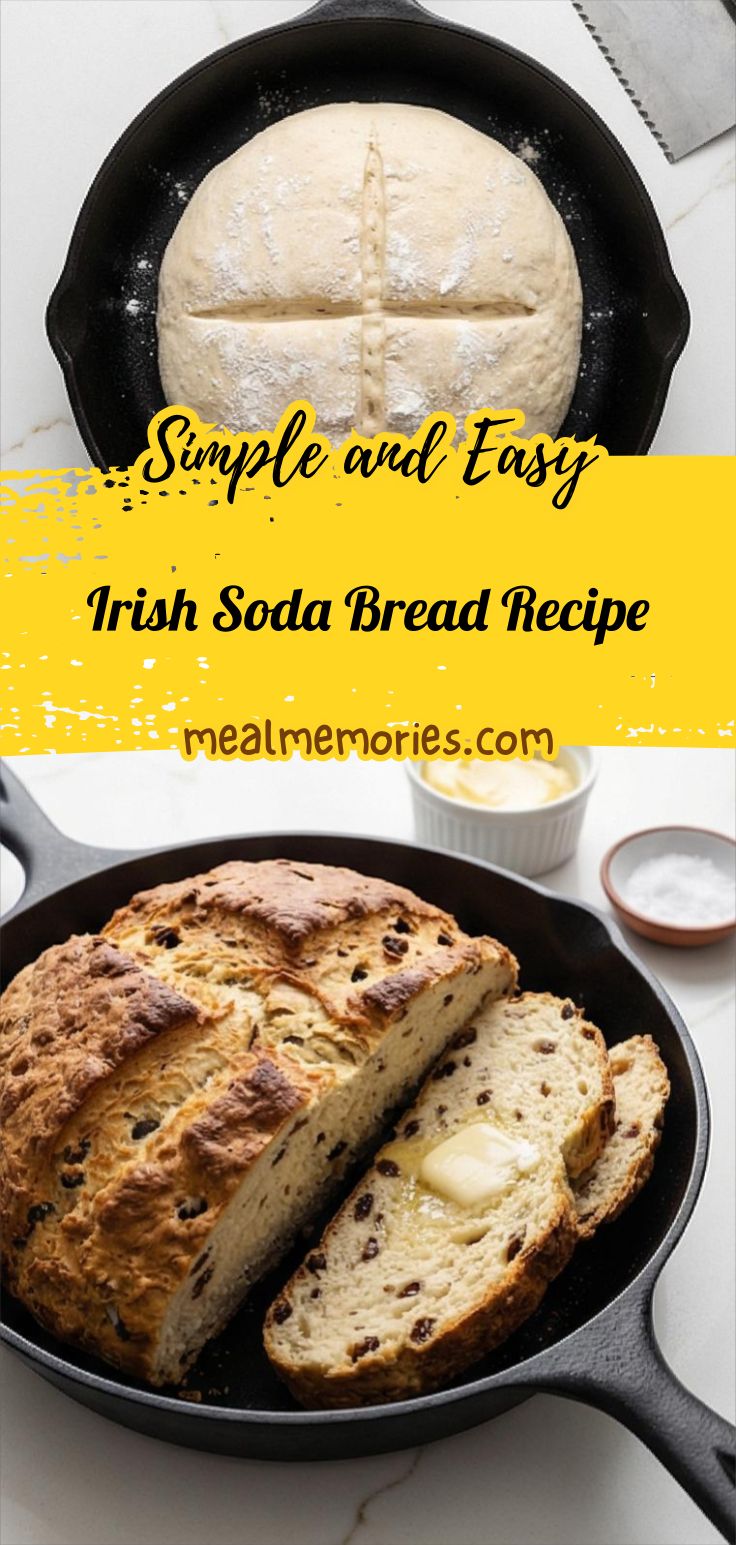
Using a sharp knife or a bench scraper dipped in flour, cut a deep cross about 1/2 to 3/4 inch deep across the top of the loaf; tidy the edges if it spreads slightly after scoring. The scored cross is a bold, visual cue – a clean white furrow through pale dough that will open into a rustic crack as it bakes. Place the scored loaf on the greased castiron skillet or baking sheet and prepare to bake.
Step 8: Bake and check for doneness
Bake the loaf at 425°F (220°C) for 15 minutes to set the crust and get lift, then reduce the oven to 400°F (200°C) and continue baking 20 625 minutes until deeply golden and hollow sounding when tapped; for accuracy, an instantread thermometer should register 200 6205°F (93 696°C) at the center. Once baked, transfer the warm loaf to a wire rack to cool slightly – the crust will finish setting as the crumb steadies.
Step 9: Slice and serve warm with butter
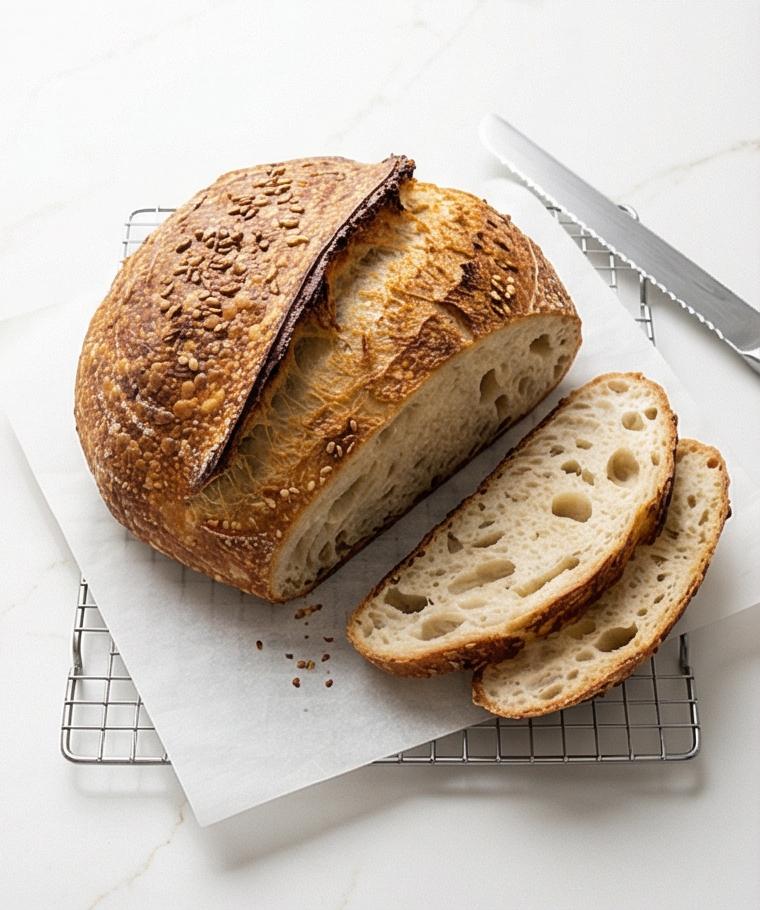
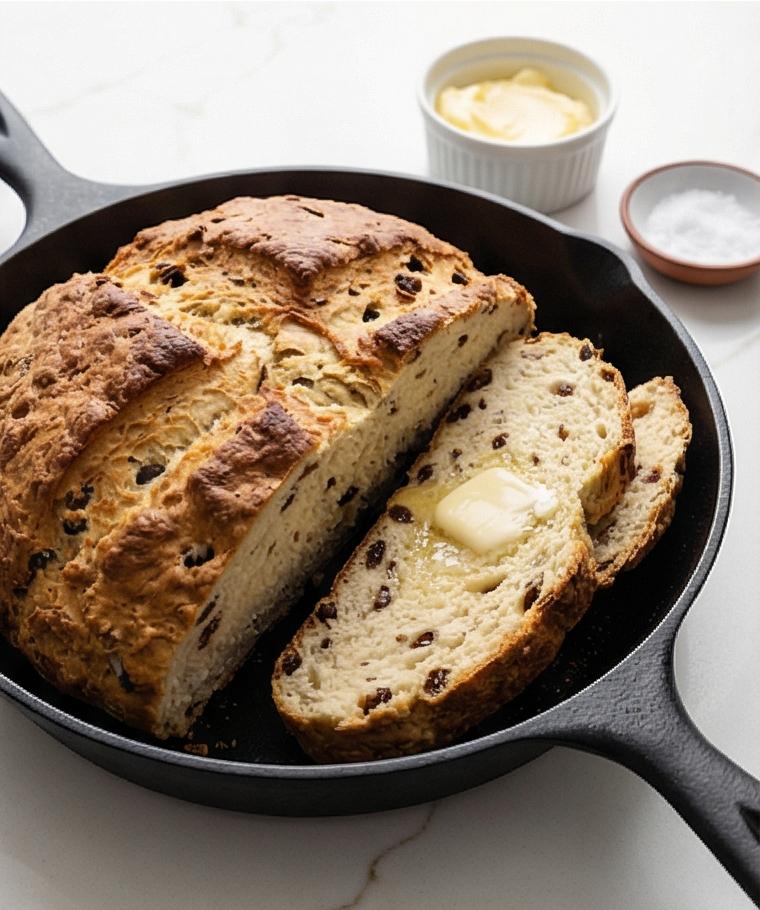
Let the soda bread cool 20 630 minutes, then slice into thick wedges with a serrated knife. Present warm or at room temperature with softened unsalted butter and a pinch of fine sea salt if desired; the interior should be tender with a slightly open crumb and the crust crisp and deeply bronzed.
Making It Your Own
I like to experiment with small swaps. For a breakfast loaf I add orange zest and plump the raisins with a splash of warm tea. For a savory version I fold in grated sharp cheddar and chopped chives in place of sugar and fruit. If you want gluten-free, try a 1-to-1 gluten-free flour blend and reduce mixing time; the texture will be denser but still satisfying.
Seasonal tweaks are fun: in fall I add chopped toasted nuts and a pinch of cinnamon; in spring I swap currants for dried cherries and scatter fresh herbs on top.
Each variation has been a tiny experiment at homesome worked beautifully, some taught me about balance and timing.
How to Serve
If Im hosting, I slice the Irish Soda Bread Recipe into thick wedges and arrange them on a wooden board with bowls of softened butter, cultured cream cheese, and a small dish of coarse salt. For a brunch crowd, offer jams, smoked salmon, and lemon-thyme ricotta. For dinner, serve slices alongside a stew or lamb roastthe bread soaks up juices and adds a rustic note.
To scale up, double the recipe and bake two loaves, or shape two smaller rounds and reduce bake time slightly. For a single person, halving the recipe works well and will keep the loaf fresher.
Storage and Reheating Tips
Store the cooled loaf wrapped loosely in a clean tea towel or in a paper bag at room temperature for up to 2 days; this keeps the crust crisper than plastic. If you need to keep it longer, wrap tightly and freeze for up to 3 months.
To reheat, slice and warm wedges in a 350°F (175°C) oven for 7-10 minutes, or toast slices for immediate service. If frozen, thaw at room temperature and then refresh in the oven for best texture.
Oops-Proofing: Common Mistakes and Fixes
Dont overwork the dough – it only needs a few turns. Over-kneading makes the loaf tough, so keep your hands light and count your folds.
Make sure your baking soda is fresh; stale soda yields a flat loaf. Also, avoid adding too much extra flour while shapinga slightly sticky dough makes a moister crumb.
Final Thoughts and an Invitation
This Irish Soda Bread Recipe is one of those small recipes that returns great comfort for little effort. Try it this weekend and share a wedge with someone you love; youll be surprised how such a simple loaf can change the mood of a meal.
Frequently Asked Questions.
-
Q: Can I use milk instead of buttermilk?
A: Yes, mix 1 3/4 cups milk with 1 tablespoon lemon juice or vinegar and let sit 5 minutes; it wont be identical but it works. -
Q: How can I tell when the loaf is done?
A: It should sound hollow when tapped on the bottom and an instant-read thermometer should read about 200-205°F in the center. -
Q: Can I make this dairy-free?
A: Substitute a cultured dairy-free milk for buttermilk and use a plant-based butter alternative; texture will be slightly different but still delicious. -
Q: Do I have to score the loaf?
A: Scoring helps the loaf expand predictably and gives that classic appearance, so its worth doing. -
Q: How long does it keep?
A: Wrapped at room temperature, it stays good for 2 days; freeze for longer storage up to 3 months.
Irish Soda Bread Recipe
Make Irish Soda Bread Recipe now: quick, crusty loaf ready to slice and share.
Ingredients
Instructions
Step 1: Preheat and prepare the pan
Preheat the oven to 425°F (220°C) and position a rack in the center — then lightly grease a heavy baking sheet or a 9–10-inch cast‑iron skillet with a teaspoon of neutral oil or softened butter so it's ready when the dough is shaped. Greasing is a simple, tactile step that ensures a clean release and a gently bronzed bottom; set the greased vessel nearby on the Calacatta-like surface so it’s in frame for later photos.
Step 2: Whisk the dry ingredients until even
In a large mixing bowl whisk together the all‑purpose flour, granulated sugar (if using), baking soda and fine sea salt until uniformly distributed and no pockets of soda remain — the texture should be a fine, even flour cloud with the soda fully incorporated. This is the visual baseline for the dough’s lift and texture, a powdery, matte field of pale flour ready to receive cold butter and buttermilk.
Step 3: Cut the cold butter into coarse crumbs
Add the cold, cubed unsalted butter to the dry mix and work quickly so the butter stays cold; using a pastry cutter or fingertips, rub the butter into the flour until the mixture resembles coarse crumbs with scattered pea‑sized butter pieces. The result is intentionally uneven — a mix of fine sand and small butter pearls that will produce steam pockets during baking. Keep the same bowl and show the grainy, bumpy crumb texture as evidence of correct technique.
Step 4: Toss in raisins or currants and seeds (optional)
If using raisins or currants and caraway seeds, toss them into the crumbly mixture so they are lightly coated with flour and evenly distributed. This little step is purely visual but crucial — the speckled dark fruit and tiny seeds punctuate the pale crumb and indicate flavor points throughout the loaf. Gently fold so inclusions are visible but not crushed.
Step 5: Add cold buttermilk and form a shaggy dough
Make a deep well in the center of the dry ingredients, pour in cold, well‑shaken buttermilk, and stir from the center outward with a wooden spoon until a shaggy, slightly sticky dough forms — about 20–30 seconds of gentle pulling and folding. The bowl should show a moist, clumping mass with loose flour at the edges; the dough is soft and slightly tacky, not smooth. Turn the shaggy mass out onto a lightly floured surface for minimal kneading, just enough to bring it together into a cohesive round.
Step 6: Light, careful shaping into a round loaf
On a lightly dusted work surface, bring the dough together with floured hands and knead no more than 6–8 gentle turns to produce a smooth-ish round about 7–8 inches wide and 2 inches high. The surface should be taut and slightly domed, with gentle seams tucked underneath; avoid adding excess flour. Transfer the shaped loaf seam‑side down to the prepared greased vessel so the geometry of the pan frames the loaf.
Step 7: Score the loaf for even expansion
Using a sharp knife or a bench scraper dipped in flour, cut a deep cross about 1/2 to 3/4 inch deep across the top of the loaf; tidy the edges if it spreads slightly after scoring. The scored cross is a bold, visual cue — a clean white furrow through pale dough that will open into a rustic crack as it bakes. Place the scored loaf on the greased cast‑iron skillet or baking sheet and prepare to bake.
Step 8: Bake and check for doneness
Bake the loaf at 425°F (220°C) for 15 minutes to set the crust and get lift, then reduce the oven to 400°F (200°C) and continue baking 20–25 minutes until deeply golden and hollow sounding when tapped; for accuracy, an instant‑read thermometer should register 200–205°F (93–96°C) at the center. Once baked, transfer the warm loaf to a wire rack to cool slightly — the crust will finish setting as the crumb steadies.
Step 9: Slice and serve warm with butter
Let the soda bread cool 20–30 minutes, then slice into thick wedges with a serrated knife. Present warm or at room temperature with softened unsalted butter and a pinch of fine sea salt if desired; the interior should be tender with a slightly open crumb and the crust crisp and deeply bronzed.
Notes
- Use fresh baking soda for reliable rise.
- Keep butter cold for a flakier crumb.
- Do not overwork the dough; knead only 6-8 turns.
- Warm slices briefly in a 350°F oven for best texture.
- Freeze wrapped for up to 3 months.