French Fries Recipe: a simple, classic comfort food that I return to again and again. I remember the first time I mastered the double-fry technique, and how the kitchen filled with that warm, potato-scented steam while my family waited impatiently. Making this French Fries Recipe at home feels like a small celebration, because the results are better than any fast-food version I can find. I love how the crust crunches and the interior stays tender, and the method here gives a reliable, restaurant-style fry every time.
How This Recipe Became My Rainy-Day Favorite
The day I nailed this French Fries Recipe was a rainy Sunday when I decided to turn a bag of russets into something memorable. I cut the potatoes slowly and methodically, listening to the rain and watching condensation bead on the glass bowl as the batons soaked in ice water. There was a small moment of triumph when the rinse water ran clear and the kitchen smelled clean and starchy. Frying was oddly meditative: the first blanches hissed quietly, then the second fry created that irresistible crackle. We ate them eating with our hands, fingers dusted with salt, and for a while everything felt just a little brighter. The memory of that day keeps me reaching for this recipe whenever the weather is moody or we need something reliably comforting.
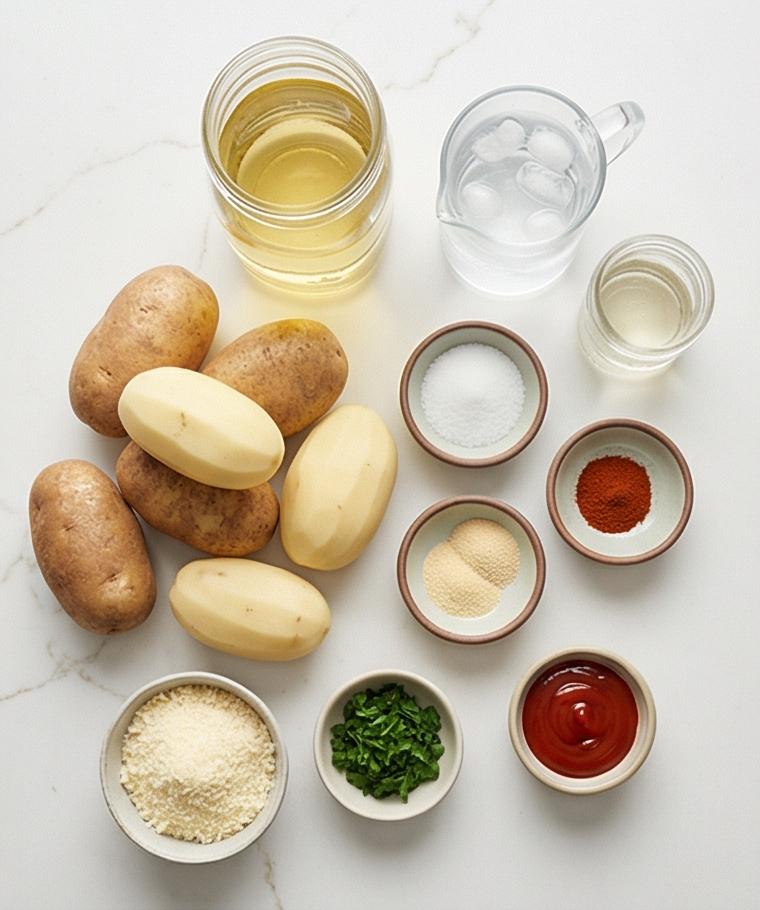
Main Ingredients and What They Do
- Russet Potatoes: The foundation of crisp, fluffy fries due to high starch and low moisture; substitute with Yukon Gold for a creamier interior but expect less crispness. Choose firm, dry potatoes without sprouts.
- Neutral Frying Oil: Provides high-heat stability and neutral flavor; use peanut, canola, or vegetable oil. For peanut allergy, pick refined avocado or sunflower oil.
- Kosher Salt: Essential for seasoning and surface flavor; sea salt or fine table salt may be used but adjust amounts.
- Cold Water and Ice (plus Vinegar): The ice-cold soak leaches surface starch and firms centers; the optional vinegar helps the texture. Use very cold water and plenty of ice.
Essential Kitchen Tools and Why They Matter
A few good tools make this French Fries Recipe much easier and safer. A heavy-bottomed pot or deep fryer keeps oil temperature steady, which is critical for consistent results. A reliable thermometer prevents guesswork and reduces wasted batches. A sturdy mandoline or a sharp chef’s knife ensures uniform batons, and uniformity equals even cooking.
- Heavy pot or deep fryer: Keeps temperature steady; for small kitchens a deep, heavy pot works well.
- Candy or frying thermometer: Prevents overheating and undercooking; a clip-on digital probe is a great alternative.
- Wire rack and baking sheet: Allow drained fries to stay crisp; paper towels can work in a pinch.
- Mandoline or chef’s knife: For uniform cuts; if you do not own a mandoline, take your time and use a steady knife technique.
Step-by-Step Preparation Guide
Step 1: Make the ice-cold soak
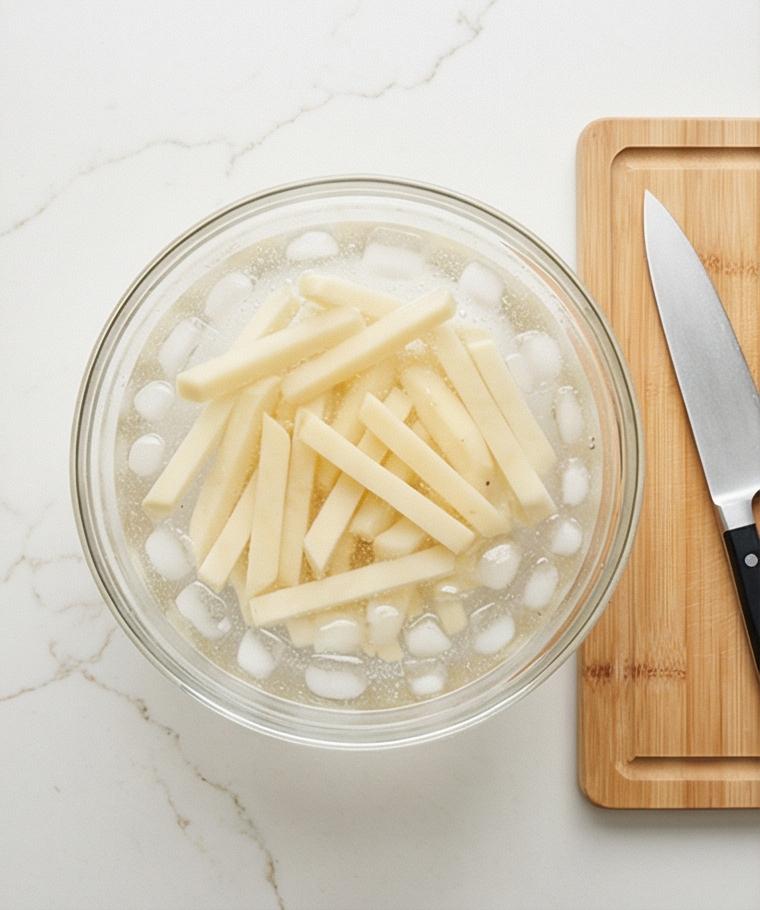
Fill a large clear glass bowl with very cold water and a generous handful of ice cubes; if you like, stir in a tablespoon of distilled white vinegar to help the fries hold their crisp. This ice bath is the first active step — it stabilizes temperature and begins extracting surface starch immediately, so have the bowl ready on the quartz surface before you move on.
Step 2: Clean and trim the potatoes
Thoroughly scrub each russet under cold running water, peeling them only if you prefer the classic smooth fry; leaving skins on gives a rustic texture. Trim off any eyes or blemishes and set whole, cleaned potatoes next to a small ramekin holding kosher salt and a little bowl with the optional grated Parmesan and chopped parsley for later.
Step 3: Cut into uniform batons and submerge
Slice each potato lengthwise into consistent 1/4-inch (6 mm) slabs, stack and cut into uniform 1/4-inch sticks. As soon as each baton is cut, drop them straight into the prepared ice-cold glass bowl so they stay crisp and don’t brown; the visual result should be a dense bed of pale, raw potato sticks bobbing in icy water with tiny beads of condensation on the bowl.
Step 4: Soak, then drain and rinse
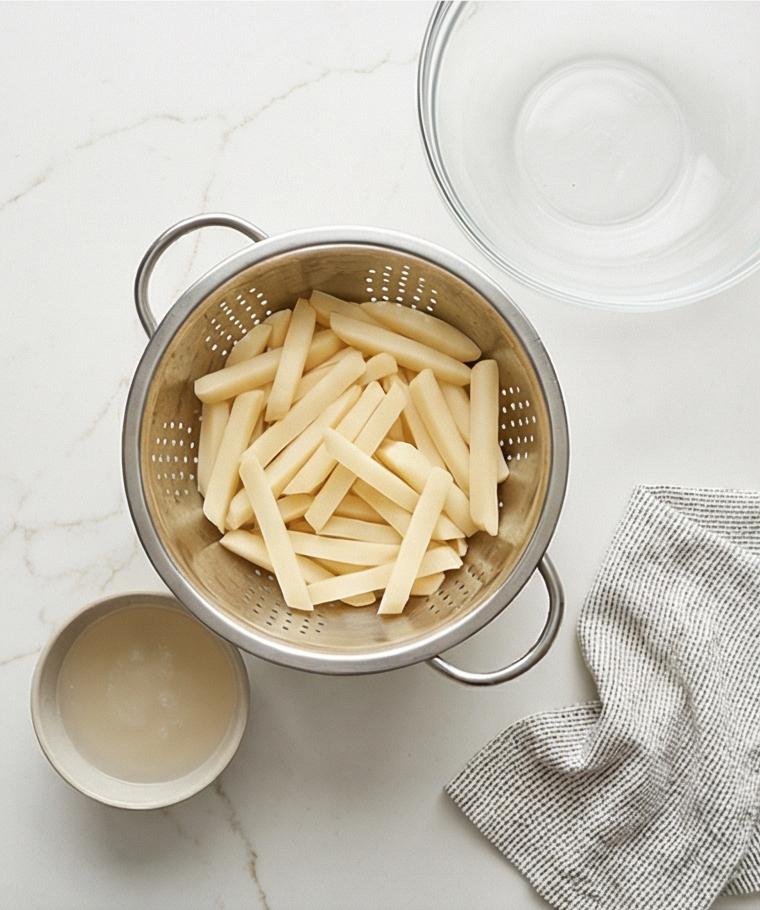
Let the batons rest in the ice water for at least 30 minutes (up to 2 hours) in the refrigerator to leach starch and firm the centers. When soaking is complete, pour the contents into a stainless-steel colander and rinse under cold running water until the rinse water runs mostly clear; the visual milestone is the transformation from cloudy starchy water to mostly clear, and the batons looking noticeably less opaque.
Step 5: Thoroughly dry the fries
Spread the drained potatoes in a single layer on a clean kitchen towel or several layers of paper towels and pat them absolutely dry — removing surface moisture is critical to avoid dangerous oil splatter and to get a proper crisp. The result is matte, residue-free potato sticks arranged in a single layer, ready for frying.
Step 6: First fry (blanch) and cool
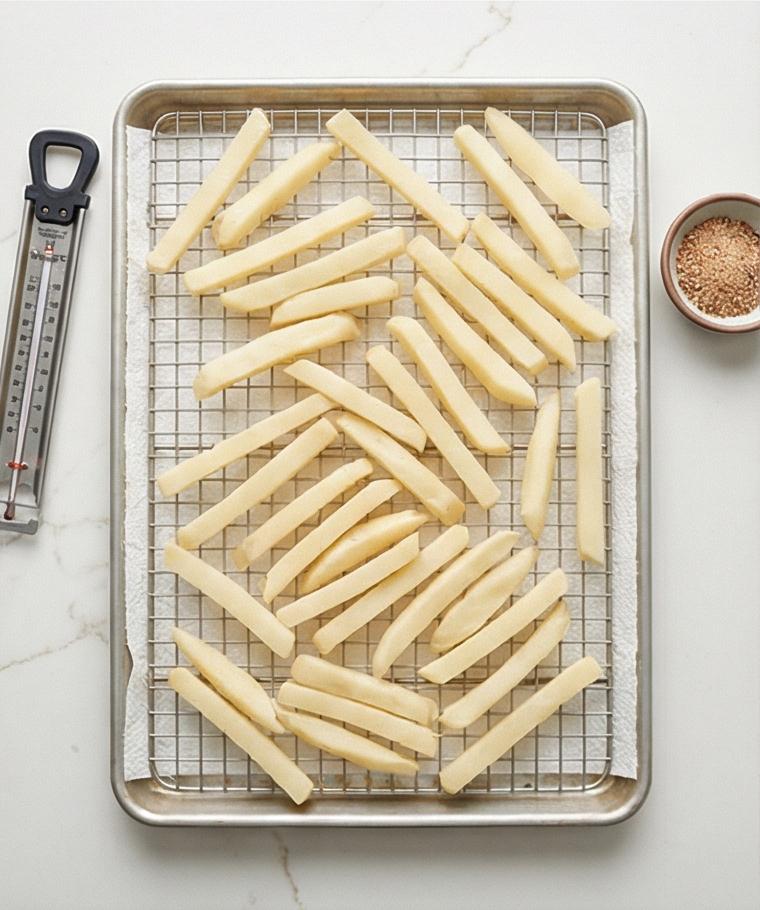
Blanch small batches in preheated oil held at the lower blanching temperature until the fries are softened, slightly swollen, and pale — they should bend without breaking. Lift them out and transfer to a wire rack set over paper towels to drain and cool; the visual cue is a stack of pale, plump fries that look cooked through but not yet golden. Allow them to rest at room temperature for at least 15 minutes before moving on.
Step 7: Second fry to deep golden crispness and season
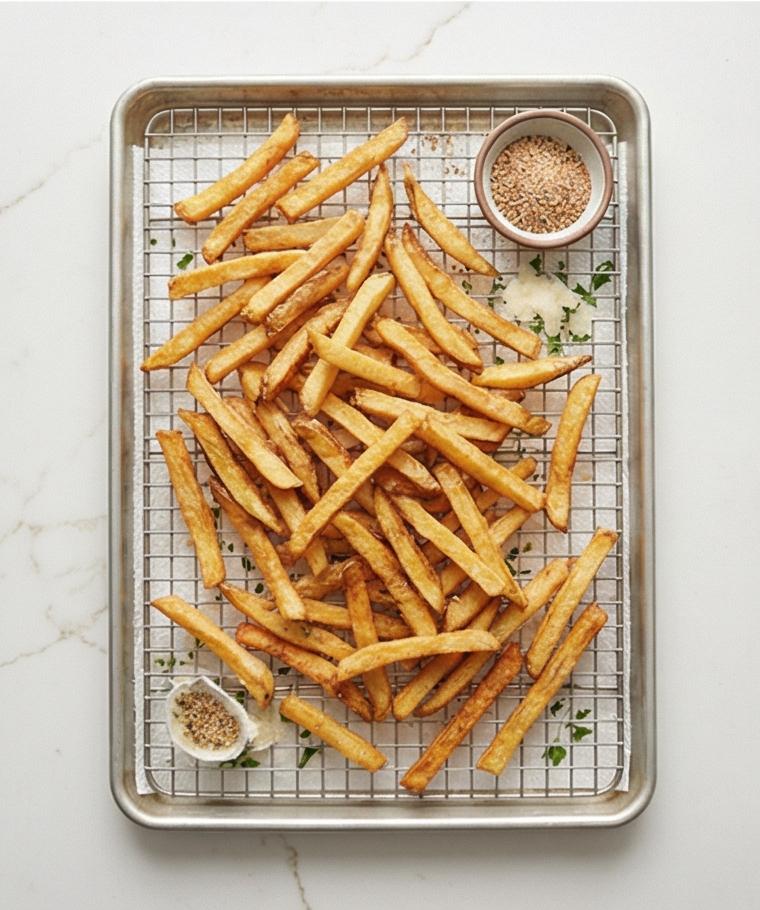
Heat the oil to the higher finishing temperature and fry the cooled, blanched batons in small batches until they blister and turn a deep golden-brown with a textured, crackly crust. Drain on a clean wire rack, immediately toss with kosher salt and the optional seasoning blend so it adheres while the fries are hottest — visually they should read as intensely golden, slightly blistered surfaces with visible salt crystals and a dusting of paprika or grated Parmesan if used.
Step 8: Finish and serve while hot
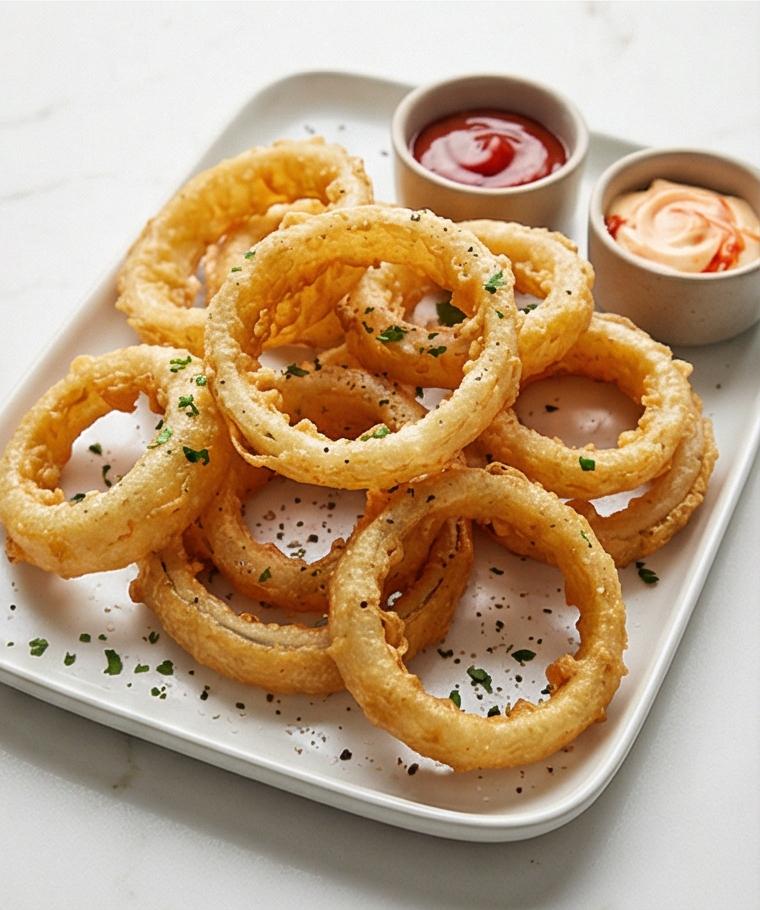
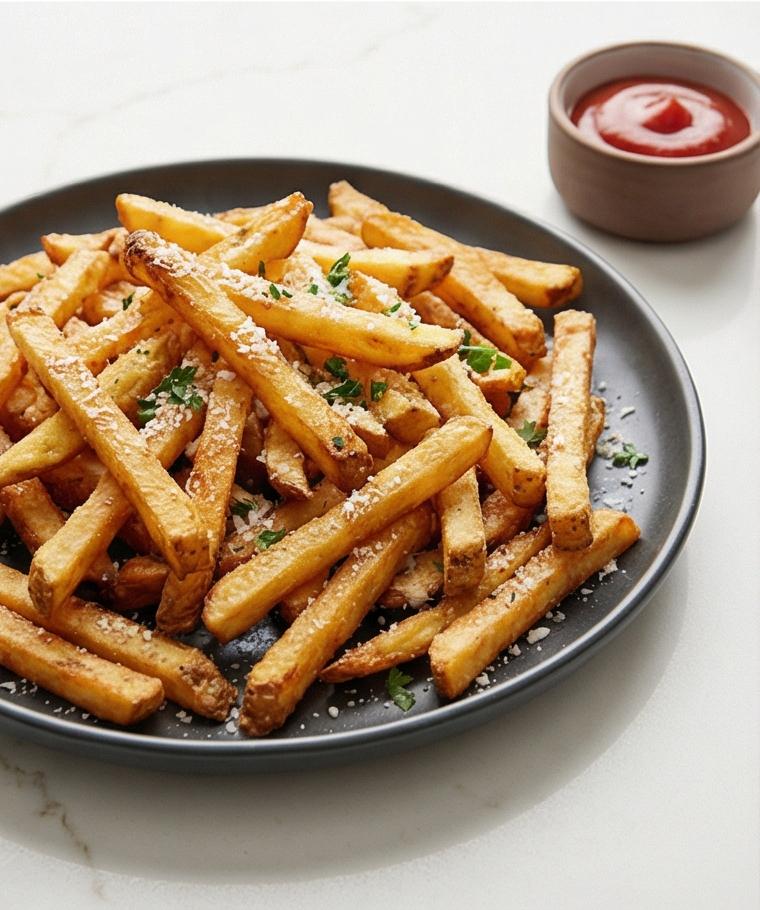
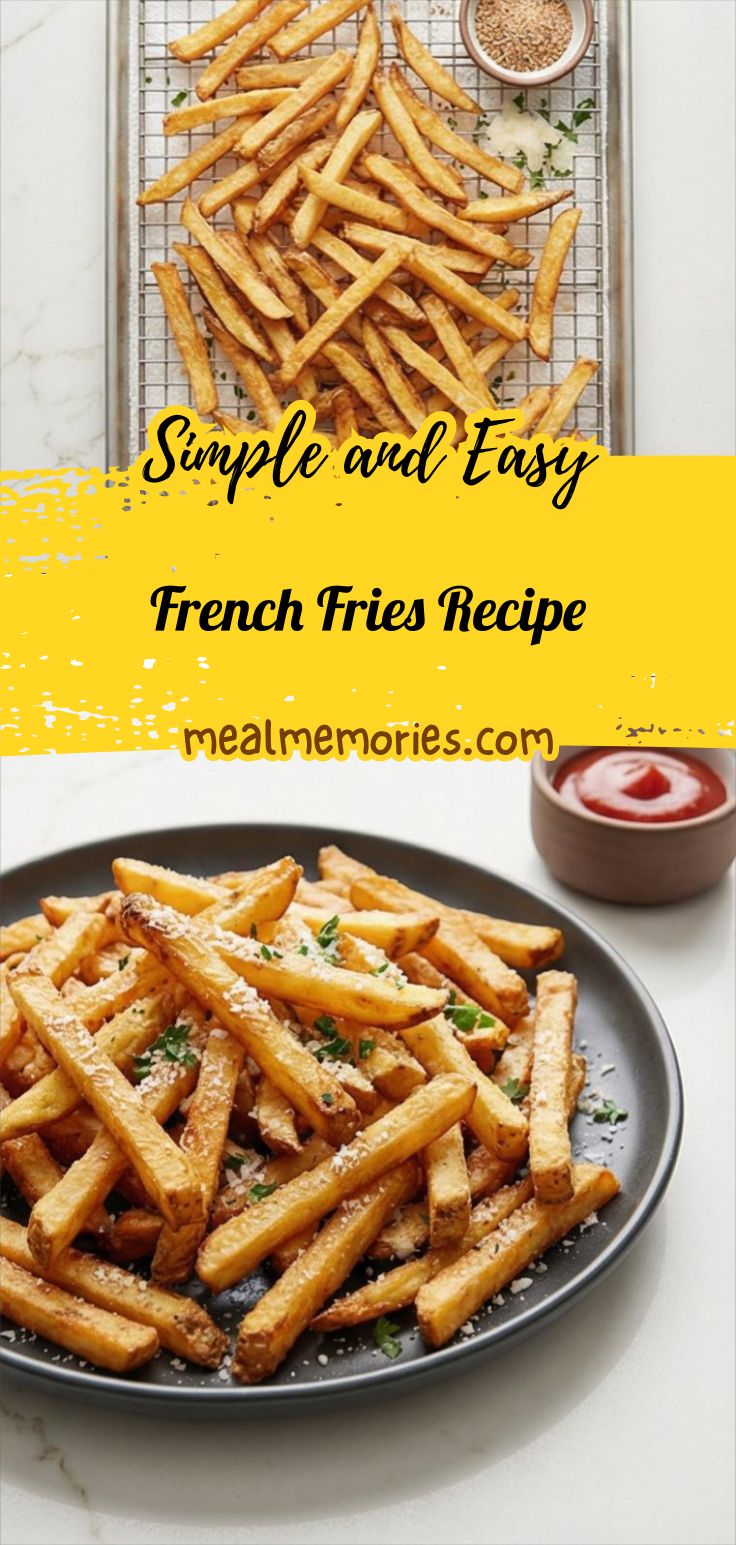
Transfer the finished fries to a shallow matte charcoal ceramic platter or a wide, shallow serving bowl, scatter finely chopped parsley and a light shower of freshly grated Parmesan if desired, and place a small dipping ramekin of ketchup or mayonnaise beside the pile. Serve immediately while the contrast between the crisp exterior and fluffy interior is most pronounced.
Making It Your Own
I like to experiment with seasoning and finishing touches when I make this French Fries Recipe. Try smoked paprika and a sprinkle of garlic powder for a rustic, smoky flavor, or shave a little Parmesan and add chopped parsley for an elegant finish. For a vegan twist, skip the cheese and toss with zesty vinegar and fresh herbs. When I tried truffle oil on just a few fries, the result felt decadent but a little strong, so I now use it sparingly. Small changes like these let you personalize the recipe without changing the core double-fry technique.
How to Serve
If you are hosting, serve these fries family-style on a large platter with small ramekins of ketchup, mayonnaise, and a tangy aioli. For a burger night, make multiple small batches so each serving is hot and crisp. If you need to feed more people, double the potatoes and fry in separate batches rather than crowding the oil. Garnish with parsley and a light dusting of Parmesan for a more refined presentation. Use brown kraft paper or a shallow bowl to create a casual, friendly display when serving to guests.
Storage and Reheating Tips
Leftover fries do not keep their original crunch perfectly, but you can revive them. Store cooled fries in an airtight container lined with a paper towel to absorb moisture for up to 2 days in the refrigerator.
To reheat, spread fries in a single layer on a baking sheet and re-crisp in a preheated oven at 425 F for 6 to 10 minutes, flipping halfway through. A hot air fryer set to 375 F for 3 to 5 minutes is excellent for restoring texture.
Common Mistakes and How to Avoid Them
Overcrowding the fryer is the most common error; it lowers oil temperature and produces limp fries. Work in small batches and maintain the oil temperature.
Skipping the soak or not drying the batons thoroughly leads to oily, soggy results. Take the time to soak, rinse, and dry well before frying.
Final Thoughts
Give this French Fries Recipe a try the next time you want simple comfort with a crispy finish. It rewards a little patience with reliably excellent results, and once you taste them, you may never go back to frozen fries.
Frequently Asked Questions
- What is the best potato for French fries? Russet potatoes are best for the classic texture, but Yukon Golds work if you prefer a creamier interior.
- Can I use olive oil for frying? It is better to use a neutral oil with a high smoke point; olive oil can impart flavor and smoke at high temperatures.
- How long should I soak the potatoes? At least 30 minutes and up to 2 hours; longer soaks help remove more surface starch.
- Why double fry? The first fry cooks the potato through, and the second fry crisps the exterior for a golden finish.
- Can I make these ahead of time? You can par-cook and refrigerate blanched fries, then finish in hot oil just before serving.
French Fries Recipe
Make crisp French Fries Recipe at home with a double-fry method for golden, fluffy fries.
Ingredients
Instructions
Step 1: Make the ice-cold soak
Fill a large clear glass bowl with very cold water and a generous handful of ice cubes; if you like, stir in a tablespoon of distilled white vinegar to help the fries hold their crisp. This ice bath is the first active step — it stabilizes temperature and begins extracting surface starch immediately, so have the bowl ready on the quartz surface before you move on.
Step 2: Clean and trim the potatoes
Thoroughly scrub each russet under cold running water, peeling them only if you prefer the classic smooth fry; leaving skins on gives a rustic texture. Trim off any eyes or blemishes and set whole, cleaned potatoes next to a small ramekin holding kosher salt and a little bowl with the optional grated Parmesan and chopped parsley for later.
Step 3: Cut into uniform batons and submerge
Slice each potato lengthwise into consistent 1/4-inch (6 mm) slabs, stack and cut into uniform 1/4-inch sticks. As soon as each baton is cut, drop them straight into the prepared ice-cold glass bowl so they stay crisp and don’t brown; the visual result should be a dense bed of pale, raw potato sticks bobbing in icy water with tiny beads of condensation on the bowl.
Step 4: Soak, then drain and rinse
Let the batons rest in the ice water for at least 30 minutes (up to 2 hours) in the refrigerator to leach starch and firm the centers. When soaking is complete, pour the contents into a stainless-steel colander and rinse under cold running water until the rinse water runs mostly clear; the visual milestone is the transformation from cloudy starchy water to mostly clear, and the batons looking noticeably less opaque.
Step 5: Thoroughly dry the fries
Spread the drained potatoes in a single layer on a clean kitchen towel or several layers of paper towels and pat them absolutely dry — removing surface moisture is critical to avoid dangerous oil splatter and to get a proper crisp. The result is matte, residue-free potato sticks arranged in a single layer, ready for frying.
Step 6: First fry (blanch) and cool
Blanch small batches in preheated oil held at the lower blanching temperature until the fries are softened, slightly swollen, and pale — they should bend without breaking. Lift them out and transfer to a wire rack set over paper towels to drain and cool; the visual cue is a stack of pale, plump fries that look cooked through but not yet golden. Allow them to rest at room temperature for at least 15 minutes before moving on.
Step 7: Second fry to deep golden crispness and season
Heat the oil to the higher finishing temperature and fry the cooled, blanched batons in small batches until they blister and turn a deep golden-brown with a textured, crackly crust. Drain on a clean wire rack, immediately toss with kosher salt and the optional seasoning blend so it adheres while the fries are hottest — visually they should read as intensely golden, slightly blistered surfaces with visible salt crystals and a dusting of paprika or grated Parmesan if used.
Step 8: Finish and serve while hot
Transfer the finished fries to a shallow matte charcoal ceramic platter or a wide, shallow serving bowl, scatter finely chopped parsley and a light shower of freshly grated Parmesan if desired, and place a small dipping ramekin of ketchup or mayonnaise beside the pile. Serve immediately while the contrast between the crisp exterior and fluffy interior is most pronounced.
Notes
- Dry the cut potatoes thoroughly to prevent dangerous oil splatter and to ensure crispness.
- Maintain steady oil temperature; use a thermometer to avoid soggy or burned fries.
- Soak for at least 30 minutes to remove surface starch; up to 2 hours is fine.
- Fry in small batches to avoid overcrowding and lower oil temperature.
- Re-crisp leftovers in a hot oven or air fryer rather than the microwave.