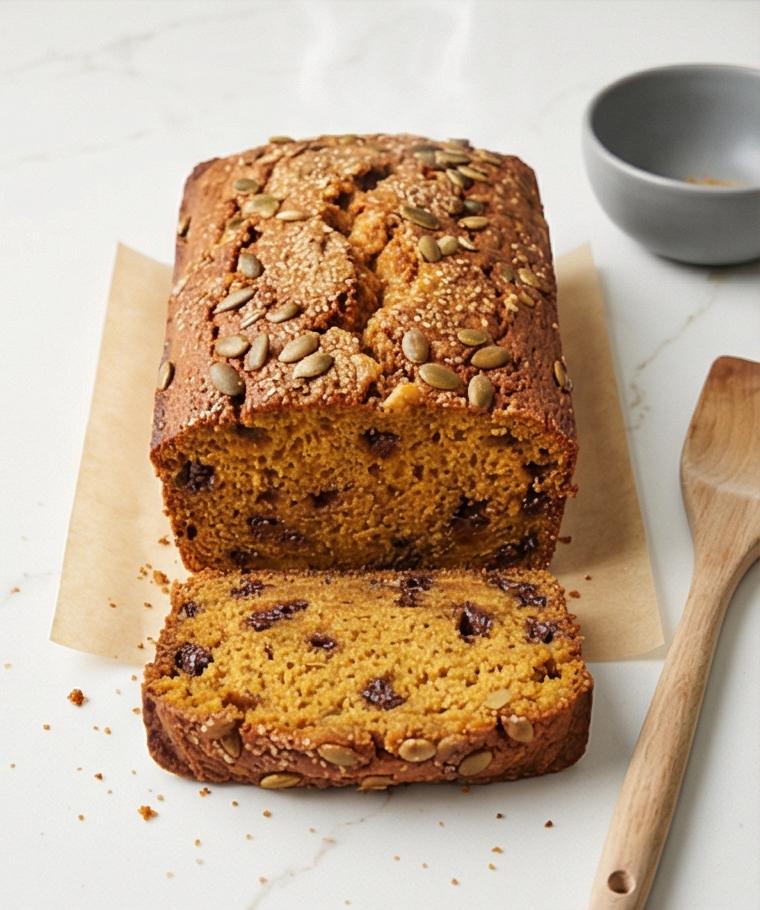
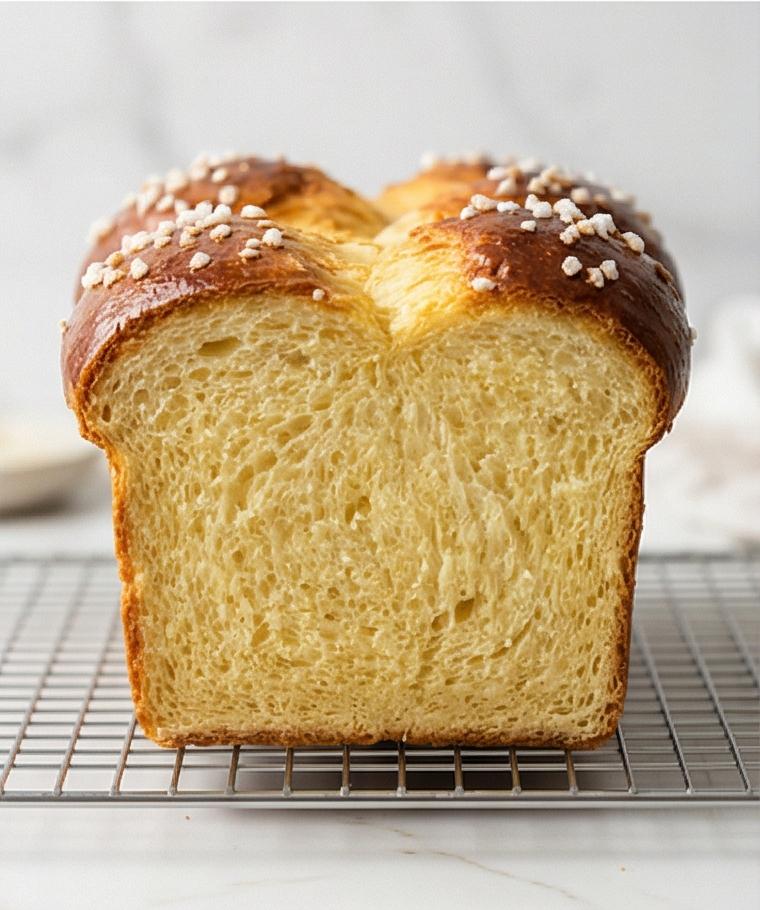
Challah Recipe has been my weekend ritual for years, and I still get a little thrill when the oven door opens to reveal glossy, golden braids. I love how the simple act of braiding dough turns basic ingredients into something celebratory and warm. This Challah Recipe is a dependable one: tender crumb, shiny crust, and a faint honeyed sweetness that makes it perfect for breakfasts, sandwiches, or a festive table. I’ve taught friends to braid, swapped tips with neighbors, and still learn one small trick each time I make it.
How This Recipe Became My Rainy-Day Favorite
There was one rainy afternoon when I first made this Challah Recipe for a gathering of close friends who had come inside drenched and hungry. The kitchen filled with warm, yeasty steam as the dough rose on the counter, and the sound of rain on the windows made the whole room feel like a hug. I remember pinching off a small piece of just-baked crumb and marveling at how light and tender it was, the honey lifting the flavor in a way that felt both humble and magical. That day I learned the comfort that good bread brings: people slow down, bread gets passed around, and conversation grows softer. Baking this loaf became less about technique and more about creating a moment you want to repeat, so now whenever clouds gather I’m already planning which loaf to braid.
Primary Ingredients and Why They Matter
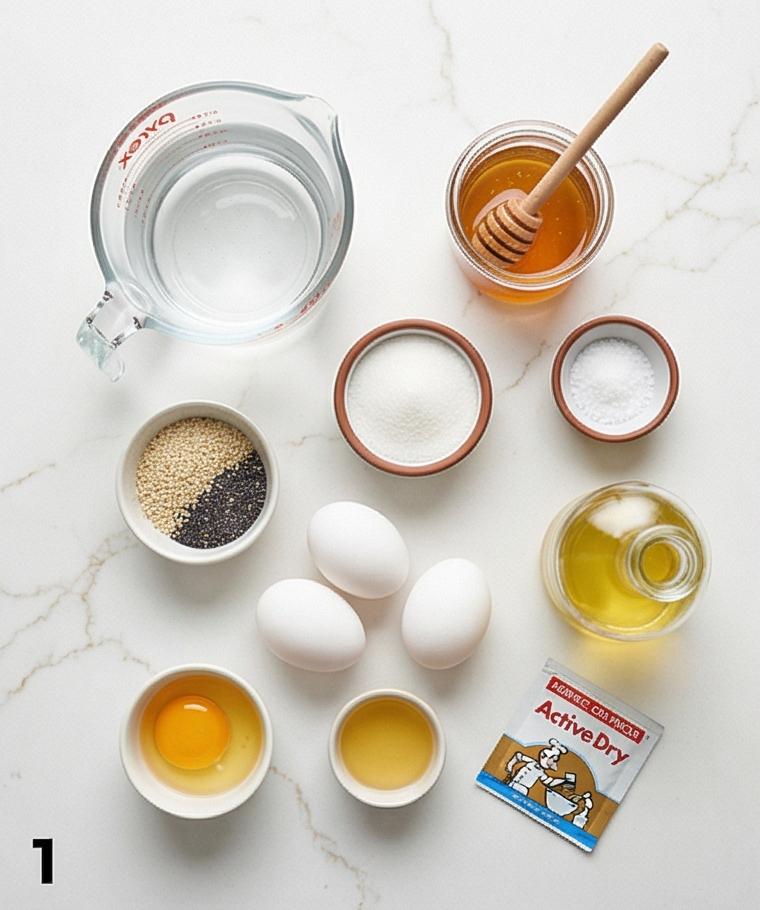
- Warm Water: Activates the yeast and sets dough temperature – choose water that feels warm, not hot; 105-110°F is ideal. Substitute with milk for a richer crumb.
- Granulated Sugar: Feeds the yeast and sweetens the dough – you can use superfine or caster sugar for faster dissolution.
- Active Dry Yeast: The rising power – if using instant yeast, mix it with the flour and reduce proofing slightly.
- Eggs: Add richness, structure, and color – use room-temperature eggs for better incorporation.
- Neutral Oil: Keeps the crumb tender – swap with melted butter for extra flavor at the cost of a slightly heavier loaf.
- Honey: Deepens the flavor and aids browning – maple syrup can be an alternate if you prefer.
- Fine Sea Salt: Balances the sweetness – do not use coarse salt directly without dissolving.
- Bread Flour: Builds gluten and gives the loaf chew and structure – all-purpose can work but expect a softer, less elastic crumb.
Essential Kitchen Tools and Why They Help
Start with a quick note: good tools make the process smoother, especially with enriched dough like this.
- Large mixing bowl: For proofing the yeast and mixing – a roomy bowl prevents overflow and lets you watch the dough rise.
- Stand mixer with dough hook (optional): Saves effort during kneading – if you don’t have one, a sturdy spoon and elbow grease work fine.
- Digital thermometer: Ensures water and final dough temperature are correct – it helps yeast bloom reliably.
- Bench scraper: Makes dividing and handling dough neater – a useful alternative is a sharp knife.
- Baking sheet and parchment: For even baking and easy cleanup – a baking stone can add a crisper bottom crust.
- Fine brush for egg wash: Gives the loaf that glossy sheen – a silicone brush cleans easily and lasts.
Step-by-Step Preparation Guide
Step 1: Bloom the Yeast
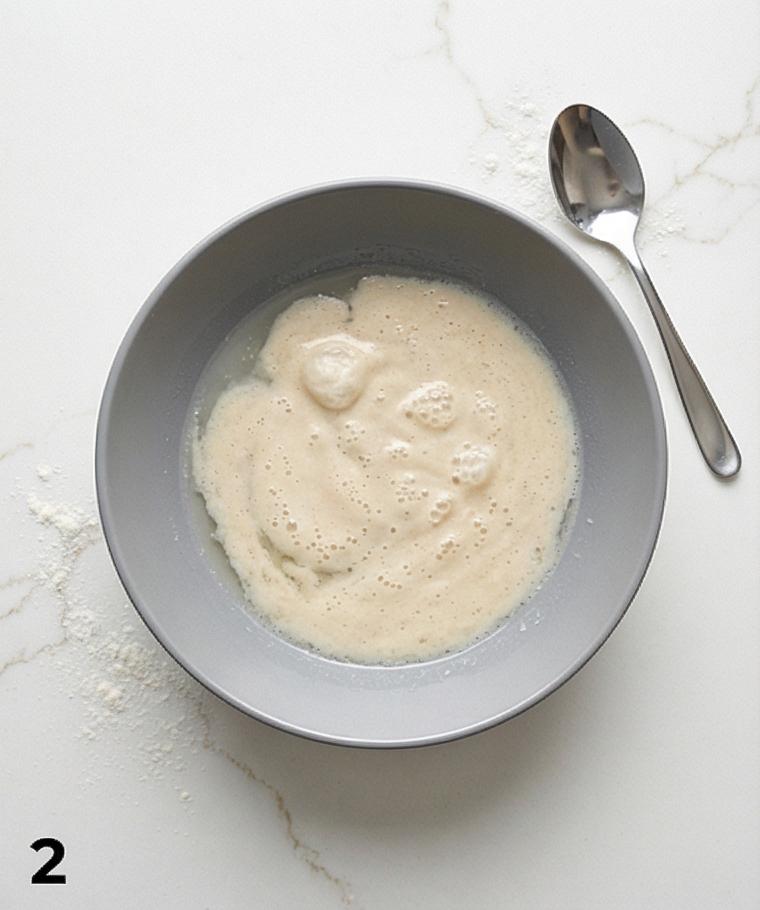
Combine the warm water (105-110°F) with one tablespoon of the granulated sugar in a large mixing bowl and sprinkle the active dry yeast over the surface. Stir gently just to dissolve the sugar and yeast, then leave the bowl undisturbed on the bright marble surface until the top becomes foamy and creamy – about 5-10 minutes. This foamy, bubbly surface is your visual cue that the yeast is alive and ready; if it stays flat, discard and restart with fresh yeast.
Step 2: Whisk the Eggs and Build the Wet Mix
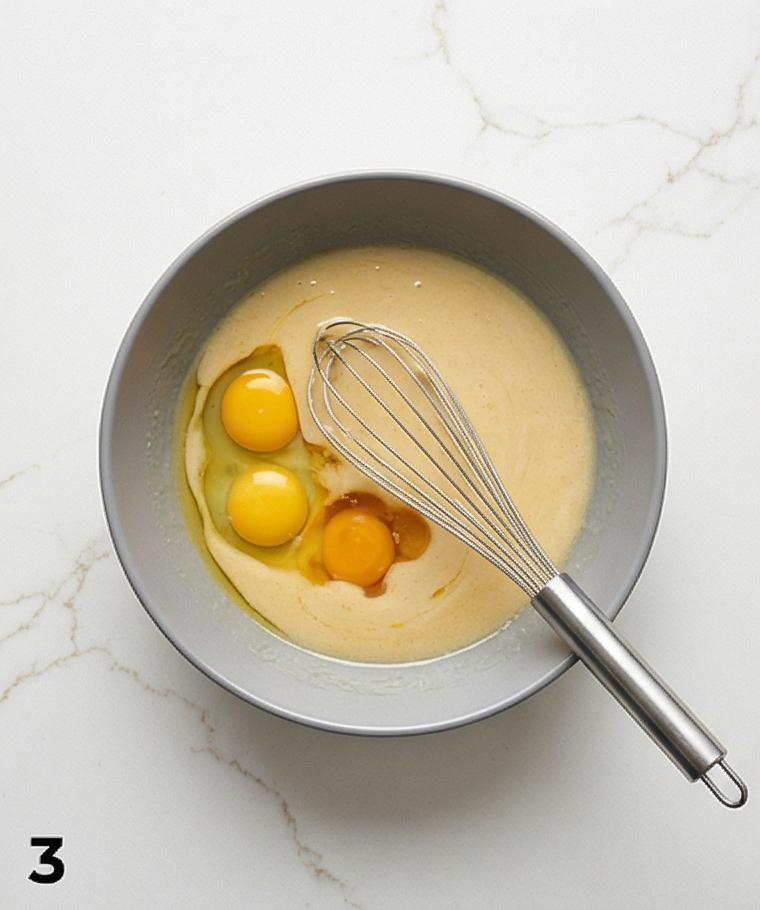
In a separate bowl whisk the four large eggs and the extra egg yolk until smooth and lightly frothy. Pour the whisked eggs into the bowl with the foamy yeast, then add the remaining granulated sugar, neutral oil, and honey, followed by the fine sea salt. Whisk or stir thoroughly until the liquids are homogeneous and the salt begins to dissolve – the mixture should look glossy, slightly viscous, and uniformly pale gold. Keep the same mixing bowl visible as you work to maintain continuity.
Step 3: Form the Shaggy Dough
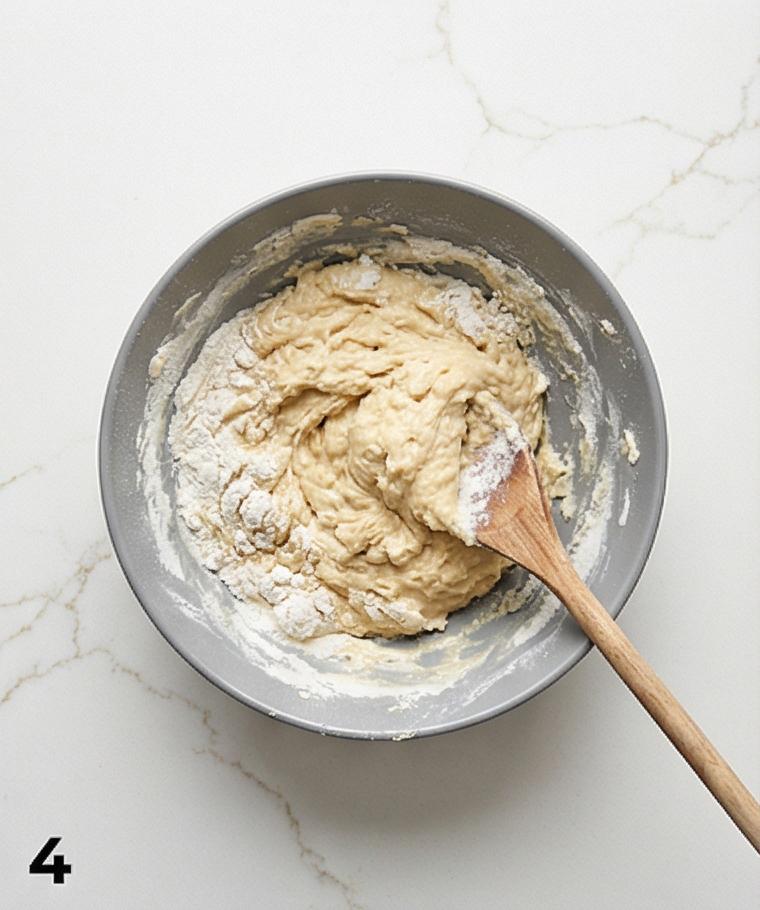
Add four cups of the bread flour to the wet mixture and stir with a sturdy spoon (or on low with a paddle) until a thick, shaggy batter with no dry pockets forms. Then add the remaining 3-1/2 cups of flour and switch to a dough hook or begin folding by hand until the flour is mostly incorporated and a rough, soft dough comes together. The bowl will show flour streaks and a rough, textured mass that still pulls together when scooped. Dust the rim lightly with flour but keep the same matte mixing bowl as the frame anchor.
Step 4: Knead to a Smooth, Elastic Ball
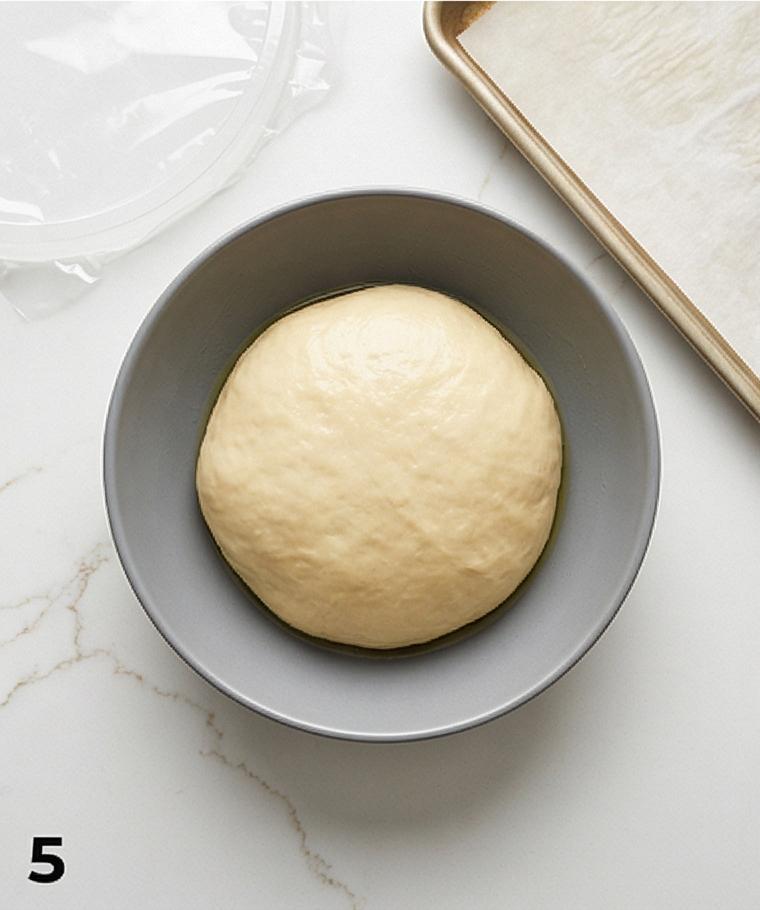
Turn the dough onto a lightly floured surface or continue kneading in the mixer. Work the dough until it transforms from sticky and shaggy into a smooth, elastic, slightly tacky ball that stretches without tearing – roughly 6-10 minutes depending on method. Shape the finished dough into a neat smooth ball, lightly oil a clean large bowl, place the dough inside and turn to coat. Cover loosely and set aside to rise. The top-down frame should emphasize the transformation from rough texture to glossy, taut skin on the dough.
Step 5: First Rise, Deflate, and Portion
After the dough has doubled (about 60-90 minutes) gently punch it down to deflate, then turn it out and divide it into two equal portions for two medium loaves. Shape each portion into a rough log and let them rest briefly; this resting relaxes the gluten and stops excessive spring-back when you roll. Keep everything on the same clean marble; the scene is calm and simple, focused on weight, portion, and the soft, slightly dimpled surface of the rested logs.
Step 6: Roll, Braid, and Proof for Oven-Ready Loaves
Working with one log at a time, divide into three or four equal pieces and roll each into 14-16 inch ropes with tapered ends. Braid the ropes into neat 3- or 4-strand challot, pinch and tuck the ends under for a tidy finish, and transfer each braid to a parchment-lined rectangular baking sheet. Brush with a thin even egg wash, then let the loaves rise again until puffy (about 45-75 minutes). Right before baking give a second glossy egg wash and sprinkle with sesame or poppy seeds and a few pinches of flaky salt. The top-down images up to this point should preserve the same mixing bowl as a subtle repeated element in the background.
Step 7: Bake, Cool, and Serve
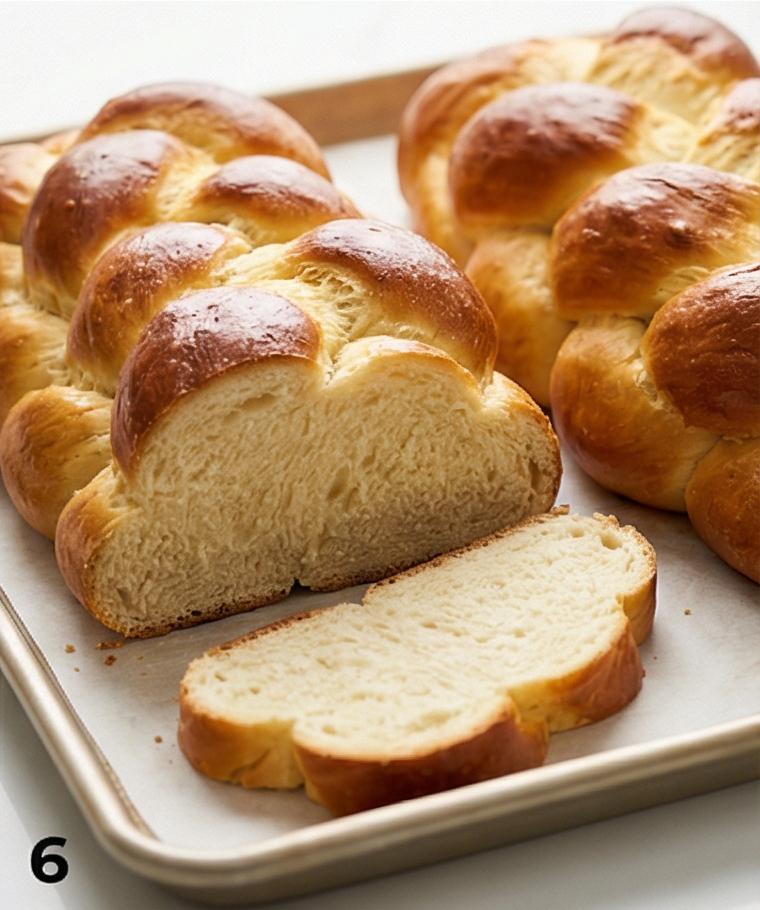
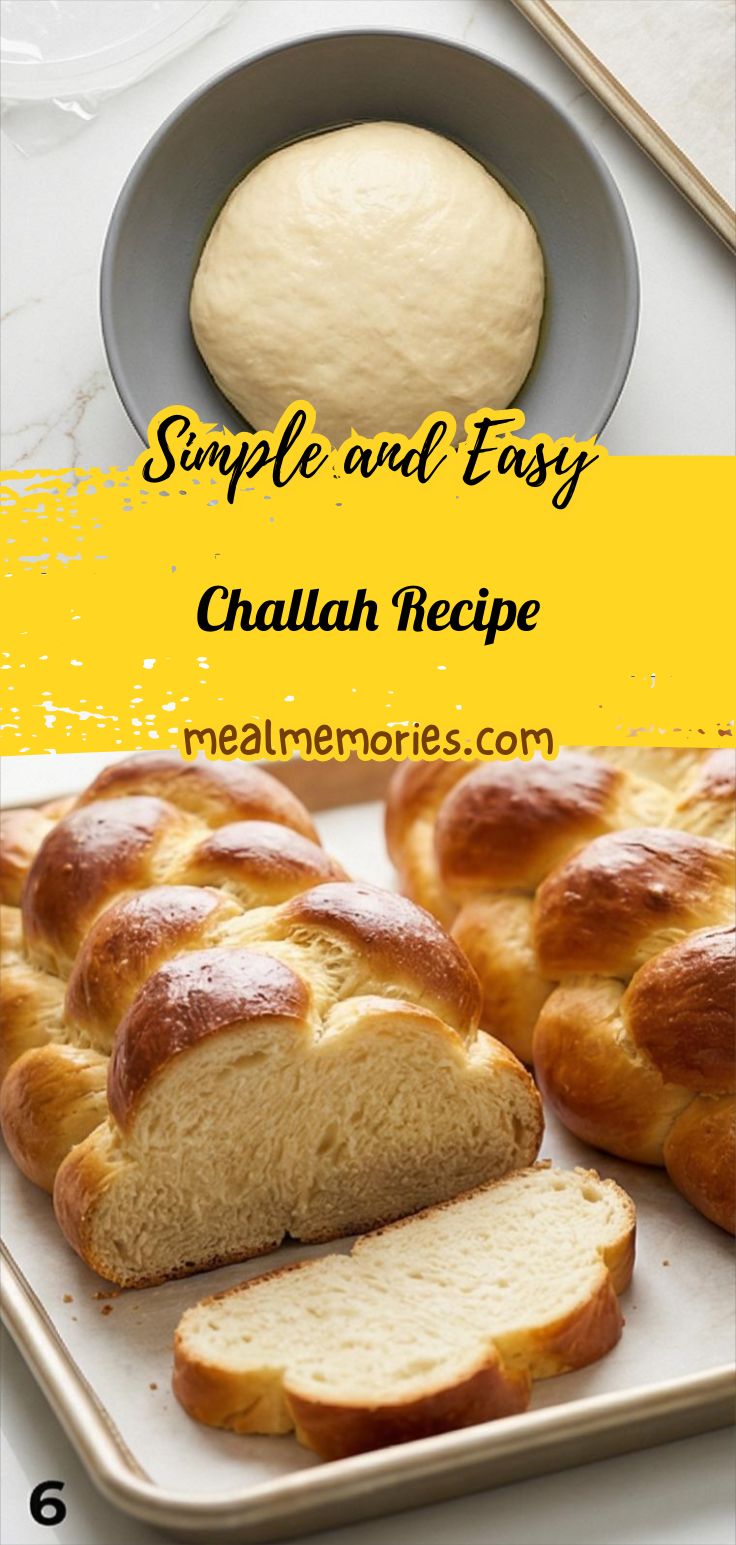
Bake the braided loaves on the parchment-lined sheet until a deep golden-brown crust develops, rotating if needed and tenting with foil if they darken too quickly. Remove the sheet and transfer the loaves to a wire rack to cool for at least 45-60 minutes so the crumb sets. Present the final loaves whole and halved to reveal an airy, tender interior with glossy, crackled crust studded with seeds; serve on the same parchment-lined rectangular sheet to keep the baking geometry consistent.
Making It Your Own
I often tweak the Challah Recipe when the seasons change. In autumn I add a teaspoon of warm spices to the dough and top with a sprinkle of turbinado sugar for a sweet brunch loaf. For a savory version, I fold in a handful of finely chopped herbs and swap half the sesame seeds for zaatar. When I want a lighter breakfast sandwich, I make smaller rolls using the same method and shorten the second proof by 15 minutes so they stay tender but hold up to fillings. For a dairy-free option the original recipe already fits – keep the neutral oil and skip butter swaps. Each variation is a small experiment, and I write down the tweak so I can reproduce the best ones.
How to Serve
If I am hosting, I bake two loaves of this Challah Recipe and slice one for the table and leave the other whole as a centerpiece. For a brunch of six, slice the loaf into 12 thick pieces and arrange them on a warm platter with bowls of butter, preserves, and labneh. If you need more servings, double the recipe and bake on two sheets, staggering the oven times so each pair of loaves gets room to brown evenly. For sandwiches, slice the loaf thinner and toast quickly for structure. When presenting, lay the loaf on a wooden board, add a scattering of seeds, and tuck in small herbs or citrus slices for color.
Storage and Reheating Tips
Store wrapped tightly at room temperature for up to two days; the crust stays pleasant and the crumb remains tender. If you need longer storage, slice and freeze in a sealed bag for up to three months.
To refresh slices, toast them straight from the freezer or warm whole halves in a 300°F oven for 10-15 minutes until just warmed through. For a soft interior and crisp top, spritz lightly with water and reheat briefly, then let rest so the crumb sets.
Common Mistakes and How to Avoid Them
One common mistake is using water that is too hot and killing the yeast – always test the temperature by hand or use a thermometer to keep it warm, not hot. Another is under-kneading; the dough should pass from shaggy to smooth and elastic in several minutes, so be patient and give it the full kneading time.
A final trap is overproofing the braid until it looks deflated in the oven. Aim for puffy and slightly jiggly, not collapsing; if your kitchen is very warm, shorten the proofing times and check earlier.
Ready to Try It?
I hope this Challah Recipe inspires you to braid, bake, and share. It rewards a little patience with big, warm results, and every loaf brings a small celebration to the table. Give it a go this weekend and tell someone you love them with a slice.
Frequently Asked Questions.
- Q: Can I use instant yeast instead of active dry yeast? A: Yes, substitute instant yeast and mix it with the flour; you may skip the initial bloom and still see reliable rises.
- Q: How long will the baked challah keep? A: At room temperature in an airtight wrap it keeps well for about 2 days; freeze slices for longer storage up to 3 months.
- Q: Can I make this recipe with all-purpose flour? A: You can, but the crumb will be softer and slightly less chewy; bread flour gives the best structure.
- Q: How do I get the shiny crust? A: Use the egg wash as directed and apply it thinly and evenly right before baking; a second wash before popping in the oven adds extra gloss.
- Q: Is the recipe dairy-free? A: Yes, the base Challah Recipe uses neutral oil rather than butter, so it is dairy-free by default.
Challah Recipe
Make a glossy, tender Challah Recipe: braid, proof, and bake two golden loaves for warm, homemade bread.
Ingredients
Instructions
Step 1: Bloom the Yeast
Combine the warm water (105–110°F) with one tablespoon of the granulated sugar in a large mixing bowl and sprinkle the active dry yeast over the surface. Stir gently just to dissolve the sugar and yeast, then leave the bowl undisturbed on the bright marble surface until the top becomes foamy and creamy — about 5–10 minutes. This foamy, bubbly surface is your visual cue that the yeast is alive and ready; if it stays flat, discard and restart with fresh yeast.
Step 2: Whisk the Eggs and Build the Wet Mix
In a separate bowl whisk the four large eggs and the extra egg yolk until smooth and lightly frothy. Pour the whisked eggs into the bowl with the foamy yeast, then add the remaining granulated sugar, neutral oil, and honey, followed by the fine sea salt. Whisk or stir thoroughly until the liquids are homogeneous and the salt begins to dissolve — the mixture should look glossy, slightly viscous, and uniformly pale gold. Keep the same mixing bowl visible as you work to maintain continuity.
Step 3: Form the Shaggy Dough
Add four cups of the bread flour to the wet mixture and stir with a sturdy spoon (or on low with a paddle) until a thick, shaggy batter with no dry pockets forms. Then add the remaining 3½ cups of flour and switch to a dough hook or begin folding by hand until the flour is mostly incorporated and a rough, soft dough comes together. The bowl will show flour streaks and a rough, textured mass that still pulls together when scooped. Dust the rim lightly with flour but keep the same matte mixing bowl as the frame anchor.
Step 4: Knead to a Smooth, Elastic Ball
Turn the dough onto a lightly floured surface or continue kneading in the mixer. Work the dough until it transforms from sticky and shaggy into a smooth, elastic, slightly tacky ball that stretches without tearing — roughly 6–10 minutes depending on method. Shape the finished dough into a neat smooth ball, lightly oil a clean large bowl, place the dough inside and turn to coat. Cover loosely and set aside to rise. The top-down frame should emphasize the transformation from rough texture to glossy, taut skin on the dough.
Step 5: First Rise, Deflate, and Portion
After the dough has doubled (about 60–90 minutes) gently punch it down to deflate, then turn it out and divide it into two equal portions for two medium loaves. Shape each portion into a rough log and let them rest briefly; this resting relaxes the gluten and stops excessive spring-back when you roll. Keep everything on the same clean marble; the scene is calm and simple, focused on weight, portion, and the soft, slightly dimpled surface of the rested logs.
Step 6: Roll, Braid, and Proof for Oven-Ready Loaves
Working with one log at a time, divide into three or four equal pieces and roll each into 14–16 inch ropes with tapered ends. Braid the ropes into neat 3- or 4-strand challot, pinch and tuck the ends under for a tidy finish, and transfer each braid to a parchment-lined rectangular baking sheet. Brush with a thin even egg wash, then let the loaves rise again until puffy (about 45–75 minutes). Right before baking give a second glossy egg wash and sprinkle with sesame or poppy seeds and a few pinches of flaky salt. The top-down images up to this point should preserve the same mixing bowl as a subtle repeated element in the background.
Step 7: Bake, Cool, and Serve
Bake the braided loaves on the parchment-lined sheet until a deep golden-brown crust develops, rotating if needed and tenting with foil if they darken too quickly. Remove the sheet and transfer the loaves to a wire rack to cool for at least 45–60 minutes so the crumb sets. Present the final loaves whole and halved to reveal an airy, tender interior with glossy, crackled crust studded with seeds; serve on the same parchment-lined rectangular sheet to keep the baking geometry consistent.
Notes
- Use a digital thermometer to keep water at 105-110°F for a reliable yeast bloom.
- If the dough seems too sticky, add small amounts of flour while kneading until it reaches a smooth, elastic texture.
- Freeze sliced challah in a single layer, then transfer to a sealed bag to prevent freezer burn.
- For extra gloss, apply a second thin egg wash just before sliding the loaves into the oven.
- Write down any ingredient swaps so you can repeat the versions you love.