Sheet Pan Chicken Fajitas Recipe have been my go-to weeknight showstopper for years. I remember the first time I tossed bright peppers, sliced onion and juicy chicken on a single tray and watched the kitchen fill with that sweet, smoky aroma. This Sheet Pan Chicken Fajitas Recipe is simple, forgiving and endlessly adaptable, which is why I reach for it when friends drop by or when I want dinner on the table fast. You’ll love how the spice-forward lime marinade makes the chicken pop and how everything comes together with minimal cleanup.
How This Recipe Became My Weeknight Ritual
I was traveling home late from work on a rainy evening when I stopped at the market and bought a few bell peppers, a chicken breast and a lime on impulse. Back in my tiny kitchen I sliced everything, tossed it with a lazy mix of lime juice and spices and slid the tray into the oven. The next thing I knew the whole apartment smelled like a cantina, and I plated tortillas for a friend who happened to stop by. That night felt cozy and unexpected, the kind of meal that turns a dreary evening into a small celebration. The peppers blistered and caramelized, the chicken came out tender with bright citrus lift, and the memory of that first tray stuck with me. Now whenever the weather is gray or I need something reliable and delicious, this Sheet Pan Chicken Fajitas Recipe is my comfort-food shortcut that never disappoints.
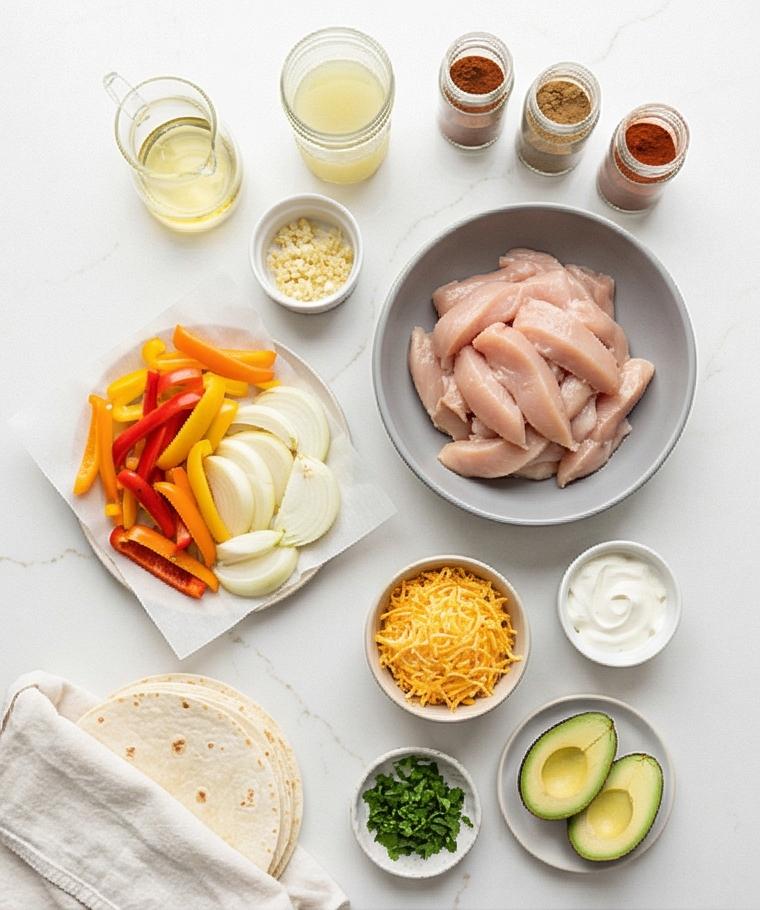
The Main Ingredients and Why They Matter
- Chicken: The protein anchor; use breasts for leaner slices or thighs for more forgiving, juicy results. If you prefer plant-based, try thick strips of firm tofu or seitan.
- Bell Peppers: They bring color, sweetness and texture; use mixed colors for visual appeal and choose peppers that feel heavy and glossy.
- Yellow Onion: Adds savory depth and caramelizes beautifully; sweet onions work too for milder flavor.
- Lime and Oil: Lime brightens and tenderizes while neutral oil helps the spices distribute and promote browning. Use avocado oil if you want a higher smoke point.
- Spice Blend: Chili powder, cumin, smoked paprika and oregano create the fajita profile; swap smoked paprika for regular if needed and adjust cayenne to control heat.
Essential Kitchen Tools and Why They Help
A few simple tools make this Sheet Pan Chicken Fajitas Recipe effortless. A large rimmed sheet pan gives even roasting and space for the vegetables to brown. If you don’t have one, use two smaller baking sheets and rotate them during cooking. A good set of tongs speeds up tossing and plating, and a sharp knife makes fast work of slicing the chicken and veggies—if your knife is dull, the prep drags. A medium mixing bowl is useful for whisking the lime marinade; a resealable bag can be an alternative for marinating in a pinch. Finally, a sturdy spatula or offset spatula helps transfer hot strips to tortillas without losing juices.
Step-by-Step Preparation Guide
Step 1: Make the spice-forward lime marinade
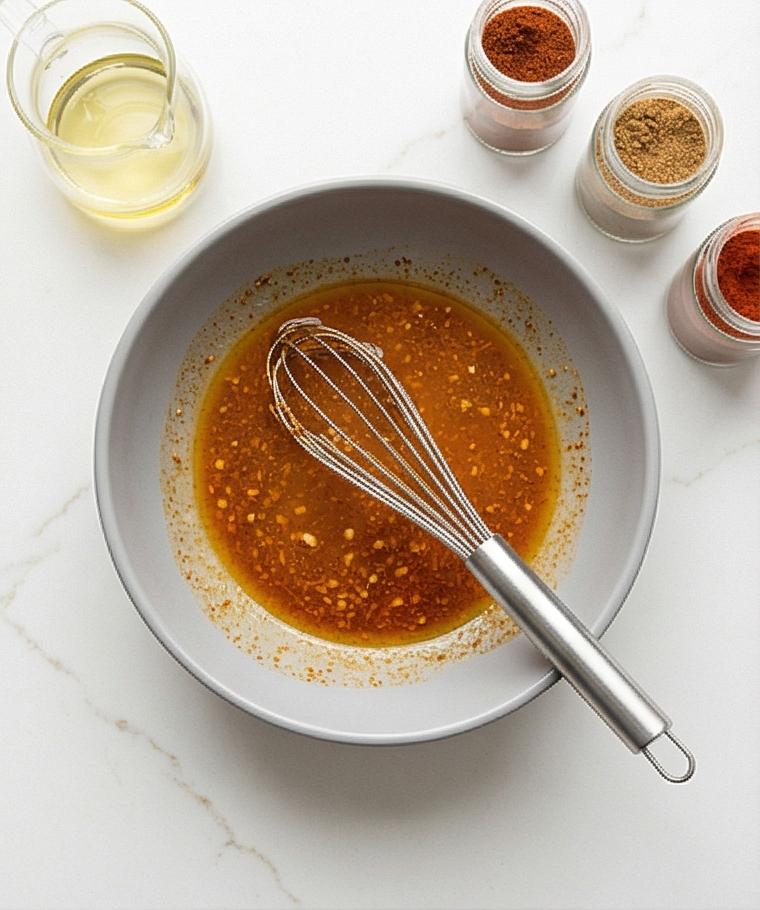
In a large mixing bowl combine the fresh lime juice, 2 tablespoons of neutral oil, a tablespoon of room-temperature water, chili powder, ground cumin, smoked paprika, dried oregano, the larger portion of kosher salt, black pepper, garlic powder, onion powder and cayenne if you want heat; whisk until the mixture is completely smooth, slightly glossy and evenly colored, the spices suspended as fine specks in an emulsified, pourable paste. The bowl should show a thin coating of orange-red marinade clinging to the sides and a bright citrus sheen on top.
Step 2: Fold in the garlic and bring the flavors together
Add the finely minced garlic to the bowl and whisk one more time so the tiny pale garlic pieces are distributed through the marinade and visible against the warm spice color. The texture should look homogenous but with speckled bits of garlic and spice floating in the oil-lime emulsion, ready to cling to protein.
Step 3: Coat the chicken and let it rest
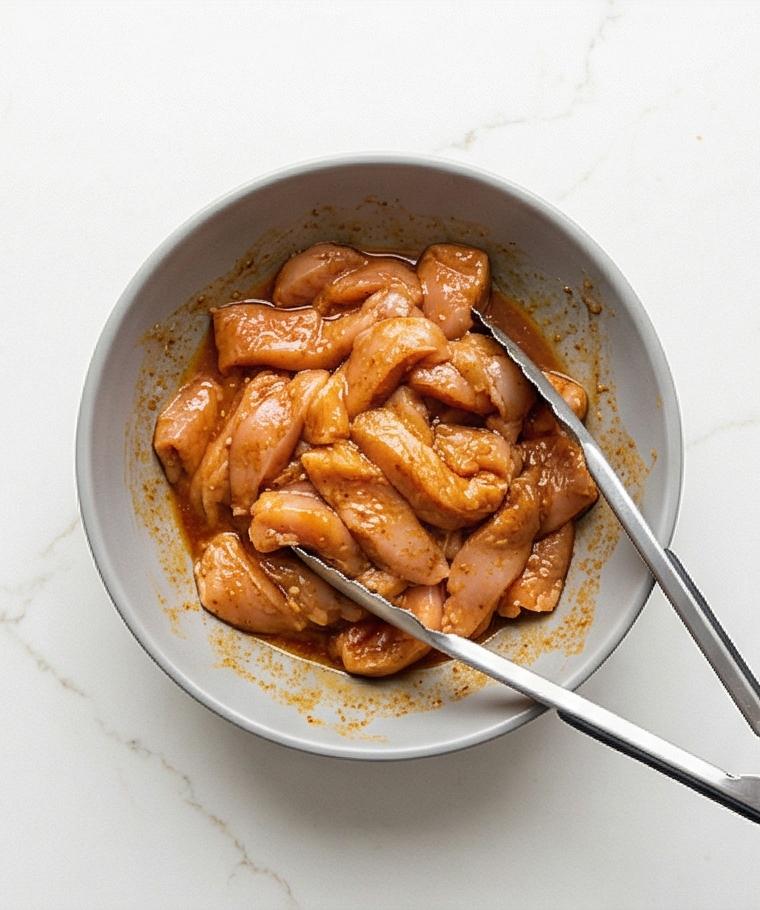
Toss the 1/2-inch chicken strips into the same bowl, using tongs to turn each strip until every surface is gleaming with the marinade; the meat will look hydrated and slightly darker where the spices cling. Cover the bowl and let the chicken marinate 15–20 minutes at room temperature (or up to 2 hours refrigerated), allowing the marinade to penetrate so the raw surface develops a sticky, seasoned sheen.
Step 4: Preheat and prep the sheet pan
Preheat the oven to 425°F (220°C) and prepare a large rectangular rimmed sheet pan by lining it with parchment or a very light oiling. Position your pan on the quarry-like surface and gather the sliced peppers and thinly sliced onion so they’re ready to be dressed directly on the pan; keep tools close (tongs, a small drizzle jug) for the next action.
Step 5: Dress the vegetables and arrange them on the pan
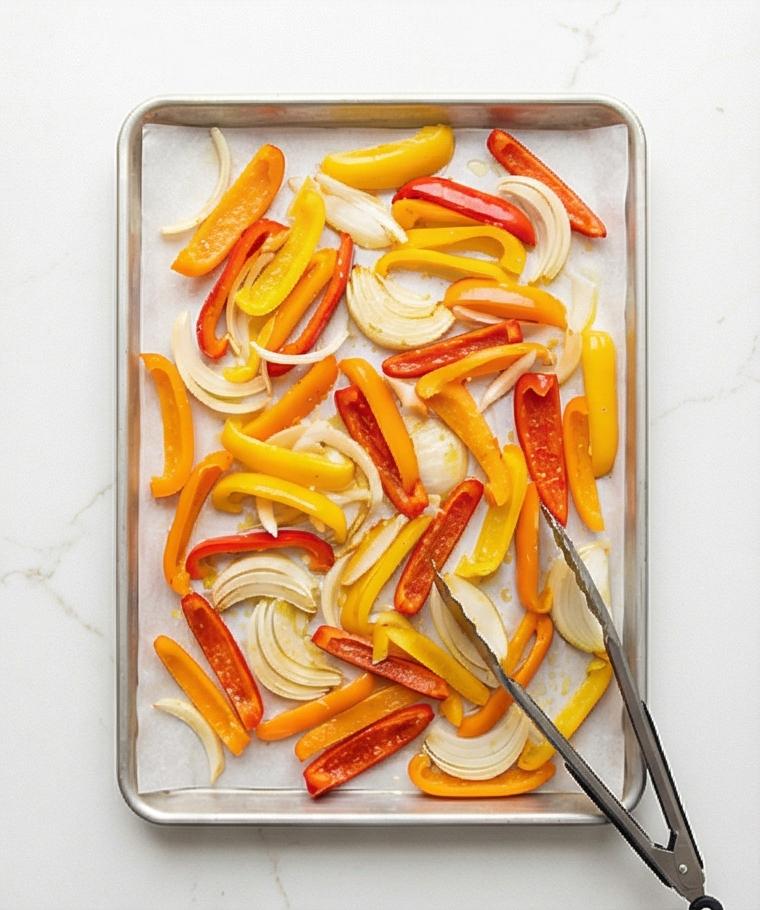
Spread the bell pepper strips and onion slices in a single even layer on the prepared rectangular pan, drizzle with the remaining tablespoon of neutral oil, then sprinkle the remaining salt and pepper; toss lightly on the pan until each piece has a subtle oil sheen and a few visible salt crystals. The vegetables should look glossy, saturated in color, with onion layers slightly separated and peppers still taut.
Step 6: Arrange marinated chicken over the vegetables
Spread the marinated chicken strips across and between the vegetables in a single layer on the same rectangular pan, leaving small gaps so pieces brown rather than steam; pour any leftover marinade from the bowl sparingly over the chicken and vegetables to catch the heat. The raw chicken will glisten atop the colorful bed, the pan geometry clearly rectangular and organized for even roasting.
Step 7: Bake until cooked through and vegetables are tender
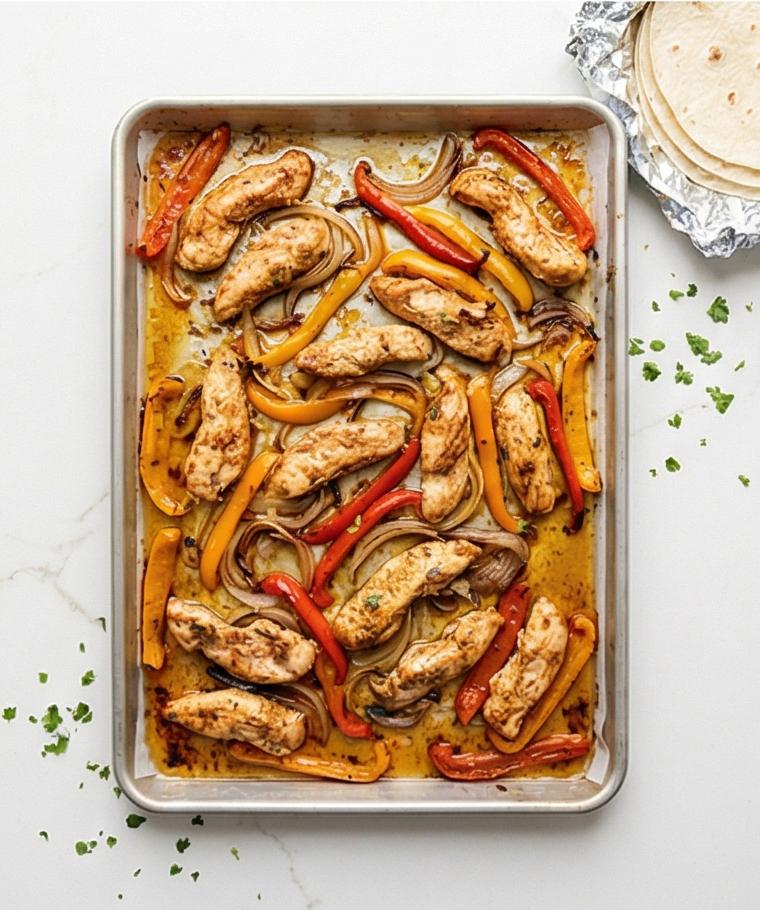
Place the filled pan into the hot oven and bake at 425°F (220°C) for roughly 18–22 minutes, rotating the pan front-to-back halfway through so browning is even. The result should be opaque, firm chicken with glossy, softened vegetables and tiny pools of flavorful juices forming in the pan.
Step 8: Optional broil for charred edges and blistering
For a more authentic fajita finish switch the oven to broil for 2–3 minutes at the end, watching closely until a few edges of peppers and onion develop darkened, lightly charred spots and the chicken shows browned, slightly crisped edges. Remove the pan and let the surface steam settle; if you warmed tortillas in foil or a skillet, keep them wrapped and nearby so everything is ready to assemble.
Step 9: Warm the tortillas
While the protein finishes, warm tortillas by wrapping them in foil and placing them briefly in the oven or by heating them individually in a dry skillet, turning until softly pliable; keep them wrapped to retain heat and moisture.
Step 10: Rest the sheet pan briefly
Remove the pan from the heat and let the chicken and vegetables rest for 3–5 minutes on the same rectilinear pan so juices redistribute; the surface will show relaxed steam, tiny caramelized fond bits and glossy protein ready to be dressed.
Step 11: Taste and brighten
Sample a piece of chicken and a few vegetable strands, adjusting with a pinch of salt or a quick squeeze of fresh lime, then scatter a small handful of chopped cilantro over the hot pan for a burst of green freshness and perfume.
Step 12: Assemble the fajitas
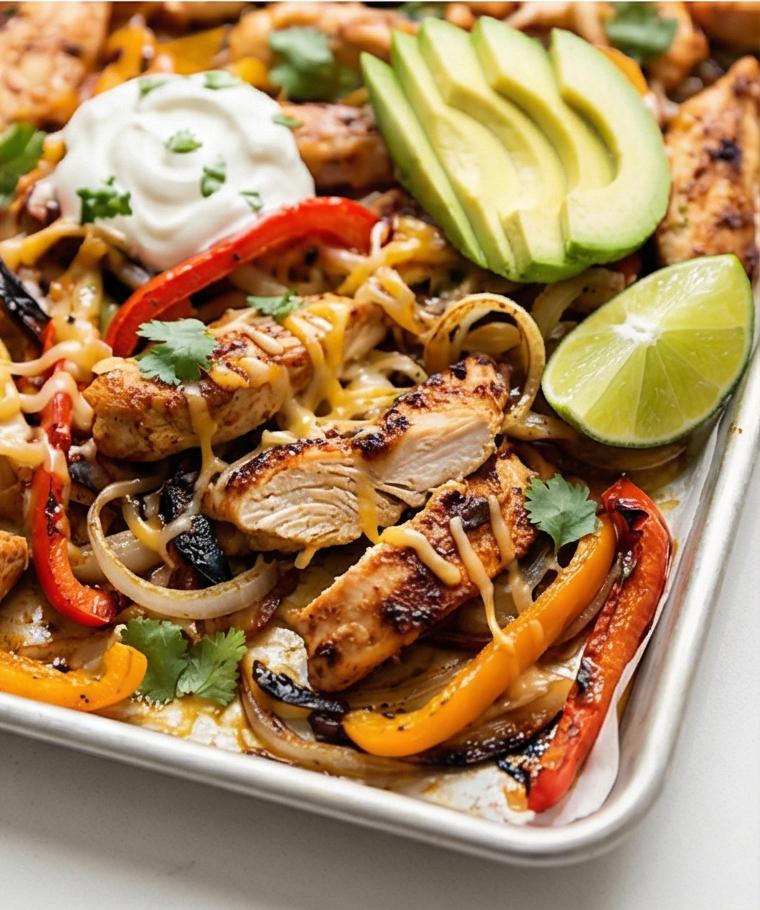
Fill each warmed tortilla with a generous portion of chicken and vegetables from the sheet pan, topping as desired with shredded cheese, a spoonful of sour cream or crema, ripe avocado slices, more cilantro and a squeeze of lime; the tortillas should be soft and flexible, the cheese beginning to melt against warm meat.
Step 13: Serve immediately and store leftovers properly
Present the rectangular sheet pan on the tabletop for family-style building, keep extra tortillas wrapped to stay warm, and when cooled store leftovers in an airtight container in the refrigerator for up to 3 days; reheat gently in a skillet or in the oven until warmed through.
Making It Your Own
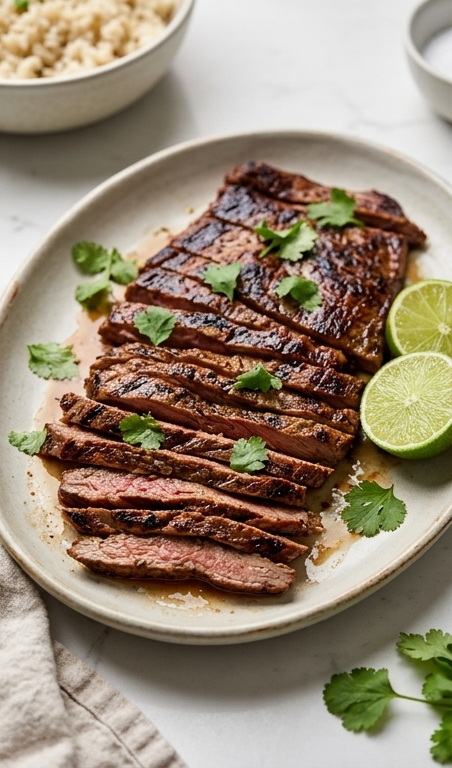
I once swapped chicken for thinly sliced skirt steak and added a splash of tequila to the marinade for a weekend twist; the result was richer and loved by steak fans. For a vegetarian experiment I used thick-sliced portobello caps and extra poblano peppers—more meaty texture and the same smoky goodness. If you want lower calories, skip the cheese and crema and load up on cilantro and lime wedges.
For seasonal changes I add roasted corn in summer and cubed sweet potato in fall for heartier bites. Each small change felt like a fun experiment in my kitchen and helped this Sheet Pan Chicken Fajitas Recipe stay exciting.
How to Serve
Serve family-style directly from the sheet pan for an easy, communal vibe. Arrange warmed tortillas in a basket lined with a kitchen towel so they stay soft; set out bowls of shredded cheese, sour cream or crema, sliced avocado and lime wedges so guests can build their own fajitas. If you are hosting a larger group double the recipe and use two pans, staggering them in the oven so each comes out hot.
For a lighter plate, offer bowls of mixed greens alongside and let people pile fajita fillings on top. For a party, keep a small portable burner or chafing dish with a warm skillet of chicken and peppers so guests can refill hot portions throughout the night.
Storage and Reheating Tips
Cool leftovers quickly and store in an airtight container for up to 3 days in the refrigerator. Keep the tortillas separate from the chicken and vegetables to prevent them from getting soggy.
To reheat, warm leftovers gently in a skillet over medium heat with a splash of water or a drizzle of oil to revive juiciness; you can also spread them on a sheet pan and reheat at 350°F (175°C) for 8–10 minutes. Reheat tortillas wrapped in foil in the oven or warm them briefly in a dry skillet.
Common Mistakes and How to Avoid Them
Overcrowding the pan causes steaming instead of browning; give the peppers and chicken a bit of space so they roast properly. If your pan looks crowded, use two pans or roast in batches.
Skipping the rest time right after baking makes the juices run when you slice or serve; let the sheet pan rest 3–5 minutes so flavors settle and juices redistribute.
Final Thoughts and an Invitation
This Sheet Pan Chicken Fajitas Recipe is one of those dependable dishes that feels a little festive and a lot easy—perfect for weeknights, casual dinner parties or when you want something flavorful with minimal fuss. Try it tonight and tweak the spices or toppings until it fits your taste. I can’t wait to hear how you personalize it.
Frequently Asked Questions.
- Q: Can I use chicken thighs instead of breasts? A: Yes, thighs work great and stay juicier; adjust cooking time if pieces are thicker.
- Q: How long can leftovers keep? A: Stored in an airtight container, the cooked chicken and vegetables keep up to 3 days in the fridge.
- Q: Can I prep this ahead? A: You can slice the vegetables and marinate the chicken up to 2 hours ahead; keep refrigerated until ready to roast.
- Q: What if I only have whole spices? A: Ground spices are fine here; toast and grind whole spices first for extra flavor if you prefer.
- Q: Can I make this spicy for kids? A: Control the heat by omitting cayenne and serving hot sauce on the side so everyone can customize.
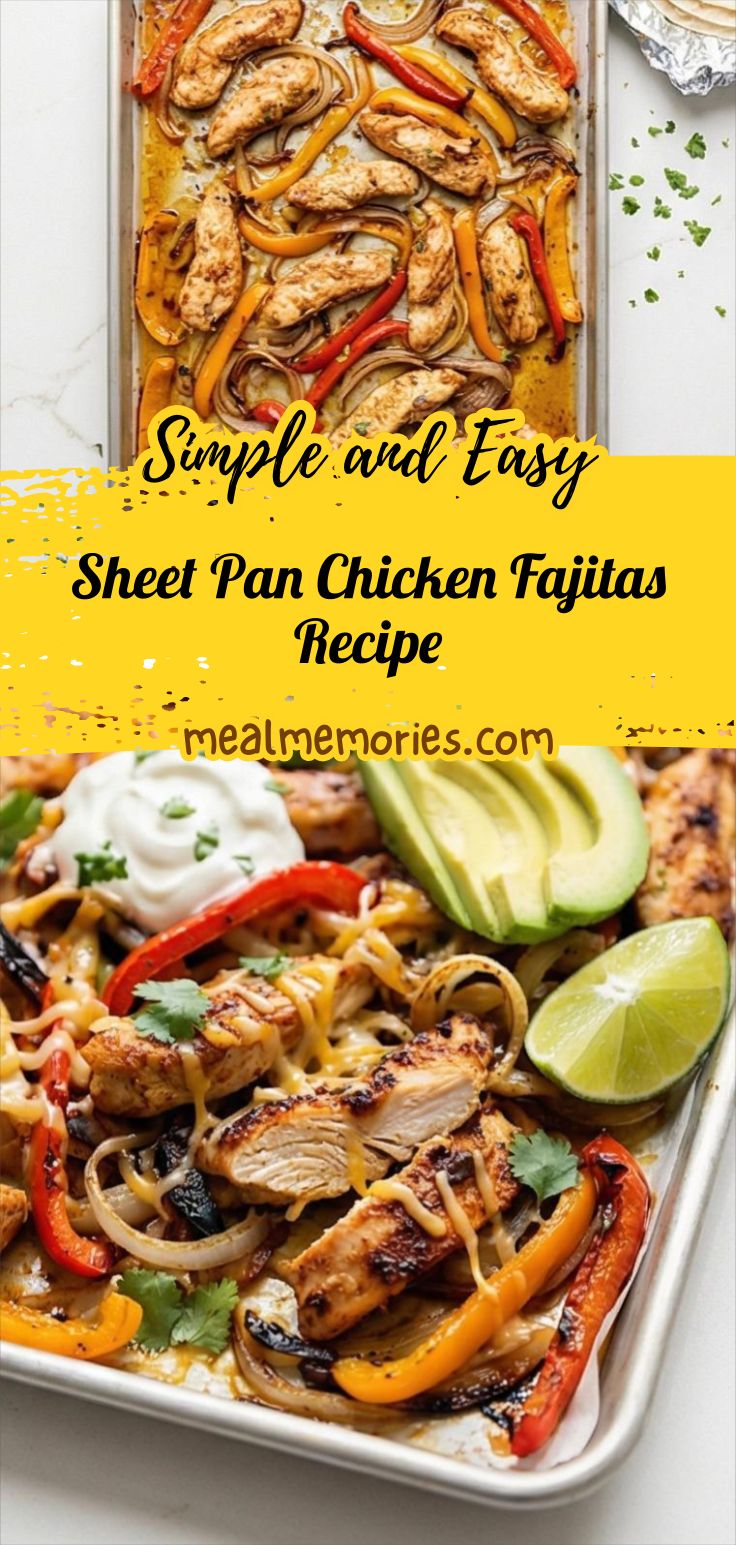
Sheet Pan Chicken Fajitas Recipe
Make Sheet Pan Chicken Fajitas Recipe tonight: roast marinated chicken, peppers and onions for fast, flavorful fajitas.
Ingredients
Instructions
Step 1: Make the spice-forward lime marinade
In a large mixing bowl combine the fresh lime juice, 2 tablespoons of neutral oil, a tablespoon of room-temperature water, chili powder, ground cumin, smoked paprika, dried oregano, the larger portion of kosher salt, black pepper, garlic powder, onion powder and cayenne if you want heat; whisk until the mixture is completely smooth, slightly glossy and evenly colored, the spices suspended as fine specks in an emulsified, pourable paste. The bowl should show a thin coating of orange-red marinade clinging to the sides and a bright citrus sheen on top.
Step 2: Fold in the garlic and bring the flavors together
Add the finely minced garlic to the bowl and whisk one more time so the tiny pale garlic pieces are distributed through the marinade and visible against the warm spice color. The texture should look homogenous but with speckled bits of garlic and spice floating in the oil-lime emulsion, ready to cling to protein.
Step 3: Coat the chicken and let it rest
Toss the 1/2-inch chicken strips into the same bowl, using tongs to turn each strip until every surface is gleaming with the marinade; the meat will look hydrated and slightly darker where the spices cling. Cover the bowl and let the chicken marinate 15–20 minutes at room temperature (or up to 2 hours refrigerated), allowing the marinade to penetrate so the raw surface develops a sticky, seasoned sheen.
Step 4: Preheat and prep the sheet pan
Preheat the oven to 425°F (220°C) and prepare a large rectangular rimmed sheet pan by lining it with parchment or a very light oiling. Position your pan on the quarry-like surface and gather the sliced peppers and thinly sliced onion so they’re ready to be dressed directly on the pan; keep tools close (tongs, a small drizzle jug) for the next action.
Step 5: Dress the vegetables and arrange them on the pan
Spread the bell pepper strips and onion slices in a single even layer on the prepared rectangular pan, drizzle with the remaining tablespoon of neutral oil, then sprinkle the remaining salt and pepper; toss lightly on the pan until each piece has a subtle oil sheen and a few visible salt crystals. The vegetables should look glossy, saturated in color, with onion layers slightly separated and peppers still taut.
Step 6: Arrange marinated chicken over the vegetables
Spread the marinated chicken strips across and between the vegetables in a single layer on the same rectangular pan, leaving small gaps so pieces brown rather than steam; pour any leftover marinade from the bowl sparingly over the chicken and vegetables to catch the heat. The raw chicken will glisten atop the colorful bed, the pan geometry clearly rectangular and organized for even roasting.
Step 7: Bake until cooked through and vegetables are tender
Place the filled pan into the hot oven and bake at 425°F (220°C) for roughly 18–22 minutes, rotating the pan front-to-back halfway through so browning is even. The result should be opaque, firm chicken with glossy, softened vegetables and tiny pools of flavorful juices forming in the pan.
Step 8: Optional broil for charred edges and blistering
For a more authentic fajita finish switch the oven to broil for 2–3 minutes at the end, watching closely until a few edges of peppers and onion develop darkened, lightly charred spots and the chicken shows browned, slightly crisped edges. Remove the pan and let the surface steam settle; if you warmed tortillas in foil or a skillet, keep them wrapped and nearby so everything is ready to assemble.
Step 9: Warm the tortillas
While the protein finishes, warm tortillas by wrapping them in foil and placing them briefly in the oven or by heating them individually in a dry skillet, turning until softly pliable; keep them wrapped to retain heat and moisture.
Step 10: Rest the sheet pan briefly
Remove the pan from the heat and let the chicken and vegetables rest for 3–5 minutes on the same rectilinear pan so juices redistribute; the surface will show relaxed steam, tiny caramelized fond bits and glossy protein ready to be dressed.
Step 11: Taste and brighten
Sample a piece of chicken and a few vegetable strands, adjusting with a pinch of salt or a quick squeeze of fresh lime, then scatter a small handful of chopped cilantro over the hot pan for a burst of green freshness and perfume.
Step 12: Assemble the fajitas
Fill each warmed tortilla with a generous portion of chicken and vegetables from the sheet pan, topping as desired with shredded cheese, a spoonful of sour cream or crema, ripe avocado slices, more cilantro and a squeeze of lime; the tortillas should be soft and flexible, the cheese beginning to melt against warm meat.
Step 13: Serve immediately and store leftovers properly
Present the rectangular sheet pan on the tabletop for family-style building, keep extra tortillas wrapped to stay warm, and when cooled store leftovers in an airtight container in the refrigerator for up to 3 days; reheat gently in a skillet or in the oven until warmed through.
Notes
- Marinate the chicken for at least 15 minutes for best flavor; up to 2 hours is fine.
- Don’t overcrowd the sheet pan; use two pans if needed so ingredients roast instead of steam.
- Store tortillas separately from filling to keep them from getting soggy.
- Reheat leftovers gently in a skillet with a splash of water or oil to revive juiciness.
- Skip cayenne for milder flavor or add extra for heat; serve hot sauce on the side.