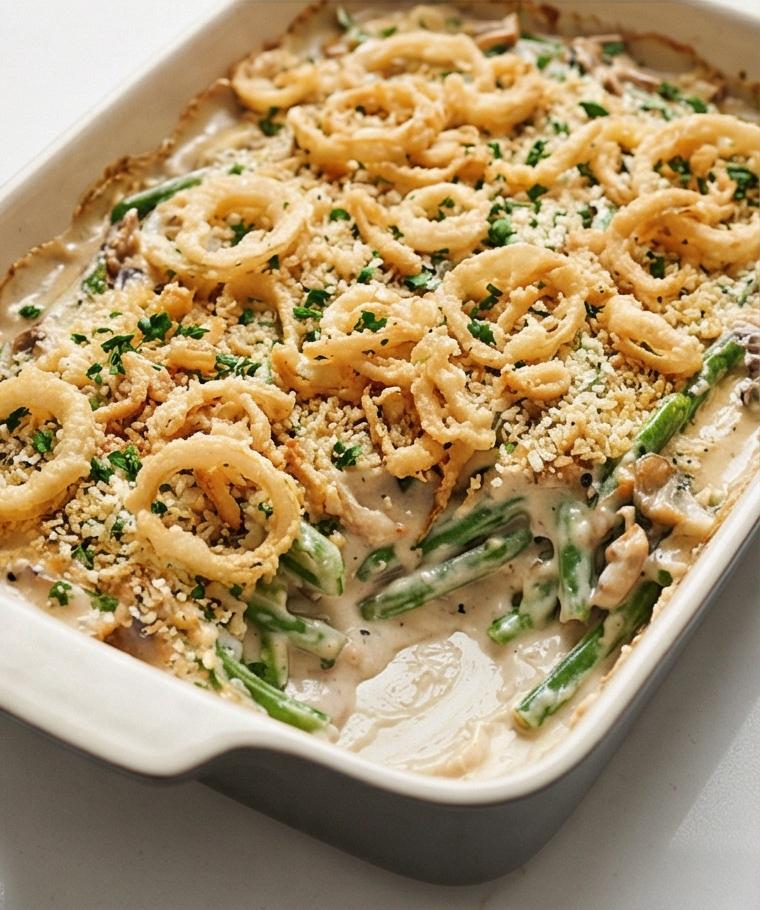
Mac And Cheese Recipe has been my ultimate go-to when I want something that feels like a hug on a plate. I grew up watching a parent turn simple pantry staples into a bubbly, golden-topped casserole, and that memory quietly guides how I make this Mac And Cheese Recipe today. It’s creamy, reliably comforting, and hits nostalgia notes without being fussy. I’ll share little techniques I use so the sauce stays silky and the top stays satisfyingly crisp.
How This Recipe Became My Cozy, Weeknight Ritual
The first time I made this Mac And Cheese Recipe for a small group of friends, the house smelled like warm dairy and toasted breadcrumbs; people kept drifting into the kitchen to sneak a taste. I remember the specific hush that fell when the first spoonful was tried, then the spontaneous round of compliments that followed. The textures mattered as much as the flavor: the way the glossy sauce clung to the elbows, the tiny crackle when someone broke the breadcrumb crust, and the whisper of parsley on top. That night taught me to respect simple ingredients and to trust patient, gentle heat. I still make it when I want everyone around the table to slow down and savor a familiar comfort.
Key Ingredients and What They Do
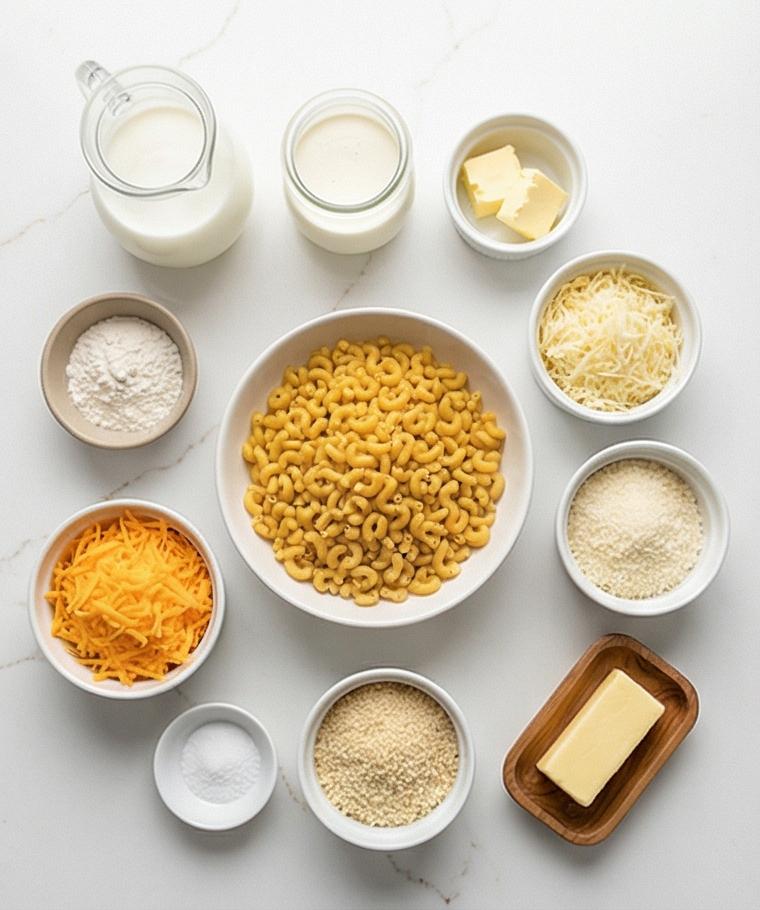
- Elbow Macaroni (or small tubular pasta): The canvas for the sauce; choose sturdy pasta that holds sauce. Swap penne or cavatappi if you like more pockets of cheese.
- Butter and All-Purpose Flour: Form the roux; they thicken the sauce and give body. Use equal parts and cook just until nutty, not brown.
- Whole Milk and Heavy Cream: Provide richness and silkiness. For a lighter version, use whole milk only or a 2%/half-and-half mix.
- Sharp Cheddar, Gruyère, Parmigiano Reggiano: Cheddar gives tang, Gruyère adds nuttiness, Parm brings umami and a crisp topping. Swap Gouda or Fontina for different notes.
- Panko Breadcrumbs: Create the crunchy top. For gluten-free use crushed cornflakes or gluten-free panko.
Essential Kitchen Tools and Why They Matter
Start with a quick list of what I always reach for when making this dish. Good tools save time and help the recipe turn out consistently.
- Large pot for boiling: You need room for the pasta to move so it cooks evenly. A wide, deep pot cuts down on boil-overs.
- Colander: Drains quickly and leaves a bit of cling for the sauce to grab.
- Wide saucepan: Gives surface area for reducing and whisking the béchamel; stainless or heavy-bottomed is best.
- Whisk: Prevents lumps when you add cold milk to the roux; a silicone spatula helps fold in pasta without breaking it.
- Rectangular baking dish: Ensures an even layer and browning top; a 2-quart dish is perfect for this quantity.
- Box grater and measuring tools: Freshly grated cheese melts better; accurate measures make the sauce reliable.
Step-by-Step Preparation Guide
Step 1: Preheat and prepare the baking dish
Preheat the oven to 375°F (190°C) and lightly butter or spray a 2‑quart rectangular baking dish; set it on the quartz surface so it’s ready. Take a moment to have the dish warmed by ambient kitchen air—this small prep ensures the mac sets evenly when it goes into the oven.
Step 2: Cook and drain the pasta
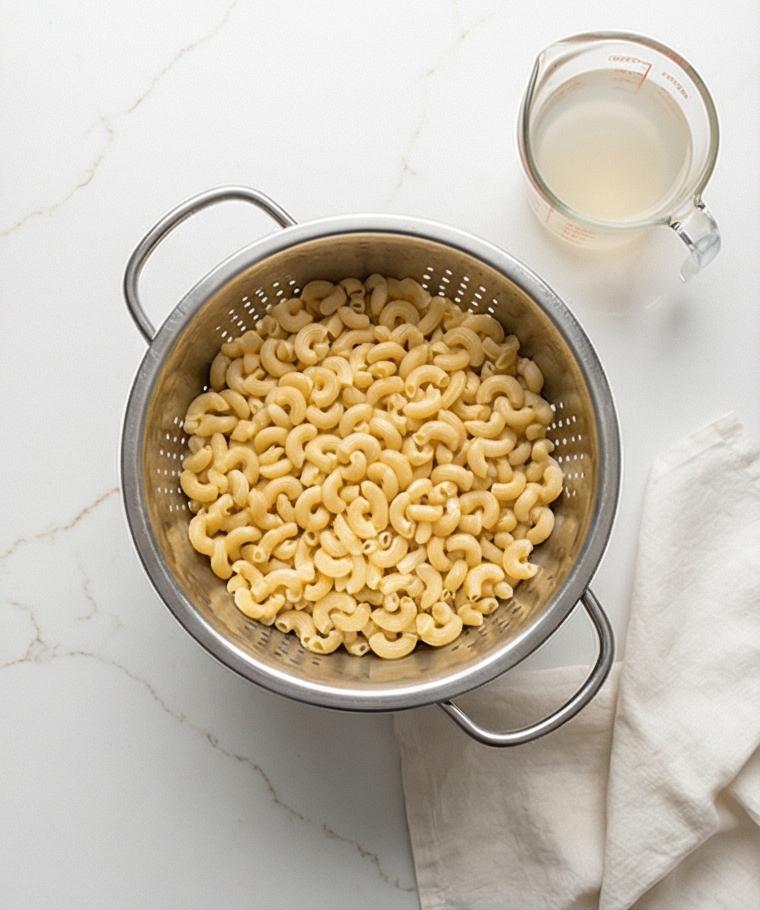
Bring a large pot of well‑salted water to a vigorous boil and cook the elbow macaroni until it’s just shy of al dente—tender at the edges but still a little firm in the center. Drain thoroughly in a colander and give it a gentle shake to remove excess water. Keep the pasta warm and slightly glossy from residual moisture; do not rinse, so the sauce will cling.
Step 3: Make the roux and build the béchamel
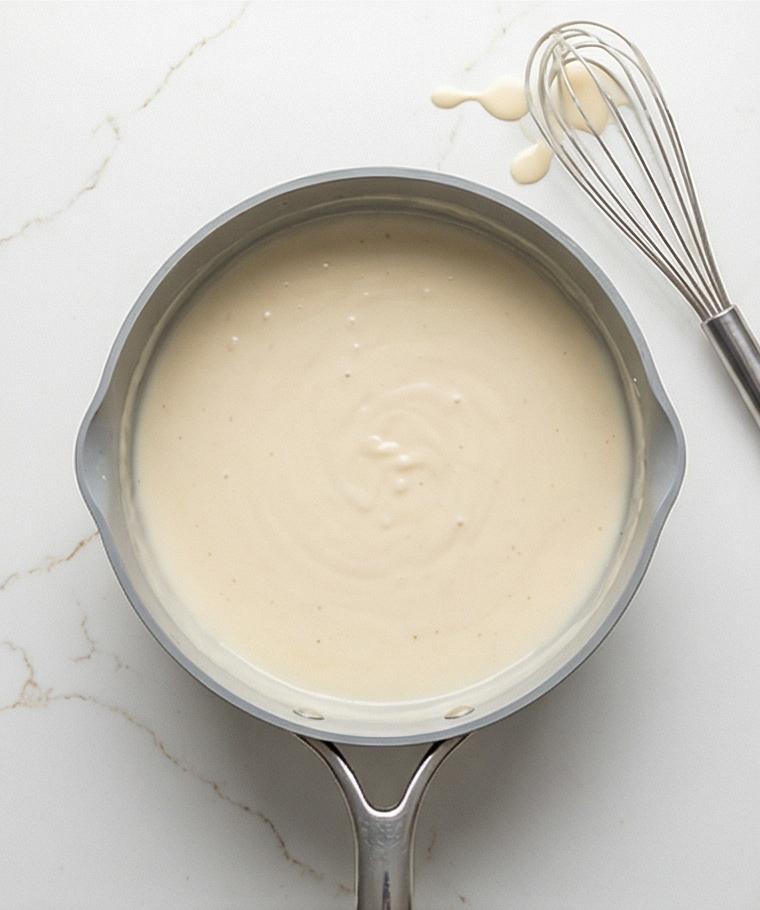
Melt the butter in a wide, shallow saucepan until it is foaming but not browned, then whisk in the flour to form a pale, nutty roux. Slowly stream in the cold milk and cream while whisking constantly until the mixture thickens to a silky coat‑the‑spoon consistency—the surface will be satiny and slightly viscous, leaving a clear line when you drag a finger across the back of a spoon. This is the creamy backbone for the cheese.
Step 4: Season and finish into a smooth cheese sauce
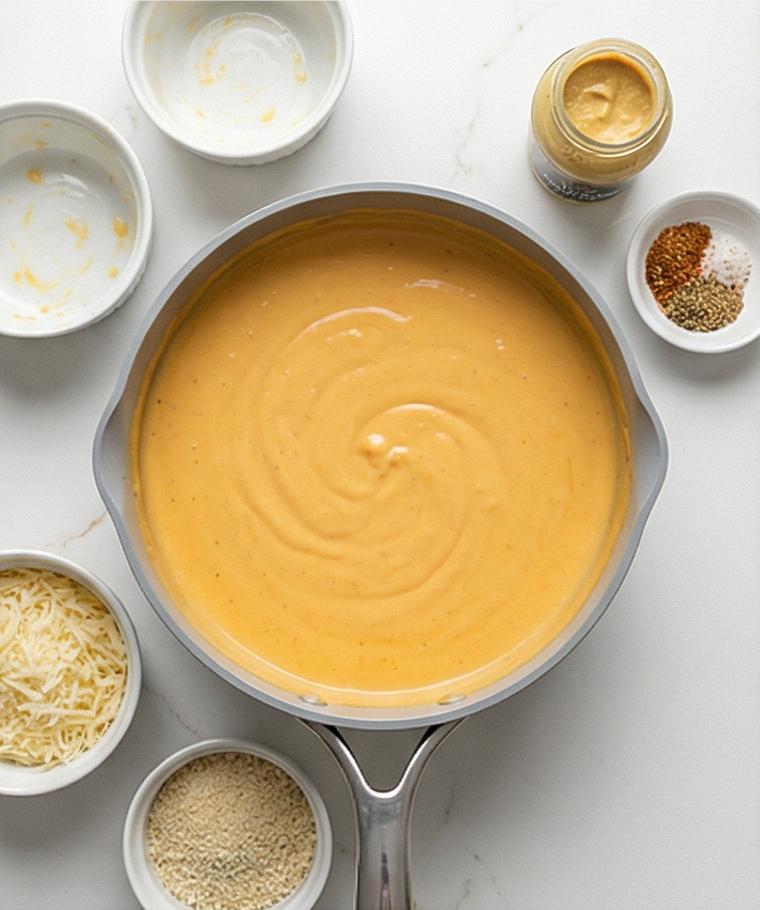
Lower the heat and stir in Dijon, garlic and onion powders, smoked paprika, salt and pepper so the flavor is bright and balanced. Add the grated sharp cheddar and Gruyère in batches, folding gently until the sauce becomes a glossy, homogenous yellow-orange melt; finish by stirring in most of the finely grated Parmigiano Reggiano, reserving a little for the topping. The sauce should be velvety with no grain or lumps—thick enough to coat every piece of pasta.
Step 5: Combine pasta and sauce, transfer to the baking dish
Turn off the heat and fold the warm drained pasta into the cheese sauce until every elbow is fully coated in a loose, creamy blanket; the mixture will still look glossy and soft because it will tighten in the oven. Scrape everything into the buttered rectangular baking dish and smooth the top into an even layer with a spatula so the breadcrumb topping will sit uniformly.
Step 6: Prepare the breadcrumb topping and bake
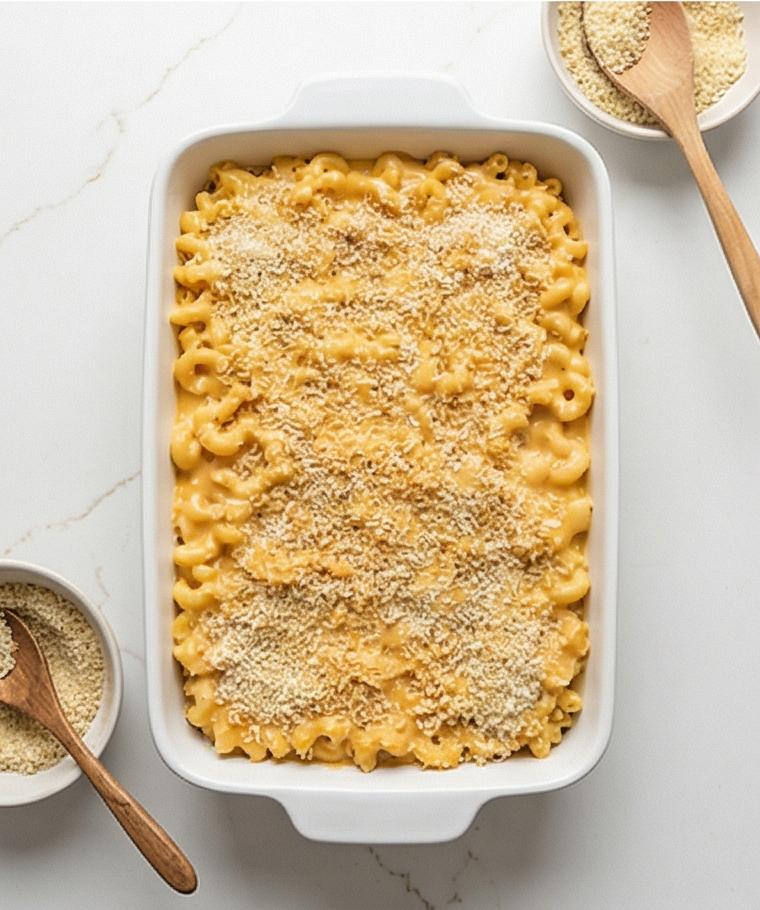
In a small bowl combine panko breadcrumbs, melted butter and the reserved Parmigiano so the crumbs look like damp sand—moistened, not oily. Spread this crumb layer evenly over the mac so it forms a thin, continuous crust. Place the prepared, topped baking dish on the surface and bake until the edges bubble and the top turns a golden brown; rest for ten minutes after removing so the interior firms slightly.
Step 7: Garnish and serve
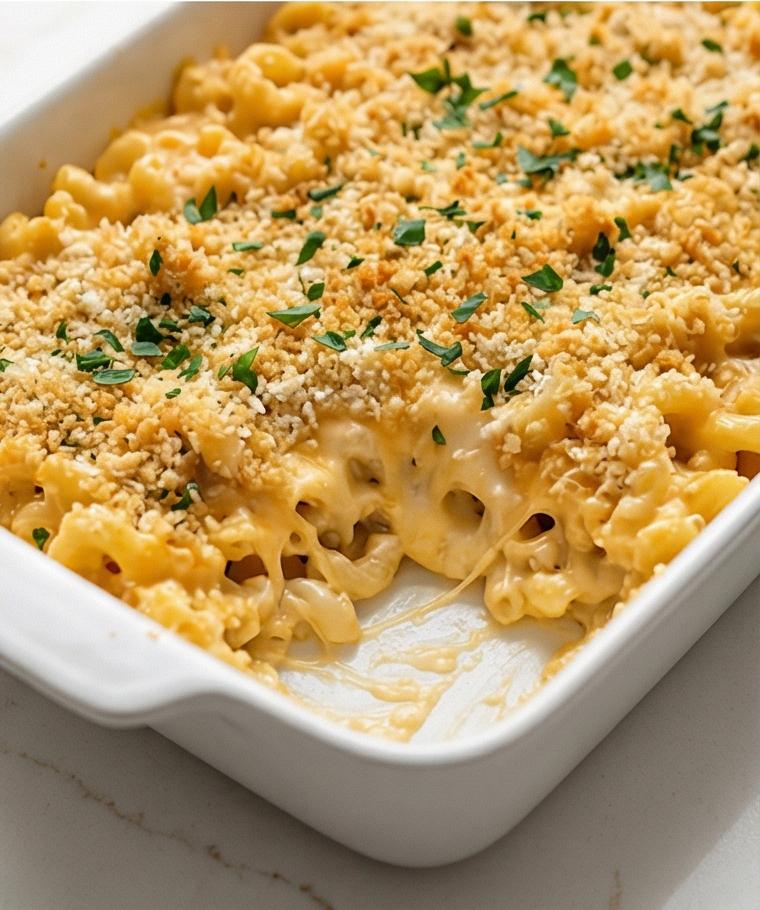
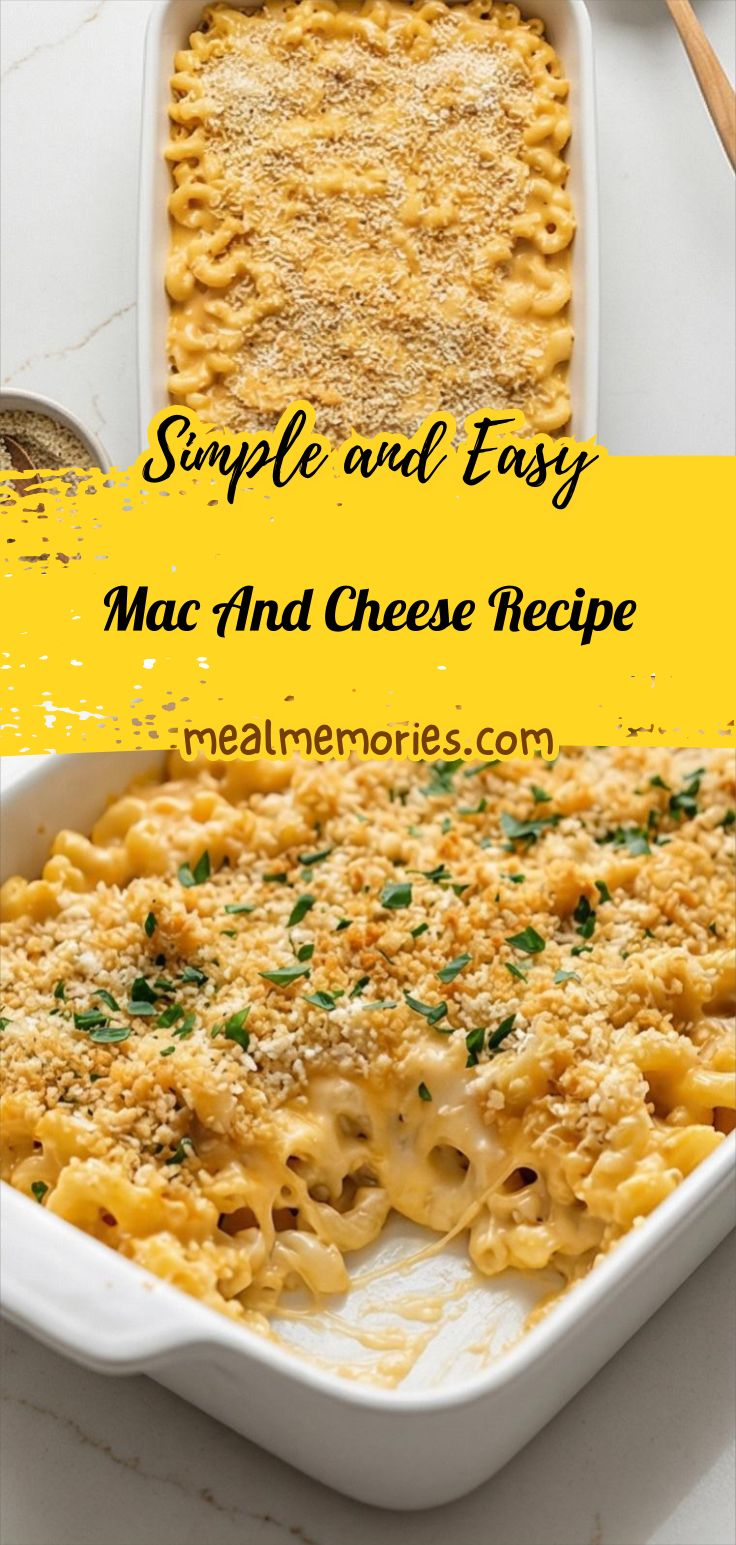
After the brief rest, scatter finely chopped fresh parsley over the golden crust for a burst of color and freshness. Serve straight from the same rectangular baking dish so the clean geometry and the crisp‑topped surface remain the hero—scoop portions that reveal a creamy interior with browned edges and a crunchy top.
Making It Your Own
I like to tinker with this Mac And Cheese Recipe depending on the season or who I’m feeding. For a smoky twist I stir in a cup of shredded smoked cheddar and a scoop of roasted chipotle in adobo for warmth; my friends love that version with a cold beer. For a lighter weeknight meal I use whole milk only and skip the heavy cream, which keeps the texture nice but trims calories. When I want to make it vegetarian-friendly for a holiday potluck, I swap the Parmigiano for a vegetarian hard cheese and add lemon zest to brighten the top.
How to Serve
If I’m hosting, I bake the Mac And Cheese Recipe in the 2-quart dish and set it on a trivet so guests can help themselves family-style. For larger crowds I double the recipe and bake in a 9×13-inch pan, increasing bake time by about 10 to 15 minutes and checking that the center bubbles. To make it a main, I serve with a crisp green salad and roasted vegetables; for a side, portion smaller scoops alongside roasted chicken or barbecue. Garnish with parsley and serve with a spoon so each guest gets a little of the crunchy top.
Storage and Reheating
Let leftovers cool to room temperature before covering and refrigerating in an airtight container. It will keep well for 3 to 4 days; the sauce firms up, so a quick refresh helps revive the creaminess.
To reheat, sprinkle a little milk over the top, cover with foil, and bake at 350°F (175°C) until warmed through, or heat individual portions in the microwave with 20-second bursts, stirring between them. If you want to restore the crisp top, remove the foil for the last 5 minutes of baking or briefly broil while watching closely.
Common Mistakes and How to Avoid Them
One easy slip is adding cheese to too-hot sauce, which can make it grainy. Keep the heat low and add cheese in batches, stirring gently until silky.
Another is overcooking the pasta. Cook to just shy of al dente so the elbows keep a pleasant bite after baking; avoid rinsing so the sauce clings.
Final Thoughts and Invitation
Give this version of the Mac And Cheese Recipe a try the next time you crave something homey and dependable. It’s forgiving, adaptable, and it rewards gentle handling of the sauce. Make it for a simple weeknight or for guests who need a little extra comfort.
Frequently Asked Questions.
- Q: Can I use pre-shredded cheese? A: You can, but freshly grated cheese melts more evenly and gives a creamier sauce.
- Q: Can I make this ahead of time? A: Yes, assemble and refrigerate up to a day early; bring to room temperature before baking and add a few minutes to the bake time.
- Q: How do I make it gluten-free? A: Use gluten-free pasta, substitute a gluten-free flour blend for the roux, and use gluten-free breadcrumbs or crushed crackers.
- Q: Can I freeze leftovers? A: Freeze in airtight containers for up to 2 months; thaw overnight in the fridge and reheat covered in the oven.
- Q: How do I keep the topping from burning? A: Cover loosely with foil if the top browns too quickly, uncover for the last few minutes to crisp.
Mac And Cheese Recipe
Make this Mac And Cheese Recipe for a creamy, golden-baked comfort dish the whole family will love.
Ingredients
Instructions
Step 1: Preheat and prepare the baking dish
Preheat the oven to 375°F (190°C) and lightly butter or spray a 2‑quart rectangular baking dish; set it on the quartz surface so it’s ready. Take a moment to have the dish warmed by ambient kitchen air—this small prep ensures the mac sets evenly when it goes into the oven.
Step 2: Cook and drain the pasta
Bring a large pot of well‑salted water to a vigorous boil and cook the elbow macaroni until it’s just shy of al dente—tender at the edges but still a little firm in the center. Drain thoroughly in a colander and give it a gentle shake to remove excess water. Keep the pasta warm and slightly glossy from residual moisture; do not rinse, so the sauce will cling.
Step 3: Make the roux and build the béchamel
Melt the butter in a wide, shallow saucepan until it is foaming but not browned, then whisk in the flour to form a pale, nutty roux. Slowly stream in the cold milk and cream while whisking constantly until the mixture thickens to a silky coat‑the‑spoon consistency—the surface will be satiny and slightly viscous, leaving a clear line when you drag a finger across the back of a spoon. This is the creamy backbone for the cheese.
Step 4: Season and finish into a smooth cheese sauce
Lower the heat and stir in Dijon, garlic and onion powders, smoked paprika, salt and pepper so the flavor is bright and balanced. Add the grated sharp cheddar and Gruyère in batches, folding gently until the sauce becomes a glossy, homogenous yellow-orange melt; finish by stirring in most of the finely grated Parmigiano Reggiano, reserving a little for the topping. The sauce should be velvety with no grain or lumps—thick enough to coat every piece of pasta.
Step 5: Combine pasta and sauce, transfer to the baking dish
Turn off the heat and fold the warm drained pasta into the cheese sauce until every elbow is fully coated in a loose, creamy blanket; the mixture will still look glossy and soft because it will tighten in the oven. Scrape everything into the buttered rectangular baking dish and smooth the top into an even layer with a spatula so the breadcrumb topping will sit uniformly.
Step 6: Prepare the breadcrumb topping and bake
In a small bowl combine panko breadcrumbs, melted butter and the reserved Parmigiano so the crumbs look like damp sand—moistened, not oily. Spread this crumb layer evenly over the mac so it forms a thin, continuous crust. Place the prepared, topped baking dish on the surface and bake until the edges bubble and the top turns a golden brown; rest for ten minutes after removing so the interior firms slightly.
Step 7: Garnish and serve
After the brief rest, scatter finely chopped fresh parsley over the golden crust for a burst of color and freshness. Serve straight from the same rectangular baking dish so the clean geometry and the crisp‑topped surface remain the hero—scoop portions that reveal a creamy interior with browned edges and a crunchy top.
Notes
- Use freshly grated cheese for the creamiest texture.
- Cook pasta to just shy of al dente to avoid mush after baking.
- If sauce seems thin, simmer gently until it coats the back of a spoon.
- For a lighter version, omit the heavy cream and use whole milk only.
- To revive leftovers, add a splash of milk before reheating and cover while warming.