I’ve been serving the Classic Mimosa Recipe at weekend gatherings for years, and it still feels like a little celebration each time I pop the cork. It started as an easy way to elevate a slow Saturday breakfast and turned into my go-to drink for guests who want something light and cheerful. The Classic Mimosa Recipe is all about balance: the fizz of sparkling wine and the bright sweetness of orange juice in perfect harmony. It takes a few minutes and a chilled bottle to make a memorable moment.
How This Recipe Became My Rainy-Day Favorite
I remember one rainy Sunday when I wanted to cheer up a small, forlorn brunch crowd. I pulled a chilled bottle from the fridge, poured the first glass, and the tiny bubbles seemed to laugh right along with us. The Classic Mimosa Recipe became my rainy-day ritual because it was effortless, pretty, and oddly comforting. I loved how the citrus scent cut through the heavy, damp air and how the light fizz lifted conversation. Every time I make this, I picture that morning: soft light on the table, the clink of flutes, and friends smiling as the first sip warmed them from the inside. It made hospitality feel easy and bright.
The Two Essentials Behind Every Good Mimosa
This drink is gloriously simple, which is why choosing quality ingredients matters. Use a sparkling wine you enjoy on its own because its character will show through. For orange juice, fresh-squeezed gives the brightest flavor, but a high-quality store-bought is perfectly fine and consistent. If you prefer less sweetness, use a drier prosecco or cava and opt for a slightly tart orange juice. For a nonalcoholic version, pick a well-carbonated sparkling water or nonalcoholic sparkling wine and use the same juice. Aim for citrus that smells fresh and wines that are chilled and clean on the palate.
- Champagne, prosecco, or cava: The effervescence and acidity lift the cocktail; choose a dry style for balance. Substitute with sparkling rosé or nonalcoholic sparkling wine if desired.
- Orange juice: Adds brightness and body; fresh-squeezed is best, but high-quality pasteurized juice works well. Substitute with blood orange or mango juice for variation.
Essential Tools for Effortless Mimosas
A few simple tools make this elegant cocktail even easier to execute. You do not need a fully stocked bar; focus on items that keep the process smooth and the presentation pretty. Each tool helps control temperature, pour, or presentation so the drink arrives cold and bright.
- Champagne flutes: Tall, narrow glasses protect the bubbles and look refined. If you do not have flutes, use a white wine glass for a more casual feel.
- Bottle opener or corkscrew: For sparkling wine with a cork, a gentle, confident hand is all you need. Twist the bottle, not the cork, to avoid sudden sprays.
- Clear carafe or measuring cup: Makes it easy to pour orange juice without splashing and looks nice on the table.
- Ice bucket: Keeps bottles chilled before serving; alternatively, keep bottles in the fridge until just before pouring.
Step-by-Step Preparation Guide
Step 1: Pour the sparkling wine into chilled flutes
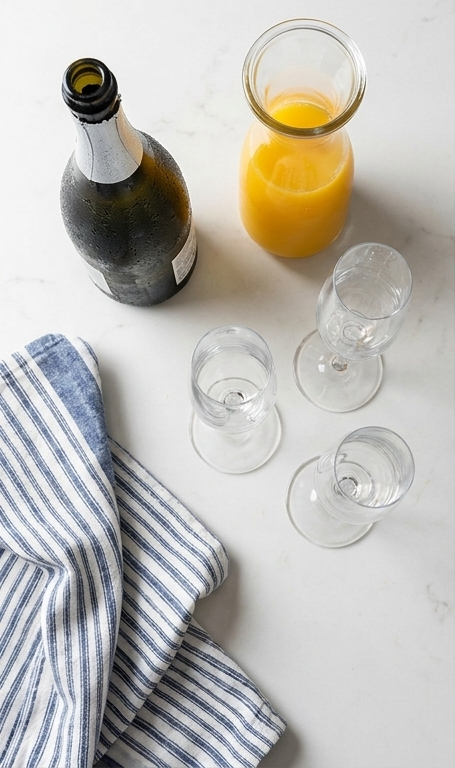
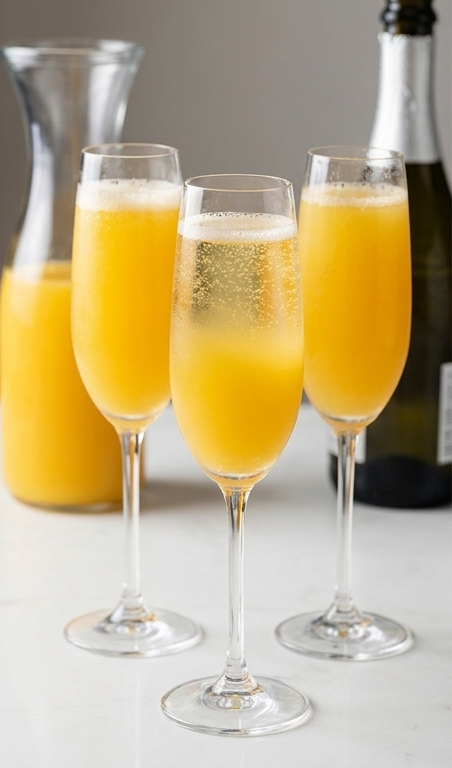
Start by bringing the chilled bottle of sparkling wine out of the fridge and arranging three tall, elegant champagne flutes on the white quartzite surface. With a steady hand, gently tilt the bottle and pour the sparkling wine into each flute until each glass is about half full — the focus here is on capturing the fine, active effervescence rising from the base, the tiny bead-like bubbles climbing the inner glass, and the crisp translucent clarity of the liquid. Keep the glasses upright and evenly spaced on the matte quartzite; let the bottle and a clear glass carafe of orange juice sit nearby as tidy, realistic vessels of the core ingredients.
Step 2: Top each glass with orange juice to finish the mimosa
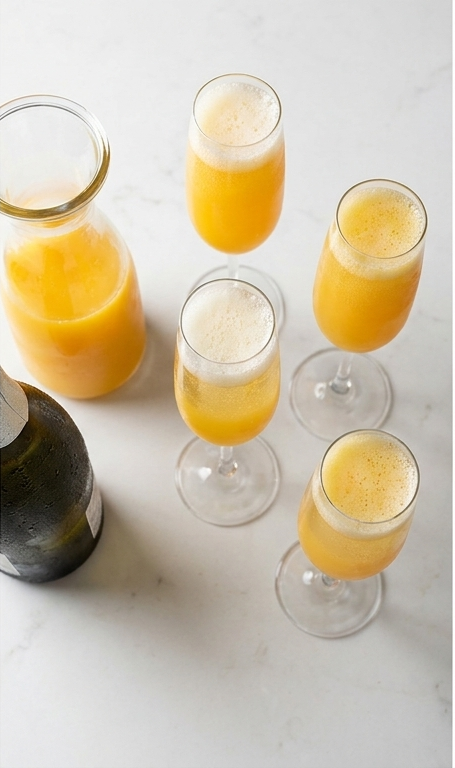
Next, take the clear glass carafe of chilled orange juice and slowly pour a bright stream into each half-filled flute to top them up. Aim for a delicate interaction at the surface — the fizzy sparkling wine meeting the sunny orange, a pale frothy crown forming where they meet, and a tiny buoyant film of bubbles gathering at the rim. This is the single visual milestone: the finished filled glasses showing the emulsion of bubbles and juice, the layered gradient from pale champagne to vibrant orange, and subtle condensation along the glass.
Step 3: Present the trio of mimosas for serving
Arrange the three finished mimosas in a gentle cluster for serving: upright champagne flutes on the white quartzite tabletop, the clear glass carafe and the chilled bottle positioned consistently to one side, and a neatly folded blue-and-white striped cloth as a soft textural accent. Describe each glass in sensory terms as you set them — bright sunny orange liquid, a frothy crown of tiny bubbles, glass rims catching soft highlights — then step back and serve.
Making It Your Own
I often tinker with the Classic Mimosa Recipe in small ways to suit the season or my mood. In spring I swap regular orange juice for blood orange and add a whisper of elderflower liqueur for floral notes. In summer, peach or mango nectar can replace half the orange juice for a stone-fruit kiss that pairs beautifully with a lively prosecco. For a lower alcohol option, use half sparkling water and half sparkling wine; you keep the bubbles and cut the buzz. For a holiday twist, sprinkle a few pomegranate arils in the bottom of each flute for color and a little tartness. These tiny experiments keep the recipe fresh and fun.
How to Serve
If you are hosting, pre-chill all bottles and juices so each pour stays frosty and bright. For a small brunch, set up a simple station with chilled sparkling wine, a chilled carafe of orange juice, and a stack of flutes so guests can help themselves. For larger groups, use multiple bottles and decant into several carafes to speed service. Garnish sparingly: an orange wheel on the rim, a few fresh mint leaves, or a single raspberry perched on the rim keeps things elegant without fuss. Adjust the pours to taste: half wine and half juice is classic, but have a few drier bottles on hand for guests who prefer less sweet.
Storage and Reheating Tips
Mimosas are best enjoyed immediately after mixing because the bubbles start to fade. If you must store components, keep the sparkling wine upright and chilled in the refrigerator and store orange juice in a sealed container in the fridge away from strong odors.
Do not attempt to reheat or re-carbonate a finished mimosa. If you have leftovers, drink them soon or pour the remaining liquid back into a chilled container and top with a fresh splash of sparkling water before serving.
Common Mistakes and How to Avoid Them
The most common mistake is overfilling the flute and losing the bubbles. Pour slowly and leave a little room so the fizz can do its work. Another is using warm ingredients; always chill your bottle and juice well ahead of time.
Beware of mismatched sweetness. If your orange juice is very sweet, pair it with a drier sparkling wine to keep the drink balanced. Taste as you go, and adjust proportions to suit your palate.
A Warm Invitation to Try This One
If you have not made the Classic Mimosa Recipe yet, give it a try this weekend. It takes minutes, cheers a small crowd, and makes even ordinary mornings feel a little more special. Start with quality ingredients, keep everything chilled, and enjoy the bubbly simplicity.
Frequently Asked Questions.
- What is the classic ratio for a Classic Mimosa Recipe?
A classic ratio is half sparkling wine and half orange juice, but you can adjust to taste. Many people prefer a lighter pour of juice for a drier feel.
- Can I use nonalcoholic sparkling wine for a Classic Mimosa Recipe?
Yes, nonalcoholic sparkling wines or sparkling water work well and keep the same festive mouthfeel without the alcohol.
- How long can I store leftovers from a mimosa?
Leftovers lose fizz quickly. Store the components separately in the refrigerator and combine fresh when ready to serve.
- What glassware should I use for serving?
Champagne flutes are ideal because they preserve the bubbles, but a narrow white wine glass is an acceptable substitute.
- Can I make a large batch for a party?
Yes. Keep wine and juice chilled and, if batching, pour just before guests arrive or set up a serve-yourself station for freshness.
Classic Mimosa Recipe
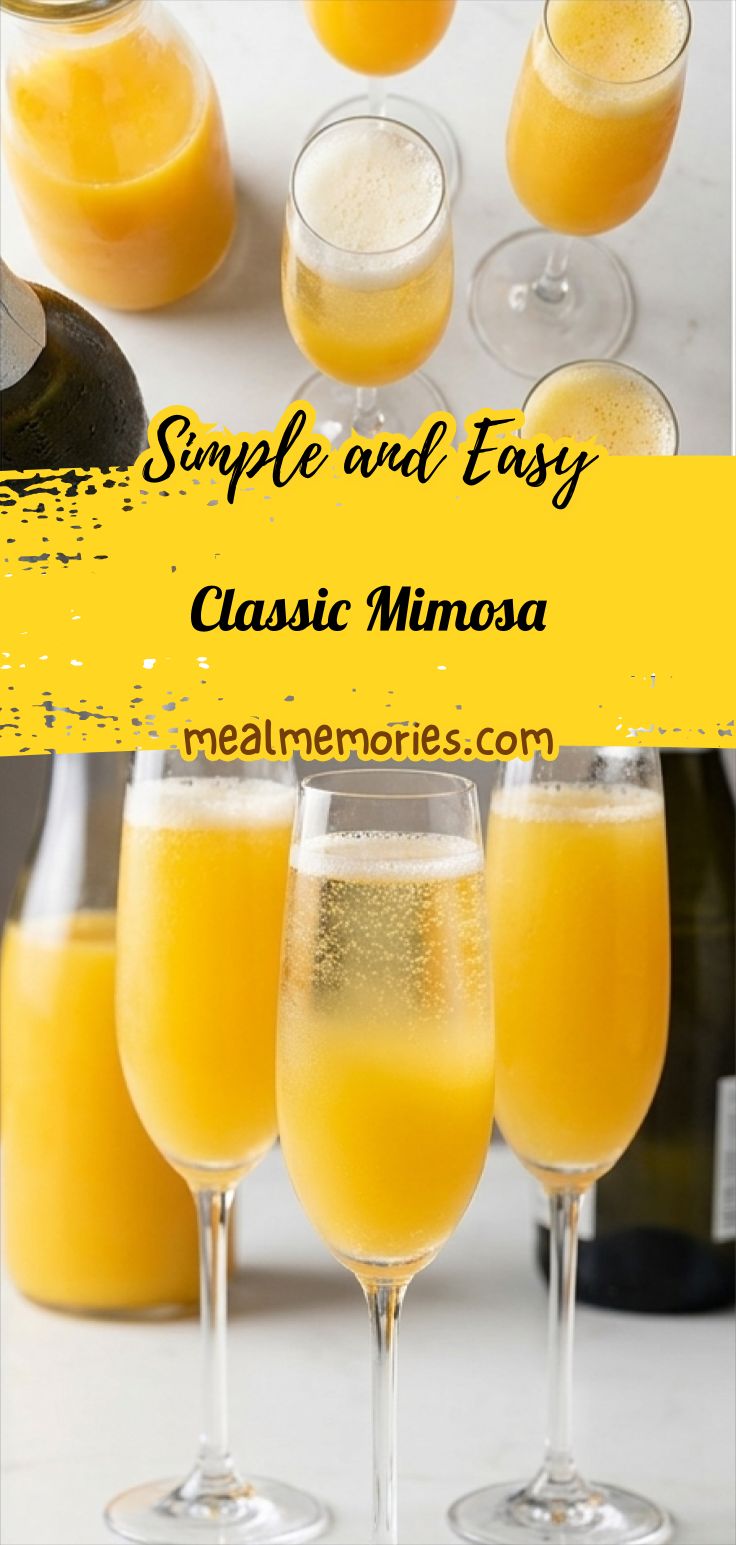
Make the Classic Mimosa Recipe now: chilled sparkling wine and orange juice for bright, easy brunch cocktails.
Ingredients
Instructions
Step 1: Pour the sparkling wine into chilled flutes
Start by bringing the chilled bottle of sparkling wine out of the fridge and arranging three tall, elegant champagne flutes on the white quartzite surface. With a steady hand, gently tilt the bottle and pour the sparkling wine into each flute until each glass is about half full — the focus here is on capturing the fine, active effervescence rising from the base, the tiny bead-like bubbles climbing the inner glass, and the crisp translucent clarity of the liquid. Keep the glasses upright and evenly spaced on the matte quartzite; let the bottle and a clear glass carafe of orange juice sit nearby as tidy, realistic vessels of the core ingredients.
Step 2: Top each glass with orange juice to finish the mimosa
Next, take the clear glass carafe of chilled orange juice and slowly pour a bright stream into each half-filled flute to top them up. Aim for a delicate interaction at the surface — the fizzy sparkling wine meeting the sunny orange, a pale frothy crown forming where they meet, and a tiny buoyant film of bubbles gathering at the rim. This is the single visual milestone: the finished filled glasses showing the emulsion of bubbles and juice, the layered gradient from pale champagne to vibrant orange, and subtle condensation along the glass.
Step 3: Present the trio of mimosas for serving
Arrange the three finished mimosas in a gentle cluster for serving: upright champagne flutes on the white quartzite tabletop, the clear glass carafe and the chilled bottle positioned consistently to one side, and a neatly folded blue-and-white striped cloth as a soft textural accent. Describe each glass in sensory terms as you set them — bright sunny orange liquid, a frothy crown of tiny bubbles, glass rims catching soft highlights — then step back and serve.
Notes
- Chill the bottle and juice for at least 2 hours before serving.
- Use fresh-squeezed orange juice for the brightest flavor.
- For a nonalcoholic option, swap sparkling wine for sparkling water or nonalcoholic sparkling wine.
- Pour slowly to preserve the bubbles and avoid overflow.
- Serve immediately after mixing for best effervescence.