How to Cook Quinoa Perfectly is one of those simple techniques I keep returning to when I want a reliable, nutritious base for dinners and bowls. I learned early that a little attention up front makes a huge difference, and that is why How to Cook Quinoa Perfectly sits at the top of my weeknight recipe list. The method is forgiving, quick, and lets the grain sing without heavy sauces. If you are curious about a small ritual that yields consistently fluffy, separate quinoa, this guide will walk you through it and why it matters.
How This Recipe Became My Rainy-Day Favorite
I remember the first time I made How to Cook Quinoa Perfectly for friends on a gray afternoon: the kitchen smelled faintly of broth and lemon, and the ritual of rinsing the tiny seeds felt oddly soothing. I watched steam pool beneath the lid and felt a small, happy pride when the fork teased the grains into light, glossy clusters. Sharing that bowl warmed the room more than the stove did; people dug in and paired it with roasted vegetables and a scattering of herbs. It has since become my fallback for comfort and for entertaining because it is both humble and reliably impressive.
What Makes Each Ingredient Shine
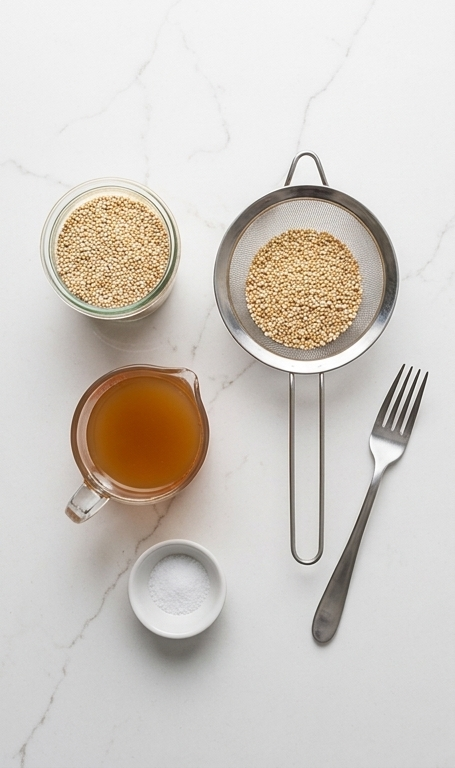
- 1 cup quinoa: The star grain that becomes fluffy and tender. Choose organic or pre-rinsed if you want less prep; toasted quinoa adds a nuttier flavor. Look for even-colored seeds and avoid clumps.
- 2 cups water or broth: The cooking medium. Use stock for richer flavor, or water for a neutral base. Vegetable or chicken broth are good substitutes and will influence the final taste.
- Pinch fine sea salt, optional: Enhances flavor without overpowering. If using salty broth, skip or reduce the salt. Use fine salt so it dissolves quickly and seasons evenly.
Kitchen Tools That Make It Easier
A few simple tools make How to Cook Quinoa Perfectly feel effortless and help control texture and timing. Think of them as tiny helpers rather than required gadgets.
- Fine-mesh strainer: Essential for rinsing quinoa to remove the natural coating that can taste bitter. A small sieve with tight holes prevents seeds from slipping through.
- Medium saucepan with lid: For even simmering and steam retention. A good-fitting lid traps steam so the quinoa finishes gently.
- Fork: For fluffing. Use a fork instead of a spoon to tease grains apart and keep them light.
- Microwave-safe bowl: If you choose the microwave method, pick a large bowl to avoid boil-over and to allow standing time.
- Rice cooker or Instant Pot (optional): These take the guesswork out of timing and work well if you make quinoa often.
Step-by-Step Preparation Guide.
Step 1: Rinse the quinoa
Place the dry quinoa in a fine-mesh strainer and rinse under cool running water for 30 seconds to a minute, or submerge it in a bowl of cool water, swirl gently, and drain. This simple rinse removes any bitter coating and leaves the tiny grains bright and slightly translucent; you should notice individual, dry seeds with a faint dusty sheen before cooking. Treat this as gentle, tactile cleansing—shake off excess water so the grains sit loose and separate in the strainer, ready for the cooking method you choose.
Step 2: Stove — Bring to a boil
Transfer the shaken, rinsed quinoa to a medium saucepan and add 2 cups of water or broth along with a pinch of fine sea salt if you like. Place the pan on the table (we’re documenting the result, not the flame): the visual to aim for is a full pan with the liquid just at covering level and the raw-grain texture beginning to plump at the edges; you’ll see individual grains sitting in clear broth before the simmer.
Step 3: Stove — Simmer and absorb
After the initial boil, reduce heat and let the liquid gently simmer until it is almost fully absorbed, typically 10–15 minutes for this quantity. Visually the quinoa will shift from translucent to a more opaque, tender appearance with tiny, pale rings forming on each grain—the hallmark of cooked quinoa—and the surface of the liquid will recede until the grains sit in a moist, not soupy, bed.
Step 4: Stove — Rest and fluff
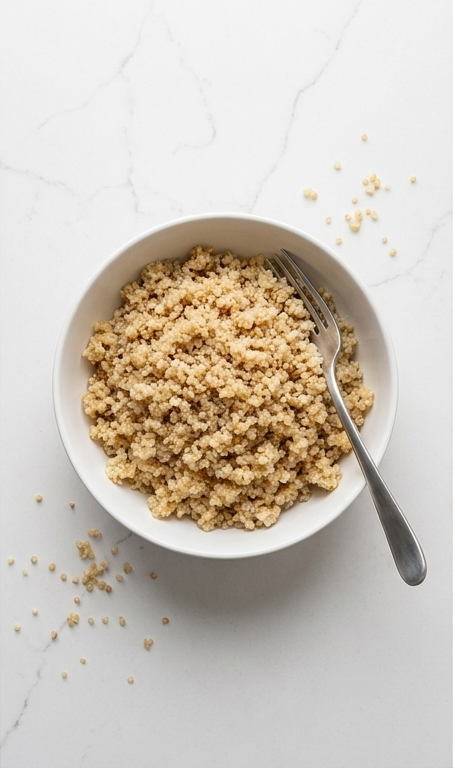
Remove the covered pan from heat and let it rest for about 5 minutes, allowing trapped steam to finish the cook and separate the grains. When you lift the lid and fluff with a fork, the quinoa should look airy and slightly glossy with clearly defined individual seeds, not clumped or mushy; use the fork to tease the grains apart so the final texture reads light and fluffy.
Step 5: Microwave method — quick cook and stand
For the microwave option, combine 1 cup rinsed quinoa with 2 cups water or broth in a large microwave-safe bowl, cover with a microwave-safe plate, and cook on high until the liquid level has reduced by roughly half (about 6 minutes). The visual cue here is a bowl where the grains have swollen, the liquid has dimmed, and the surface shows concentrated moisture pockets—an accelerated version of the stovetop transition.
Step 6: Microwave method — rest and fluff
Carefully remove the hot bowl, stir briefly, then cover and let it stand for 5–10 minutes until all liquid is absorbed. When you uncover and fluff, the microwave quinoa should mirror the stove result: separate, puffed grains with a soft sheen and the classic tiny ring on each seed.
Step 7: Rice cooker method — cook and settle
For a rice cooker, lightly brush the inner pot with oil or butter, add 1 cup rinsed quinoa and 2 cups water or broth, stir to prevent sticking, and run the regular or “white rice” cycle. When the cycle finishes, let it sit with the lid closed for about 10 minutes; visually you’ll see a cohesive bed of cooked quinoa with moisture evenly distributed and no raw, translucent kernels.
Step 8: Instant Pot method — pressure cook and release
In an electric pressure cooker use a 1:1 quinoa-to-water ratio (1 cup each), brush the inner pot lightly with oil, add rinsed quinoa and water, seal and cook on HIGH for 1 minute, then allow 12 minutes natural pressure release. After opening, fluff—the Instant Pot yield is usually very tender, slightly glossy, and distinctly separated grains due to the controlled steam environment.
Step 9: Final texture check and fluff
Whatever method you used, give the cooked quinoa a final fluff with a fork: look for light, airy clusters, individual off-white and pale-golden grains, a subtle sheen from retained moisture, and no gummy clumps. The quinoa should feel buoyant and moist to the eye but not wet.
Step 10: Serve and present
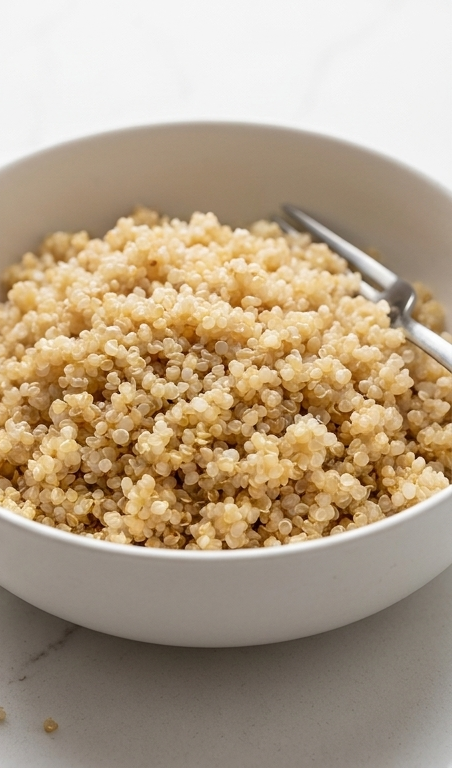
Spoon the quinoa into a large serving bowl, tease it once more with a fork so the grains sit lofted and separated, and present it simply—no heavy sauces or garnishes. The finished dish should read as wholesome and clean: a bowl of perfectly cooked, fluffy quinoa with distinct grains and a soft, appetizing gloss.
Making It Your Own
Think of these variations as small experiments I tried when I wanted different moods from How to Cook Quinoa Perfectly. One week I went Mediterranean by stirring in chopped sun-dried tomatoes, kalamata olives, and a splash of lemon; it became a warm salad that traveled well to potlucks.
For a protein boost, I folded in chopped roasted chickpeas and toasted almonds, giving the dish more bite for an easy lunch. In cooler months I cook the quinoa in bone broth and mix in roasted squash and sage for a cozy side. For breakfast, try cooking the quinoa in almond milk with a touch of cinnamon and honey, then top with toasted nuts and fruit.
Small swaps like swapping broth types or adding fresh herbs let you tailor the dish to the season and to dietary needs.
How to Serve
If I am hosting, I treat How to Cook Quinoa Perfectly as a flexible canvas. For a casual dinner, serve it in a large bowl alongside roasted vegetables, a saucy stew, or grilled fish so guests can build their own bowls. The neutral base is great for contrasting textures and flavors.
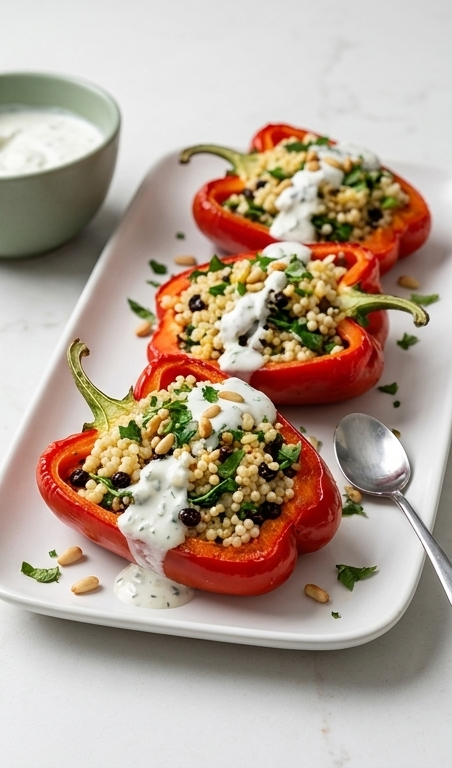
To scale up, multiply the quinoa and liquid in equal ratios and use a rice cooker or oven for consistent results. For a dinner party, present quinoa in a warmed ceramic bowl, top with a drizzle of good olive oil, a scattering of toasted seeds, and a few sprigs of parsley. Leftovers make excellent stuffed peppers or cold salads for lunches.
Storage and Reheating
Cooked quinoa stores well. Cool it quickly after cooking by spreading it on a tray, then transfer to an airtight container and refrigerate for up to 4 days. For longer storage, freeze in portions for up to 3 months; thaw in the refrigerator overnight before reheating.
To reheat, sprinkle a few teaspoons of water over the grains and warm gently in a skillet or microwave covered until steaming. Stir gently to restore fluffiness. If frozen, allow it to come to fridge temperature first to avoid uneven thawing.
Common Quinoa Slip-Ups and How to Avoid Them
Overcooking or using too much water can make quinoa gummy. Use the recommended ratios and watch for the little ring that signals doneness. Resting with the lid on is crucial; it finishes the cook with steam rather than extra heat.
Forgetting to rinse pre-rinsed quinoa is another mistake some folks make. If your quinoa is not labeled pre-rinsed, wash it thoroughly to remove the natural bitter coating. Also, avoid heavy stirring during cooking, which can break grains and create a pasty texture.
Ready to Try It?
I hope you give How to Cook Quinoa Perfectly a go this week. It is one of those small kitchen wins that rewards a little care with consistently great texture and flavor. Make it your own, and enjoy how a simple grain can elevate so many meals.
Frequently Asked Questions.
- What is the best quinoa to buy? I look for evenly colored seeds and consider pre-rinsed quinoa if I want to skip the rinse step, but plain organic white quinoa cooks quickly and reliably.
- Can I use broth instead of water? Yes, using chicken or vegetable broth adds depth and makes the cooked quinoa more flavorful without extra steps.
- How long does cooked quinoa last in the fridge? Stored in an airtight container, cooked quinoa keeps well for about 4 days; freeze portions for longer storage.
- Is quinoa gluten free? Yes, quinoa is naturally gluten free and makes a great grain alternative for those avoiding gluten.
- Can I double the recipe? Absolutely, maintain the ratio of 1 cup quinoa to 2 cups liquid or follow your rice cooker directions for larger batches.
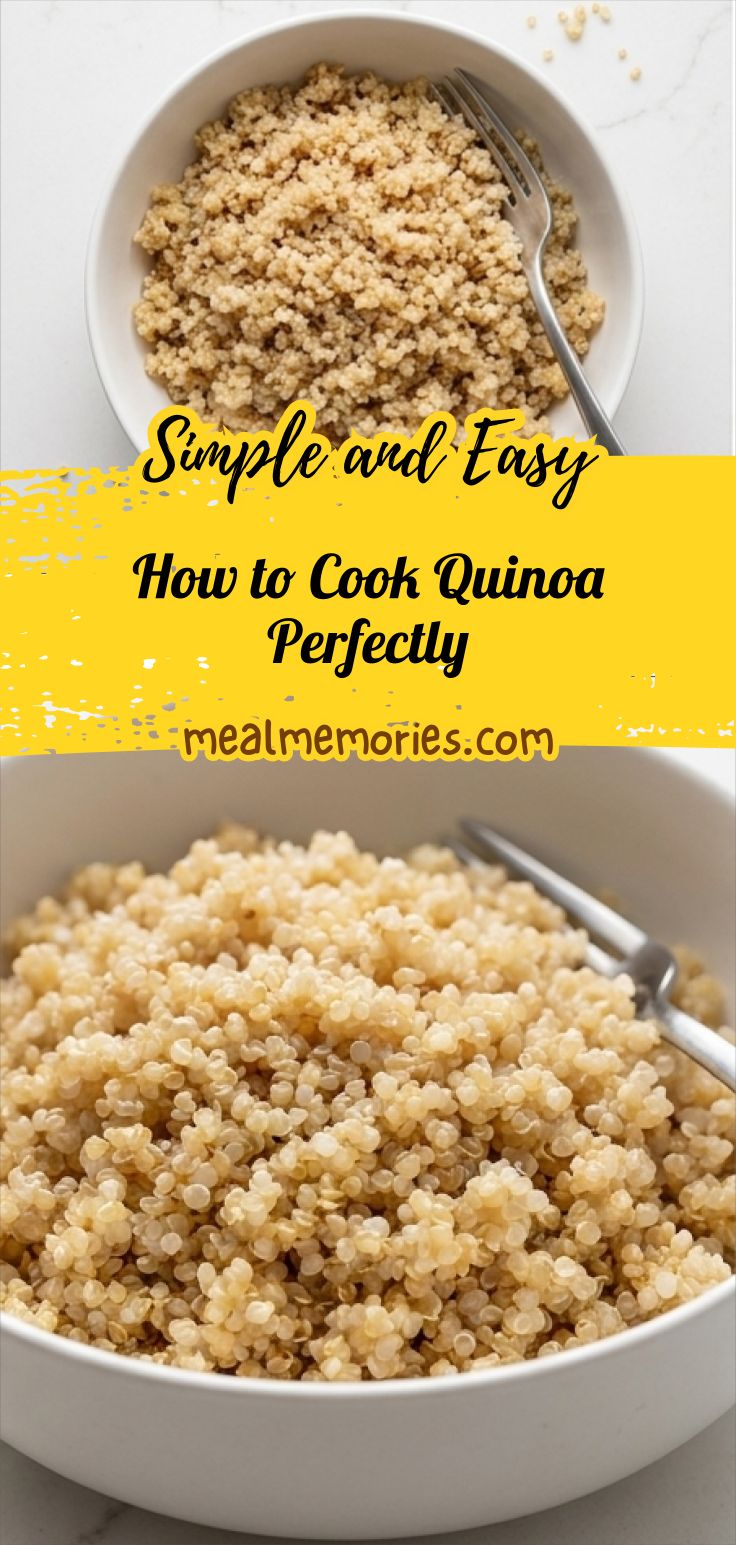
How to Cook Quinoa Perfectly
How to Cook Quinoa Perfectly: master fluffy, separate quinoa with this simple rinse-and-simmer method in under 20 minutes.
Ingredients
Instructions
Step 1: Rinse the quinoa
Place the dry quinoa in a fine-mesh strainer and rinse under cool running water for 30 seconds to a minute, or submerge it in a bowl of cool water, swirl gently, and drain. This simple rinse removes any bitter coating and leaves the tiny grains bright and slightly translucent; you should notice individual, dry seeds with a faint dusty sheen before cooking. Treat this as gentle, tactile cleansing—shake off excess water so the grains sit loose and separate in the strainer, ready for the cooking method you choose.
Step 2: Stove — Bring to a boil
Transfer the shaken, rinsed quinoa to a medium saucepan and add 2 cups of water or broth along with a pinch of fine sea salt if you like. Place the pan on the table (we’re documenting the result, not the flame): the visual to aim for is a full pan with the liquid just at covering level and the raw-grain texture beginning to plump at the edges; you’ll see individual grains sitting in clear broth before the simmer.
Step 3: Stove — Simmer and absorb
After the initial boil, reduce heat and let the liquid gently simmer until it is almost fully absorbed, typically 10–15 minutes for this quantity. Visually the quinoa will shift from translucent to a more opaque, tender appearance with tiny, pale rings forming on each grain—the hallmark of cooked quinoa—and the surface of the liquid will recede until the grains sit in a moist, not soupy, bed.
Step 4: Stove — Rest and fluff
Remove the covered pan from heat and let it rest for about 5 minutes, allowing trapped steam to finish the cook and separate the grains. When you lift the lid and fluff with a fork, the quinoa should look airy and slightly glossy with clearly defined individual seeds, not clumped or mushy; use the fork to tease the grains apart so the final texture reads light and fluffy.
Step 5: Microwave method — quick cook and stand
For the microwave option, combine 1 cup rinsed quinoa with 2 cups water or broth in a large microwave-safe bowl, cover with a microwave-safe plate, and cook on high until the liquid level has reduced by roughly half (about 6 minutes). The visual cue here is a bowl where the grains have swollen, the liquid has dimmed, and the surface shows concentrated moisture pockets—an accelerated version of the stovetop transition.
Step 6: Microwave method — rest and fluff
Carefully remove the hot bowl, stir briefly, then cover and let it stand for 5–10 minutes until all liquid is absorbed. When you uncover and fluff, the microwave quinoa should mirror the stove result: separate, puffed grains with a soft sheen and the classic tiny ring on each seed.
Step 7: Rice cooker method — cook and settle
For a rice cooker, lightly brush the inner pot with oil or butter, add 1 cup rinsed quinoa and 2 cups water or broth, stir to prevent sticking, and run the regular or “white rice” cycle. When the cycle finishes, let it sit with the lid closed for about 10 minutes; visually you’ll see a cohesive bed of cooked quinoa with moisture evenly distributed and no raw, translucent kernels.
Step 8: Instant Pot method — pressure cook and release
In an electric pressure cooker use a 1:1 quinoa-to-water ratio (1 cup each), brush the inner pot lightly with oil, add rinsed quinoa and water, seal and cook on HIGH for 1 minute, then allow 12 minutes natural pressure release. After opening, fluff—the Instant Pot yield is usually very tender, slightly glossy, and distinctly separated grains due to the controlled steam environment.
Step 9: Final texture check and fluff
Whatever method you used, give the cooked quinoa a final fluff with a fork: look for light, airy clusters, individual off-white and pale-golden grains, a subtle sheen from retained moisture, and no gummy clumps. The quinoa should feel buoyant and moist to the eye but not wet.
Step 10: Serve and present
Spoon the quinoa into a large serving bowl, tease it once more with a fork so the grains sit lofted and separated, and present it simply—no heavy sauces or garnishes. The finished dish should read as wholesome and clean: a bowl of perfectly cooked, fluffy quinoa with distinct grains and a soft, appetizing gloss.
Notes
- Rinse quinoa well to remove bitter coating
- Use broth for more flavor or water for a neutral base
- Let quinoa rest with the lid on for 5 minutes before fluffing
- Store cooked quinoa in airtight container for up to 4 days
- Freeze portions for up to 3 months