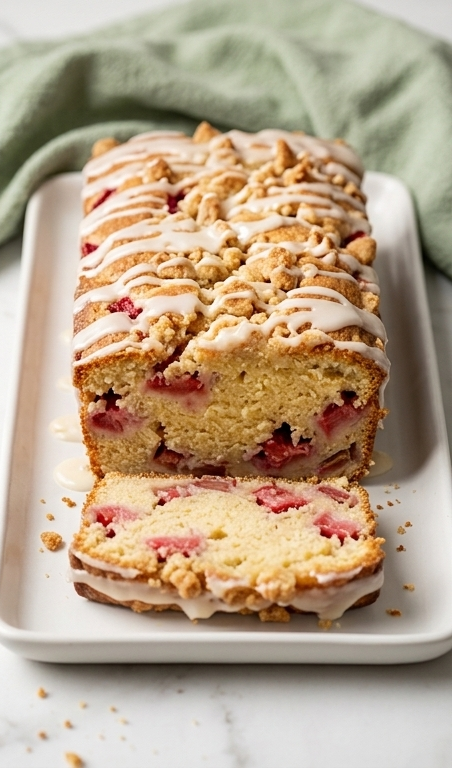
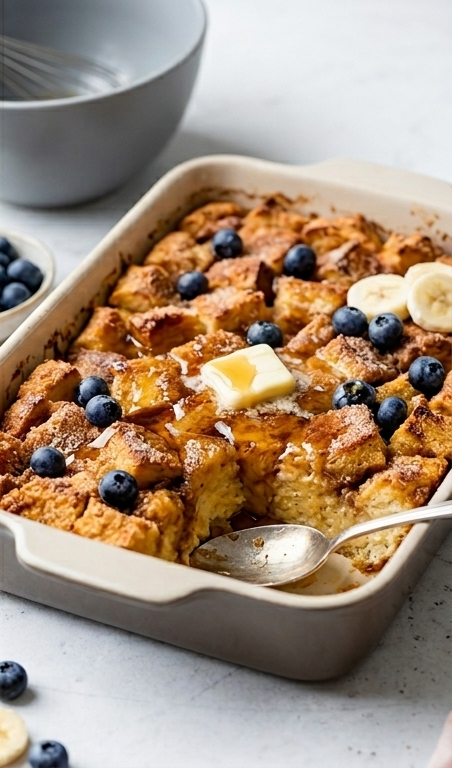
Red, White and Blueberry Trifle is one of those desserts that feels like a celebration in a bowl, and it has a permanent spot in my warm-weather rotation. I first made this Red, White and Blueberry Trifle for a neighborhood potluck and watched it disappear faster than any other dessert. I love how the simple ingredients come together to look elegant and taste fresh, and the contrast of airy angel food cake with silky cream and bright berries never fails to get compliments. If you like easy, show-stopping desserts, this is the kind of recipe you’ll want to keep on hand.
What makes Red, White and Blueberry Trifle special is its absolute ease and the way seasonal fruit takes center stage. You do very little cooking, but the layered presentation reads like effort. With just a little whisking, folding, and thoughtful assembly, you end up with a dessert that looks like it belongs at a summer table yet comes together in a fraction of the time.
How This Trifle Became My Fourth of July Tradition
My first Red, White and Blueberry Trifle memory is standing on a sun-warmed patio while a breeze moved through the paper lanterns overhead. I brought a clear trifle dish so everyone could watch the layers through the glass. The kids pressed their faces to the bowl to admire the stripes of white cream and jewel-toned berries, and adults kept saying how pretty it looked. The smell of the cake was faint, the cream smelled lightly sweet, and the berries offered bright pops of summer. Watching people reach for second helpings felt like sharing a small victory: simple ingredients, big smiles. From then on, it became the dessert I make when I want a fuss-free centerpiece that still feels festive and homemade.
Primary Ingredients and Why They Matter
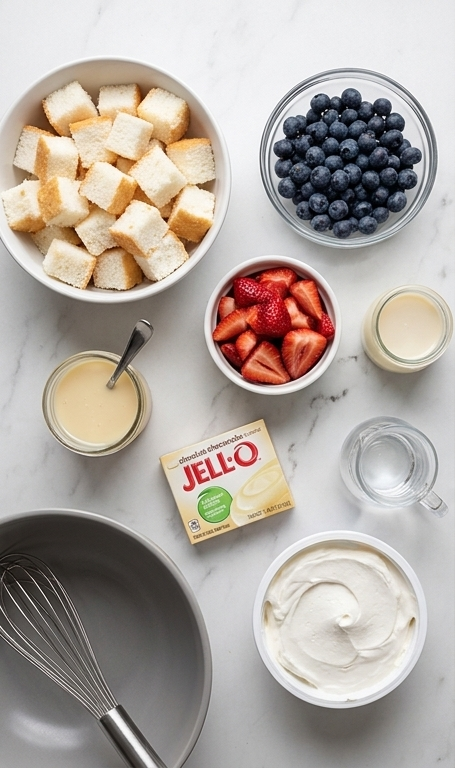
- Angel Food Cake: Provides an airy, neutral base that soaks some cream but keeps texture. Substitute with pound cake for a richer bite, but choose one that is not overly sweet. Look for a light, spongy loaf without an overly dense crumb.
- Strawberries: Add color, acidity, and sweetness. Use ripe, firm berries and slice them just before assembling to avoid extra juice. Substitute raspberries in a pinch.
- Blueberries: Offer contrast in both flavor and color. Pick plump, firm berries with a powdery bloom; avoid soft, leaking fruit. Wild blueberries work well for concentrated flavor.
- Sweetened Condensed Milk: Gives cream body and stability. You can use full-fat condensed milk if desired for extra richness.
- Pudding Mix: Builds structure and mouthfeel. White chocolate or cheesecake flavored mixes keep the cream neutral and lightly sweet; sugar-free options are fine.
- Whipped Topping: Creates the pillow-soft cream layer. Thawed frozen topping is convenient; homemade whipped cream works if stabilized.
Essential Kitchen Tools You Should Know About
Putting this Red, White and Blueberry Trifle together takes a handful of simple tools that make assembly easier and the final dish prettier.
- Large mixing bowl: Use a roomy bowl for whisking the condensed milk and pudding so you have room to work without splatter. A wide, shallow bowl helps you see texture changes.
- Whisk: Essential for dissolving pudding mix and building a silky base. If you don’t have a whisk, a fork works but will take longer.
- Rubber spatula: For gentle folding of the whipped topping so you keep air in the cream. A spoon can work but is less gentle.
- 14-cup clear trifle dish: The glass vessel is part of the charm, since the layers show through. If you don’t have one, use a clear glass bowl or individual clear cups for single servings.
- Piping bag or offset spatula: For neat layers and a polished top. You can also dollop with a spoon for a more rustic look.
Step-by-Step Preparation Guide
Step 1: Whisk the condensed milk and water
In a roomy matte grey ceramic mixing bowl, vigorously whisk the fat-free sweetened condensed milk together with cold water until the mixture looks glossy and uniformly smooth, with no streaks of syrupy milk. Take a moment to notice the liquid’s change from viscous to pourable — it should cling slightly to the whisk tines and form slow ribbons as it falls back into the bowl.
Step 2: Add and whisk the pudding mix until soft-set
Sprinkle the white chocolate or cheesecake instant pudding mix into the liquid and whisk steadily for two minutes, building body and a faint sheen. Let the bowl sit undisturbed for about two minutes until the pudding thickens to a soft-set state — the surface will tighten slightly but remain glossy and spreadable.
Step 3: Fold in whipped topping to create a pipeable cream
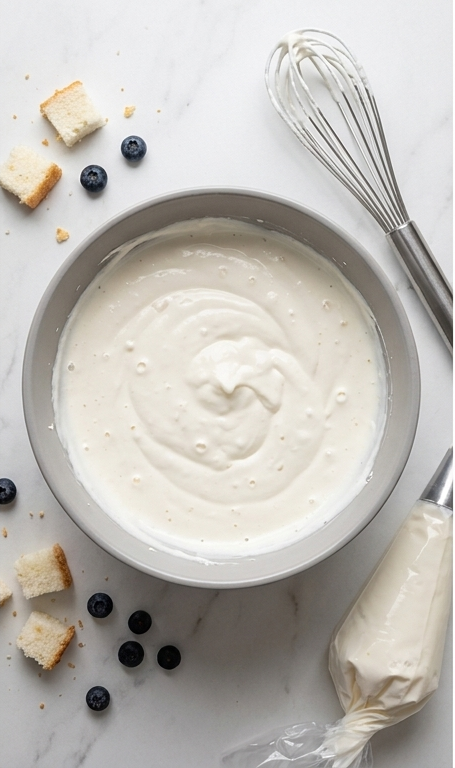
Gently fold the thawed whipped topping into the soft-set pudding until the texture is pillowy, homogenous, and light enough to be piped yet stable enough to hold soft peaks. You should see a thick, creamy white mixture with tiny air pockets and a satiny surface, perfect for dolloping or piping from a bag.
Step 4: Build the bottom layers in the trifle dish
Arrange half of the 1-inch angel food cake cubes evenly in the bottom of a clear 14-cup trifle dish, making a soft, bouncy bed. Sprinkle an even layer of blueberries over the cake, then pipe or gently spread half of the cream mixture over the berries to cover them in a smooth white blanket. Top this with a neat layer of sliced strawberries, their bright red flesh and seeds creating contrast against the white cream.
Step 5: Complete the layered assembly with care
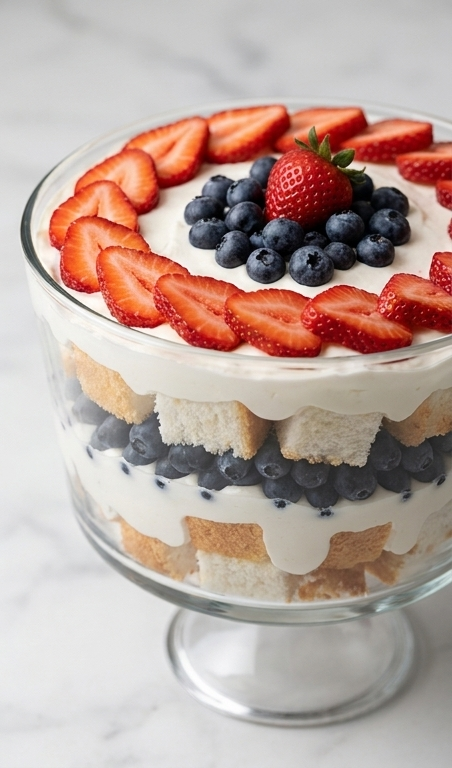
Place the remaining cake cubes atop the strawberries, tuck more scattered blueberries between cubes, and add the remaining cream mixture in an even layer, smoothing with a spatula or piping for neat edges. Finish by arranging the last strawberries and blueberries on top in an attractive pattern — think concentric rings or a clustered crown — showcasing vibrant red and deep blue against the pure white cream.
Step 6: Chill and serve
Cover the assembled trifle and refrigerate for at least one hour to let the layers settle and the cream firm slightly. The chilled dessert should present clear, distinct stratified layers through the glass, and be ready to serve straight from the trifle dish.
Making It Your Own
Try swapping the angel food cake for cubes of lemon pound cake if you want a zingier base. I once used a slightly boozy soak of orange liqueur and water on the cake for an adults-only version, and the brightness paired well with the berries. For a dairy-free twist, use coconut whipped topping and a dairy-free condensed milk alternative; the color contrast is still stunning.
For a patriotic twist beyond the name, layer in raspberries or use a blueberry compote in one layer for extra jammy pockets. If you prefer individual servings, assemble the trifle in mason jars and layer the components the same way for portable desserts.
How to Serve
When hosting, place the trifle in the center of the table and bring out serving spoons so guests can help themselves to clean layers. For a crowd of 12, the standard 14-cup trifle dish works beautifully; for smaller groups, split the recipe between two smaller bowls. If you want to glam it up, add edible flowers or a dusting of finely grated white chocolate on top right before serving.
To make individual portions, pipe the cream into clear glasses, add cake and berries in repeated layers, and finish each with a small sprig of fresh mint. Chilled plates and a chilled serving spoon help keep the cream stable as you dish out portions.
Storage and Reheating Tips
Store the assembled trifle, covered, in the refrigerator for up to 48 hours. Fruit will release some juice over time and the cake will continue to soften, so plan to serve within a couple of days for the best texture. If you need to prepare elements ahead, keep the cream and fruit separate and assemble the final trifle the morning you plan to serve it.
This dessert does not reheat. If you want to refresh a trifle that has sat too long and looks soggy, add a layer of fresh berries and a few fresh cake cubes on top to revive appearance and texture.
Common Mistakes and How to Avoid Them
Adding fruit too early can make the cake mushy. Assemble close to serving time when possible, and slice strawberries just before you layer them. If you must prep early, pat berries dry and layer with paper towel between layers to absorb excess juice.
Overwhipping or vigorously folding the whipped topping can deflate the cream. Use gentle folds and stop when the mixture looks light and holds soft peaks. If the cream loosens, chill it briefly to help it firm up again.
Final Thoughts and Invitation
If you are looking for a dessert that feels festive without fuss, give this Red, White and Blueberry Trifle a try. It highlights fresh fruit, needs minimal hands-on time, and always looks like you spent more effort than you did. I hope it becomes a go-to for your summer gatherings and brings a few smiles to your table.
Frequently Asked Questions.
-
Can I make this trifle ahead of time?
Yes, you can prepare components ahead and assemble the trifle the day you plan to serve. Store the cream and fruit separately to keep textures fresh. -
Can I use fresh whipped cream instead of frozen whipped topping?
Yes, stabilized fresh whipped cream works well. Fold it in gently and keep the trifle chilled until serving. -
How long will leftovers keep?
Stored covered in the refrigerator, leftovers are best within 48 hours. -
Can I use other fruits?
Absolutely. Raspberries, blackberries, or a fruit compote make lovely variations. -
Is there a gluten-free option?
Yes, substitute the angel food cake with a gluten-free sponge or pound cake.
Red, White and Blueberry Trifle
Make Red, White and Blueberry Trifle for a fresh, layered summer dessert that’s easy to assemble and crowd-pleasing.
Ingredients
Instructions
Step 1: Whisk the condensed milk and water
In a roomy matte grey ceramic mixing bowl, vigorously whisk the fat-free sweetened condensed milk together with cold water until the mixture looks glossy and uniformly smooth, with no streaks of syrupy milk. Take a moment to notice the liquid's change from viscous to pourable — it should cling slightly to the whisk tines and form slow ribbons as it falls back into the bowl.
Step 2: Add and whisk the pudding mix until soft-set
Sprinkle the white chocolate or cheesecake instant pudding mix into the liquid and whisk steadily for two minutes, building body and a faint sheen. Let the bowl sit undisturbed for about two minutes until the pudding thickens to a soft-set state — the surface will tighten slightly but remain glossy and spreadable.
Step 3: Fold in whipped topping to create a pipeable cream
Gently fold the thawed whipped topping into the soft-set pudding until the texture is pillowy, homogenous, and light enough to be piped yet stable enough to hold soft peaks. You should see a thick, creamy white mixture with tiny air pockets and a satiny surface, perfect for dolloping or piping from a bag.
Step 4: Build the bottom layers in the trifle dish
Arrange half of the 1-inch angel food cake cubes evenly in the bottom of a clear 14-cup trifle dish, making a soft, bouncy bed. Sprinkle an even layer of blueberries over the cake, then pipe or gently spread half of the cream mixture over the berries to cover them in a smooth white blanket. Top this with a neat layer of sliced strawberries, their bright red flesh and seeds creating contrast against the white cream.
Step 5: Complete the layered assembly with care
Place the remaining cake cubes atop the strawberries, tuck more scattered blueberries between cubes, and add the remaining cream mixture in an even layer, smoothing with a spatula or piping for neat edges. Finish by arranging the last strawberries and blueberries on top in an attractive pattern — think concentric rings or a clustered crown — showcasing vibrant red and deep blue against the pure white cream.
Step 6: Chill and serve
Cover the assembled trifle and refrigerate for at least one hour to let the layers settle and the cream firm slightly. The chilled dessert should present clear, distinct stratified layers through the glass, and be ready to serve straight from the trifle dish.
Notes
- Slice strawberries just before assembling to prevent excess juice.
- If you need more stability, use a stabilized whipped cream or add a small amount of instant pudding.
- Assemble close to serving for the best texture; store covered in the fridge up to 48 hours.