Strawberry Rhubarb Bars have been my summer shorthand for everything I love about late-season fruit: bright, tart fruit folded into a buttery, oat-studded crumble that makes the kitchen smell like a memory. I first learned this recipe on a sunny afternoon when my neighbor dropped off a basket of rhubarb and a knowing smile; since then Strawberry Rhubarb Bars have become my go-to for potlucks, picnic boxes, and lazy Sunday baking. The balance of jammy filling and crunchy oat topping feels effortless, even on busy days, and it’s the sort of recipe that rewards small tweaks and lots of taste-testing. If you like a dessert that feels both homey and a little bit wild, these bars are worth a try.
How This Recipe Became My Rainy-Day Favorite
I remember the first time I baked Strawberry Rhubarb Bars for guests: a storm moved in while the oven hummed and the house filled with a sweet-tart perfume. I stood by the window with a mug and watched rain beads run down the glass while the smell of browned oats and baking fruit wrapped around me. When I finally cut into the chilled slab, steam mixed with cool air and the filling held together in a glossy, rosy gel. Each bite was a little surprising: the rhubarb’s bright acidity, a juicy pop from the strawberries, and the buttery crumble that gave the bars structure. Serving them felt like sharing sunshine in a plate, and I still think of that rainy afternoon whenever I slice a square. Those sensory details keep me coming back to this recipe on quiet days and busy ones alike.
Ingredient Spotlight
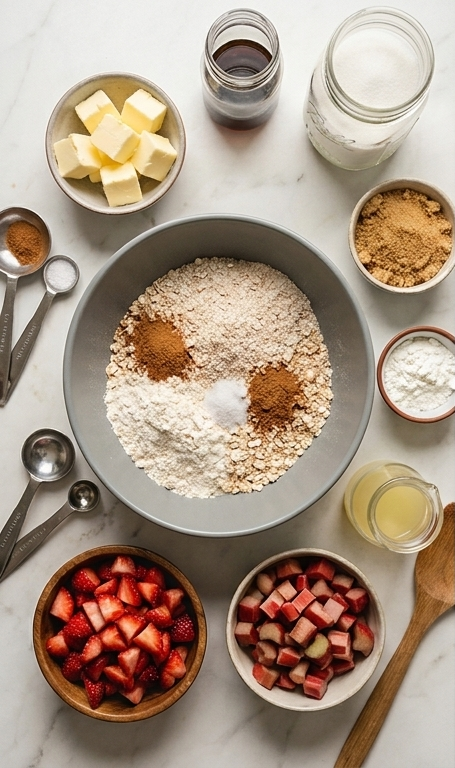
- Rolled Oats: Give texture and nutty flavor; use old-fashioned oats for structure. Quick oats will make a softer, denser crumble.
- All-Purpose Flour: Binds the oat base; whole wheat pastry flour adds depth but makes it denser.
- Light Brown Sugar: Adds moisture and caramel notes; coconut sugar is a drier substitute.
- Salted Butter: Provides richness and helps clusters form; use unsalted plus 1/4 teaspoon salt if preferred.
- Pure Vanilla Extract: Rounds flavors; a pinch of almond extract is a nice twist.
- Strawberries: Sweet juiciness and color; frozen, thawed, and drained works in a pinch.
- Rhubarb: Tart backbone; if unavailable, try tart cherries for a similar bite.
- Cornstarch: Thickens the filling; arrowroot is a 1:1 substitute.
- Granulated Sugar: Sweetens and draws juices; reduce slightly for a tarter filling.
Essential Kitchen Tools and Why They Matter
A few simple tools make the whole process faster and more consistent. You don’t need anything exotic, but the right utensils help the crumble texture and the final slice look tidy.
- 9×13” pan: Ensures even thickness and familiar baking time; use a shallow cake pan if required but adjust baking time slightly.
- Parchment paper: Makes lifting the chilled slab effortless and protects the pan.
- Sturdy mixing bowl: Gives you space to work the oats and butter without spills.
- Wooden spatula or pastry cutter: For cutting butter into the dry mix; fingertips work too for small batches.
- Sharp knife: For neat squares after chilling; chill thoroughly before cutting to avoid messy slices.
Step-by-Step Preparation Guide
Step 1: Preheat and Prepare the Pan
Preheat the oven to 350°F and line a 9×13” rectangular pan with parchment so the paper hangs slightly over the long sides; lightly grease the paper with butter or nonstick spray. Doing this first makes lifting the chilled bars effortless later — set the pan aside on the white quartzite surface while you work on the crumble.
Step 2: Make the Oatty Crumble Base
In a large matte grey ceramic bowl combine rolled oats, all-purpose flour, light brown sugar, ground cinnamon, salt, and baking soda until evenly mixed and sandy in texture. Add room-temperature salted butter cut into ½” pieces and a splash of pure vanilla, then use a sturdy wooden spatula or your fingertips to cut and press the butter into the dry mix until it resembles a rough, sticky cookie-dough — coarse oat clusters, some pebbly crumbs, and larger chunk pockets should remain for crunch.
Step 3: Reserve, Press and Par-bake the Bottom Crust
Scoop off roughly one-third (about 2 scant cups) of the crumble mixture and set it aside in a small bowl. Firmly press the remaining crumble into the bottom of the prepared rectangular pan so the layer is even and neatly sealed to the edges; it should be compacted but still show oat texture. Bake this bottom crust for 10–12 minutes until it’s just starting to pale-golden at the edges.
Step 4: Macerate, Thicken, Assemble and Top
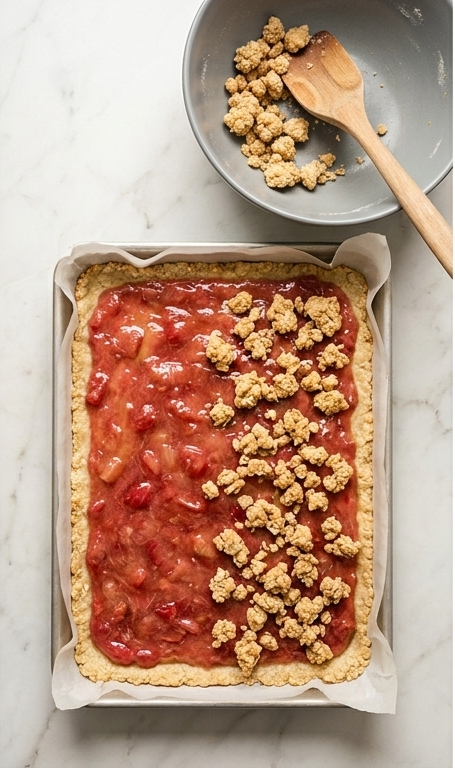
While the crust is baking, toss diced fresh strawberries and diced rhubarb with three tablespoons of the granulated sugar and let sit 5–10 minutes until juices exude; drain off the loose liquid. Return the fruit to the bowl and sprinkle in cornstarch, the remaining sugar, and fresh lemon juice, then gently fold so every piece is evenly coated in a glossy, slightly grainy fruit-sugar slurry. Spread this ruby-pink filling evenly over the par-baked crust, scatter the reserved oat crumble over the top leaving some gaps between chunks, and press the topping lightly into the fruit so pieces adhere and a textured, uneven golden crown forms.
Step 5: Bake Until Bubbling and Golden
Slide the assembled pan back into the oven and bake 45–50 minutes, watching for the filling to deepen into a thickened, slightly glossy jam-like gel and for the crumble to develop an even golden-brown hue with toasted oat edges. Remove from the oven and cool to room temperature on the quartzite surface so the filling sets without running.
Step 6: Chill, Slice and Serve
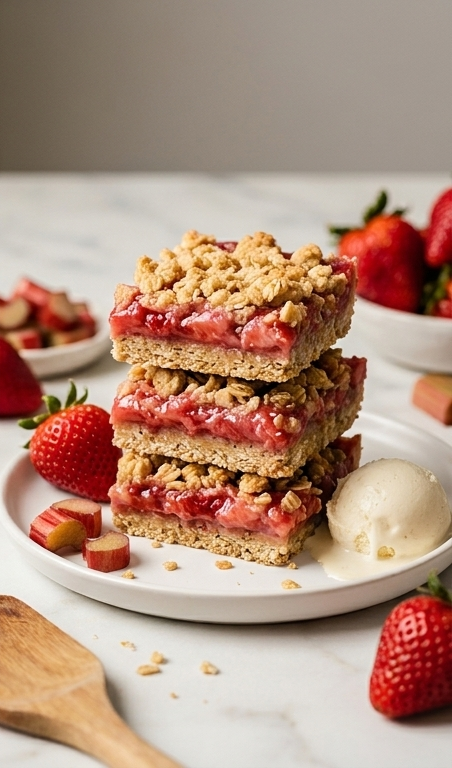
Refrigerate the cooled slab for at least 1 hour until completely chilled, then lift the bars from the pan using the parchment overhang and cut into neat squares. Arrange a tidy stack of strawberry–rhubarb bars on a simple white plate, garnish with fresh strawberries and a few chopped rhubarb pieces, and serve with a scoop of vanilla ice cream or a dollop of whipped cream.
Making It Your Own
I like to treat this base as a starting point for experiments. Try swapping half the strawberries for raspberries for a deeper red and a hint of tannin; the bars are still jammy but with a different fruit note.
For a gluten-free version, replace the flour with a 1:1 gluten-free blend and use certified gluten-free oats; the texture changes slightly but the flavors stay bright. If you want a less sweet bar, reduce the granulated sugar in the filling by two tablespoons and add an extra teaspoon of lemon juice to brighten the fruit.
To make them vegan, use a plant-based butter and a touch more brown sugar to keep the crumble moist. Each variation taught me something about balance: acidity, sweetness, and texture are what’s worth guarding.
How to Serve
When I host, I slice the Strawberry Rhubarb Bars into small squares for a buffet so guests can nibble and try other desserts. For a casual gathering, arrange them in staggered stacks on a large wooden board with a few whole strawberries and candied lemon slices for color.
For a plated dessert, warm a bar briefly in the oven, add a scoop of vanilla ice cream, and finish with a sprinkle of flaky sea salt to highlight the fruit. If you need to feed more people, cut smaller portions; a 9×13 pan typically yields about 12 generous squares or up to 20 small bites for a cocktail setting.
Storage and Reheating Tips
Store the bars in an airtight container in the refrigerator for up to 4 days. Chilling helps the filling firm up so slices remain neat when served. If stacking, separate layers with parchment to prevent sticking.
To reheat, warm individual bars for 6–8 minutes at 325°F until just heated through; this softens the crumble and reactivates the jammy filling. For a quick treat, microwave a single piece for 15–20 seconds, then add ice cream so you have a warm-and-cold contrast.
Common Mistakes and How to Avoid Them
One frequent slip is not draining the macerated fruit enough before adding cornstarch, which can make the filling runny. Let the fruit sit and drain briefly, then fold in cornstarch so the slurry can thicken properly during baking.
Another is cutting the bars too soon. If you try to slice while warm, the filling will smear; patience pays off—chill fully for clean squares. Also, overworking the crumble kills the chunkiness that gives these bars their charm, so stop when you still see pebble-sized pieces.
Final Thoughts and an Invitation
If you love bright, balanced desserts with a mix of textures, give these Strawberry Rhubarb Bars a try. They’re forgiving, crowd-pleasing, and a lovely way to celebrate seasonal fruit. I hope you slice one for yourself and enjoy the first warm bite.
Frequently Asked Questions.
- Can I use frozen fruit instead of fresh? Yes, you can use frozen strawberries and rhubarb; thaw and drain them well to remove excess liquid before mixing with the sugar and cornstarch.
- How do I keep the crumble from getting soggy? Par-baking the bottom crust and draining the macerated fruit helps prevent sogginess; pressing some of the crumble into the filling also helps it adhere and crisp.
- Can I make these ahead for a party? Absolutely. Bake, chill, and store in the fridge; they taste great the next day and are easy to transport.
- What if my filling is too runny after baking? Chill thoroughly so the cornstarch sets; if it still seems loose, cut and serve smaller portions or spoon the filling onto a crisp cookie base.
- Can I freeze the bars? Yes, freeze fully cooled bars in a single layer on a tray, then wrap and stack with parchment between pieces for up to 3 months.
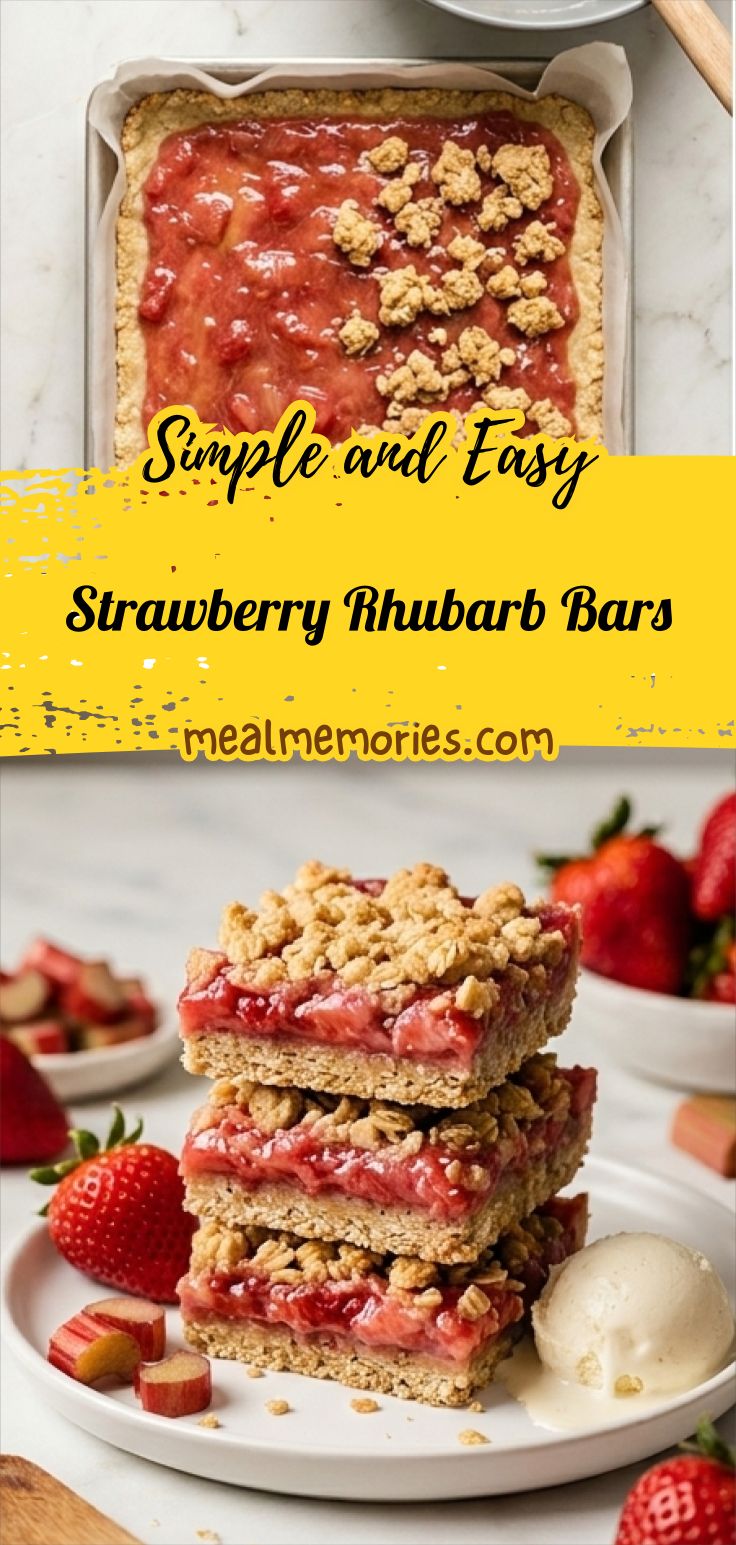
Strawberry Rhubarb Bars
Make Strawberry Rhubarb Bars: buttery oat crumble with jammy strawberry-rhubarb filling, a perfect summer bake.
Ingredients
Instructions
Step 1: Preheat and Prepare the Pan
Preheat the oven to 350°F and line a 9×13” rectangular pan with parchment so the paper hangs slightly over the long sides; lightly grease the paper with butter or nonstick spray. Doing this first makes lifting the chilled bars effortless later — set the pan aside on the white quartzite surface while you work on the crumble.
Step 2: Make the Oatty Crumble Base
In a large matte grey ceramic bowl combine rolled oats, all-purpose flour, light brown sugar, ground cinnamon, salt, and baking soda until evenly mixed and sandy in texture. Add room-temperature salted butter cut into ½" pieces and a splash of pure vanilla, then use a sturdy wooden spatula or your fingertips to cut and press the butter into the dry mix until it resembles a rough, sticky cookie-dough — coarse oat clusters, some pebbly crumbs, and larger chunk pockets should remain for crunch.
Step 3: Reserve, Press and Par-bake the Bottom Crust
Scoop off roughly one-third (about 2 scant cups) of the crumble mixture and set it aside in a small bowl. Firmly press the remaining crumble into the bottom of the prepared rectangular pan so the layer is even and neatly sealed to the edges; it should be compacted but still show oat texture. Bake this bottom crust for 10–12 minutes until it’s just starting to pale-golden at the edges.
Step 4: Macerate, Thicken, Assemble and Top
While the crust is baking, toss diced fresh strawberries and diced rhubarb with three tablespoons of the granulated sugar and let sit 5–10 minutes until juices exude; drain off the loose liquid. Return the fruit to the bowl and sprinkle in cornstarch, the remaining sugar, and fresh lemon juice, then gently fold so every piece is evenly coated in a glossy, slightly grainy fruit-sugar slurry. Spread this ruby-pink filling evenly over the par-baked crust, scatter the reserved oat crumble over the top leaving some gaps between chunks, and press the topping lightly into the fruit so pieces adhere and a textured, uneven golden crown forms.
Step 5: Bake Until Bubbling and Golden
Slide the assembled pan back into the oven and bake 45–50 minutes, watching for the filling to deepen into a thickened, slightly glossy jam-like gel and for the crumble to develop an even golden-brown hue with toasted oat edges. Remove from the oven and cool to room temperature on the quartzite surface so the filling sets without running.
Step 6: Chill, Slice and Serve
Refrigerate the cooled slab for at least 1 hour until completely chilled, then lift the bars from the pan using the parchment overhang and cut into neat squares. Arrange a tidy stack of strawberry–rhubarb bars on a simple white plate, garnish with fresh strawberries and a few chopped rhubarb pieces, and serve with a scoop of vanilla ice cream or a dollop of whipped cream.
Notes
- Chill fully before cutting to ensure clean slices.
- Drain macerated fruit well to avoid a runny filling.
- Use old-fashioned oats for better texture; quick oats will make a denser topping.