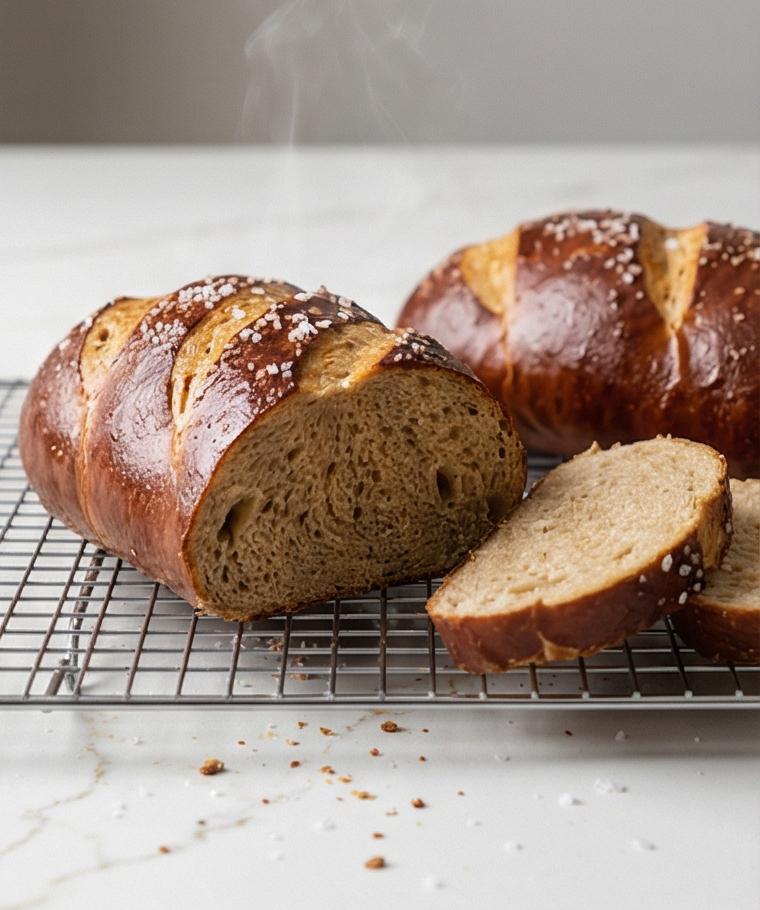
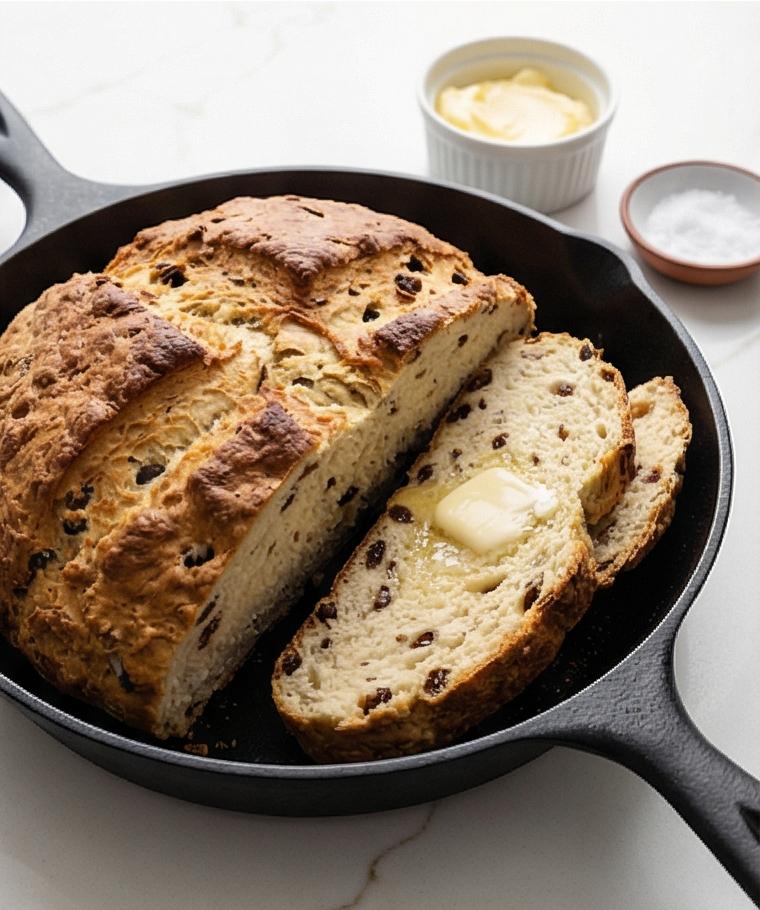
Pita Bread Recipe: there is something so satisfying about pulling a warm pocket of bread from the oven. I find myself reaching for this Pita Bread Recipe whenever I want an easy, comforting loaf to scoop up stews, fold around grilled vegetables, or tear into for a simple snack. Years of making this have taught me how small changes – like a warmer rise or a light brush of olive oil – can lift the texture and flavor into something memorable. If you enjoy hands-on baking that rewards a little patience, this Pita Bread Recipe will quickly become a go-to in your kitchen.
How This Recipe Became My Rainy-Day Favorite
I remember the first time I made this Pita Bread Recipe on a rainy Sunday afternoon: the kitchen filled with a faint yeasty sweetness, the windows beaded with raindrops, and the dough warm beneath my palms. As I kneaded, the household quieted down and the dough transformed from a ragged mass into a satiny ball that felt alive. When the oven heat coaxed the rounds into balloons, I felt a small burst of pride that only bread can give. Tearing into the first warm pocket, steam curled up and the smell was like a memory of picnics and bustling markets. It became my rainy-day ritual, a simple act that turned ordinary days into something a little celebratory and deeply comforting.
Primary Ingredients and Why They Matter
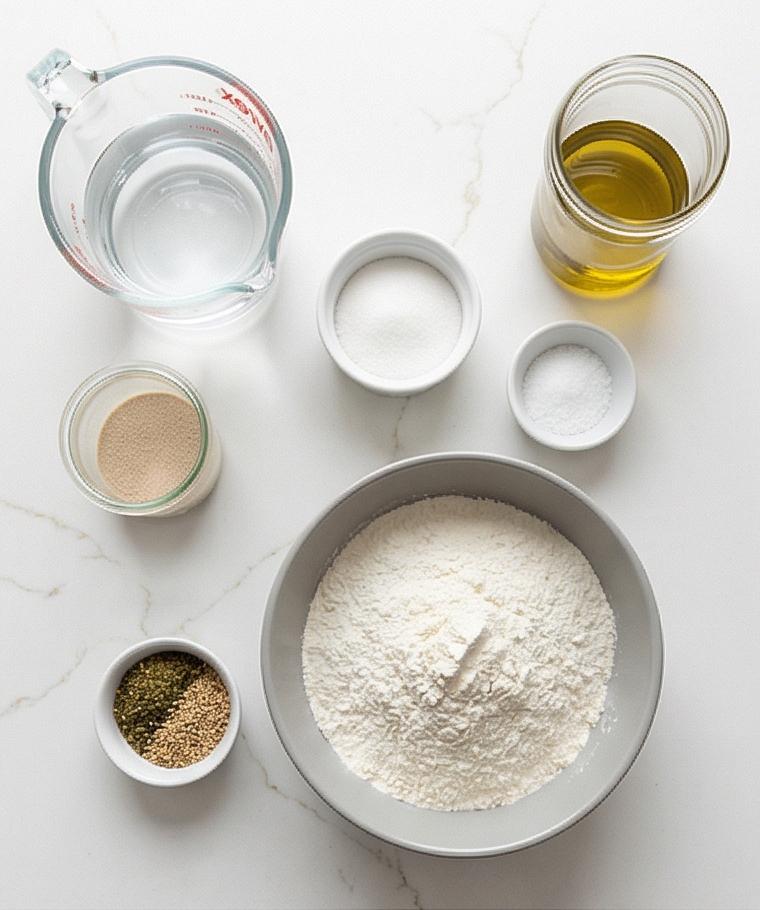
- Warm Water: Activates the yeast and sets the dough temperature. If water is too hot it will kill the yeast; if too cool the rise is slow. Substitute with slightly warm milk for a richer crumb.
- Active Dry Yeast: The leavening engine. Instant yeast can be used but skip the bloom step and add directly to the flour.
- Bread Flour or All-Purpose Flour: Bread flour gives a chewier texture; AP is perfectly fine for tender pitas. Look for higher-protein flours for better structure.
- Fine Sea Salt: Balances flavor and controls fermentation. Kosher salt works; adjust by volume.
- Extra-Virgin Olive Oil: Adds tenderness and flavor. Neutral oil is okay if you want milder taste.
- Cornmeal or Additional Flour for Dusting: Prevents sticking and adds a tiny crunch if used. Use semolina for a coarser texture.
- Olive Oil + Za’atar or Seeds (Optional Garnish): Finish for shine and aroma; herbs and seeds are optional but lovely.
Essential Kitchen Tools and Why They Help
A few simple tools will make the Pita Bread Recipe much easier and more reliable. A sturdy mixing bowl gives you room to whisk flour and salt and to combine the wet ingredients without mess. A wooden spoon is ideal for bringing the dough together before kneading, while a bench scraper helps divide and shape the pieces cleanly. If you have a stand mixer with a dough hook, use it to save time on kneading, but hands-on kneading gives you a better feel for dough texture. A heavy baking surface or pizza stone is worth it for the dramatic oven puff – it holds heat and helps the pitas blister. If you don’t have a stone, a heavy inverted baking sheet will work. Finally, a clean kitchen towel to trap steam keeps the pitas soft after baking.
Step-by-Step Preparation Guide
Step 1: Bloom the Yeast
In a clear glass measuring jar combine warm water (105–110°F / 40–43°C), active dry yeast, and a teaspoon of sugar. Stir gently until dissolved and leave uncovered for 5–10 minutes until the surface becomes creamy and foamy – a lively, aerated surface that smells faintly of bread and yeast. Describe this as a glossy, airy crown of bubbles clinging to the rim of the jar, tiny beads of condensation on the outside, and a warm amber tone in the water.
Step 2: Mix the Dry Ingredients and Bring Together into a Shaggy Dough
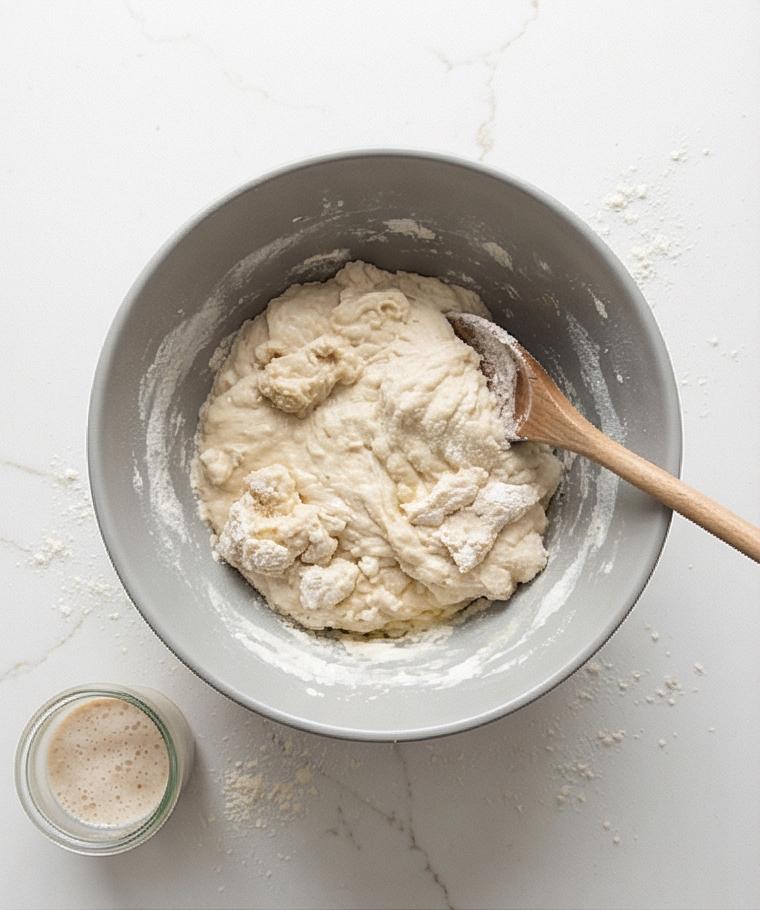
In a large matte grey ceramic mixing bowl whisk together the bread flour and fine sea salt until evenly distributed. Pour the foamy yeast mixture into the bowl, add the extra-virgin olive oil, and stir with a wooden spoon until a rough, shaggy mass forms – most flour moistened but still floury patches visible. The texture should read uneven, flour-dusted, and slightly sticky with visible strands of wet flour gathering into lumps; leave the spoon resting in the bowl for continuity.
Step 3: Knead Until Smooth and Elastic
Turn the shaggy dough onto a lightly floured work surface and knead by hand (or continue in the mixer) until it becomes smooth, slightly tacky, and elastic. Describe the dough stretching into a satiny sheet when pulled, faint gas pockets, and the surface becoming cohesive and glossy from kneading – not sticky but yielding. Keep a dusting of flour around the dough and the wooden spoon/bench scraper nearby as persistent tools.
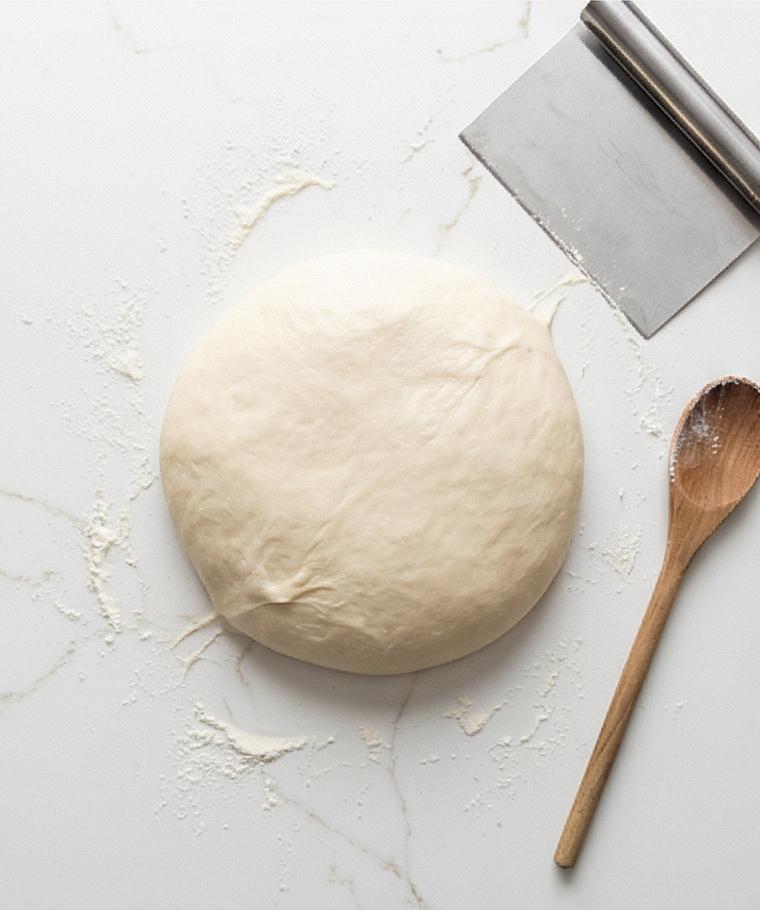
Step 4: Oil, Shape into a Ball and First Rise
Lightly oil the same matte grey mixing bowl with a thin film of olive oil, shape the dough into a tight smooth ball, place it seam-side down, and turn to coat. Cover with loose plastic wrap or a damp towel and let rise at warm room temperature until doubled – an airy dome with a gentle spring when pressed, tiny sheen of oil on the bowl sides, and a slight indentation that slowly bounces back. Capture the sense of volume and delicate skin on the dough surface.
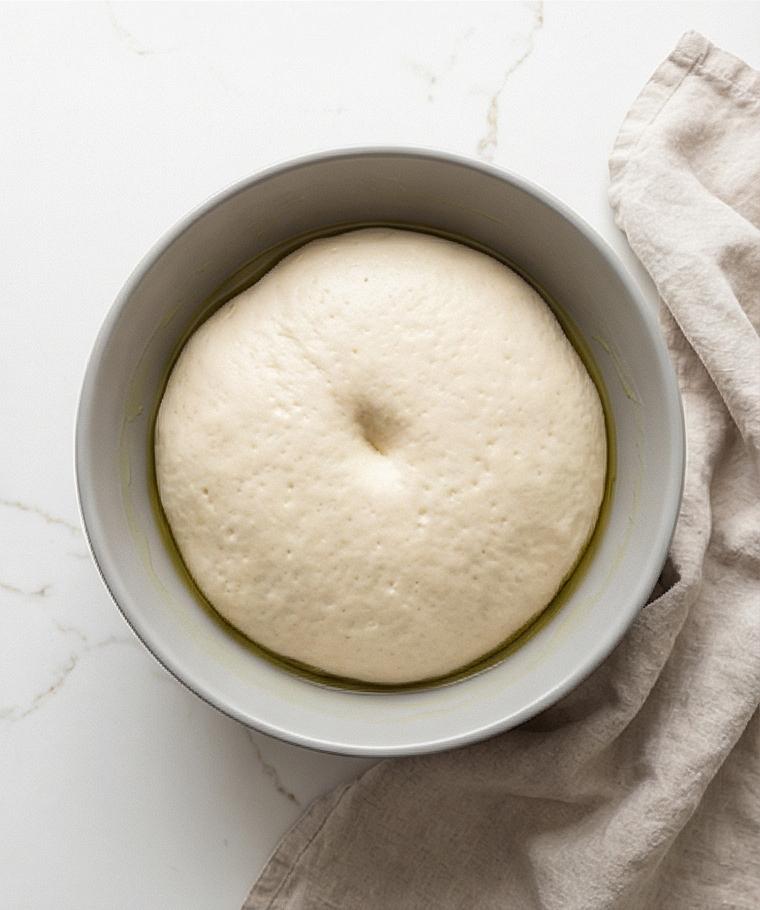
Step 5: Deflate, Divide, and Pre-Shape Dough Balls
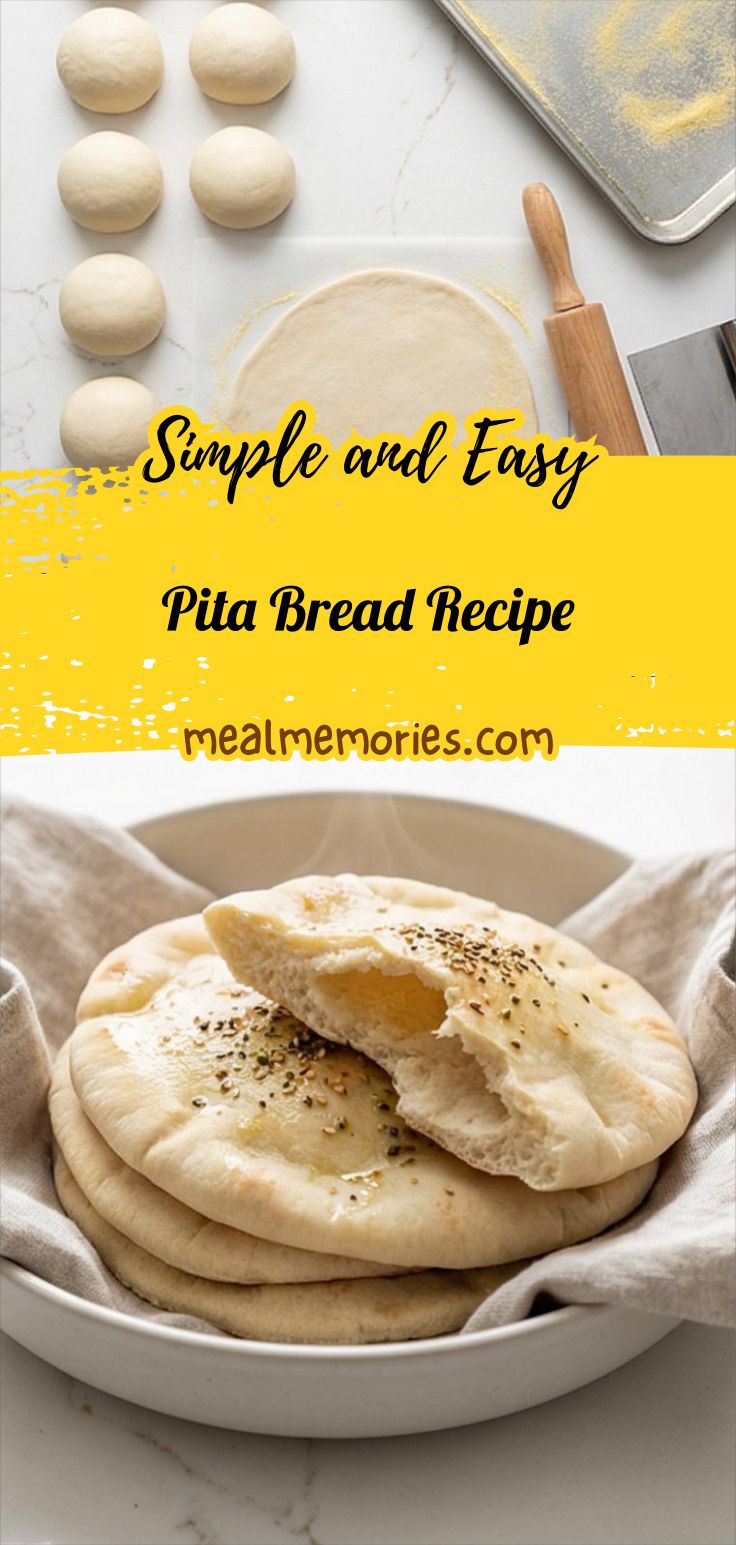
Gently punch down the risen dough, turn it out and shape into a rough log. With a bench scraper divide it into eight even pieces. Shape each piece into a tight ball, sealing the seam, then place seam-side down on a lightly floured board. Cover and let them rest 15–20 minutes so the gluten relaxes; the balls should look smooth and slightly domed, with delicate flour dusting. Keep the same bench scraper and a small bowl of flour nearby for visual continuity.
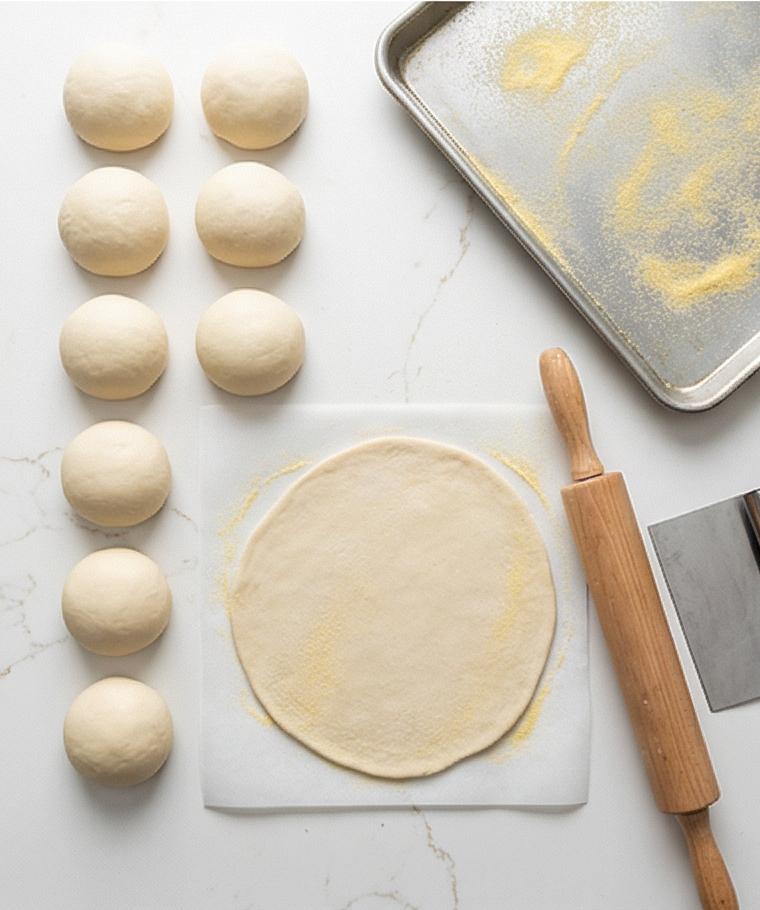
Step 6: Roll Rounds and Short Proof
After the brief rest, lightly flour the work surface and roll each dough ball one at a time into 6–7 inch circles about 1/8 inch thick. Rotate and dust as needed so each round has an even, thin sheet with faint rings of stretched dough and a soft margin. Place each round separated on parchment or a floured board and let them rest 10–15 minutes – they should look slightly puffed and elastic, ready to blister and balloon.
Step 7: Bake Until They Puff
Carefully transfer the rested rounds onto a hot, cornmeal-dusted baking surface (preheated off-frame) and bake briefly until each piece dramatically puffs into a balloon and shows tiny pale gold spots. Remove immediately to a clean kitchen towel and stack to trap steam so the pitas stay soft and pliable. Describe the puffed pocket geometry and the soft steamed gloss on the surface.
Step 8: Finish with Oil and Seasoning
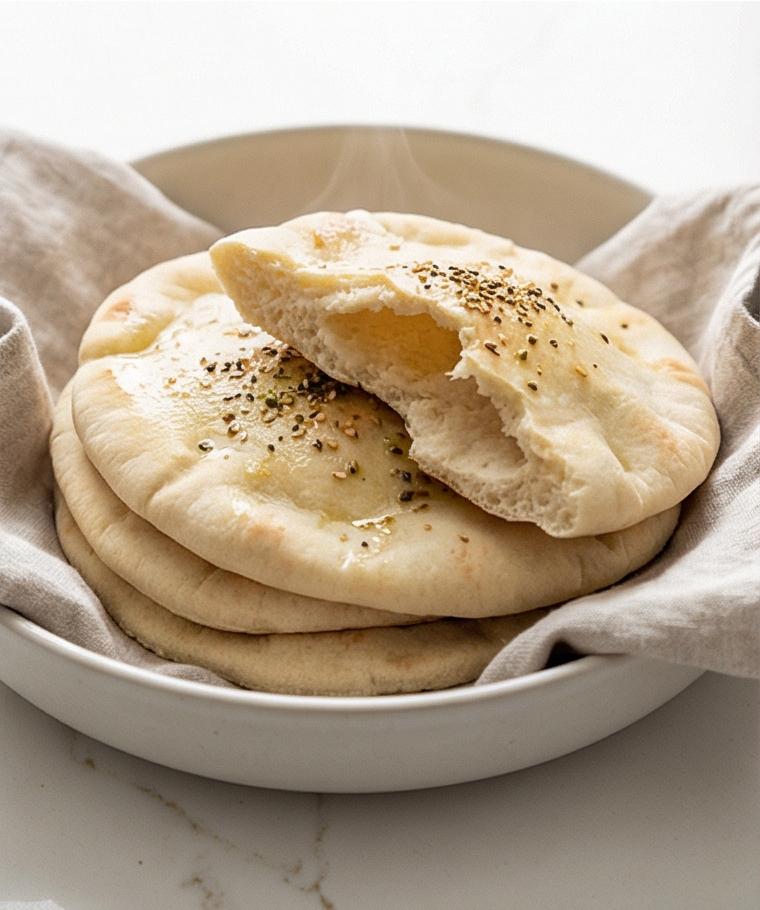
While still warm, brush the pitas lightly with olive oil and immediately dust with za’atar, sesame seeds, or coarse salt – the oil creates a satin sheen and the herbs create a textured speckled top. Lay the seasoned pitas stacked in a cloth-lined shallow bowl or on a cloth-wrapped stack so they retain warmth and aroma.
Step 9: Serve Warm, Store or Freeze
Present warm pitas halved to reveal soft pockets, or leave whole for dipping. To store, cool completely then seal in an airtight bag for short-term or freeze for longer storage; reheat briefly before serving to return them to a tender, supple state.
Making It Your Own
Try a whole-wheat version by swapping half the bread flour for whole-wheat flour for nuttier flavor and a denser crumb. I experimented with this and found the dough benefits from an extra tablespoon of water and a slightly longer rise so it relaxes. For a gluten-free twist, use a tested gluten-free blend and binders – the pocket may be less dramatic but the flavor holds up. Spice it up regionally by adding a teaspoon of smoked paprika or a spoonful of finely chopped fresh rosemary right into the dough for subtle aromatic notes.
How to Serve
If I am hosting, I slice the warm pitas into halves and fan them in a basket lined with a clean cloth. For a mezze spread, I serve them alongside hummus, baba ganoush, and marinated olives so guests can assemble plates. For sandwiches, stuff each pocket with grilled chicken, crisp lettuce, and a tzatziki drizzle – plan on two halves per person for a light meal, or three for heartier appetites.
For parties, keep a stack wrapped in a towel on a low oven rack to maintain warmth and softness, and offer small bowls of za’atar and olive oil for guests to brush and season.
Storage and Reheating Tips
Cool the pitas completely before sealing them in an airtight bag to avoid condensation. For short-term use, they will keep soft for 2-3 days at room temperature; if you need more time, freeze them flat between sheets of parchment.
To reheat, wrap a few pitas in a damp paper towel and microwave briefly, or pop them directly on a hot skillet for 30-60 seconds per side to revive the blistered texture. If frozen, thaw at room temperature then reheat using the same methods for best results.
Common Mistakes and How to Avoid Them
Not proofing the yeast long enough will give you dense, flat pitas – always wait for a foamy, doubled surface during the bloom. If your kitchen is cold, give the dough a warmer place to rise, like near a warm oven or on top of a turned-off appliance.
Rolling the rounds too thick or too thin will affect the pocket formation – aim for about 1/8 inch thickness and let them relax before baking so they can puff properly. Overbaking dries them out; bake just until they puff and show light color.
Final Thoughts
Give this Pita Bread Recipe a try this week – it rewards a little patience with big flavor and versatile results. Whether you are feeding a crowd or making a simple weeknight dinner, these pitas will bring a warm, handmade touch to your table. I can’t wait to hear how you season and serve them.
Frequently Asked Questions.
- Q: How can I tell if the yeast is active? A: The yeast should form a foamy, creamy layer in the warm water within 5-10 minutes and smell faintly of bread; if it does not, the yeast may be old or the water too hot or cold.
- Q: Can I use instant yeast instead of active dry? A: Yes, instant yeast can be used; add it directly to the flour and skip the bloom step, though the dough may rise a little faster.
- Q: Will whole-wheat flour still make pockets? A: Yes, but whole-wheat tends to yield a denser pocket; replace only half the flour at first and allow a slightly longer rise for best results.
- Q: How do I get them to puff every time? A: Work at a high baking temperature on a heavy surface, roll the rounds thin and even, and make sure they get a short, hot bake so steam forms quickly inside.
- Q: Can I freeze the pitas? A: Absolutely – cool them completely, freeze flat in a sealed bag, and reheat from frozen briefly in a hot skillet or wrapped in foil in a warm oven.
Pita Bread Recipe
Make Pita Bread Recipe at home: pillowy, warm pitas ready to bake and serve.
Ingredients
Instructions
Step 1: Bloom the Yeast
In a clear glass measuring jar combine warm water (105–110°F / 40–43°C), active dry yeast, and a teaspoon of sugar. Stir gently until dissolved and leave uncovered for 5–10 minutes until the surface becomes creamy and foamy — a lively, aerated surface that smells faintly of bread and yeast. Describe this as a glossy, airy crown of bubbles clinging to the rim of the jar, tiny beads of condensation on the outside, and a warm amber tone in the water.
Step 2: Mix the Dry Ingredients and Bring Together into a Shaggy Dough
In a large matte grey ceramic mixing bowl whisk together the bread flour and fine sea salt until evenly distributed. Pour the foamy yeast mixture into the bowl, add the extra-virgin olive oil, and stir with a wooden spoon until a rough, shaggy mass forms — most flour moistened but still floury patches visible. The texture should read uneven, flour-dusted, and slightly sticky with visible strands of wet flour gathering into lumps; leave the spoon resting in the bowl for continuity.
Step 3: Knead Until Smooth and Elastic
Turn the shaggy dough onto a lightly floured work surface and knead by hand (or continue in the mixer) until it becomes smooth, slightly tacky, and elastic. Describe the dough stretching into a satiny sheet when pulled, faint gas pockets, and the surface becoming cohesive and glossy from kneading — not sticky but yielding. Keep a dusting of flour around the dough and the wooden spoon/bench scraper nearby as persistent tools.
Step 4: Oil, Shape into a Ball and First Rise
Lightly oil the same matte grey mixing bowl with a thin film of olive oil, shape the dough into a tight smooth ball, place it seam-side down, and turn to coat. Cover with loose plastic wrap or a damp towel and let rise at warm room temperature until doubled — an airy dome with a gentle spring when pressed, tiny sheen of oil on the bowl sides, and a slight indentation that slowly bounces back. Capture the sense of volume and delicate skin on the dough surface.
Step 5: Deflate, Divide, and Pre-Shape Dough Balls
Gently punch down the risen dough, turn it out and shape into a rough log. With a bench scraper divide it into eight even pieces. Shape each piece into a tight ball, sealing the seam, then place seam-side down on a lightly floured board. Cover and let them rest 15–20 minutes so the gluten relaxes; the balls should look smooth and slightly domed, with delicate flour dusting. Keep the same bench scraper and a small bowl of flour nearby for visual continuity.
Step 6: Roll Rounds and Short Proof
After the brief rest, lightly flour the work surface and roll each dough ball one at a time into 6–7 inch circles about 1/8 inch thick. Rotate and dust as needed so each round has an even, thin sheet with faint rings of stretched dough and a soft margin. Place each round separated on parchment or a floured board and let them rest 10–15 minutes — they should look slightly puffed and elastic, ready to blister and balloon.
Step 7: Bake Until They Puff
Carefully transfer the rested rounds onto a hot, cornmeal-dusted baking surface (preheated off-frame) and bake briefly until each piece dramatically puffs into a balloon and shows tiny pale gold spots. Remove immediately to a clean kitchen towel and stack to trap steam so the pitas stay soft and pliable. Describe the puffed pocket geometry and the soft steamed gloss on the surface.
Step 8: Finish with Oil and Seasoning
While still warm, brush the pitas lightly with olive oil and immediately dust with za’atar, sesame seeds, or coarse salt — the oil creates a satin sheen and the herbs create a textured speckled top. Lay the seasoned pitas stacked in a cloth-lined shallow bowl or on a cloth-wrapped stack so they retain warmth and aroma.
Step 9: Serve Warm, Store or Freeze
Present warm pitas halved to reveal soft pockets, or leave whole for dipping. To store, cool completely then seal in an airtight bag for short-term or freeze for longer storage; reheat briefly before serving to return them to a tender, supple state.
Notes
- Use a kitchen scale for more consistent results when measuring flour.
- If your kitchen is cool, place the dough in a slightly warm (not hot) oven to rise.
- For extra flavor, let the dough ferment in the fridge overnight and bake the next day.
- To retain softness, stack the pitas in a cloth-lined container right after baking.
- Reheat briefly on a hot skillet or in the oven to restore texture.