Pita Bread Recipe
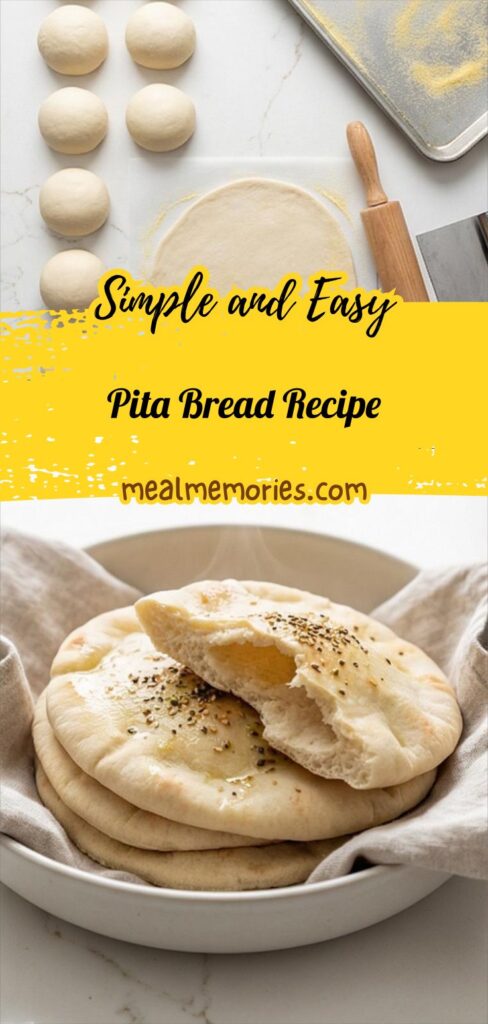
Make Pita Bread Recipe at home: pillowy, warm pitas ready to bake and serve.
Ingredients
- 1 1/4 cups (300 ml) warm water, 105–110°F (40–43°C)
- 2 teaspoons (7 g) active dry yeast
- 1 teaspoon (4 g) granulated sugar
- 3 cups (390 g) bread flour or all-purpose flour, plus more for dusting
- 1 1/2 teaspoons (9 g) fine sea salt
- 2 tablespoons (24 g) extra-virgin olive oil, plus more for lightly oiling the bowl
- 2 tablespoons (16 g) fine cornmeal or additional flour, for dusting the baking surface (optional but recommended for oven baking)
- 2 tablespoons (30 ml) olive oil, for brushing warm pitas before serving (optional)
- 1 tablespoon (6 g) za’atar, sesame seeds, or coarse sea salt, for sprinkling on brushed pitas (optional garnish)
Instructions
Step 1: Bloom the Yeast
In a clear glass measuring jar combine warm water (105–110°F / 40–43°C), active dry yeast, and a teaspoon of sugar. Stir gently until dissolved and leave uncovered for 5–10 minutes until the surface becomes creamy and foamy — a lively, aerated surface that smells faintly of bread and yeast. Describe this as a glossy, airy crown of bubbles clinging to the rim of the jar, tiny beads of condensation on the outside, and a warm amber tone in the water.
Step 2: Mix the Dry Ingredients and Bring Together into a Shaggy Dough
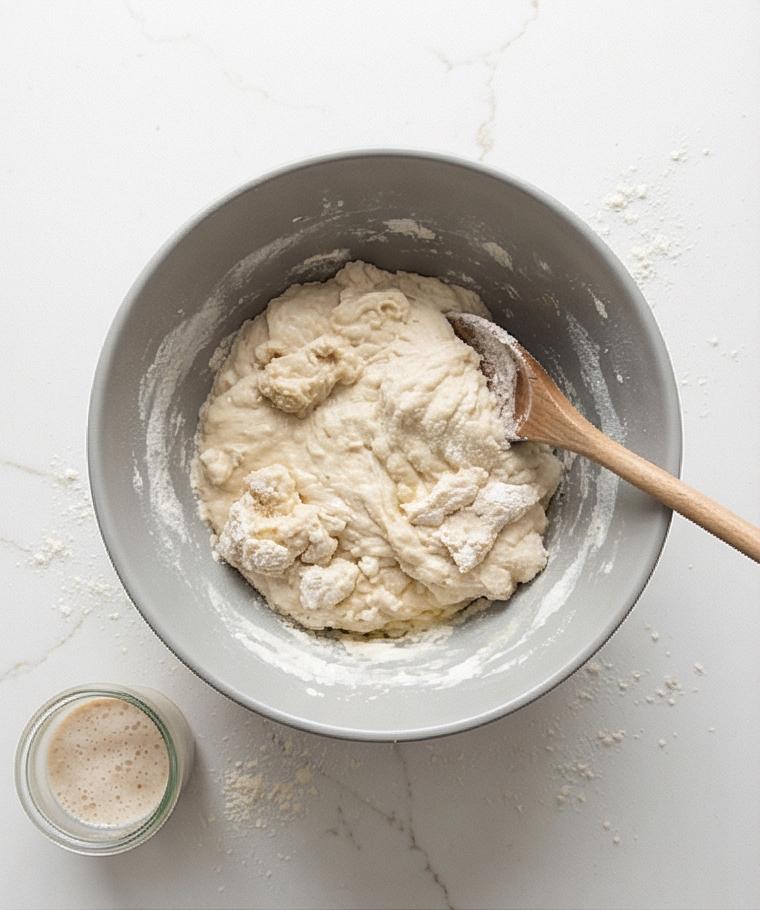
In a large matte grey ceramic mixing bowl whisk together the bread flour and fine sea salt until evenly distributed. Pour the foamy yeast mixture into the bowl, add the extra-virgin olive oil, and stir with a wooden spoon until a rough, shaggy mass forms — most flour moistened but still floury patches visible. The texture should read uneven, flour-dusted, and slightly sticky with visible strands of wet flour gathering into lumps; leave the spoon resting in the bowl for continuity.
Step 3: Knead Until Smooth and Elastic
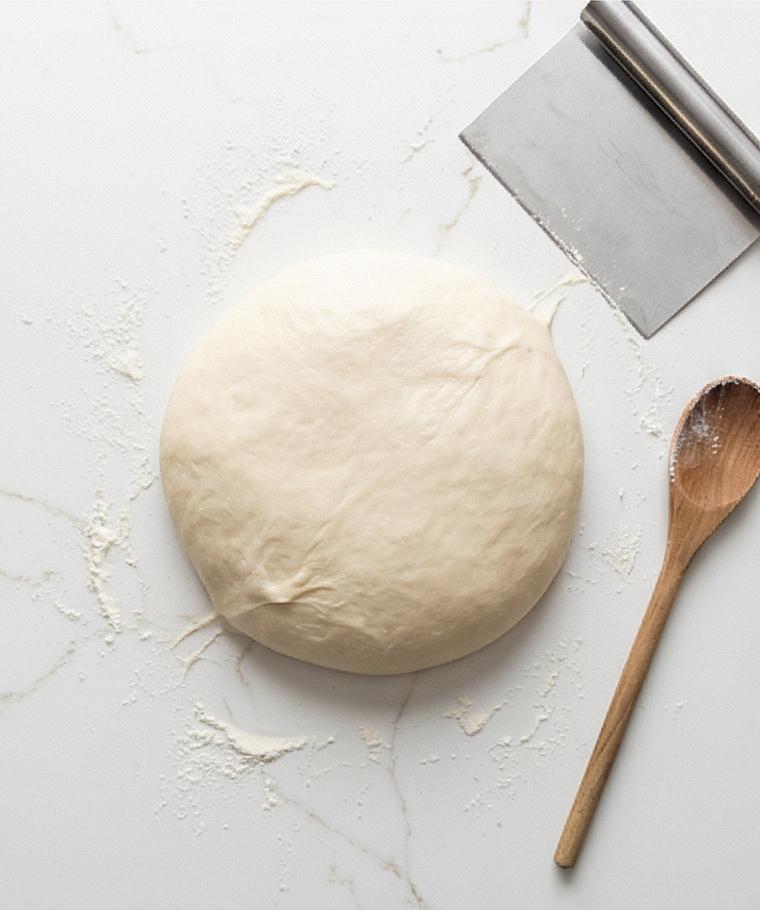
Turn the shaggy dough onto a lightly floured work surface and knead by hand (or continue in the mixer) until it becomes smooth, slightly tacky, and elastic. Describe the dough stretching into a satiny sheet when pulled, faint gas pockets, and the surface becoming cohesive and glossy from kneading — not sticky but yielding. Keep a dusting of flour around the dough and the wooden spoon/bench scraper nearby as persistent tools.
Step 4: Oil, Shape into a Ball and First Rise
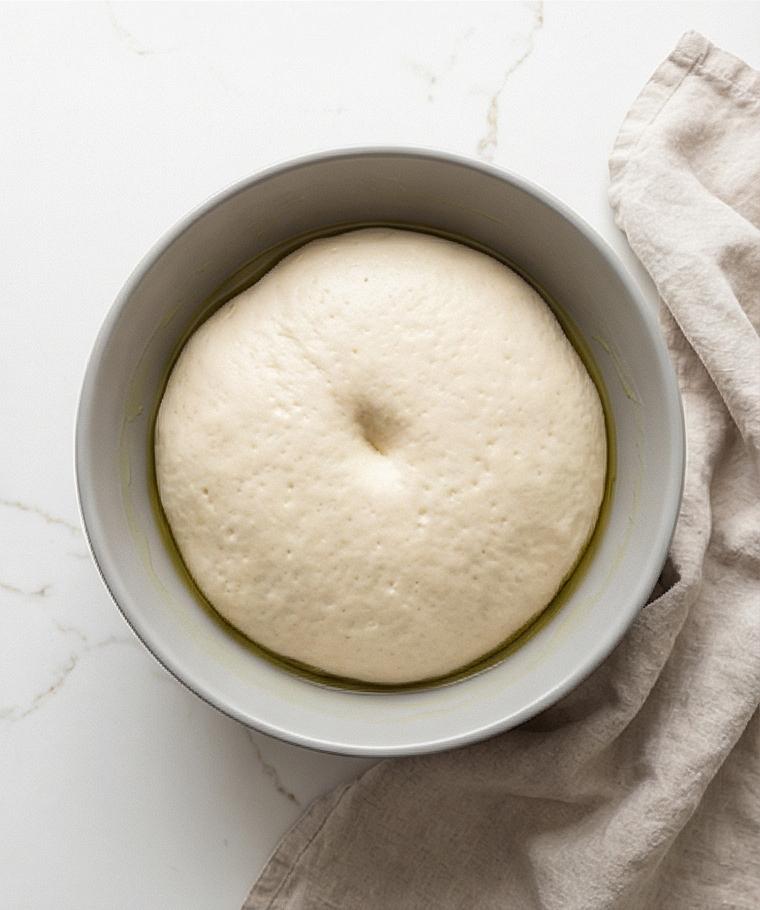
Lightly oil the same matte grey mixing bowl with a thin film of olive oil, shape the dough into a tight smooth ball, place it seam-side down, and turn to coat. Cover with loose plastic wrap or a damp towel and let rise at warm room temperature until doubled — an airy dome with a gentle spring when pressed, tiny sheen of oil on the bowl sides, and a slight indentation that slowly bounces back. Capture the sense of volume and delicate skin on the dough surface.
Step 5: Deflate, Divide, and Pre-Shape Dough Balls
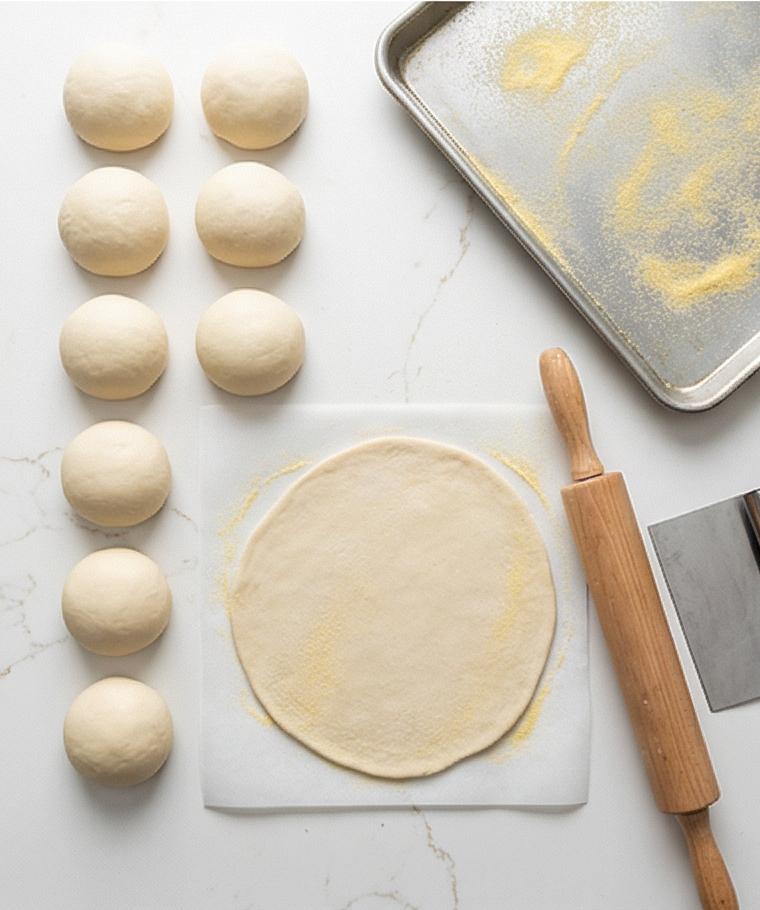
Gently punch down the risen dough, turn it out and shape into a rough log. With a bench scraper divide it into eight even pieces. Shape each piece into a tight ball, sealing the seam, then place seam-side down on a lightly floured board. Cover and let them rest 15–20 minutes so the gluten relaxes; the balls should look smooth and slightly domed, with delicate flour dusting. Keep the same bench scraper and a small bowl of flour nearby for visual continuity.
Step 6: Roll Rounds and Short Proof
After the brief rest, lightly flour the work surface and roll each dough ball one at a time into 6–7 inch circles about 1/8 inch thick. Rotate and dust as needed so each round has an even, thin sheet with faint rings of stretched dough and a soft margin. Place each round separated on parchment or a floured board and let them rest 10–15 minutes — they should look slightly puffed and elastic, ready to blister and balloon.
Step 7: Bake Until They Puff
Carefully transfer the rested rounds onto a hot, cornmeal-dusted baking surface (preheated off-frame) and bake briefly until each piece dramatically puffs into a balloon and shows tiny pale gold spots. Remove immediately to a clean kitchen towel and stack to trap steam so the pitas stay soft and pliable. Describe the puffed pocket geometry and the soft steamed gloss on the surface.
Step 8: Finish with Oil and Seasoning
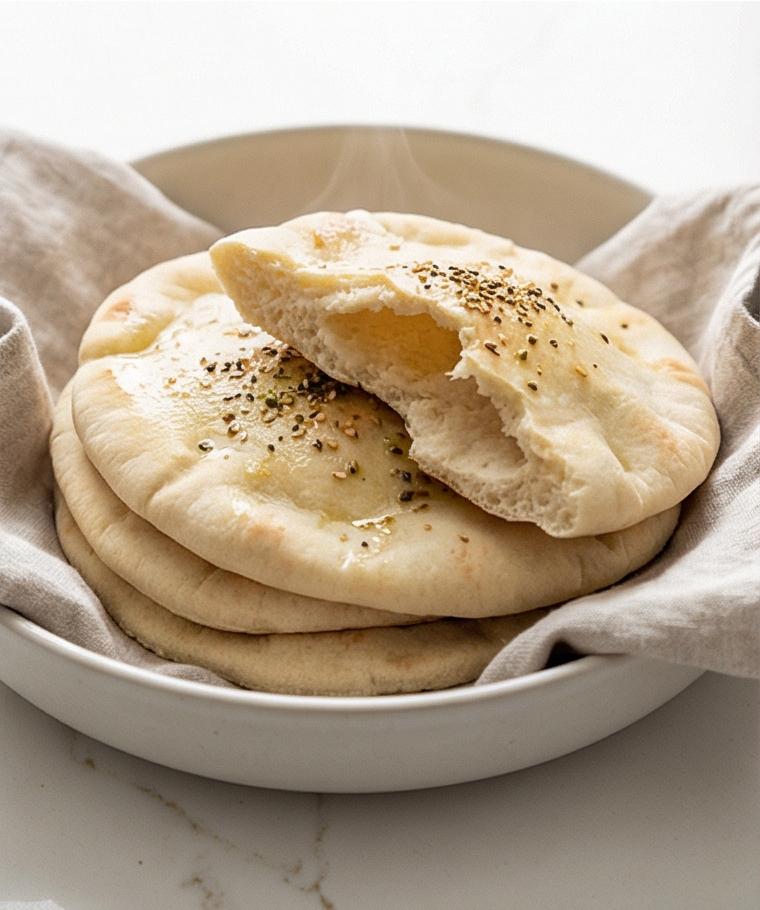
While still warm, brush the pitas lightly with olive oil and immediately dust with za’atar, sesame seeds, or coarse salt — the oil creates a satin sheen and the herbs create a textured speckled top. Lay the seasoned pitas stacked in a cloth-lined shallow bowl or on a cloth-wrapped stack so they retain warmth and aroma.
Step 9: Serve Warm, Store or Freeze
Present warm pitas halved to reveal soft pockets, or leave whole for dipping. To store, cool completely then seal in an airtight bag for short-term or freeze for longer storage; reheat briefly before serving to return them to a tender, supple state.
Notes
- Use a kitchen scale for more consistent results when measuring flour.
- If your kitchen is cool, place the dough in a slightly warm (not hot) oven to rise.
- For extra flavor, let the dough ferment in the fridge overnight and bake the next day.
- To retain softness, stack the pitas in a cloth-lined container right after baking.
- Reheat briefly on a hot skillet or in the oven to restore texture.