I love the Grilled Steak Recipe because it forces you to slow down and pay attention to texture and seasoning. Over the years I have tweaked this method until those simple rubs and a hot sear reliably deliver a crust I can brag about to friends. When I fire up the grill or a heavy skillet, the smell of butter and thyme makes the whole kitchen feel like a celebration. This recipe is straightforward, forgiving, and satisifies weeknight hunger as well as a small dinner party.
How This Recipe Became My Rainy-Day Favorite
One rainy afternoon, I decided to test how much char and flavor I could coax from a pair of bone-in ribeyes while the wind rattled the windows. I remember pressing paper towels into the crust of the meat, feeling the salt draw out a faint, matte sheen, and listening to the first hard sizzle when the steak hit the pan. The butter, garlic, and thyme finished the steaks with a warm, herby gloss that smelled like comfort. I plated the meat thickly sliced, and every forkful had a little crunch and a tender center. That day I wrote notes in the margin of my recipe card, and those small changes are now the Grilled Steak Recipe you see here. It became my go-to when I wanted to make a simple meal feel like an event.
Key Ingredients and Why They Matter
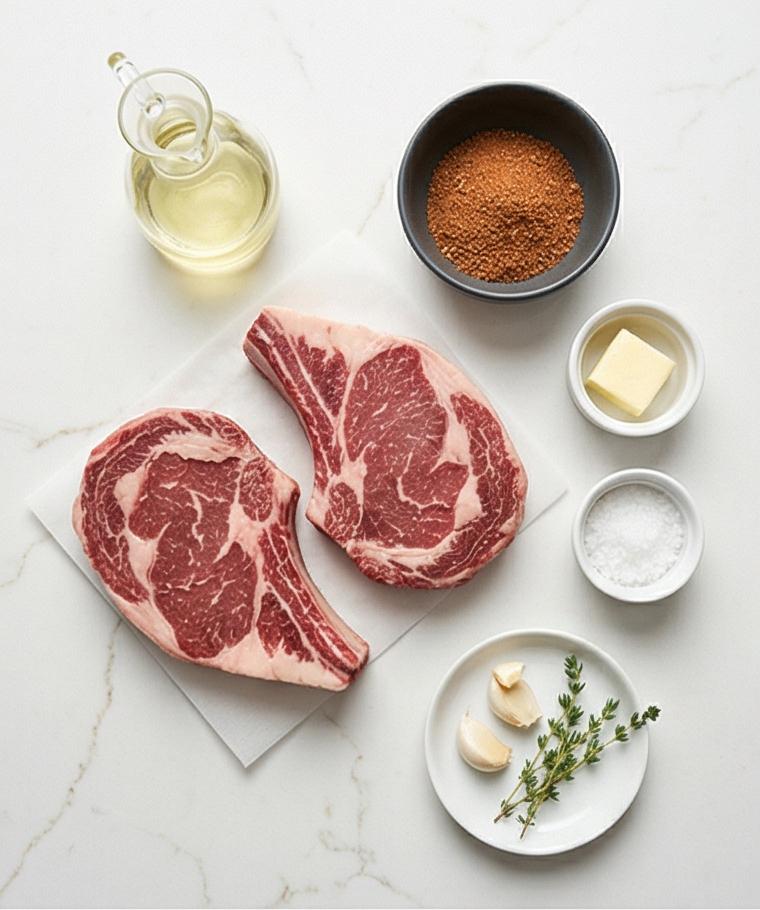
- Bone-in Ribeye: The star of the Grilled Steak Recipe; bone adds flavor and helps even cooking. Substitute with boneless ribeye or a New York strip for similar marbling but adjust timing slightly.
- Kosher Salt: Draws moisture and seasons deeply; Diamond Crystal is milder per tablespoon so use the recommended amount. Sea salt is fine for finishing.
- Spice Blend (pepper, garlic powder, onion powder, smoked paprika): Builds the crust and adds savory depth; try smoked chili powder for a smokier note.
- Neutral High-Heat Oil: Ensures even sear without burning; use avocado, grapeseed, or canola.
- Butter, Garlic, Thyme: Finishing aromatics that baste and add gloss; swap rosemary for thyme if you like a piney finish.
Essential Kitchen Tools and Why They Help
A few simple tools make this Grilled Steak Recipe work every time. A heavy skillet gives you a stable, hot surface for a deep sear. If you prefer a grill, use a clean, hot grate and a flare-control plan. A pair of tongs helps you turn the steak without piercing it, preserving those juices. Use an instant-read thermometer to hit the desired doneness without guesswork. A heatproof spoon or small ladle makes basting with butter easy and controlled. For resting and slicing, a cutting board with a juice well keeps things tidy. Alternatives: if you lack a cast iron skillet, a heavy stainless steel pan will do; if you do not have a thermometer, press the steak gently to gauge firmness.
Step-by-Step Preparation Guide
Step 1: Dry, trim and salt the steaks
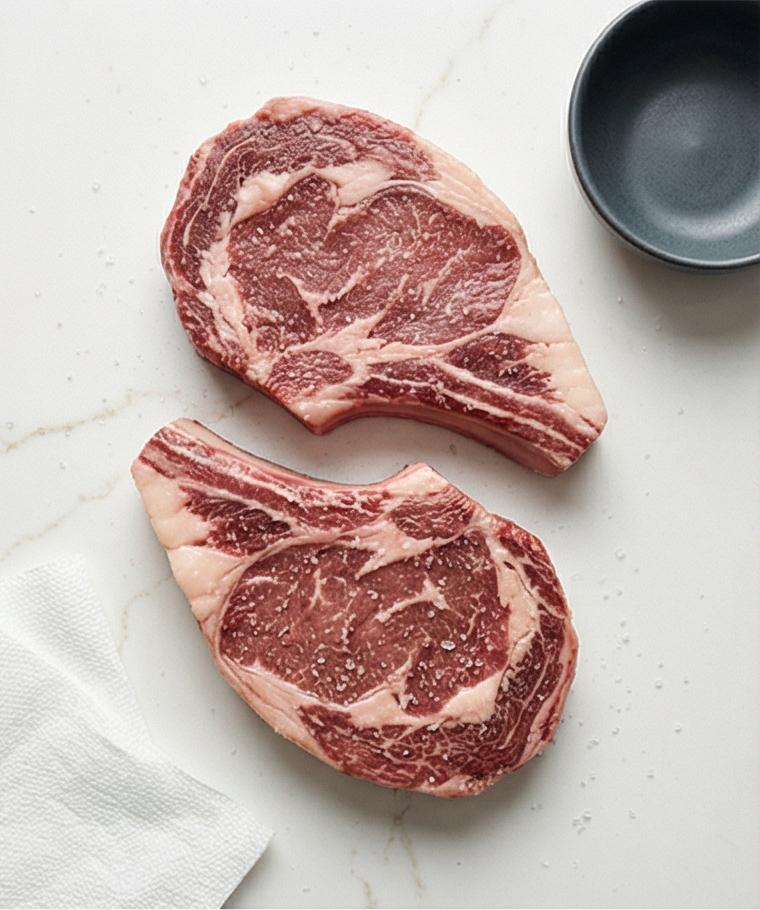
Work with cold, paper‑towel–dried bone‑in ribeyes: press away any loose fat, blot the surfaces until completely dry so the meat can form a deep crust. Gently season every surface and the exposed bone with kosher salt (about 1 teaspoon per steak), pressing the crystals into the flesh so they adhere. Let the salted steaks rest at room temperature for 30–40 minutes so the salt can begin to draw moisture and season the meat. This resting state should look slightly matte where moisture has been drawn out and the salt crystals sit visibly on the surface.
Step 2: Combine the dry rub and gather finishing aromatics
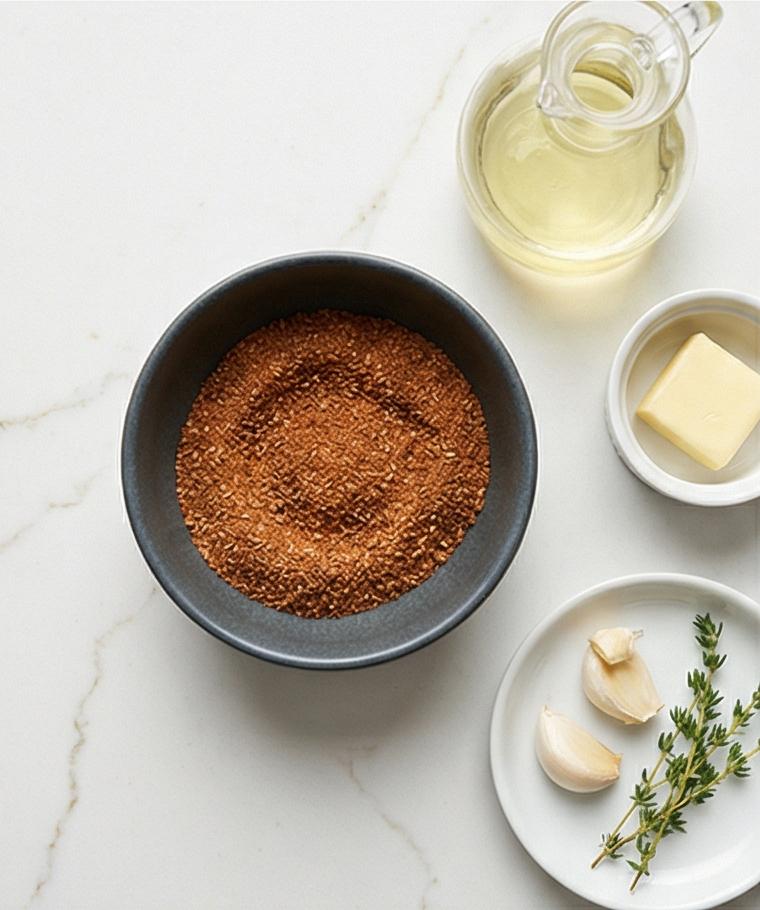
In a small matte charcoal ceramic bowl combine freshly ground black pepper, garlic powder, onion powder and smoked paprika, stirring until the powder is an even, russet‑brown blend with a fine, slightly gritty texture. Nearby, keep a clear glass oil cruet with neutral high‑heat oil, two room‑temperature butter knobs on a tiny ceramic saucer, two peeled crushed garlic cloves and two thyme sprigs lined up on the surface; these elements stay in small vessels or on ramekins — nothing loose on the table. The spice bowl should look dry, powdery, and ready to be pressed into the meat.
Step 3: Re‑dry, oil and oil‑coat the steaks before seasoning
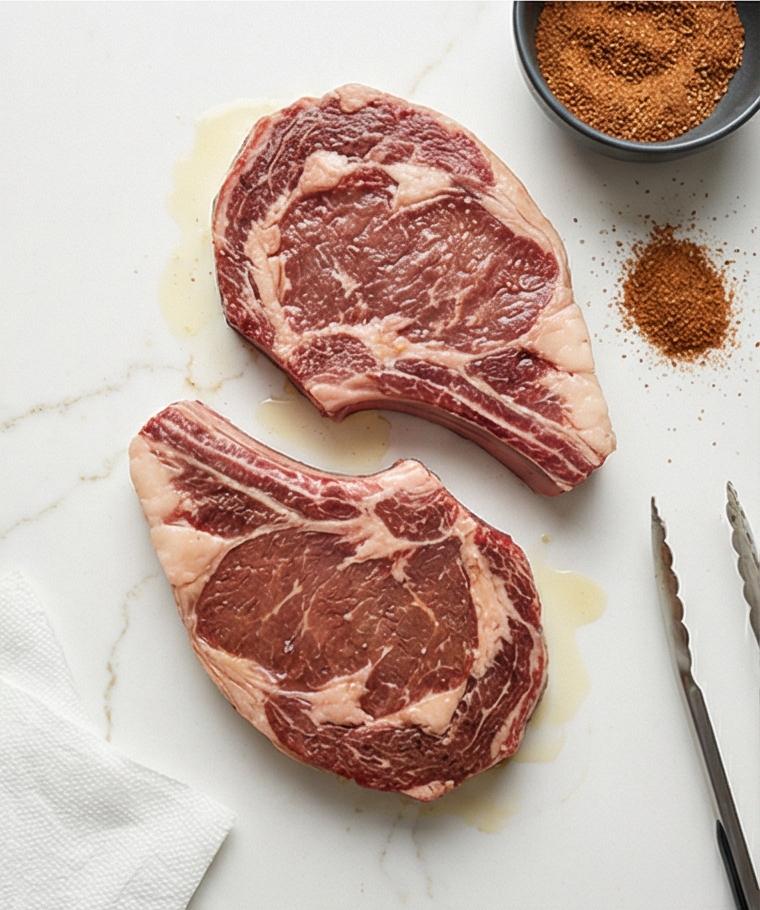
Just before seasoning, pat the steaks once more so any condensation is removed; the surface should show a satin, almost dry sheen. Lightly brush each steak with a thin, even film of neutral oil (about 1/2 tablespoon per steak) so the spice can adhere — the meat surface will go from chalky‑dry to a translucent satin coat, tiny oil beads catching the light. Keep the same matte charcoal bowl of rub and a folded paper towel visible nearby as persistent props.
Step 4: Apply the rub and develop a deep sear and crosshatch crust (result)
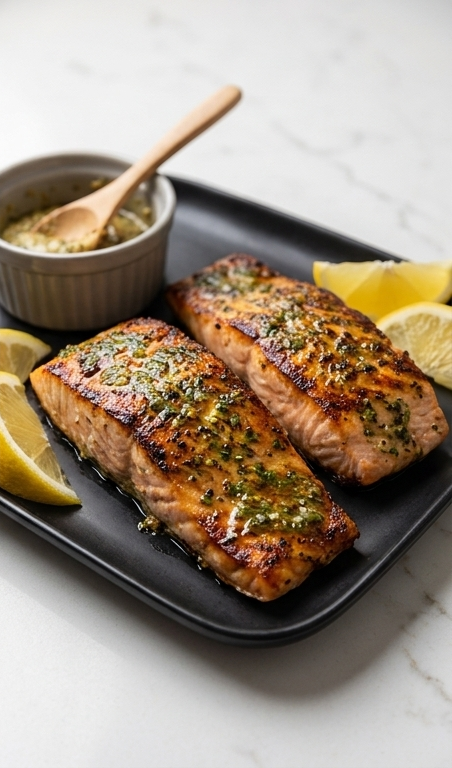
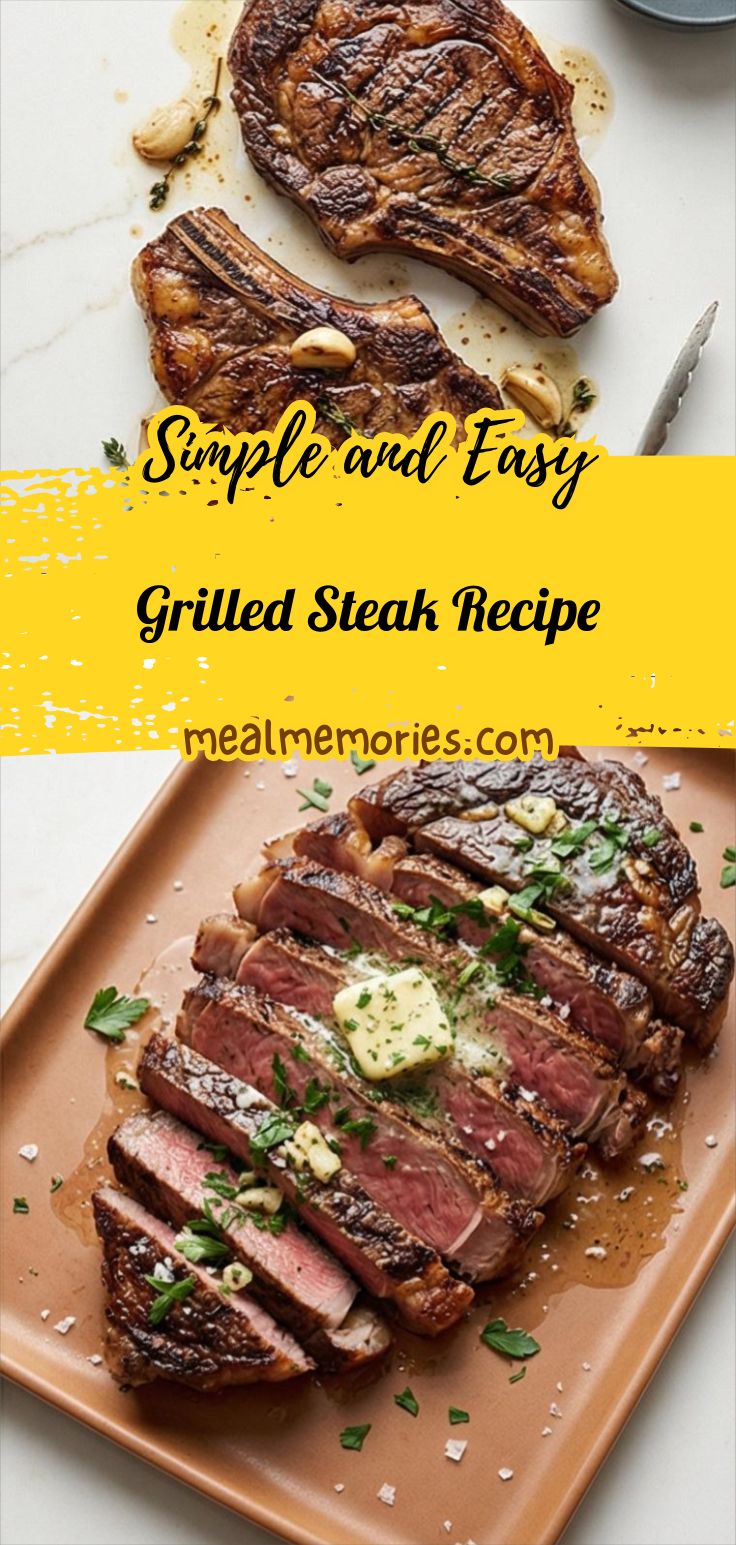
Generously sprinkle the spice blend from the charcoal bowl over both faces and the edges, pressing the mix gently—do not smear it off; the surface should show a uniform, rust‑brown crust forming where the spices bond to the oiled meat. The visual milestone is the seared face: a dark, well‑browned crust with precise crosshatch marks and a concentrated, slightly glossy caramelized surface where the Maillard reaction has taken hold. Show the steaks resting on the surface with that defined crust and faint rendered fat beads pooled at the edge — this is the result of the searing and turning, photographed flat from above.
Step 5: Finish, baste, and rest the steaks
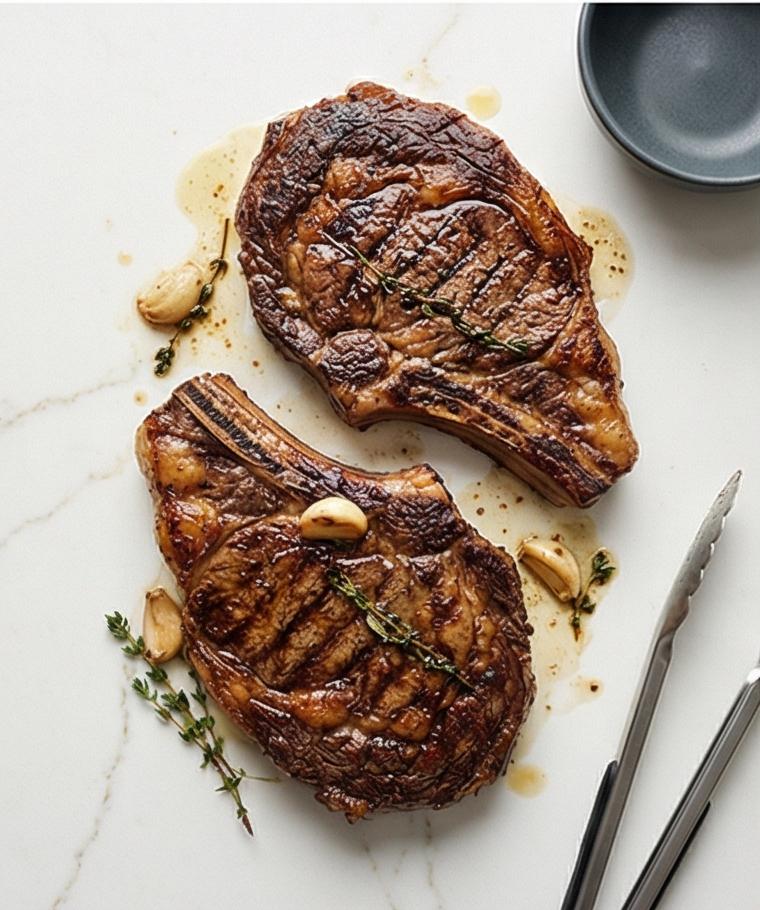
During finishing the steaks are topped with a knob of butter, a crushed garlic clove and a sprig of thyme so the butter melts and creates a glossy, herb‑speckled finish. After removing from the heat, the steaks are transferred to a warm cutting area and loosely tented; the surface loses a bit of intense gloss and looks slightly settled as juices redistribute, with a small glaze of amber butter and aromatics pooled along the bone. Let them rest until the juices stop running, the crust appears slightly more settled and the interior is still plump.
Step 6: Slice and plate the finished ribeyes — serve immediately
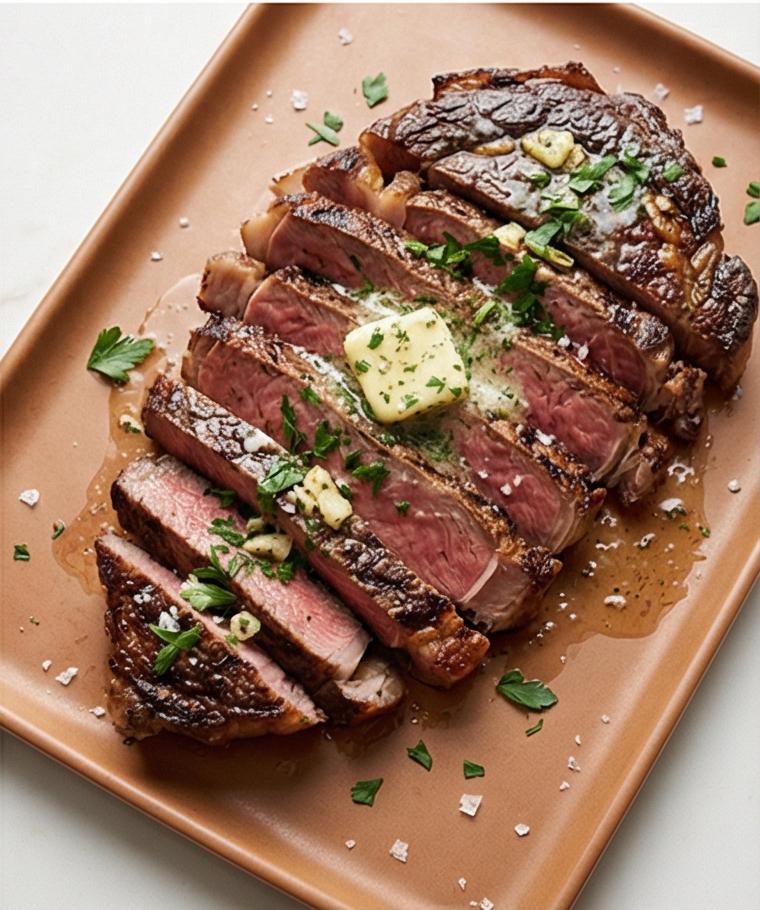
Transfer the rested steaks to the chosen presentation vessel and either present whole or slice off the bone and cut across the grain into thick 1/2‑inch slices. The final plating should show juicy, pink to warm‑rose interiors with a concentrated seared edge, glossy butter shards, a scatter of chopped parsley, and a final pinch of flaky sea salt for texture. Finish with an optional light squeeze of lemon and spoon the accumulated butter juices over the slices.
Making It Your Own
I often change the finishing herb depending on what I have. In spring I swap parsley for a scattering of chopped chives for a fresh lift. For a smoky weekend cookout, I rub a touch more smoked paprika and finish the steak over indirect coals so the Grilled Steak Recipe gets a wood-fired nuance. If I need to stretch servings, I slice thin and serve over a simple salad or on warm toasted bread as steak sandwiches. For a lower-sodium option, I reduce the resting salt and finish with a good flaky sea salt at the table. Each small experiment nudges the recipe in a familiar direction while keeping the core technique intact.
How to Serve
When I host, I slice the rested ribeyes and fan the pieces on a warmed platter so guests can help themselves. For two, present steaks whole and let each diner slice at the table for theatre. For larger groups, cut across the grain into thick slices and arrange on a board with small ramekins of flaky salt, lemon wedges, and chimichurri. Pair with roasted potatoes, a bright salad, or grilled vegetables depending on season. To scale, keep sear times the same but finish in batches; tent the cooked steaks on a warm tray to keep them comfortable while you finish the rest.
Storage and Reheating Tips
Store leftovers wrapped tightly in plastic wrap or in an airtight container in the refrigerator for up to 3 days. Keep the slices layered with parchment if stacking so they do not stick together.
To reheat, warm gently in a 250 F oven until just warmed through, then sear briefly in a hot pan with a touch of butter to revive the crust. Avoid microwaving if possible, it tends to steam the meat and soften the crust.
Common Mistakes and How to Avoid Them
One common mistake is skipping the drying step; wet surfaces steam instead of sear. Always pat the steaks dry and let the salt do its work. Another is overcooking; use an instant-read thermometer and remove steaks a few degrees below target, then rest so carryover brings them to perfect doneness.
Final Thoughts
Give the Grilled Steak Recipe a try this week; it rewards a little attention with big flavor. Take your time on the sear and the finishing butter, and you will have a steak that tastes like you spent hours on it even when you did not.
Frequently Asked Questions.
- Q: How do I know when the steak is done? A: Use an instant-read thermometer. For medium-rare aim for 125 F to 130 F pulled from the heat, carryover will bring it to about 130 F to 135 F as it rests.
- Q: Can I use a gas grill instead of a skillet? A: Yes, a gas grill works well; preheat until the grates are very hot and sear 2 to 3 minutes per side then move to indirect heat to finish.
- Q: Do I have to rest the steaks? A: Yes, resting for at least 5 to 10 minutes lets juices redistribute so the interior stays juicy when you slice.
- Q: Can I make the rub ahead of time? A: Absolutely, mix the dry spices and store in an airtight jar for weeks so it is ready when you are.
- Q: What if my steaks are thinner or thicker? A: Adjust cooking time. Thinner steaks need much less time on high heat; thicker steaks may require finishing over lower heat or in the oven.
Grilled Steak Recipe
Make the Grilled Steak Recipe now: salt, sear, and baste ribeyes for juicy, restaurant-style results.
Ingredients
Instructions
Step 1: Dry, trim and salt the steaks
Work with cold, paper‑towel–dried bone‑in ribeyes: press away any loose fat, blot the surfaces until completely dry so the meat can form a deep crust. Gently season every surface and the exposed bone with kosher salt (about 1 teaspoon per steak), pressing the crystals into the flesh so they adhere. Let the salted steaks rest at room temperature for 30–40 minutes so the salt can begin to draw moisture and season the meat. This resting state should look slightly matte where moisture has been drawn out and the salt crystals sit visibly on the surface.
Step 2: Combine the dry rub and gather finishing aromatics
In a small matte charcoal ceramic bowl combine freshly ground black pepper, garlic powder, onion powder and smoked paprika, stirring until the powder is an even, russet‑brown blend with a fine, slightly gritty texture. Nearby, keep a clear glass oil cruet with neutral high‑heat oil, two room‑temperature butter knobs on a tiny ceramic saucer, two peeled crushed garlic cloves and two thyme sprigs lined up on the surface; these elements stay in small vessels or on ramekins — nothing loose on the table. The spice bowl should look dry, powdery, and ready to be pressed into the meat.
Step 3: Re‑dry, oil and oil‑coat the steaks before seasoning
Just before seasoning, pat the steaks once more so any condensation is removed; the surface should show a satin, almost dry sheen. Lightly brush each steak with a thin, even film of neutral oil (about 1/2 tablespoon per steak) so the spice can adhere — the meat surface will go from chalky‑dry to a translucent satin coat, tiny oil beads catching the light. Keep the same matte charcoal bowl of rub and a folded paper towel visible nearby as persistent props.
Step 4: Apply the rub and develop a deep sear and crosshatch crust (result)
Generously sprinkle the spice blend from the charcoal bowl over both faces and the edges, pressing the mix gently—do not smear it off; the surface should show a uniform, rust‑brown crust forming where the spices bond to the oiled meat. The visual milestone is the seared face: a dark, well‑browned crust with precise crosshatch marks and a concentrated, slightly glossy caramelized surface where the Maillard reaction has taken hold. Show the steaks resting on the surface with that defined crust and faint rendered fat beads pooled at the edge — this is the result of the searing and turning, photographed flat from above.
Step 5: Finish, baste, and rest the steaks
During finishing the steaks are topped with a knob of butter, a crushed garlic clove and a sprig of thyme so the butter melts and creates a glossy, herb‑speckled finish. After removing from the heat, the steaks are transferred to a warm cutting area and loosely tented; the surface loses a bit of intense gloss and looks slightly settled as juices redistribute, with a small glaze of amber butter and aromatics pooled along the bone. Let them rest until the juices stop running, the crust appears slightly more settled and the interior is still plump.
Step 6: Slice and plate the finished ribeyes — serve immediately
Transfer the rested steaks to the chosen presentation vessel and either present whole or slice off the bone and cut across the grain into thick 1/2‑inch slices. The final plating should show juicy, pink to warm‑rose interiors with a concentrated seared edge, glossy butter shards, a scatter of chopped parsley, and a final pinch of flaky sea salt for texture. Finish with an optional light squeeze of lemon and spoon the accumulated butter juices over the slices.
Notes
- Let steaks rest at room temperature after salting for 30-40 minutes so the salt can season the meat.
- Use an instant-read thermometer to avoid overcooking; remove steaks a few degrees below target and rest.
- Pat steaks very dry before oiling so you get a deep crust.
- If using a grill, preheat to high and clean the grates for best sear marks.
- Slice across the grain into 1/2-inch slices and finish with a pinch of flaky sea salt.