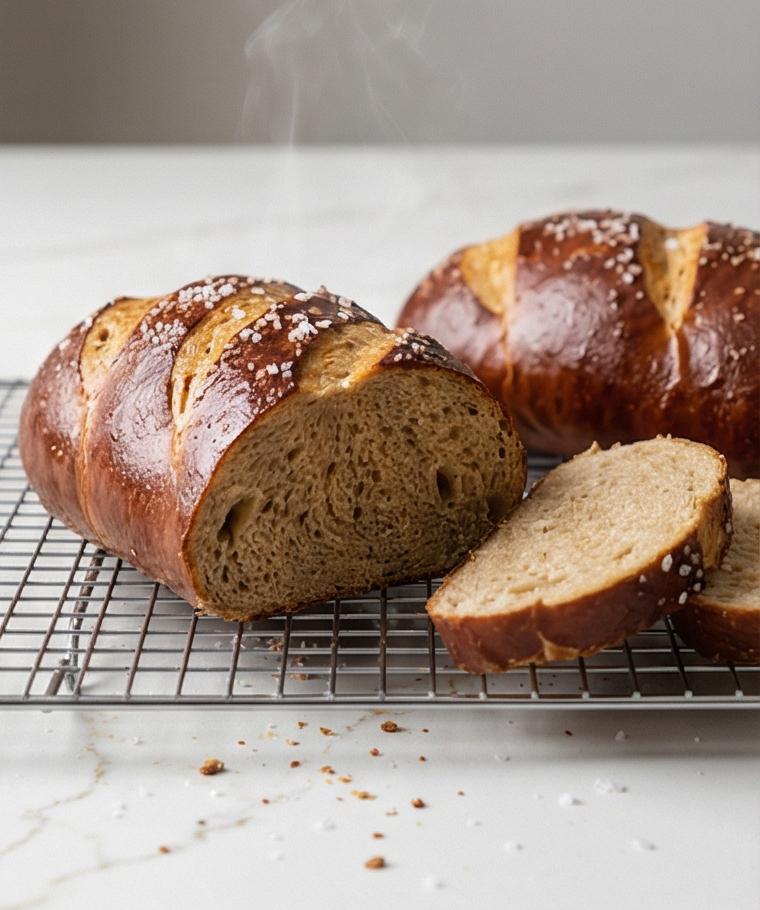
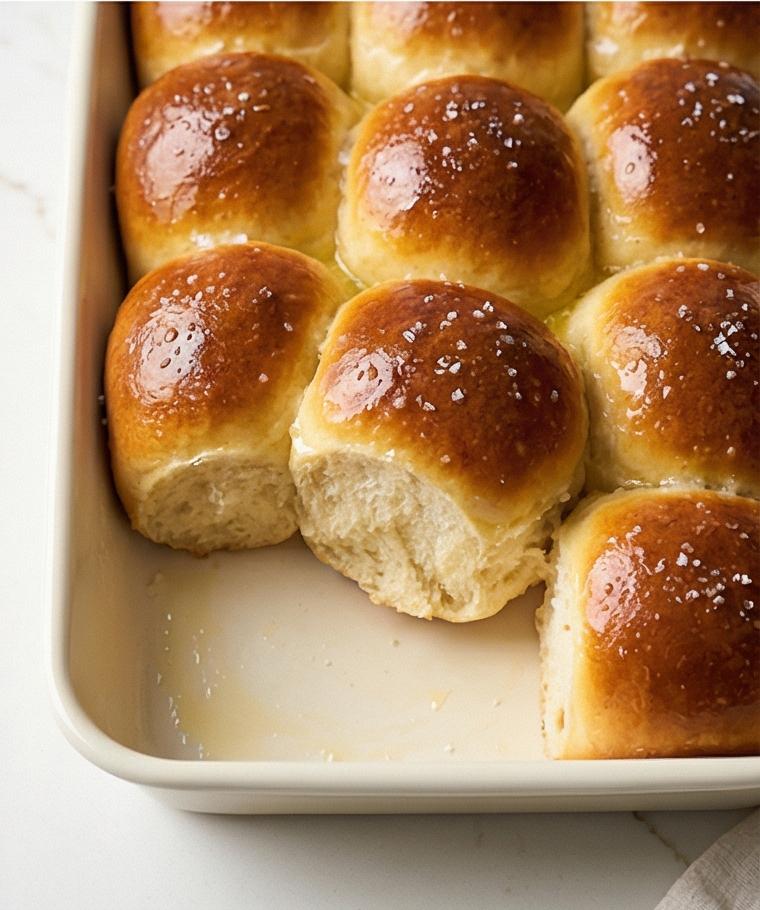
Cinnamon Swirl Bread Recipe has been a go-to in my kitchen for years, and I still get that little thrill when I slice into a warm loaf and see the cinnamon spiral inside. I learned it on a sleepy Sunday morning and it quickly became a ritual: warm milk, soft dough, the smell of cinnamon baking through the house. I love how the Cinnamon Swirl Bread Recipe rewards patience with a tender crumb and a glossy glaze that makes weekday breakfasts feel special. If you love baker’s projects that are comforting and reliably delicious, this Cinnamon Swirl Bread Recipe is one to try.
How This Loaf Found Its Way Into My Weekends
The first time I made this bread I remember the light leaking through the kitchen blinds, a mug of coffee cooling beside me, and a playlist of quiet songs filling the room. Mixing the dough felt meditative, the yeast bubbling like a tiny promise. When I rolled the dough and saw the cinnamon ribbon form, there was this small, giddy sense of accomplishment. The house smelled like a bakery, and I found myself slicing a piece warm from the oven and sitting on the counter to savor it. Over the years I tweaked the sugar and butter ratio, learned to trust the proofing times, and started making it whenever friends came by. It always brings people together, whether it is a hurried weekday breakfast or a slow weekend brunch.
Key Ingredients and Why They Matter
- Whole Milk: Adds richness and improves browning; substitute with full-fat buttermilk for tang or a non-dairy milk for a lighter crumb. Choose milk that is fresh and gently warmed, not hot.
- Active Dry Yeast: The leavening backbone; if you have instant yeast, reduce proof time and mix directly into flour. Make sure it foams when bloomed.
- All-Purpose Flour: Provides structure; for a slightly chewier texture use bread flour, or half whole wheat for nuttiness but expect a denser loaf.
- Unsalted Butter: Adds tenderness and flavor; clarified butter will brown faster, and dairy-free spreads work in a pinch.
- Cinnamon and Sugars: The filling’s soul; use fresh ground cinnamon and packed brown sugar for depth.
Essential Kitchen Tools Youll Want
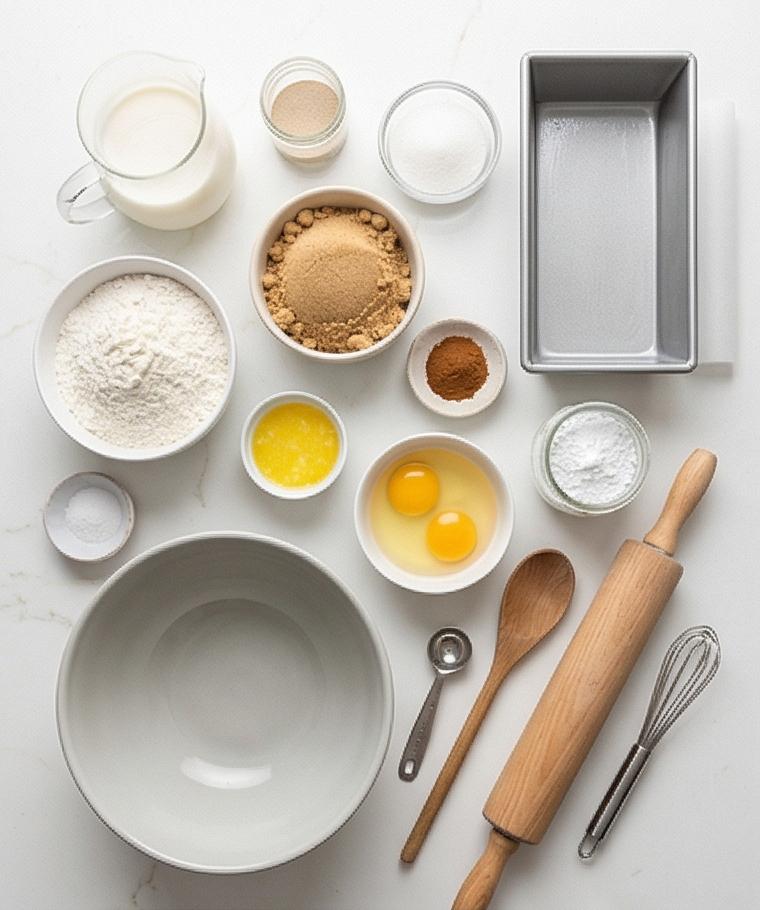
This recipe rewards good tools, but you dont need a pro setup to get great results. A stand mixer with a dough hook speeds kneading and reduces elbow grease; if you dont have one, a wooden surface and a little time will do. A reliable instant-read thermometer tells you when the loaf reaches 190-195F inside, which is more forgiving than guessing by color alone.
- Large mixing bowl: For proofing and mixing; glass or ceramic keeps temperature steady.
- Stand mixer or wooden spoon: For kneading; stand mixer shortens the task, a spoon works for the shaggy stage.
- 9 x 5-inch loaf pan: Ensures the loaf shape; use a slightly larger pan for a lower crown.
- Rolling pin: For an even rectangle; a wine bottle can substitute in a pinch.
- Bench scraper and pastry brush: For handling dough and brushing butter/egg wash.
Step-by-Step Preparation Guide
Step 1: Warm the milk and bloom the yeast
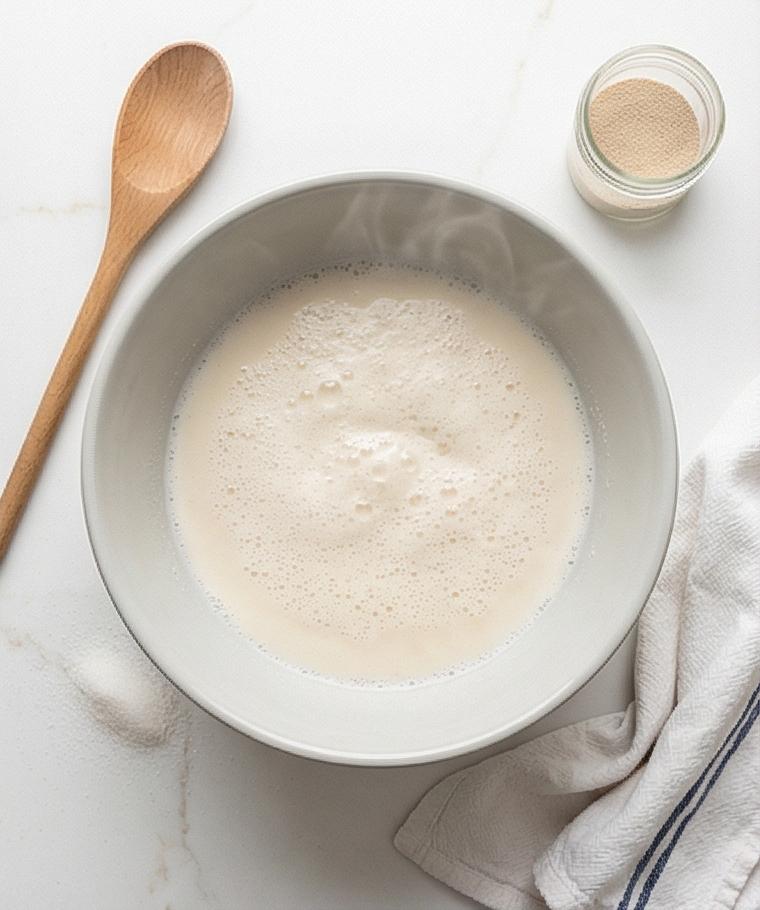
Gently warm the whole milk until it reaches a comfortably warm 105–110°F (40–43°C), feeling warm but not hot. Pour the warmed milk into a large glass or ceramic mixing bowl, sprinkle the active dry yeast over the surface, and add the granulated sugar; whisk briefly to combine and let it sit until foamy and aromatic, about 5–10 minutes. This foamy surface is the visual proof that the yeast is alive and ready to enrich the dough.
Step 2: Combine the wet ingredients and make the shaggy dough
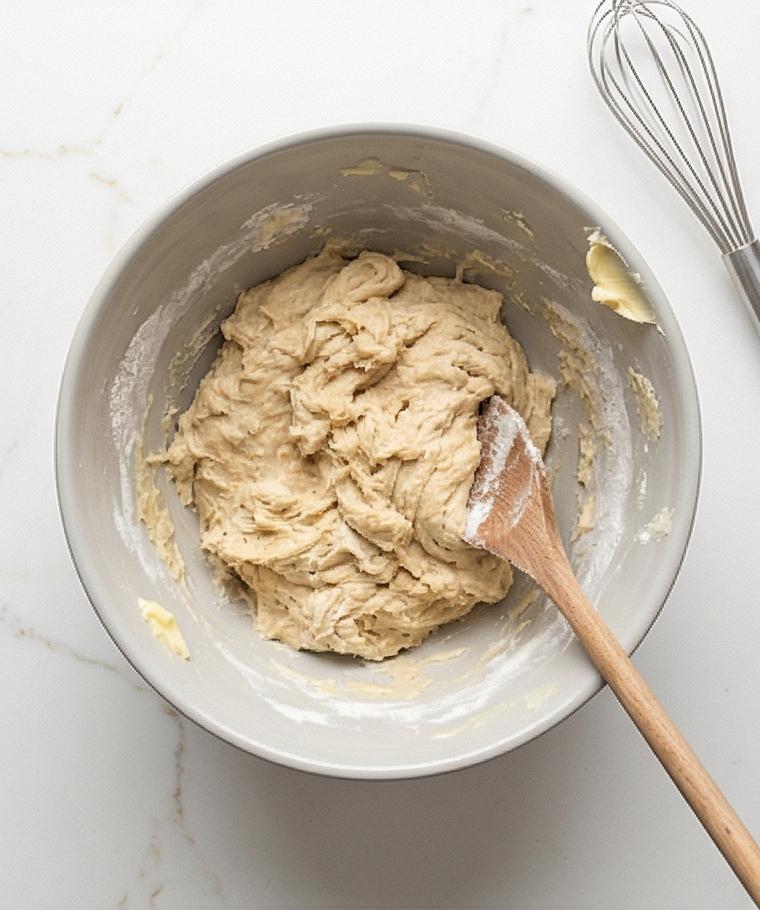
Lightly beat the room-temperature eggs and whisk them into the foamy yeast along with the melted, cooled butter. In a separate bowl whisk together most of the flour with the salt and optional nutmeg, then add the dry mixture to the wet and stir with a wooden spoon until a rough, shaggy dough forms. Gradually add small tablespoons of the remaining flour until the dough pulls away from the sides of the bowl but still feels soft and slightly tacky — this loose, uneven mass is the stage before formal kneading.
Step 3: Knead to a smooth, elastic ball
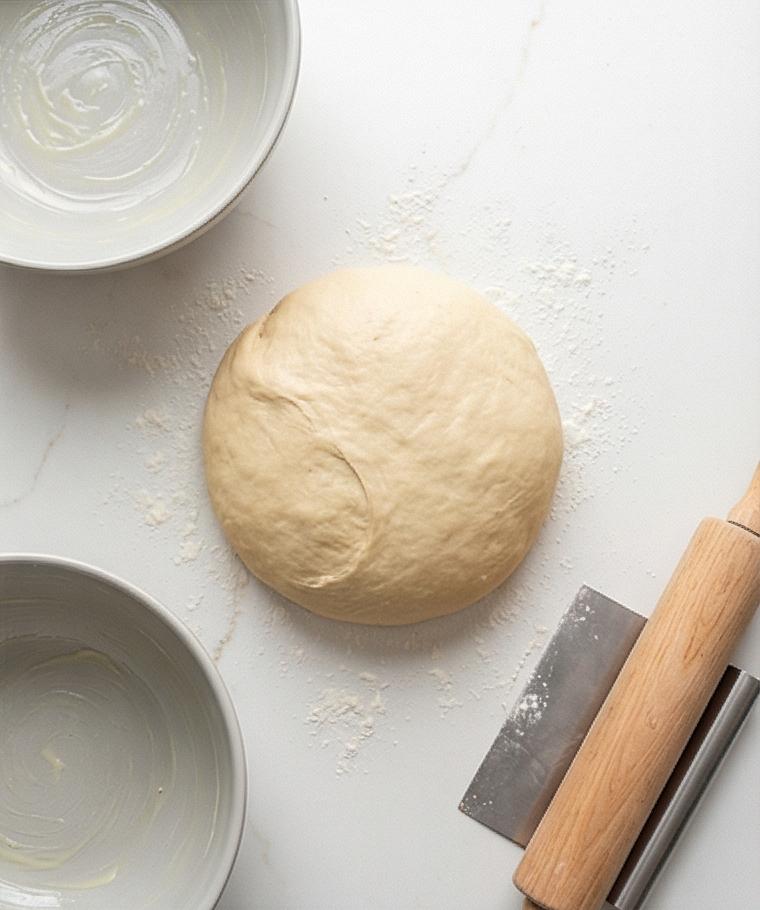
Turn the dough out onto a lightly floured surface and knead by hand (or with a stand mixer and hook) until the surface is smooth and springy and the dough can be stretched into a thin windowpane without tearing. Keep the focus on texture: from shaggy and sticky to taut, silky skin and a slightly glossy sheen. Shape it into a tight ball, showing elasticity and a soft bounce.
Step 4: First rise and gentle degassing
Lightly grease a clean bowl with softened butter or neutral oil, place the dough inside, turn it once to coat, then cover and let it rise in a warm, draft-free spot until doubled in size (about 60–90 minutes). Once doubled, gently punch down to deflate and let the dough rest five minutes to relax the gluten — this small pause makes the next rolling step smooth and even.
Step 5: Roll, butter, fill, and shape into a loaf
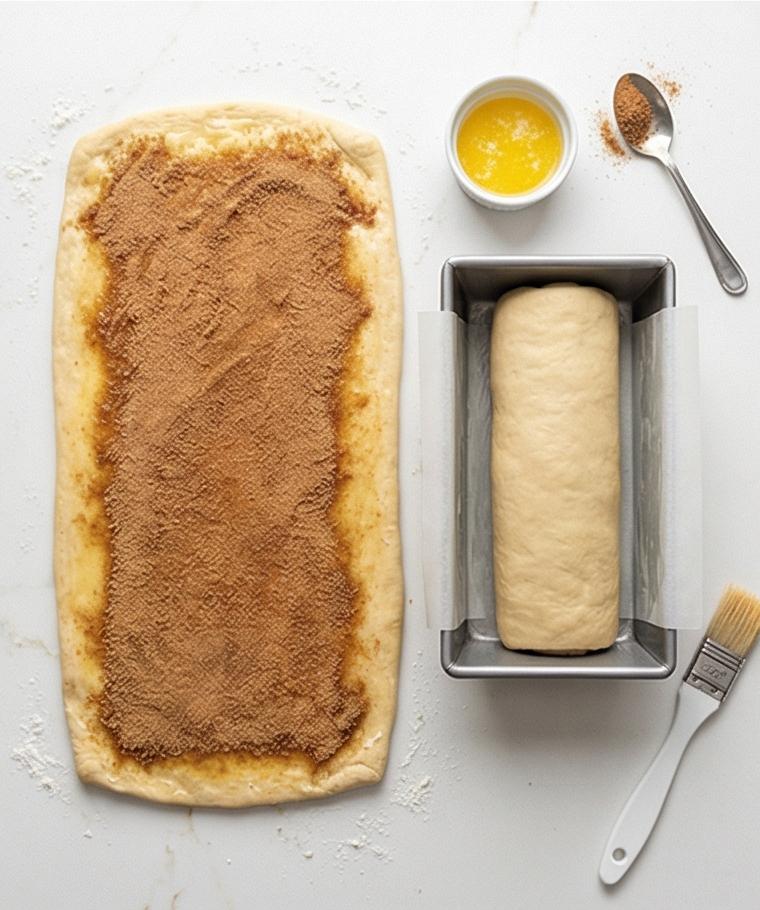
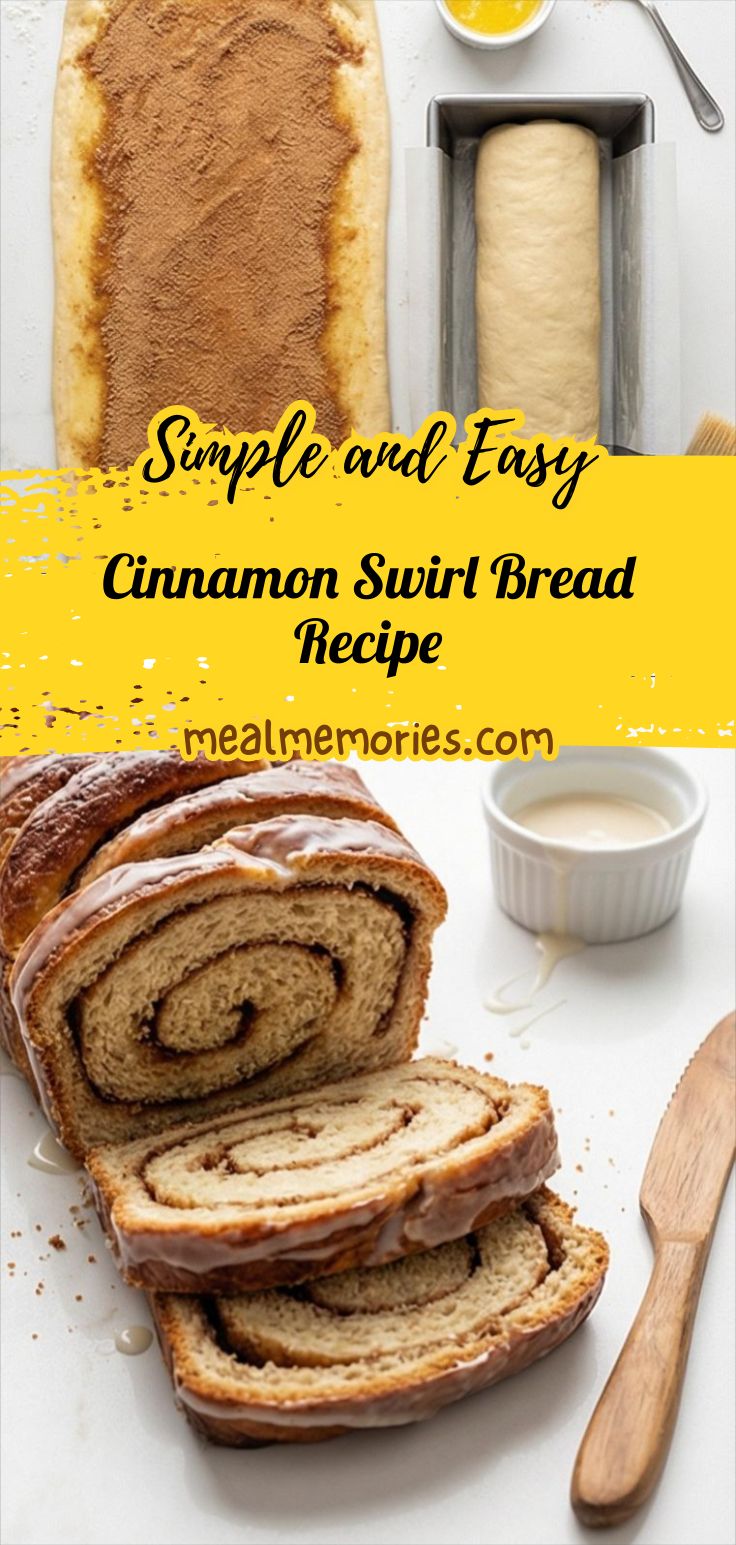
Roll the rested dough into an even rectangle roughly 8 x 18 inches, keeping thickness consistent and dusting lightly with flour as needed. Brush the entire surface with the melted butter, leaving a thin 1/2-inch border, then evenly sprinkle the cinnamon-brown-sugar filling and press it lightly so it adheres. Starting from the short side, roll tightly into a snug log, pinch the seam and ends to seal, then place the log seam-side-down into a greased 9 x 5-inch loaf pan (tucked to fit if needed). This lined, pan-ready log should read as a compact rectangular geometry ready for its final proof.
Step 6: Final proof, egg wash, bake, cool
Let the shaped loaf rise in the pan until it crowns about 1–1 1/2 inches above the rim, preheat the oven to 350°F (175°C) during the last part of the proof, then brush the top with an egg wash made of the remaining egg and a splash of milk. Bake until deeply golden and fully set (internal temp 190–195°F / 88–90°C), tenting with foil if browning too fast. Remove the pan to a wire rack, cool 15 minutes in-pan, then turn out upright to cool completely so the interior sets and the cinnamon swirl remains defined.
Step 7: Glaze, slice, and serve
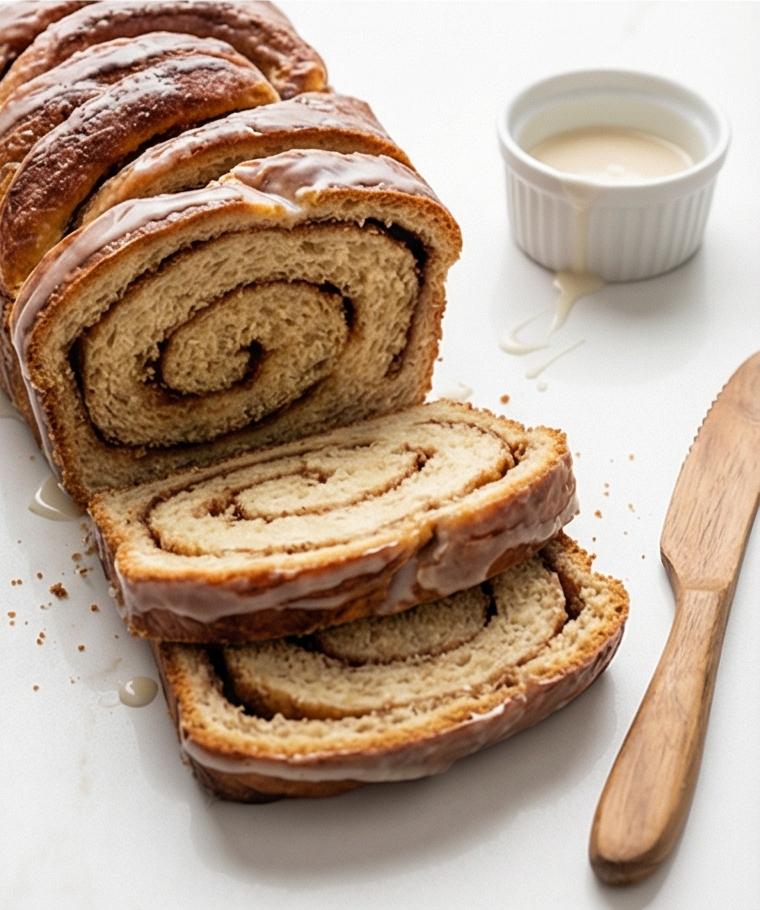
While the loaf cools to just-warm or room temperature, whisk a simple glaze of sifted powdered sugar, a splash of milk or cream, vanilla, and a pinch of salt to a thick-but-pourable consistency. Drizzle thin ribbons of glaze over the cooled loaf and let it set briefly before slicing into 1/2–3/4-inch slices. Present the slices plain or lightly toasted — the interior should show a clean, even spiral of cinnamon-sugar and a glossy ribbon of glaze.
Making It Your Own
Try swapping or adding flavors to make the loaf feel new each season. For a nutty twist, sprinkle chopped toasted pecans or walnuts over the filling before rolling; they add crunch and contrast the soft crumb. For a fruit-forward version, scatter a handful of finely chopped dried apples or raisins into the filling and soak them briefly in warm water or rum to plump them.
If you need a dairy-free swap, use a non-dairy milk and a vegan butter alternative; the texture will be slightly different but still satisfying. For a lower-sugar approach, reduce the brown sugar in the filling and brush with a thin honey glaze after baking. Each change will shift the final loaf in small but delightful ways, so have fun experimenting.
How to Serve
When hosting, slice the Cinnamon Swirl Bread Recipe into 1/2-inch pieces and arrange them on a wooden board with small bowls of softened butter, cream cheese, and fruit preserves. Warm slices briefly under the broiler or in a toaster oven for a minute to bring out the aroma and make the edges slightly crisp.
For larger gatherings, double the recipe and bake two loaves, or slice and toast the bread to serve as a base for French toast. For breakfast for one, pop a slice in the toaster and top with a smear of mascarpone and a drizzle of honey. Think of the loaf as versatile: it works as a sweet breakfast, an afternoon treat, or a light dessert with coffee or tea.
Storage and Reheating Tips
Store the cooled loaf wrapped in plastic wrap or in an airtight container at room temperature for up to 3 days. If you plan to keep it longer, slice and freeze individual pieces in a sealed bag for up to 3 months; thaw slices at room temperature or toast straight from frozen.
To revive a slice, warm it in a toaster or under a low broiler for 1-2 minutes, or microwave on medium power for 10-15 seconds; this brings back tenderness and enhances the cinnamon aroma. Reapply a touch of glaze or butter if you want a glossy, fresh-baked finish.
Common Mistakes and How to Avoid Them
Underproofing is common; if the loaf has a tight crumb or small holes, give it a bit more time to rise. Watch for dough that doesnt double; warm, draft-free conditions help yeast perform. Overproofing can cause a collapsed loaf, so learn the look and gentle-push test: dough should slowly spring back.
Rolling too tightly squeezes out the filling and breaks the spiral, while rolling too loosely gives big air pockets. Aim for an even, snug roll and press the filling gently so it sticks. Also, dont skip the in-pan partial cooling; turning out too soon can deflate the loaf and smear the swirl.
Ready When You Are
If youve been waiting to try a satisfying, hands-on bake, warm up your kitchen and make this Cinnamon Swirl Bread Recipe. It rewards the small acts of attention that bakers enjoy: feeling the dough become smooth, smelling the first oven notes, and slicing into a glossy, cinnamon-streaked loaf. Bring friends, make coffee, and enjoy the ritual.
Frequently Asked Questions.
- Q: Can I use instant yeast instead of active dry yeast? A: Yes, you can use instant yeast; mix it directly into the flour and shorten the initial proof slightly because it activates faster.
- Q: How do I know when the loaf is done baking? A: The best check is an instant-read thermometer; the center should reach 190-195F. The top should be deeply golden but not burned.
- Q: Can I add nuts or fruit to the filling? A: Absolutely. Finely chopped toasted nuts or plumped dried fruit fold nicely into the filling and add texture and flavor.
- Q: Is there a gluten-free version? A: You can attempt a gluten-free mix, but expect a different texture; use a high-quality 1-to-1 gluten-free flour blend and add a binder like xanthan gum if the blend lacks it.
- Q: How far in advance can I make this bread? A: You can bake it the day before and store it tightly wrapped; for longer storage, slice and freeze, then reheat slices when needed.
Cinnamon Swirl Bread Recipe
Bake Cinnamon Swirl Bread Recipe for a tender, cinnamon-swirled loaf perfect for breakfast or brunch.
Ingredients
Instructions
Step 1: Warm the milk and bloom the yeast
Gently warm the whole milk until it reaches a comfortably warm 105–110°F (40–43°C), feeling warm but not hot. Pour the warmed milk into a large glass or ceramic mixing bowl, sprinkle the active dry yeast over the surface, and add the granulated sugar; whisk briefly to combine and let it sit until foamy and aromatic, about 5–10 minutes. This foamy surface is the visual proof that the yeast is alive and ready to enrich the dough.
Step 2: Combine the wet ingredients and make the shaggy dough
Lightly beat the room-temperature eggs and whisk them into the foamy yeast along with the melted, cooled butter. In a separate bowl whisk together most of the flour with the salt and optional nutmeg, then add the dry mixture to the wet and stir with a wooden spoon until a rough, shaggy dough forms. Gradually add small tablespoons of the remaining flour until the dough pulls away from the sides of the bowl but still feels soft and slightly tacky — this loose, uneven mass is the stage before formal kneading.
Step 3: Knead to a smooth, elastic ball
Turn the dough out onto a lightly floured surface and knead by hand (or with a stand mixer and hook) until the surface is smooth and springy and the dough can be stretched into a thin windowpane without tearing. Keep the focus on texture: from shaggy and sticky to taut, silky skin and a slightly glossy sheen. Shape it into a tight ball, showing elasticity and a soft bounce.
Step 4: First rise and gentle degassing
Lightly grease a clean bowl with softened butter or neutral oil, place the dough inside, turn it once to coat, then cover and let it rise in a warm, draft-free spot until doubled in size (about 60–90 minutes). Once doubled, gently punch down to deflate and let the dough rest five minutes to relax the gluten — this small pause makes the next rolling step smooth and even.
Step 5: Roll, butter, fill, and shape into a loaf
Roll the rested dough into an even rectangle roughly 8 x 18 inches, keeping thickness consistent and dusting lightly with flour as needed. Brush the entire surface with the melted butter, leaving a thin 1/2-inch border, then evenly sprinkle the cinnamon-brown-sugar filling and press it lightly so it adheres. Starting from the short side, roll tightly into a snug log, pinch the seam and ends to seal, then place the log seam-side-down into a greased 9 x 5-inch loaf pan (tucked to fit if needed). This lined, pan-ready log should read as a compact rectangular geometry ready for its final proof.
Step 6: Final proof, egg wash, bake, cool
Let the shaped loaf rise in the pan until it crowns about 1–1 1/2 inches above the rim, preheat the oven to 350°F (175°C) during the last part of the proof, then brush the top with an egg wash made of the remaining egg and a splash of milk. Bake until deeply golden and fully set (internal temp 190–195°F / 88–90°C), tenting with foil if browning too fast. Remove the pan to a wire rack, cool 15 minutes in-pan, then turn out upright to cool completely so the interior sets and the cinnamon swirl remains defined.
Step 7: Glaze, slice, and serve
While the loaf cools to just-warm or room temperature, whisk a simple glaze of sifted powdered sugar, a splash of milk or cream, vanilla, and a pinch of salt to a thick-but-pourable consistency. Drizzle thin ribbons of glaze over the cooled loaf and let it set briefly before slicing into 1/2–3/4-inch slices. Present the slices plain or lightly toasted — the interior should show a clean, even spiral of cinnamon-sugar and a glossy ribbon of glaze.
Notes
- Warm the milk to 105-110°F to activate yeast without killing it.
- Use an instant-read thermometer to check internal doneness (190-195°F).
- For a richer flavor, use whole milk and fresh ground cinnamon.
- Freeze sliced portions in airtight bags for up to 3 months.
- If dough seems sticky, wait and resist adding too much flour; kneading will develop structure.