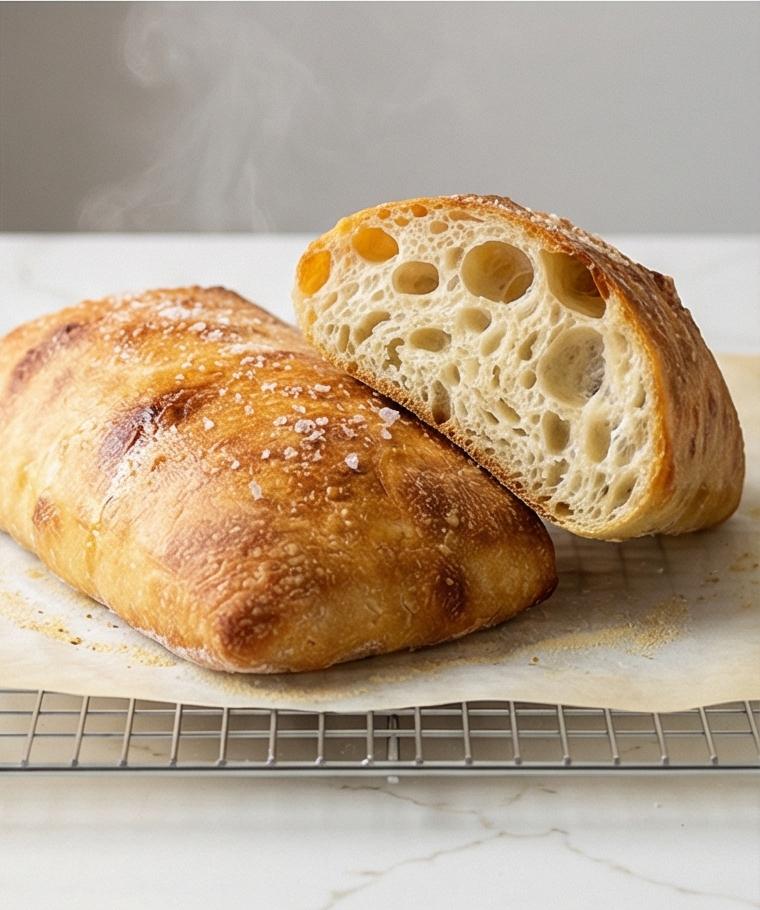
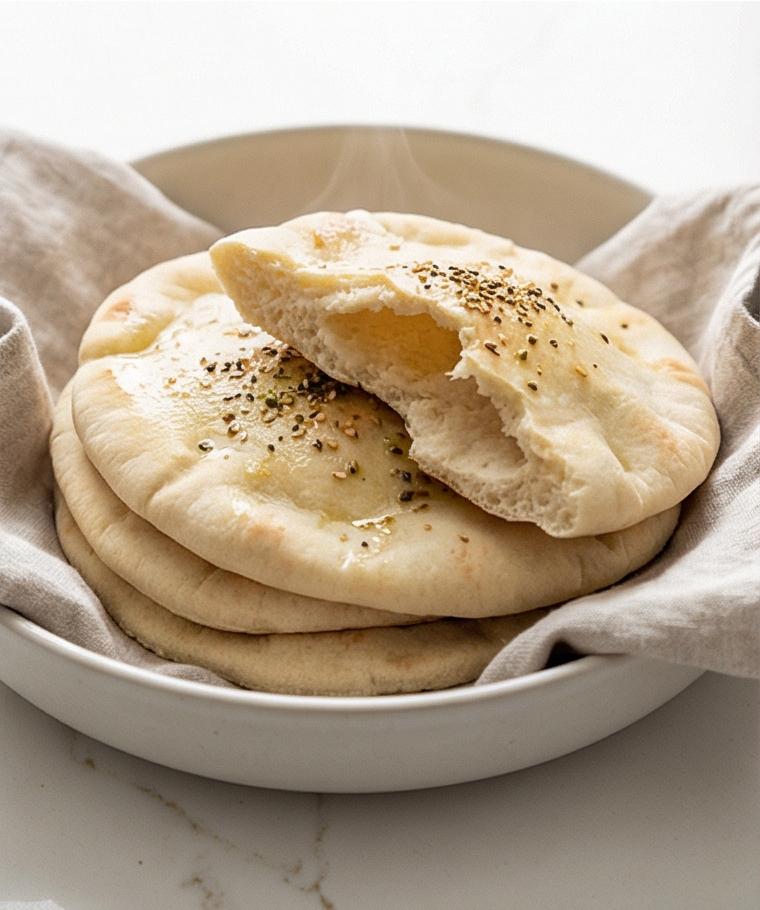
Dinner Rolls Recipe are a warm, comforting staple in my kitchen. I start thinking about them when the air turns cool and a pot roast fills the oven, because soft, glossy rolls make every meal feel complete. This Dinner Rolls Recipe is straightforward but rewarding, with a pillowy crumb and buttery top that always brings people to the table. I learned to tweak small details—like the proofing temperature and how much butter to brush on—to get consistent, tender results you can rely on.
How This Recipe Became My Cozy-Weekend Ritual
There was a winter afternoon when the power was flickering and I decided to bake instead of worrying. The dough for this Dinner Rolls Recipe warmed my hands and the smell of yeast and butter filled the kitchen while snow fell outside. Rolling the dough into tight little balls felt almost meditative, and by the time they came out of the oven golden and glossy, my whole mood had shifted. I remember breaking one open, steam rising, the crumb so soft it almost dissolved on the tongue. That memory stuck with me; now, whenever I want comfort or company, I reach for this recipe and the ritual of kneading and shaping.
Ingredients that Make These Rolls Sing
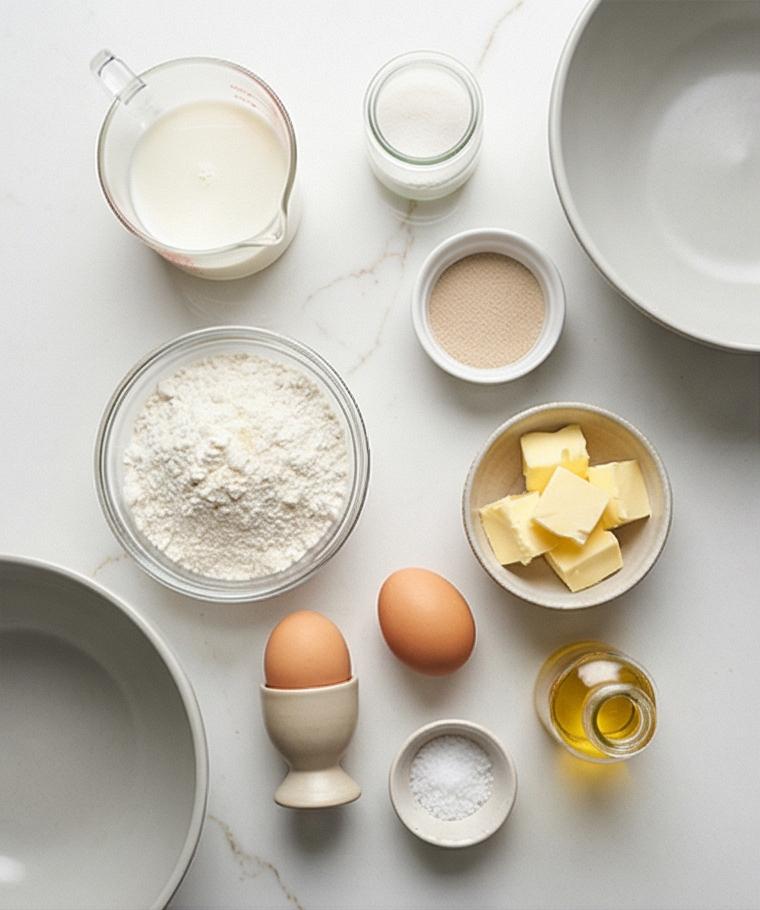
- Whole Milk: Adds richness and helps create a tender crumb; use 2% in a pinch but avoid skimmed milk.
- Granulated Sugar: Feeds the yeast and sweetens subtly; swap for honey (slightly less) for a floral note.
- Active Dry Yeast: The leavening heart of the dough; instant yeast can be used but reduce proofing time slightly.
- Bread Flour or All-Purpose Flour: Bread flour yields a chewier roll; all-purpose gives a softer result.
- Fine Sea Salt: Balances flavor; kosher salt works too but adjust the amount.
- Egg: Enriches the dough and helps structure; an extra egg gives a richer roll.
- Unsalted Butter: For tenderness and flavor; you can use salted butter and omit added salt if preferred.
- Neutral Oil: Keeps the bowl from sticking; olive oil will flavor the dough.
Essential Kitchen Tools and Why They Matter
A few thoughtful tools make this Dinner Rolls Recipe much easier and more forgiving. A reliable instant-read thermometer takes the guesswork out of milk temperature and yeast proofing so you don’t accidentally kill the yeast. A stand mixer with a dough hook speeds kneading, but a wooden spoon and a bit of elbow grease work just fine for hand kneading. A bench scraper is a small thing that makes dividing dough and keeping your surface tidy feel professional. A good pastry brush gives the rolls a shiny, even egg wash. If you don’t own a pastry brush, use a clean finger or a piece of parchment tucked into your palm as a last resort.
- Instant-read thermometer: Ensures milk is in the right range for proofing.
- Stand mixer or sturdy wooden spoon: For efficient kneading and less strain.
- Bench scraper: Quick, clean dough portioning and surface cleanup.
- Pastry brush: For even egg wash and glossy tops; substitute with a clean finger if needed.
- 9×13-inch baking dish: Gives the rolls a cozy pull-apart layout; adjust size for smaller batches.
Step-by-Step Preparation Guide
Step 1: Warm milk, dissolve sugar, and proof the yeast
Warm the whole milk until it feels pleasantly warm to the wrist (about 100–110°F / 38–43°C), then stir in the granulated sugar until dissolved. Pour the warm milk into a small glass measuring jug, sprinkle the active dry yeast over the surface and give it a gentle stir; set the jug aside and watch for a foamy, creamy cap to form in 5–10 minutes — that soft mousse is the green light the yeast is alive and working.
Step 2: Combine wet ingredients and bring in the flour to a shaggy dough
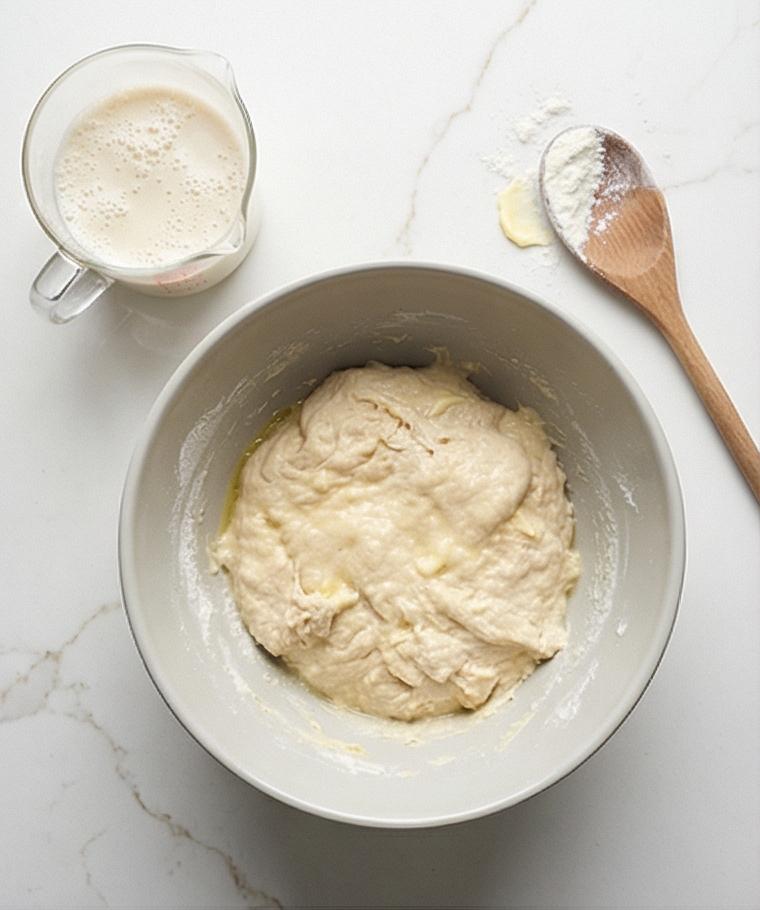
Whisk the flour and sea salt together in a separate medium bowl to evenly distribute the salt, then return to the foamy yeast mixture and add the room-temperature egg and very soft butter in pieces. Use a sturdy wooden spoon to fold the wet into the dry in two to three additions, stirring until the mixture comes together into a shaggy, slightly sticky dough with visible streaks of flour and soft butter pieces not yet fully incorporated. The result should feel coarse but cohesive, a smartly messy stage that’s ready for kneading.
Step 3: Knead until smooth, elastic, and windowpane-ready
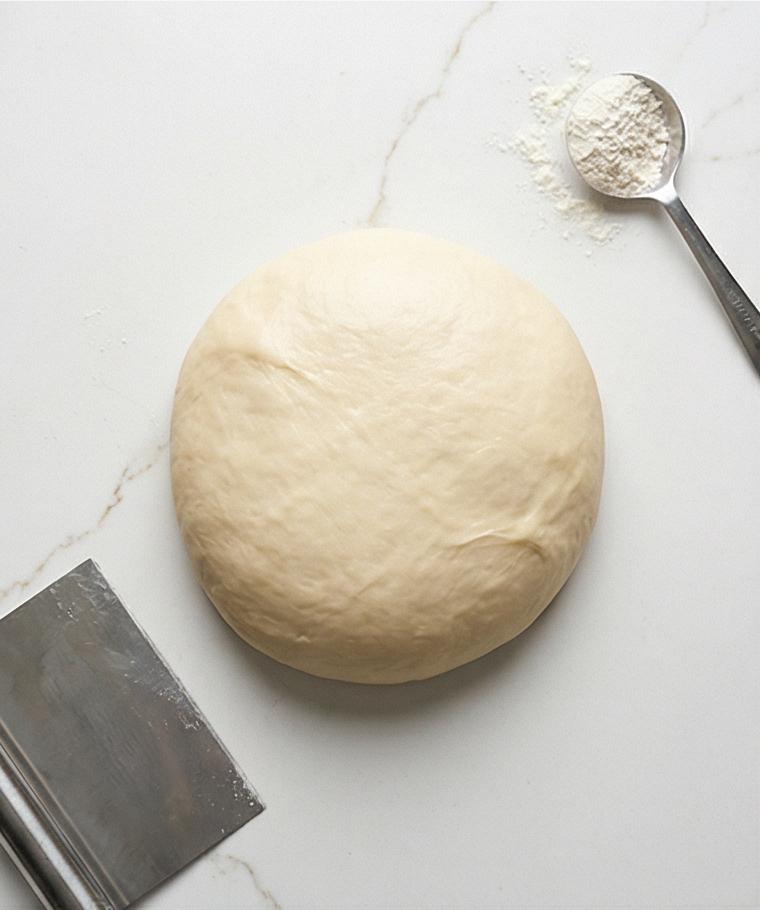
Turn the shaggy mass onto the lightly floured quartz surface and knead — or use the dough hook in the same matte light-grey ceramic mixing bowl if you prefer the stand mixer — until the dough becomes smooth, satiny, and slightly tacky. You’ll feel the texture tighten and then relax as gluten develops: the ball should stretch thin to a near-translucent windowpane without tearing easily and bounce back when poked. Keep a small bowl of extra flour nearby and dust sparingly only if the dough clings excessively.
Step 4: Shape, grease the bowl, and first rise until doubled
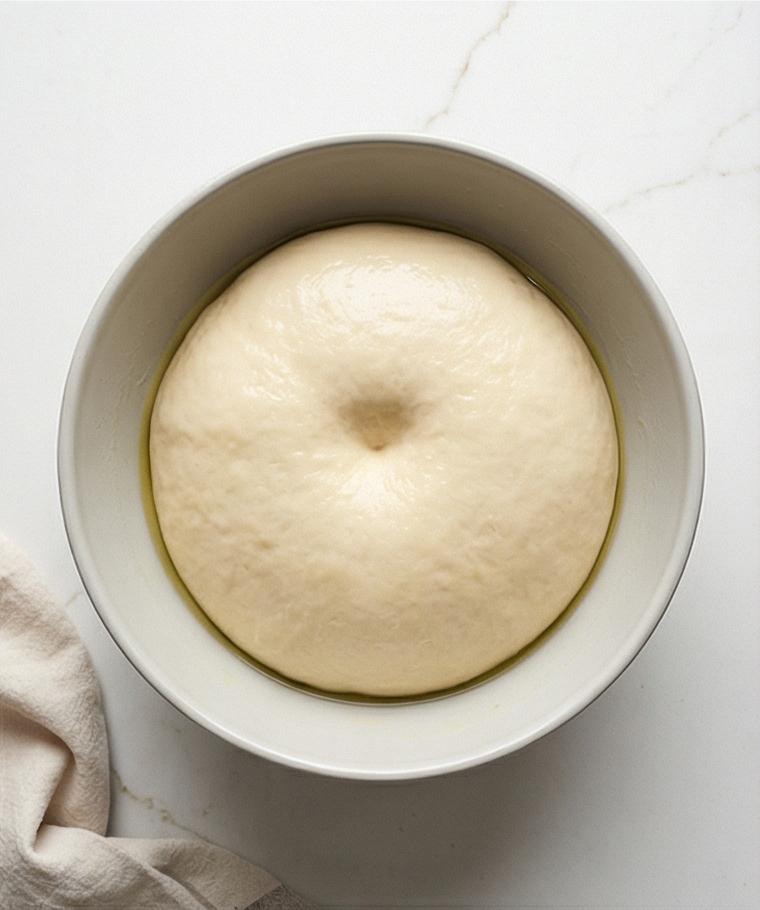
Lightly oil the inside of the same mixing bowl with neutral oil, form the dough into a seam-side-down ball, and turn it once so the exterior is lightly coated. Cover tightly with plastic wrap or a clean damp towel and place the bowl in a warm, draft-free spot until the dough visibly doubles in size — about 60–90 minutes — and a gentle finger poke springs back slowly, leaving a small impression. This pillowy, domed dough should look smooth and slightly glossy on top when ready.
Step 5: Deflate, divide, shape into taut balls, and arrange in the baking dish
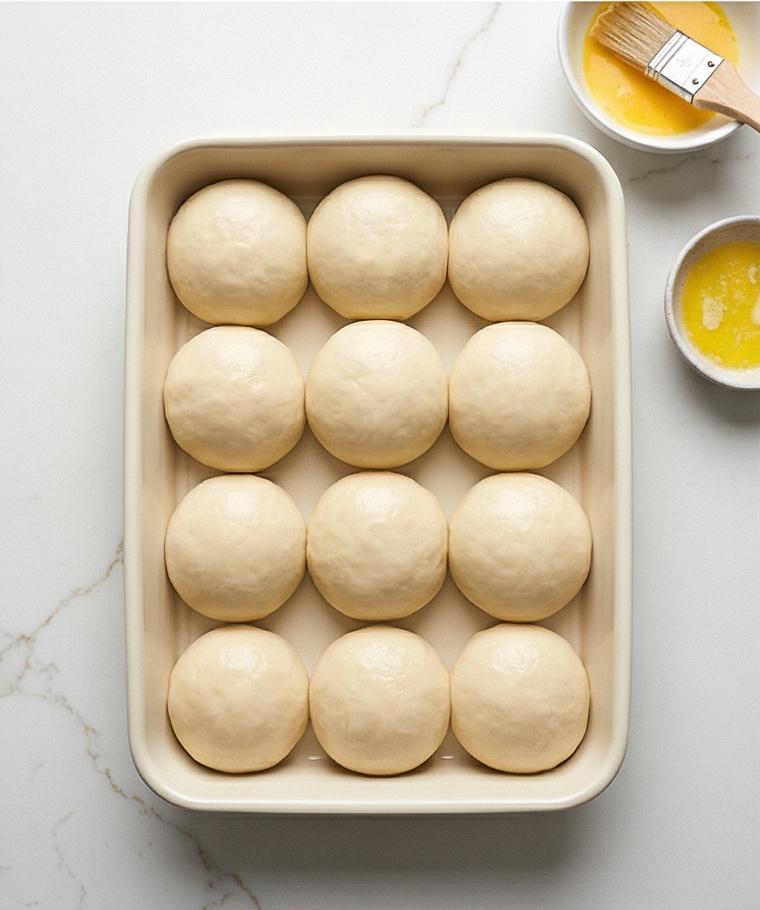
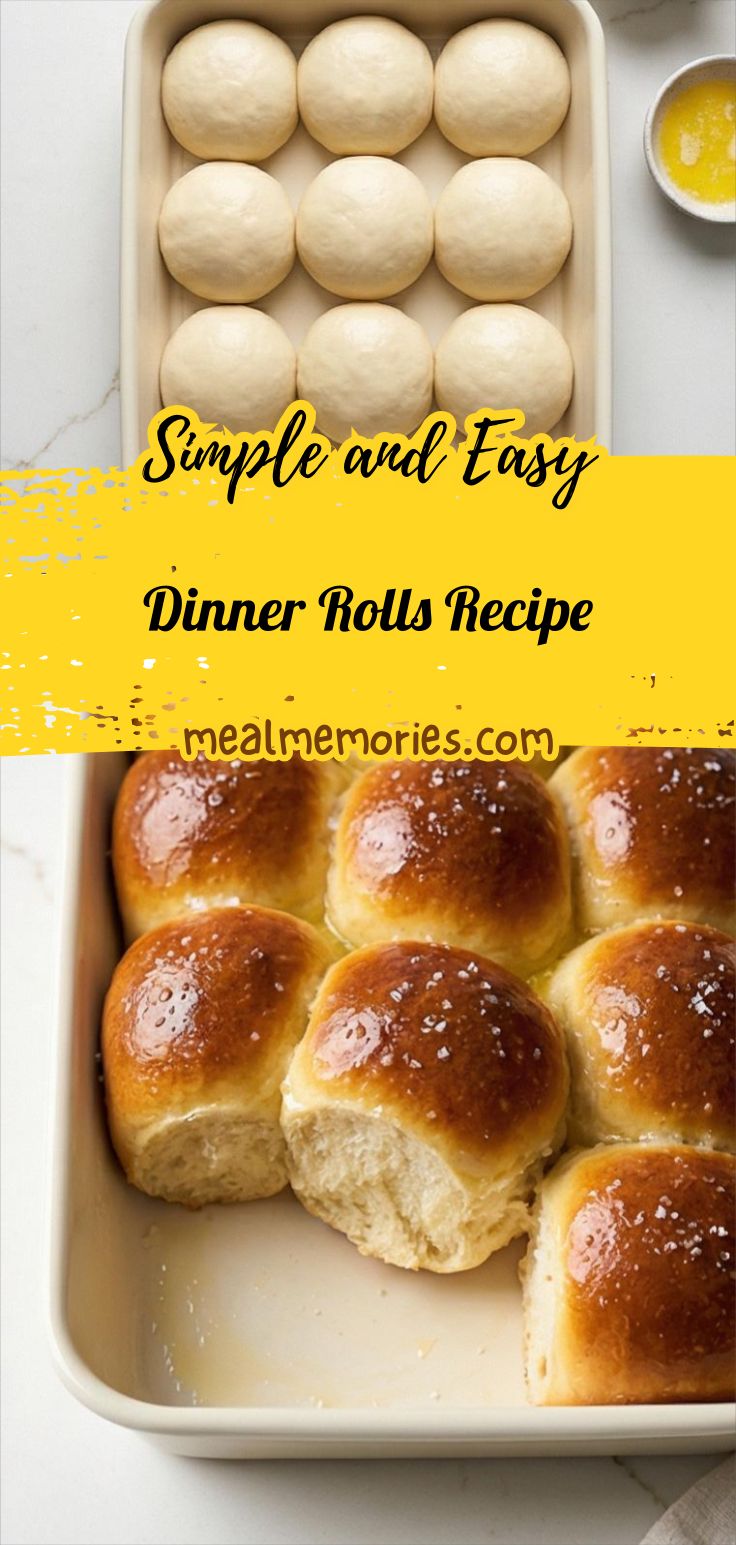
Gently punch the risen dough down on the marble-inspired surface, weigh or divide into 12 even pieces, and shape each piece into a tight, smooth ball by pulling seams toward the center and rolling seam-side down until the tops are taut. Grease a 9×13-inch rectangular baking dish with softened butter and arrange the rolls in three rows of four, evenly spaced so they’ll touch as they proof. Cover loosely and let them rise again until puffy and nearly doubled; nearby place a small bowl with the egg-and-milk wash and a pastry brush, ready for a delicate glaze before baking.
Step 6: Egg wash, bake, brush with butter, and serve warm
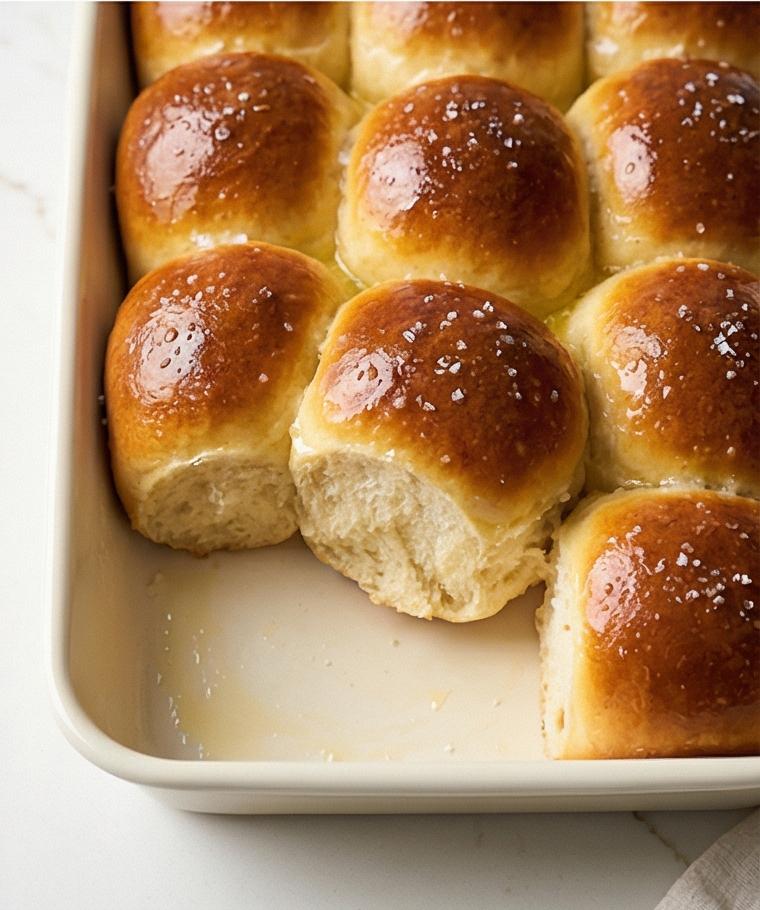
Near the end of the rise, preheat the oven, whisk the egg and milk for the egg wash until smooth, and gently brush a thin, even layer over the tops and exposed sides of the rolls without deflating them. After baking until deeply golden, remove the rectangular dish to the marble-like surface and immediately brush the hot tops generously with warm melted butter; if you like, sprinkle a pinch of flaky sea salt while the butter is still wet. Let the rolls rest in the pan for 10–15 minutes, then serve warm, pulling the soft, glossy buns apart to reveal a tender, pillowy crumb.
Making It Your Own
I often experiment by folding in grated garlic and chopped herbs right before shaping, which gives the rolls a savory lift that pairs beautifully with roast chicken. For a slightly sweet holiday version, I brush the tops with honey-butter and sprinkle toasted sesame seeds for crunch. If you need a dairy-free option, swap the milk for unsweetened oat milk and use a vegan butter; results are still tender though slightly less rich. Regional twists I try include adding a touch of olive oil and rosemary for a Mediterranean vibe, or mixing in soft cornmeal for a rustic, slightly textured crumb.
How to Serve
When I host, I place a warm pan of Dinner Rolls Recipe in the center of the table so guests can pull them apart as they mingle. For a casual dinner with eight people, make two pans or double the recipe so everyone gets seconds. At a holiday buffet, line the rolls in a cloth-lined basket and offer compound butter variations on the side: chive-lemon, honey-cinnamon, or roasted garlic.
For a small brunch, halve the batch and reheat gently in a low oven before serving. Dress them up by slicing and filling with small portions of roasted turkey, crisp greens, and cranberry relish to make mini sliders that feel special without extra fuss.
Storage and Reheating Tips
Leftover rolls store best at room temperature in an airtight container for up to two days. If you want to keep them longer, freeze cooled rolls in a zip-top bag for up to three months; thaw at room temperature, then reheat.
To refresh refrigerated or thawed rolls, warm them in a 325°F oven for 8–12 minutes, wrapped loosely in foil to prevent over-browning. For a quick microwave option, cover a single roll with a damp paper towel and heat 10–15 seconds so it becomes soft and steamy again.
Common Mistakes and How to Avoid Them
Underproofing yields tight, dense rolls. Trust the dough to double and use the finger-poke test: a slight indentation that fills slowly is the sweet spot. Overproofing causes collapse; keep an eye on the time and room temperature.
Adding too much flour is tempting if the dough is sticky, but add sparingly. The finished dough should be slightly tacky for a tender crumb. If in doubt, refrigerate the dough for 20 minutes to firm it up before shaping.
Warm Invitation
Give this Dinner Rolls Recipe a try this weekend and notice how a small ritual of kneading and shaping can turn ordinary dinner into something memorable. Share the warmth and the first buttery, steaming bite with someone you love.
Frequently Asked Questions.
-
Can I make the rolls ahead of time?
Yes, you can shape and refrigerate the rolls overnight; bring them to room temperature and finish the final rise before baking. -
Can I use instant yeast instead of active dry yeast?
Yes, swap instant yeast in the same amount and mix it directly with the dry ingredients; you may skip the initial proofing step. -
How do I know when the dough has proofed enough?
A doubled volume and a gentle finger poke that springs back slowly with a small impression are good indicators. -
Can I freeze baked or unbaked rolls?
Both work: freeze baked rolls in an airtight bag and reheat; freeze shaped unbaked rolls and bake from thawed. -
What if my rolls are too dense?
They may be underproofed or overfloured. Knead a bit more next time, watch the rise, and avoid adding excess flour.
Dinner Rolls Recipe
Bake soft, glossy Dinner Rolls Recipe for warm, pull-apart rolls with a tender crumb.
Ingredients
Instructions
Step 1: Warm milk, dissolve sugar, and proof the yeast
Warm the whole milk until it feels pleasantly warm to the wrist (about 100–110°F / 38–43°C), then stir in the granulated sugar until dissolved. Pour the warm milk into a small glass measuring jug, sprinkle the active dry yeast over the surface and give it a gentle stir; set the jug aside and watch for a foamy, creamy cap to form in 5–10 minutes — that soft mousse is the green light the yeast is alive and working.
Step 2: Combine wet ingredients and bring in the flour to a shaggy dough
Whisk the flour and sea salt together in a separate medium bowl to evenly distribute the salt, then return to the foamy yeast mixture and add the room-temperature egg and very soft butter in pieces. Use a sturdy wooden spoon to fold the wet into the dry in two to three additions, stirring until the mixture comes together into a shaggy, slightly sticky dough with visible streaks of flour and soft butter pieces not yet fully incorporated. The result should feel coarse but cohesive, a smartly messy stage that’s ready for kneading.
Step 3: Knead until smooth, elastic, and windowpane-ready
Turn the shaggy mass onto the lightly floured quartz surface and knead — or use the dough hook in the same matte light-grey ceramic mixing bowl if you prefer the stand mixer — until the dough becomes smooth, satiny, and slightly tacky. You’ll feel the texture tighten and then relax as gluten develops: the ball should stretch thin to a near-translucent windowpane without tearing easily and bounce back when poked. Keep a small bowl of extra flour nearby and dust sparingly only if the dough clings excessively.
Step 4: Shape, grease the bowl, and first rise until doubled
Lightly oil the inside of the same mixing bowl with neutral oil, form the dough into a seam-side-down ball, and turn it once so the exterior is lightly coated. Cover tightly with plastic wrap or a clean damp towel and place the bowl in a warm, draft-free spot until the dough visibly doubles in size — about 60–90 minutes — and a gentle finger poke springs back slowly, leaving a small impression. This pillowy, domed dough should look smooth and slightly glossy on top when ready.
Step 5: Deflate, divide, shape into taut balls, and arrange in the baking dish
Gently punch the risen dough down on the marble-inspired surface, weigh or divide into 12 even pieces, and shape each piece into a tight, smooth ball by pulling seams toward the center and rolling seam-side down until the tops are taut. Grease a 9×13-inch rectangular baking dish with softened butter and arrange the rolls in three rows of four, evenly spaced so they’ll touch as they proof. Cover loosely and let them rise again until puffy and nearly doubled; nearby place a small bowl with the egg-and-milk wash and a pastry brush, ready for a delicate glaze before baking.
Step 6: Egg wash, bake, brush with butter, and serve warm
Near the end of the rise, preheat the oven, whisk the egg and milk for the egg wash until smooth, and gently brush a thin, even layer over the tops and exposed sides of the rolls without deflating them. After baking until deeply golden, remove the rectangular dish to the marble-like surface and immediately brush the hot tops generously with warm melted butter; if you like, sprinkle a pinch of flaky sea salt while the butter is still wet. Let the rolls rest in the pan for 10–15 minutes, then serve warm, pulling the soft, glossy buns apart to reveal a tender, pillowy crumb.
Notes
- Use an instant-read thermometer to keep milk at the correct temperature for proofing.
- If dough is very sticky, chill 15–20 minutes rather than adding too much flour.
- Freeze excess rolls in a single layer before bagging to prevent sticking.
- Warm melted butter brushed on hot rolls gives a restaurant-style finish.
- For dairy-free rolls, swap milk and butter for plant-based alternatives.