Nashville Hot Chicken has been my guilty pleasure for years, and it still gets my heart racing the first time the spicy glaze hits the crunchy crust. I learned to make this at home because takeout never captured that blistered, oily-red sheen and the juicy interior I crave. The combination of a tangy buttermilk soak, a thick flour crust, and a hot butter glaze is what keeps me making this Nashville Hot Chicken again and again. If you love bold flavors and contrast—crispy, spicy, cool pickles—you are in for a treat.
How This Nashville Hot Chicken Turned Weeknights Into Celebrations
The first time I tried making Nashville Hot Chicken, I was cooking for a small group of friends on a damp, late-fall evening. The marinade filled the kitchen with a gentle lactic tang while the oil warmed and the house leaned into that cozy, slightly dangerous smell of frying. When the thighs hit the oil, the skin blistered and popped in a way that felt celebratory, like tiny fireworks. My friends crowded the oven door to watch the glaze go on, and one of them closed their eyes the first bite and said, “This tastes like a food memory I have not yet had.” That line stuck with me because it captured the warm familiarity and the newness at once. Since then, this Nashville Hot Chicken has shown up for birthdays, late-night snack raids, and for quiet Sunday suppers where leftovers are as prized as the first serving. The ritual of marinating, dredging, resting, and glazing became a comfort pattern—something I could rely on to turn an ordinary evening into one worth remembering.
The Ingredients That Make It Sing
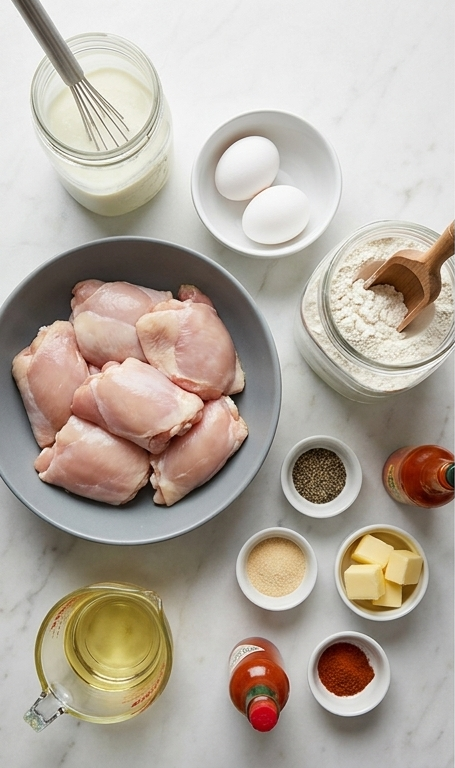
- Kosher salt and freshly ground black pepper: Basic seasoning anchors the flavors and seasons the flour; use sea salt if you prefer, and grind pepper fresh for brightness.
- Onion powder: Adds savory depth; substitute with 1 teaspoon of finely grated onion if needed.
- Garlic powder: Background warmth; fresh garlic will change texture but can work.
- Buttermilk: Tenderizes and adds tang; a mix of milk and a tablespoon of vinegar can stand in.
- Eggs: Help the marinade cling and provide richness; one extra egg can help adhesion.
- Bone-in, skin-on chicken thighs: The star protein that stays juicy; pick evenly sized pieces.
- Self-rising flour: Gives lift and a lighter crust; if unavailable, use all-purpose plus baking powder and salt.
- Canola oil: Neutral frying oil with a high smoke point; peanut oil is a great substitute.
- Unsalted butter, hot sauce, cayenne: Create the spicy lacquer; adjust cayenne for heat.
Essential Kitchen Tools
A few reliable tools make durable Nashville Hot Chicken every time. Use a heavy, deep pot or Dutch oven to keep oil temperature steady and reduce splatter. A thermometer is essential to monitor oil and internal meat temperature so you do not overcook. A wire rack over a baking sheet lets excess oil drain and preserves crispness while finishing in the oven.
- Dutch oven or heavy pot: Holds heat steady; a deep-sided pan works if you do not have a Dutch oven.
- Deep-fry thermometer: For safe, consistent oil temperature; a probe thermometer for the meat is also handy.
- Wire rack and baking sheet: Prevents sogginess by letting oil drip away; use paper towels in a pinch.
- Large mixing bowls and resealable bags: For even marinating and easy cleanup.
Step-by-Step Preparation Guide
Step 1: Whisk the Buttermilk Marinade
In a large mixing bowl whisk together warm water with kosher salt, freshly ground black pepper, onion powder and garlic powder until the salts dissolve and the spices bloom. Whisk in the buttermilk and then the eggs until the mixture is smooth, pale, and slightly frothy — this lactic tang and gentle acid will tenderize the chicken and create a clinging, flavorful bath for the thighs.
Step 2: Marinate the Chicken
Place bone-in, skin-on chicken thighs into a gallon-size resealable bag or a large bowl, pour the buttermilk mixture over the chicken so every piece is submerged, and seal. Marinate in the fridge for at least 8 hours or up to 24 hours, turning the bag occasionally so the marinade works evenly into the skin and cavities.
Step 3: Drain and Set Up the Dredge
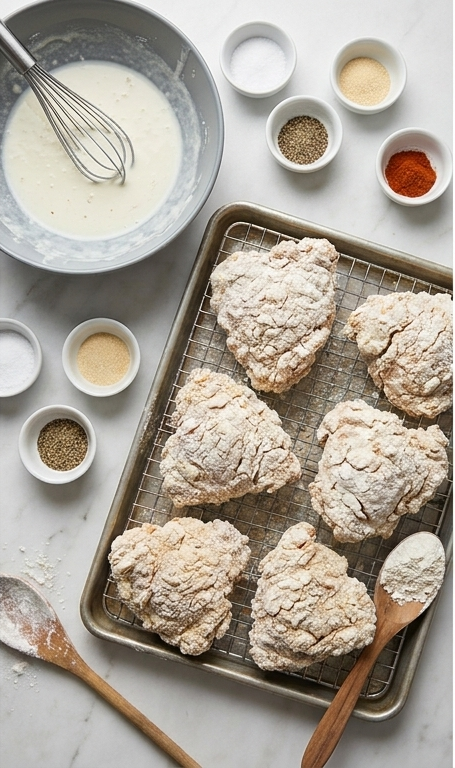
Remove the chicken from the refrigerator and drain the excess marinade thoroughly. Set up a shallow dredging station with self-rising flour in a wide container and small ceramic ramekins nearby for the salt and pepper to season the surface of the flour. Pat each piece slightly so the flour will adhere predictably.
Step 4: Flour and Rest for a Crisp Crust
Working one piece at a time, press each thigh into the flour so it’s fully coated, return it to the pile and gently toss again to build a thick, even crust. Let the coated thighs rest 15 minutes so the flour hydrates and forms a tacky, cohesive breading — this rest is what yields a blistered, crunchy exterior after frying. Shake off excess flour before frying.
Step 5: Fry to a Golden Crisp
In batches, carefully lower the dredged thighs into oil heated to frying temperature and fry skin-side down until the skin turns deep golden brown and blistered, flipping once; remove to a rectangular baking sheet fitted with a wire rack so excess oil drains and the crust stays crisp.
Step 6: Finish in the Oven and Glaze
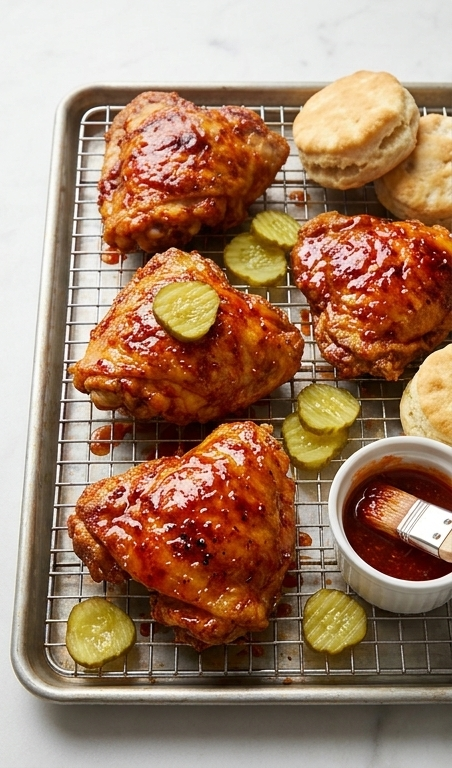
Move the rack-mounted chicken into a preheated oven to finish cooking through — the oven step ensures even internal doneness while preserving the fried crust. Once the thighs reach the target internal temperature and are fully cooked through, brush them generously with the spicy butter glaze so the heat and color cling to the crust and form a glossy lacquer.
Step 7: Make the Hot Butter Glaze
In a small saucepan combine unsalted butter, hot sauce and cayenne pepper, bring briefly to meld flavors, then turn down and simmer until fragrant — a vivid, oily-red sauce that will be brushed and spooned onto the fried chicken to create the signature Nashville heat and shine.
Step 8: Plate and Serve Warm
Arrange the glazed thighs on the same rectangular baking sheet and wire rack for serving, garnish with dill pickle chips, and tuck fluffy biscuit halves alongside so their flaky, buttery interiors are visible. Serve immediately while the crust is hot and the glaze is glossy, and enjoy the contrast of crunchy, spicy skin, tender meat, cooling pickles, and pillowy biscuits.
Making It Your Own
I like to tinker with heat and texture depending on the season and who I am feeding. For a milder party version, I brush less glaze and offer extra hot sauce on the side so folks can customize heat at the table. For a smoky twist, I add a pinch of smoked paprika to the flour and the glaze.
For gluten-free adaptations, try a rice flour and cornstarch mix for the coating, though the crust will be different. In winter, I swap dill pickles for a quick slaw with apple and cabbage to brighten the plate.
If you want a vegetarian play, use thick, meaty cauliflower steaks and follow the same marinade and dredge process, reducing frying time and watching for tenderness.
How to Serve
Picture a casual dinner party where the Nashville Hot Chicken sits in the center, glossy and crackling. Serve pieces on a large sheet pan with a wire rack so guests can help themselves and the crust stays crisp. Offer a trio of condiments: dill pickle chips, a cooling ranch or buttermilk dressing, and extra hot sauce.
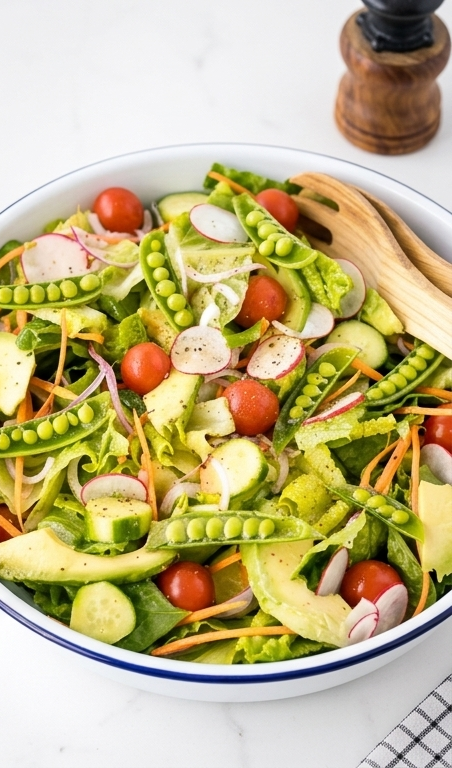
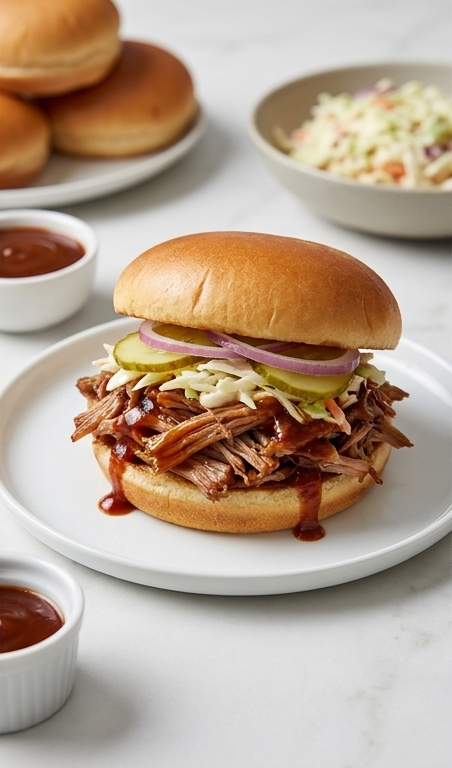
For a family meal, pair with flaky biscuits and a simple green salad to cut the heat. For larger gatherings, double the biscuits and set up a sandwich station with coleslaw so guests can build fried-chicken sandwiches. Adjust quantities by adding more thighs in evenly sized batches so frying times remain consistent.
Storage and Reheating
Leftovers keep well in the fridge for up to 3 days if stored in an airtight container with a paper towel to absorb excess oil. Reheat on a wire rack in a 350F oven until warmed through; this helps restore crispness. Avoid the microwave unless you are in a hurry, as it softens the crust.
For longer storage, freeze glazed thighs on a sheet pan until solid, then transfer to a sealed bag for up to 2 months. Reheat from frozen in a 375F oven, covered lightly with foil for the first 15 minutes, then uncovered to revive the crust.
Common Pitfalls and How to Dodge Them
A common mistake is rushing the dredge and frying too soon; let the coated chicken rest so the flour hydrates and bonds. If you skip the rest, the crust can flake off into the oil. Take the extra 15 minutes.
Another slip-up is crowding the pot. Fry in small batches so oil temperature recovers quickly. Use a thermometer and keep the oil steady for even browning and safe cooking.
Final Bite
Give this Nashville Hot Chicken a try and let the process slow you down in the best way. Once you taste that crunchy, spicy skin and tender meat, you will understand why I keep coming back to this recipe. It rewards patience and curiosity, and it makes any meal feel special.
Frequently Asked Questions.
- What oil is best for frying Nashville Hot Chicken? I use canola for a neutral flavor and high smoke point, but peanut or vegetable oil work well too.
- Can I make this less spicy? Yes, reduce the cayenne in the glaze and serve extra hot sauce on the side so guests can add heat themselves.
- How long should I marinate the chicken? Marinate at least 8 hours and up to 24 hours for best tenderness and flavor penetration.
- Can I use boneless chicken instead? You can, but cooking time will be shorter and the texture will differ; watch internal temperature closely.
- How do I keep the crust from getting soggy? Drain on a wire rack and finish in a hot oven; avoid stacking pieces and serve promptly.
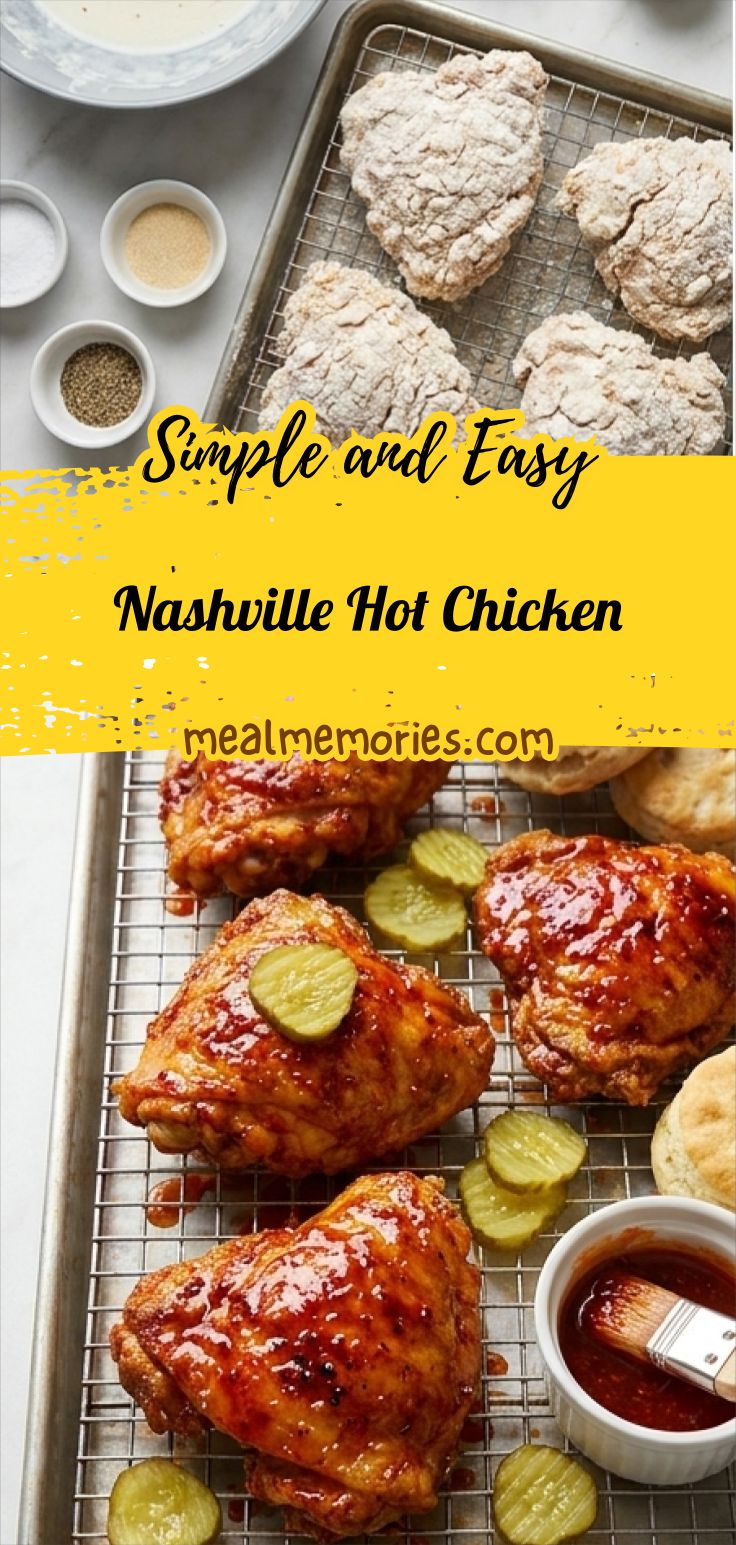
Nashville Hot Chicken
Make Nashville Hot Chicken at home: crispy fried thighs tossed in a spicy butter glaze for bold, juicy flavor.
Ingredients
Instructions
Step 1: Whisk the Buttermilk Marinade
In a large mixing bowl whisk together warm water with kosher salt, freshly ground black pepper, onion powder and garlic powder until the salts dissolve and the spices bloom. Whisk in the buttermilk and then the eggs until the mixture is smooth, pale, and slightly frothy — this lactic tang and gentle acid will tenderize the chicken and create a clinging, flavorful bath for the thighs.
Step 2: Marinate the Chicken
Place bone-in, skin-on chicken thighs into a gallon-size resealable bag or a large bowl, pour the buttermilk mixture over the chicken so every piece is submerged, and seal. Marinate in the fridge for at least 8 hours or up to 24 hours, turning the bag occasionally so the marinade works evenly into the skin and cavities.
Step 3: Drain and Set Up the Dredge
Remove the chicken from the refrigerator and drain the excess marinade thoroughly. Set up a shallow dredging station with self-rising flour in a wide container and small ceramic ramekins nearby for the salt and pepper to season the surface of the flour. Pat each piece slightly so the flour will adhere predictably.
Step 4: Flour and Rest for a Crisp Crust
Working one piece at a time, press each thigh into the flour so it’s fully coated, return it to the pile and gently toss again to build a thick, even crust. Let the coated thighs rest 15 minutes so the flour hydrates and forms a tacky, cohesive breading — this rest is what yields a blistered, crunchy exterior after frying. Shake off excess flour before frying.
Step 5: Fry to a Golden Crisp
In batches, carefully lower the dredged thighs into oil heated to frying temperature and fry skin-side down until the skin turns deep golden brown and blistered, flipping once; remove to a rectangular baking sheet fitted with a wire rack so excess oil drains and the crust stays crisp.
Step 6: Finish in the Oven and Glaze
Move the rack-mounted chicken into a preheated oven to finish cooking through — the oven step ensures even internal doneness while preserving the fried crust. Once the thighs reach the target internal temperature and are fully cooked through, brush them generously with the spicy butter glaze so the heat and color cling to the crust and form a glossy lacquer.
Step 7: Make the Hot Butter Glaze
In a small saucepan combine unsalted butter, hot sauce and cayenne pepper, bring briefly to meld flavors, then turn down and simmer until fragrant — a vivid, oily-red sauce that will be brushed and spooned onto the fried chicken to create the signature Nashville heat and shine.
Step 8: Plate and Serve Warm
Arrange the glazed thighs on the same rectangular baking sheet and wire rack for serving, garnish with dill pickle chips, and tuck fluffy biscuit halves alongside so their flaky, buttery interiors are visible. Serve immediately while the crust is hot and the glaze is glossy, and enjoy the contrast of crunchy, spicy skin, tender meat, cooling pickles, and pillowy biscuits.
Notes
- Let the chicken marinate at least 8 hours for best tenderness.
- Use a thermometer to maintain oil temperature and avoid crowded batches.
- Rest coated chicken 15 minutes before frying to ensure a crisp crust.
- Reheat on a wire rack in the oven to restore crunch.
- Adjust cayenne and hot sauce to control heat for your guests.