Nashville Hot Chicken
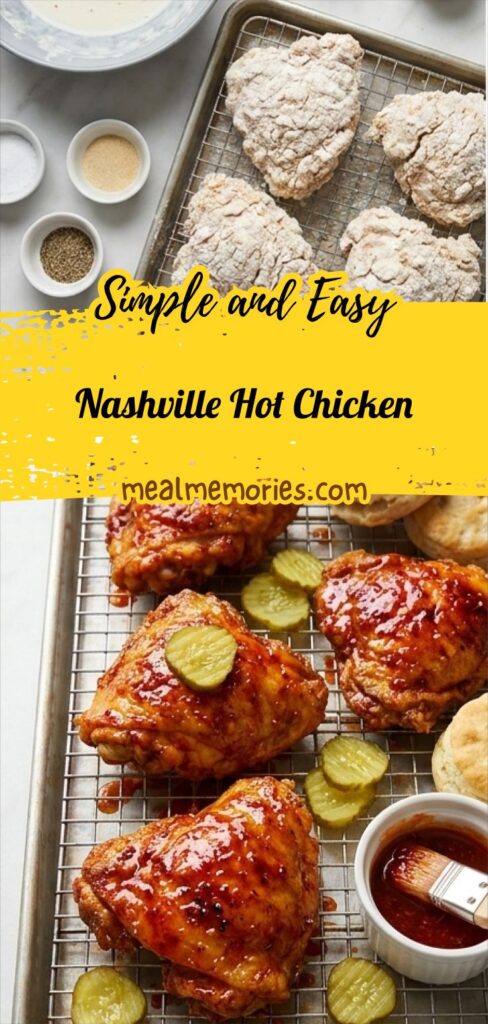
Make Nashville Hot Chicken at home: crispy fried thighs tossed in a spicy butter glaze for bold, juicy flavor.
Ingredients
- Kosher salt and freshly ground black pepper (to taste)
- 2 teaspoons onion powder
- 1 teaspoon garlic powder
- 2 cups buttermilk
- 2 large eggs
- 4 pounds bone-in, skin-on chicken thighs
- 4 cups self-rising flour
- 8 cups canola oil
- 1/2 cup unsalted butter
- 1/4 cup hot sauce
- 1/2 teaspoon cayenne pepper
Instructions
Step 1: Whisk the Buttermilk Marinade
In a large mixing bowl whisk together warm water with kosher salt, freshly ground black pepper, onion powder and garlic powder until the salts dissolve and the spices bloom. Whisk in the buttermilk and then the eggs until the mixture is smooth, pale, and slightly frothy — this lactic tang and gentle acid will tenderize the chicken and create a clinging, flavorful bath for the thighs.
Step 2: Marinate the Chicken
Place bone-in, skin-on chicken thighs into a gallon-size resealable bag or a large bowl, pour the buttermilk mixture over the chicken so every piece is submerged, and seal. Marinate in the fridge for at least 8 hours or up to 24 hours, turning the bag occasionally so the marinade works evenly into the skin and cavities.
Step 3: Drain and Set Up the Dredge
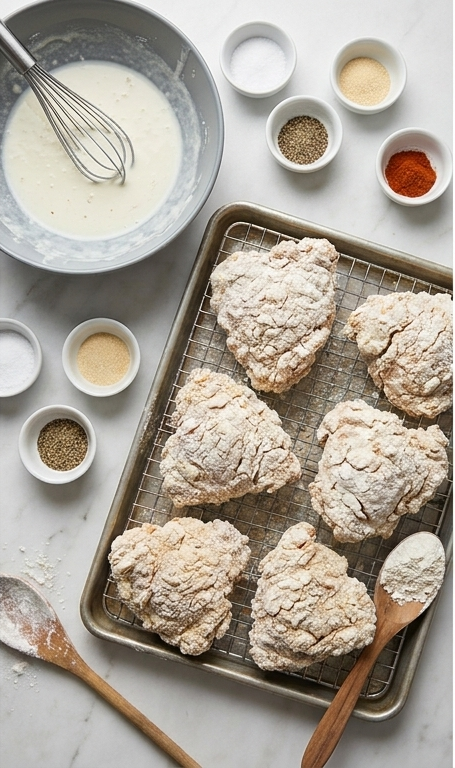
Remove the chicken from the refrigerator and drain the excess marinade thoroughly. Set up a shallow dredging station with self-rising flour in a wide container and small ceramic ramekins nearby for the salt and pepper to season the surface of the flour. Pat each piece slightly so the flour will adhere predictably.
Step 4: Flour and Rest for a Crisp Crust
Working one piece at a time, press each thigh into the flour so it’s fully coated, return it to the pile and gently toss again to build a thick, even crust. Let the coated thighs rest 15 minutes so the flour hydrates and forms a tacky, cohesive breading — this rest is what yields a blistered, crunchy exterior after frying. Shake off excess flour before frying.
Step 5: Fry to a Golden Crisp
In batches, carefully lower the dredged thighs into oil heated to frying temperature and fry skin-side down until the skin turns deep golden brown and blistered, flipping once; remove to a rectangular baking sheet fitted with a wire rack so excess oil drains and the crust stays crisp.
Step 6: Finish in the Oven and Glaze
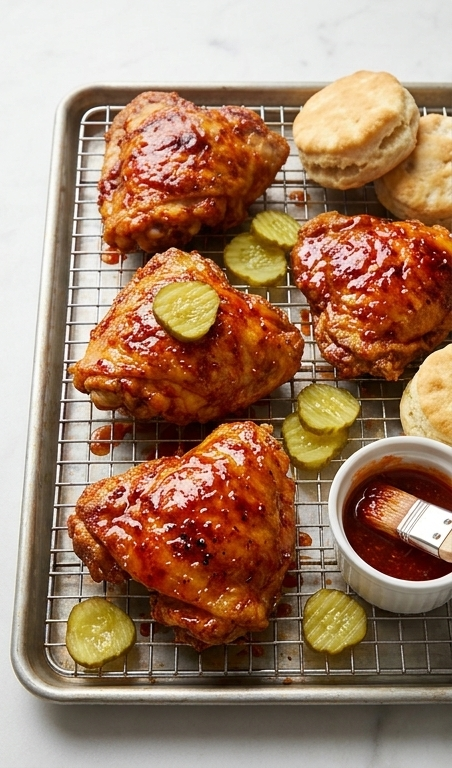
Move the rack-mounted chicken into a preheated oven to finish cooking through — the oven step ensures even internal doneness while preserving the fried crust. Once the thighs reach the target internal temperature and are fully cooked through, brush them generously with the spicy butter glaze so the heat and color cling to the crust and form a glossy lacquer.
Step 7: Make the Hot Butter Glaze
In a small saucepan combine unsalted butter, hot sauce and cayenne pepper, bring briefly to meld flavors, then turn down and simmer until fragrant — a vivid, oily-red sauce that will be brushed and spooned onto the fried chicken to create the signature Nashville heat and shine.
Step 8: Plate and Serve Warm
Arrange the glazed thighs on the same rectangular baking sheet and wire rack for serving, garnish with dill pickle chips, and tuck fluffy biscuit halves alongside so their flaky, buttery interiors are visible. Serve immediately while the crust is hot and the glaze is glossy, and enjoy the contrast of crunchy, spicy skin, tender meat, cooling pickles, and pillowy biscuits.
Notes
- Let the chicken marinate at least 8 hours for best tenderness.
- Use a thermometer to maintain oil temperature and avoid crowded batches.
- Rest coated chicken 15 minutes before frying to ensure a crisp crust.
- Reheat on a wire rack in the oven to restore crunch.
- Adjust cayenne and hot sauce to control heat for your guests.