Deviled Eggs Recipe: a simple classic that always gets a crowd smiling. I make these whenever friends drop by or when I need an easy dish to bring that feels a little special. The balance of creamy yolk filling, tangy mustard, and the little pop of chive never fails to brighten a table. I’ve tweaked this Deviled Eggs Recipe over the years to keep the filling silky and the presentation tidy, and it still feels like comfort food every time.
I love how fast these come together and how they travel well to picnics and potlucks. The recipe is forgiving, so you can experiment with heat, herbs, and garnishes. If you follow a few simple timing tricks, the eggs peel beautifully and the yolk mixture pipes like a dream. Try it once and you’ll find your own favorite tweak to call your signature Deviled Eggs Recipe.
How This Recipe Became My Rainy-Day Favorite
One rainy afternoon years ago I had a fridge full of eggs and a handful of herbs from the windowsill. I wanted something simple but cozy to share with a neighbor, and the Deviled Eggs Recipe felt nostalgic and practical. As the kettle boiled and the house filled with the small, warm smell of frying bacon, I found myself remembering my grandmother’s kitchen and the way she arranged little dishes on a saucer. I remember the quiet satisfaction when the first batch came out perfectly creamy, the yolk filling smooth and just bright enough with mustard and vinegar. I walked across the street with a small platter, and the neighbor’s face lit up as if I had delivered sunshine. That small exchange turned an ordinary afternoon into a memory, and since then deviled eggs have meant comfort, community, and the simple joy of sharing food.
The Ingredients That Make It Sing
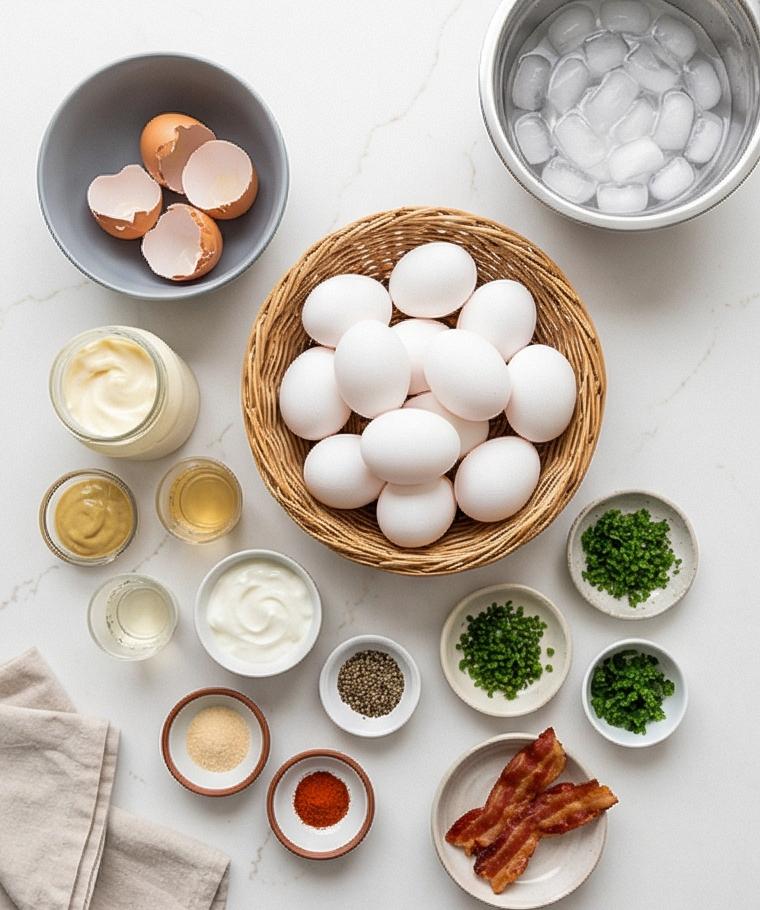
- 12 large eggs: The foundation of the dish. Choose fresh eggs for flavor but slightly older eggs peel more easily. Substitutes: none if you want classic deviled eggs.
- Mayonnaise: Adds creaminess and body. Use full-fat for best texture; avocado mayo works for a lighter, egg-free oil base.
- Dijon mustard: Gives a gentle tang and depth. Yellow mustard can work but will be milder and sweeter.
- Sour cream or Greek yogurt: Optional, for silkiness and a touch of tang. Use Greek yogurt for a protein boost.
- Chives: Bring freshness and mild onion flavor. Substitute scallions or dill for a different note.
- Vinegar and seasonings: White wine vinegar lifts the filling; salt and pepper are essential. Paprika adds color and a hint of smokiness.
Essential Kitchen Tools and Why They Matter
A few simple tools make this Deviled Eggs Recipe effortless and keep the results consistent. A medium saucepan with a tight-fitting lid helps the eggs finish gently in residual heat so the yolks stay tender. A slotted spoon makes transferring hot eggs to the ice bath safe and easy. A small piping bag or a resealable plastic bag gives the filling a neat presentation; if you prefer rustic, two teaspoons work fine. Finally, a sharp knife and a good mixing bowl help you halve eggs cleanly and make a silky filling.
- Medium saucepan with lid: Ensures even cooking and predictable timing.
- Slotted spoon: For safe transfers to the ice bath.
- Mixing bowl and fork: For mashing yolks smooth.
- Piping bag or resealable bag: For tidy filling; spooning works too.
- Sharp knife: For clean, even halves.
Step-by-Step Preparation Guide
Step 1: Make an ice bath
Fill a medium bowl with about 2 cups of ice cubes and cover with cold water so you have a ready ice bath near the stove. Leave it nearby — this will instantly stop the eggs once they’re done and keep the yolks vivid and tender.
Step 2: Submerge the eggs in cold water
Arrange all 12 large eggs in a single layer in a medium saucepan and pour in cold tap water to cover them by about 1 inch. Use just enough water so the eggs sit snugly without stacking; that even coverage helps them cook uniformly.
Step 3: Bring to a rolling boil then turn off the heat
Set the pan over medium-high heat and bring the water to a full rolling boil. As soon as it reaches a boil, cover the pan with a tight lid, turn off the heat, and move it to a cool burner so the eggs finish gently in the residual heat.
Step 4: Let the eggs rest in the hot water for 11–12 minutes
Let the covered pan sit undisturbed for 11–12 minutes for fully set but tender yolks. This brief, controlled rest gives reliably creamy yolks without overcooking.
Step 5: Crisp the optional bacon (if using) and drain
If you’re using bacon, crisp two strips in a skillet until evenly browned and crisp, then transfer them to a paper towel–lined plate to drain. Once cooled, finely crumble and reserve for garnish.
Step 6: Shock the eggs in the ice bath and cool completely
Immediately transfer the eggs to the prepared ice bath with a slotted spoon and let them cool completely for at least 10–15 minutes. This stops the cooking, firms the whites, and prevents any greenish yolk rings.
Step 7: Peel the cooled eggs under running water
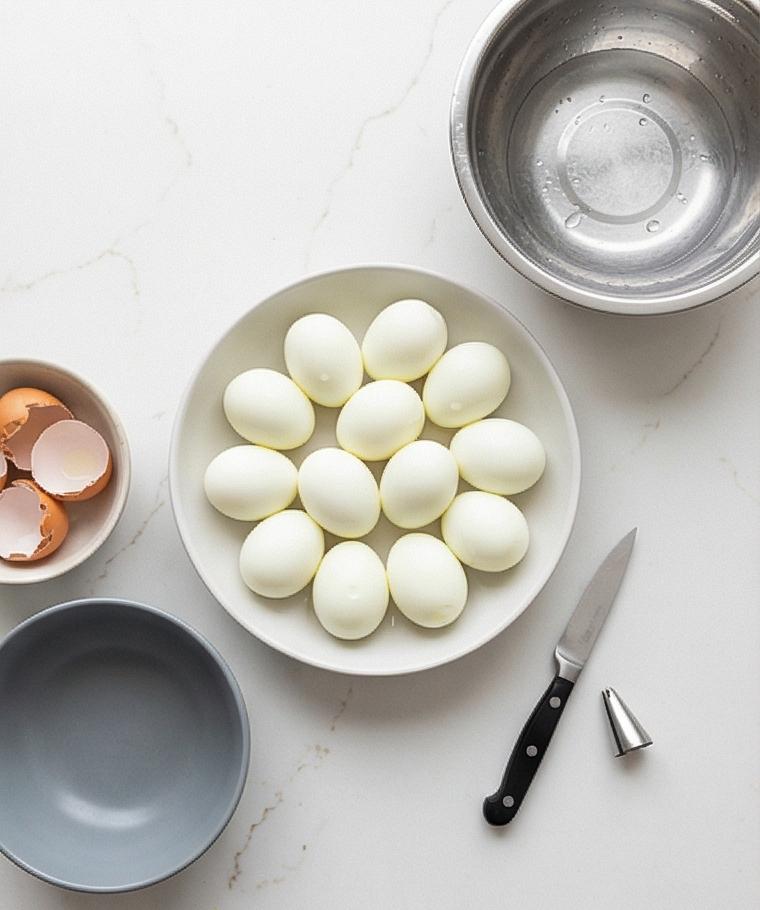
Gently crack each cooled egg all over against the counter, then peel them under a thin stream of cool running water to help remove stubborn shell bits. Pat each peeled egg dry with a paper towel so they’re easy to handle.
Step 8: Halve the eggs and reserve the whites on a platter
Using a sharp knife, slice each egg lengthwise and carefully pop or scoop the yolks out into a medium mixing bowl, keeping the white halves intact. Arrange the empty white halves, cut side up, on a flat serving platter so they’re ready for filling.
Step 9: Mash the yolks until sandy and uniform
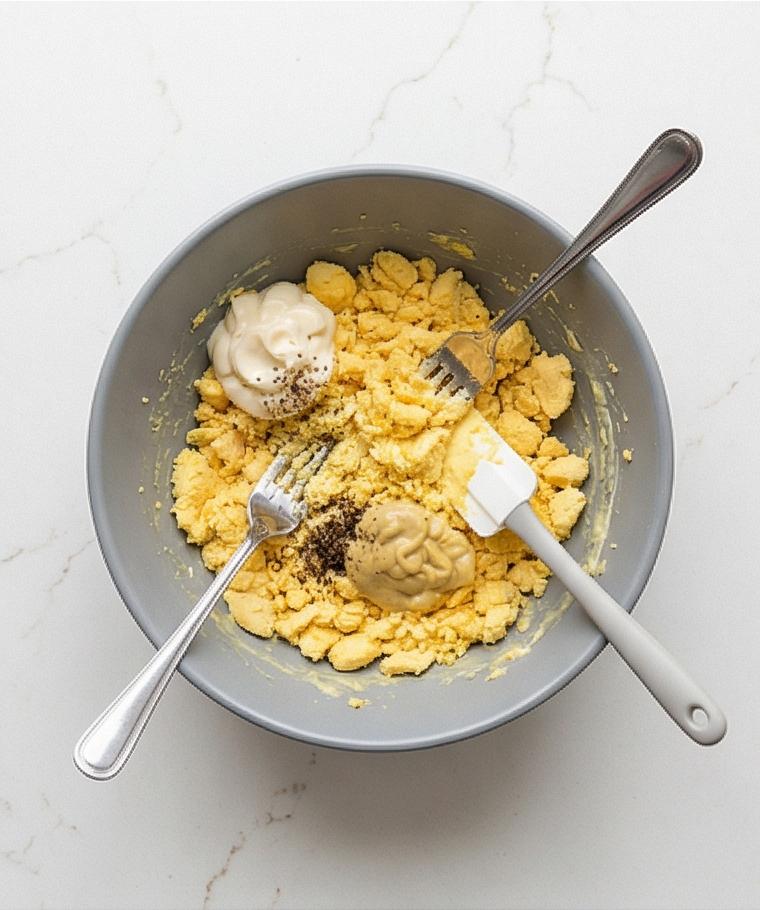
Use a fork to break down the yolks, mashing them until there are no large lumps and the texture is sandy and even — the smoother the mash, the silkier the final filling.
Step 10: Combine yolks with mayonnaise, sour cream, mustard, and vinegar
Add mayonnaise, the optional sour cream or Greek yogurt, Dijon mustard, and white wine vinegar to the mashed yolks. Mix thoroughly with the fork or a small silicone spatula until you have a very smooth, cohesive paste.
Step 11: Season the filling and taste for balance
Season the yolk mixture with kosher salt, freshly ground black pepper, and the optional garlic powder and cayenne or hot paprika. Stir well, taste, and adjust with a pinch more salt or a dash of vinegar if it needs a little lift.
Step 12: Fold in chopped chives and check consistency
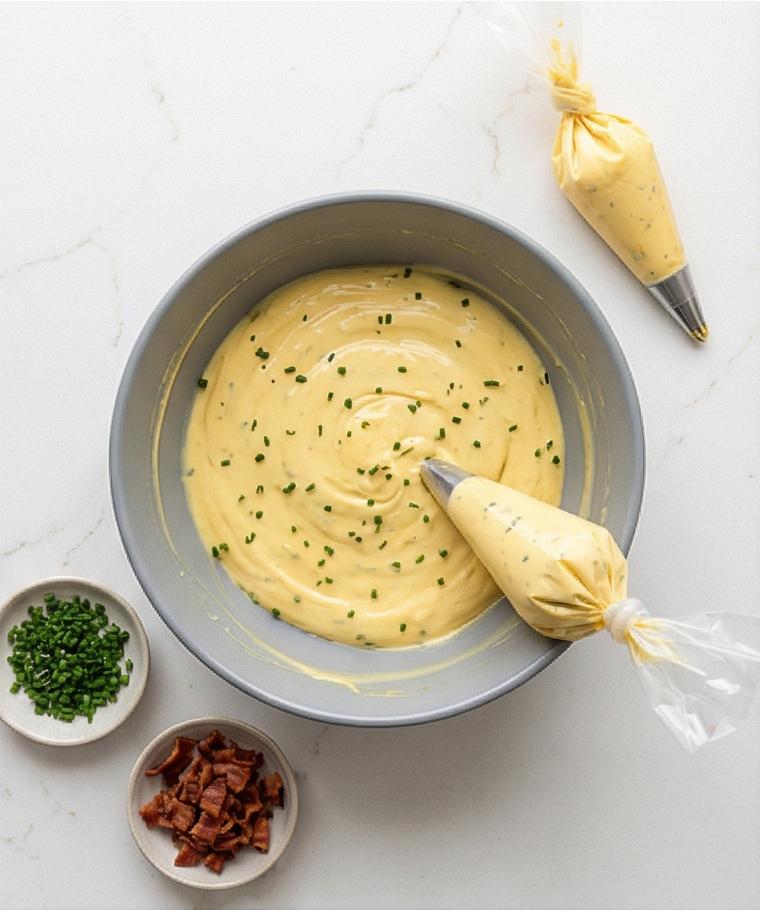
Fold in finely chopped fresh chives for a burst of freshness, reserving a pinch for garnish. If the filling feels too stiff, add 1–2 teaspoons more mayonnaise, a little at a time, until the texture is creamy and easily pipeable.
Step 13: Transfer the filling to a piping bag or prepare for spooning
For the neatest presentation, spoon the filling into a small piping bag fitted with a star or round tip, or use a resealable plastic bag with one corner snipped off. Two teaspoons also work if you prefer a rustic look.
Step 14: Pipe or spoon the yolk mixture into the egg white halves
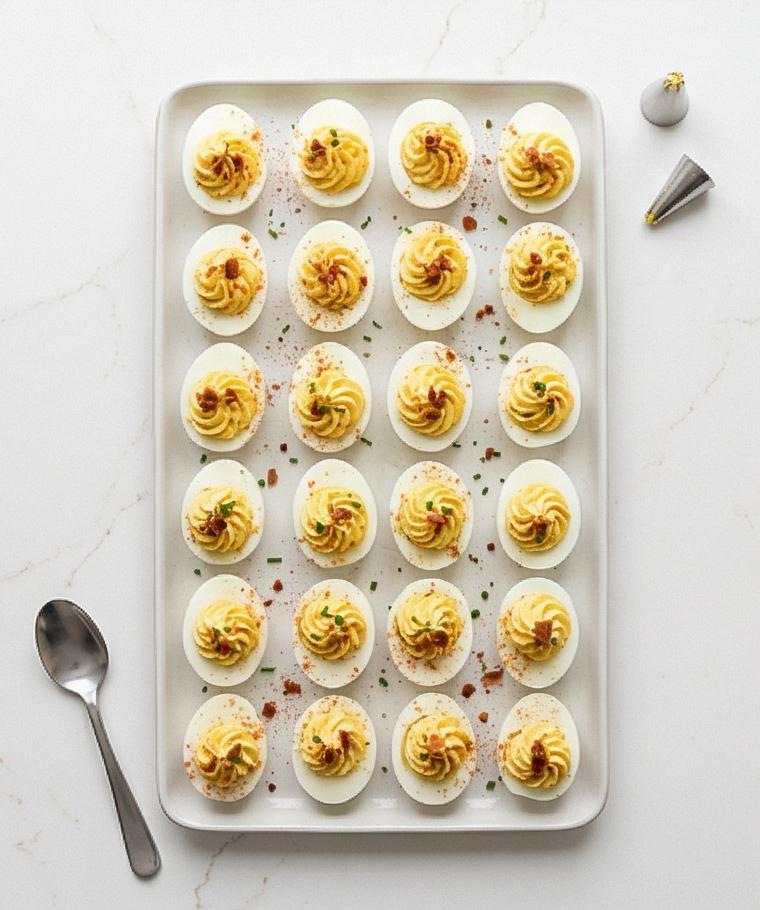
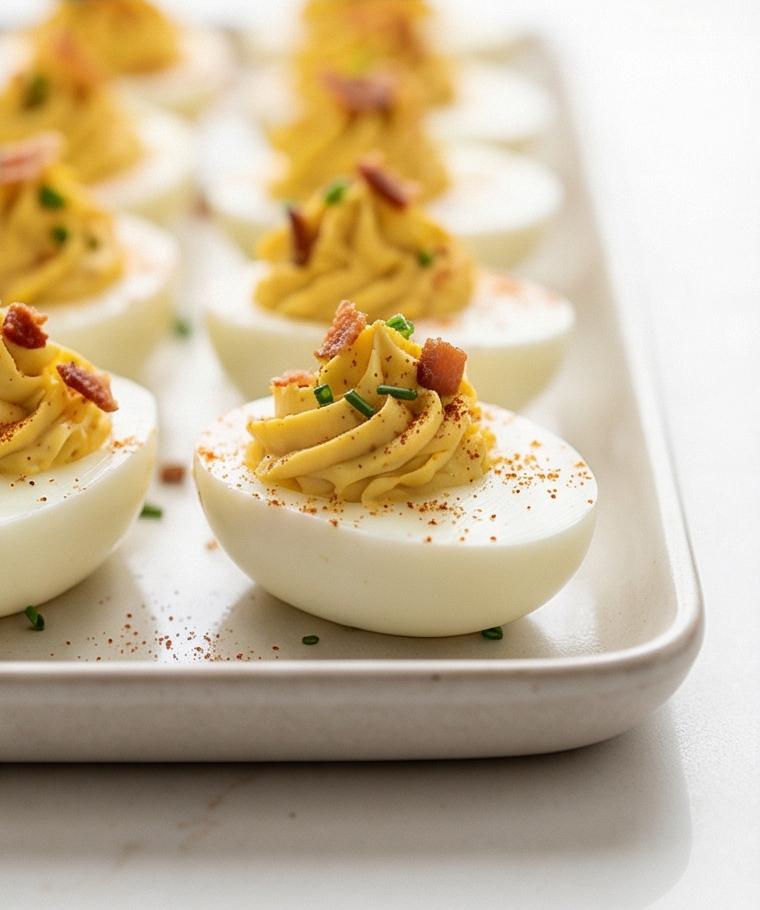
Pipe or spoon the yolk mixture evenly into each egg white cavity, slightly mounding the filling so every half looks generous and tidy. Aim to divide the mixture as uniformly as possible so all 24 halves are filled.
Step 15: Dust with smoked or sweet paprika for color and smoky warmth
Hold the paprika shaker or a small spoon a few inches above the eggs and lightly dust the tops with smoked or sweet paprika for a fine, even sprinkle that adds both color and a whisper of flavor.
Step 16: Garnish with reserved chives, parsley, and crumbled bacon
Finish the eggs with the reserved finely chopped chives, a scattering of finely chopped flat-leaf parsley if you like, and the crumbled crisp bacon on some or all of the eggs for texture contrast.
Step 17: Chill briefly to set and let flavors meld
Cover the platter loosely with plastic wrap and refrigerate for at least 20–30 minutes so the filling firms slightly and the flavors meld. Serve chilled and ideally within a couple of hours for best texture and safety.
Step 18: Arrange and serve with crisp vegetables or pickles
Arrange the chilled deviled eggs on a flat platter or deviled-egg tray so they don’t tip, and offer crunchy vegetables like celery sticks, radishes, or cucumber slices and pickles on the side for contrast. Enjoy immediately and refrigerate leftovers promptly.
Making It Your Own
I experimented with spicy versions and herb-forward twists to find a few favorites. A touch of sriracha or a bit of finely chopped pickled jalapeno turns the Deviled Eggs Recipe into a party bite with a kick. For a Mediterranean spin I swapped chives for dill and added a drizzle of olive oil and a few chopped capers.
For vegetarian or lighter options, try Greek yogurt in place of some mayonnaise; it keeps the creaminess and adds a tang. In winter, a sprinkle of smoked paprika with chopped roasted red pepper feels cozy. Each small experiment gave me ideas to serve the eggs for different seasons and palettes.
How to Serve
When I host, I spread the eggs on a large platter with small clusters of crunchy garnishes around them. For a casual brunch, arrange the Deviled Eggs Recipe with radish slices, cucumber rounds, and a small bowl of pickles so guests can mix and match. For a fancier appetizer, pipe the filling neatly and add microgreens and a tiny bacon crumble on every other egg.
To scale up, double the filling ingredients and use two platters so the eggs don’t crowd. If you need to make them a day ahead, fill them and chill; add fragile garnishes just before serving. They look best chilled and served within a few hours for peak texture and safety.
Storage and Reheating Tips
Store filled deviled eggs in an airtight container in the refrigerator. They’re best eaten within 24 hours for optimal texture, though they will keep for up to 48 hours safely if chilled promptly. Lay them in a single layer or use a deviled egg tray to prevent tipping and smudging.
I do not recommend reheating deviled eggs. If you need to prep ahead, hard-boil, peel, and store the whites and yolk mixture separately for up to two days. Combine and fill the whites just before serving for the freshest texture.
Common Mistakes and How to Avoid Them
Overcooking the eggs will create a dry or slightly green yolk. Follow the timing and the ice bath to stop cooking quickly. If your yolk filling is grainy, mash thoroughly and add a touch more mayonnaise or yogurt to smooth it.
Crowding the platter or piping too quickly can make the eggs messier. Chill briefly after filling so the tops set; keep garnishes simple and add them at the last minute to keep color and crunch.
Ready to Try It?
Give this Deviled Eggs Recipe a go this weekend. It’s quick, approachable, and endlessly adaptable, so you’ll be able to make it your own in no time. I can’t wait to hear which twist becomes your favorite.
Frequently Asked Questions.
- Can I make Deviled Eggs Recipe ahead of time? Yes, you can hard-boil and peel the eggs a day ahead. For best texture, store the yolk mixture separately and fill the whites the day you serve.
- How long do filled deviled eggs last? Filled deviled eggs should be eaten within 24 hours for best texture, though they are safe up to 48 hours if continuously refrigerated.
- Why are my yolks chalky? Chalky or grainy yolks usually mean under-mashing or overcooking. Mash the yolks thoroughly and add a little more mayo or yogurt to smooth the filling.
- Can I skip the mayo? You can use Greek yogurt or a mix of yogurt and avocado mayonnaise, but full-fat mayo gives the most classic texture.
- How do I get clean halves when cutting eggs? Use a sharp knife and wipe it between cuts for cleaner, neater egg halves.
Deviled Eggs Recipe
Make Deviled Eggs Recipe for creamy, classic deviled eggs perfect for parties and simple entertaining.
Ingredients
Instructions
Step 1: Make an ice bath
Fill a medium bowl with about 2 cups of ice cubes and cover with cold water so you have a ready ice bath near the stove. Leave it nearby — this will instantly stop the eggs once they’re done and keep the yolks vivid and tender.
Step 2: Submerge the eggs in cold water
Arrange all 12 large eggs in a single layer in a medium saucepan and pour in cold tap water to cover them by about 1 inch. Use just enough water so the eggs sit snugly without stacking; that even coverage helps them cook uniformly.
Step 3: Bring to a rolling boil then turn off the heat
Set the pan over medium-high heat and bring the water to a full rolling boil. As soon as it reaches a boil, cover the pan with a tight lid, turn off the heat, and move it to a cool burner so the eggs finish gently in the residual heat.
Step 4: Let the eggs rest in the hot water for 11–12 minutes
Let the covered pan sit undisturbed for 11–12 minutes for fully set but tender yolks. This brief, controlled rest gives reliably creamy yolks without overcooking.
Step 5: Crisp the optional bacon (if using) and drain
If you’re using bacon, crisp two strips in a skillet until evenly browned and crisp, then transfer them to a paper towel–lined plate to drain. Once cooled, finely crumble and reserve for garnish.
Step 6: Shock the eggs in the ice bath and cool completely
Immediately transfer the eggs to the prepared ice bath with a slotted spoon and let them cool completely for at least 10–15 minutes. This stops the cooking, firms the whites, and prevents any greenish yolk rings.
Step 7: Peel the cooled eggs under running water
Gently crack each cooled egg all over against the counter, then peel them under a thin stream of cool running water to help remove stubborn shell bits. Pat each peeled egg dry with a paper towel so they’re easy to handle.
Step 8: Halve the eggs and reserve the whites on a platter
Using a sharp knife, slice each egg lengthwise and carefully pop or scoop the yolks out into a medium mixing bowl, keeping the white halves intact. Arrange the empty white halves, cut side up, on a flat serving platter so they’re ready for filling.
Step 9: Mash the yolks until sandy and uniform
Use a fork to break down the yolks, mashing them until there are no large lumps and the texture is sandy and even — the smoother the mash, the silkier the final filling.
Step 10: Combine yolks with mayonnaise, sour cream, mustard, and vinegar
Add mayonnaise, the optional sour cream or Greek yogurt, Dijon mustard, and white wine vinegar to the mashed yolks. Mix thoroughly with the fork or a small silicone spatula until you have a very smooth, cohesive paste.
Step 11: Season the filling and taste for balance
Season the yolk mixture with kosher salt, freshly ground black pepper, and the optional garlic powder and cayenne or hot paprika. Stir well, taste, and adjust with a pinch more salt or a dash of vinegar if it needs a little lift.
Step 12: Fold in chopped chives and check consistency
Fold in finely chopped fresh chives for a burst of freshness, reserving a pinch for garnish. If the filling feels too stiff, add 1–2 teaspoons more mayonnaise, a little at a time, until the texture is creamy and easily pipeable.
Step 13: Transfer the filling to a piping bag or prepare for spooning
For the neatest presentation, spoon the filling into a small piping bag fitted with a star or round tip, or use a resealable plastic bag with one corner snipped off. Two teaspoons also work if you prefer a rustic look.
Step 14: Pipe or spoon the yolk mixture into the egg white halves
Pipe or spoon the yolk mixture evenly into each egg white cavity, slightly mounding the filling so every half looks generous and tidy. Aim to divide the mixture as uniformly as possible so all 24 halves are filled.
Step 15: Dust with smoked or sweet paprika for color and smoky warmth
Hold the paprika shaker or a small spoon a few inches above the eggs and lightly dust the tops with smoked or sweet paprika for a fine, even sprinkle that adds both color and a whisper of flavor.
Step 16: Garnish with reserved chives, parsley, and crumbled bacon
Finish the eggs with the reserved finely chopped chives, a scattering of finely chopped flat-leaf parsley if you like, and the crumbled crisp bacon on some or all of the eggs for texture contrast.
Step 17: Chill briefly to set and let flavors meld
Cover the platter loosely with plastic wrap and refrigerate for at least 20–30 minutes so the filling firms slightly and the flavors meld. Serve chilled and ideally within a couple of hours for best texture and safety.
Step 18: Arrange and serve with crisp vegetables or pickles
Arrange the chilled deviled eggs on a flat platter or deviled-egg tray so they don’t tip, and offer crunchy vegetables like celery sticks, radishes, or cucumber slices and pickles on the side for contrast. Enjoy immediately and refrigerate leftovers promptly.
Notes
- Use slightly older eggs for easier peeling.
- Chill eggs in an ice bath for at least 10 minutes to stop cooking.
- Store filled eggs in a single layer in an airtight container and eat within 24 hours.
- Add mayonnaise 1 teaspoon at a time if the filling needs smoothing.
- Reserve delicate garnishes like chives and bacon until just before serving.