I still remember the warm plate I carried out of my tiny kitchen the first time I nailed the Chocolate Chip Cookies Recipe; the smell felt like a hug and the crackled tops told me I had made something worth sharing. I bake these Chocolate Chip Cookies Recipe whenever I want an easy crowd-pleaser, and friends always ask for the recipe after the first bite. It is simple enough for a weeknight and polished enough for company, with chewy centers and crisp edges that balance perfectly. If you love a classic with a few modern tweaks, this Chocolate Chip Cookies Recipe will become a go-to in your rotation.
How This Recipe Became My Rainy-Day Favorite
I learned this recipe on a rainy Sunday when the electricity flirted with going out and I needed comfort in something tangible. The first batch had chocolate smudges on my sleeves and steam fogging the kitchen window as I watched the cookies bloom and settle into glossy pools of chocolate. I remember the tiny thrill when a fork peeled through a warm center and the edges resisted, yielding a perfect chew. That day I sent cookies to a neighbor and her short, surprised message felt like a medal: “These taste like a hug.” Baking these Chocolate Chip Cookies Recipe now brings me back to that cozy light and the small ritual of measuring, folding, and waiting, which turns ordinary afternoons into moments worth keeping.
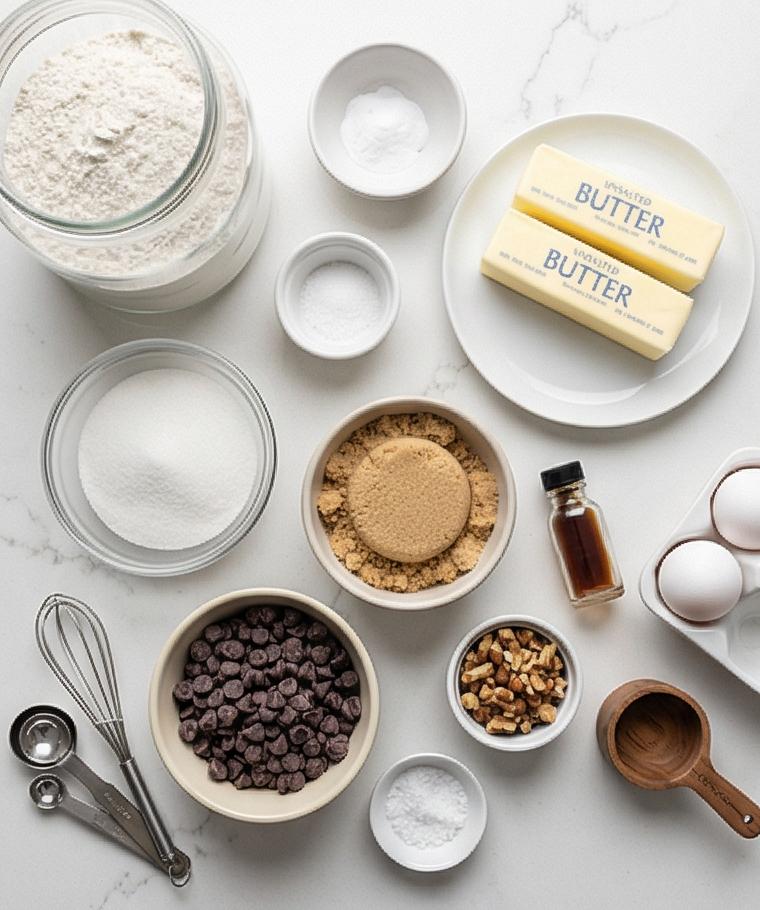
Main Ingredients and What They Do
- All-Purpose Flour: The structural backbone; use unbleached for the best texture. For a slightly tender crumb, try 1:1 gluten-free flour as a substitute.
- Baking Soda: Provides lift and helps with spread; be sure it is fresh for proper rise.
- Fine Sea Salt: Enhances sweetness and balances flavors; kosher salt works too but reduce quantity slightly.
- Unsalted Butter: Adds richness and flavor; for nuttier notes, swap half for browned butter.
- Granulated Sugar and Light Brown Sugar: Granulated gives crispness, brown sugar gives chew and moisture; swapping part of the granulated sugar for coconut sugar will add depth.
- Eggs and Vanilla: Eggs bind and add richness; vanilla boosts aroma. Use pasteurized if needed.
- Chocolate Chips/Chunks: The star mix-in; try dark or milk chocolate for different sweetness.
- Toasted Nuts (optional): Add crunch and toasty flavor; omit for nut-free households.
Essential Kitchen Tools You Will Use
This recipe is forgiving, but a few tools make it effortless. A reliable oven thermometer prevents overbaking by ensuring true temperature. A sturdy bowl and a hand mixer or stand mixer make creaming the butter and sugars faster and more consistent. Measuring cups and a digital scale keep portions exact, especially for flour and chocolate.
- Stand mixer or hand mixer: Speeds creaming; a strong whisk and elbow grease work as an alternative.
- Digital scale: For consistent results; measuring cups are an acceptable substitute if you level them carefully.
- Cookie scoop (1 1/2 tablespoon): For uniform cookies; you can use a spoon and a quick weight check.
- Baking sheet and parchment paper: Prevents sticking and promotes even browning.
- Wire rack: Helps cookies cool without steaming and keeps edges crisp.
Step-by-Step Preparation Guide
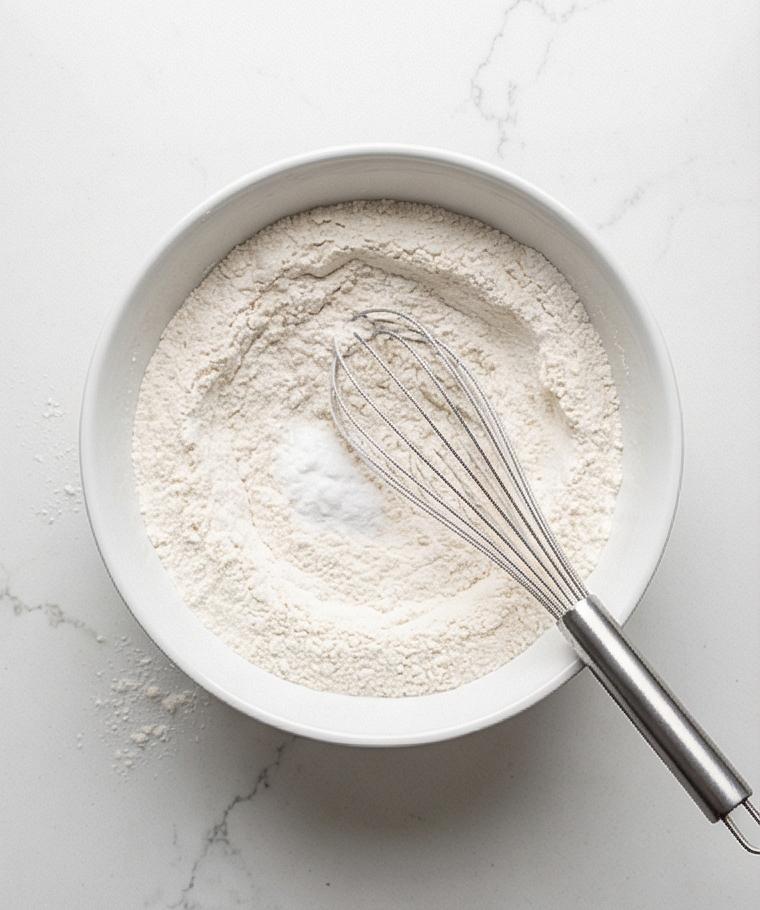
Step 1: Combine the dry ingredients
In a medium bowl whisk the all-purpose flour with the baking soda and the fine sea salt until evenly blended and airy; this creates an even leavening base and removes lumps. Use a whisk or fork to aerate the flour gently so the baking soda distributes uniformly — this small step prevents dense pockets in the dough later and gives a light, tender crumb.
Step 2: Cream butter and sugars, then add eggs and vanilla
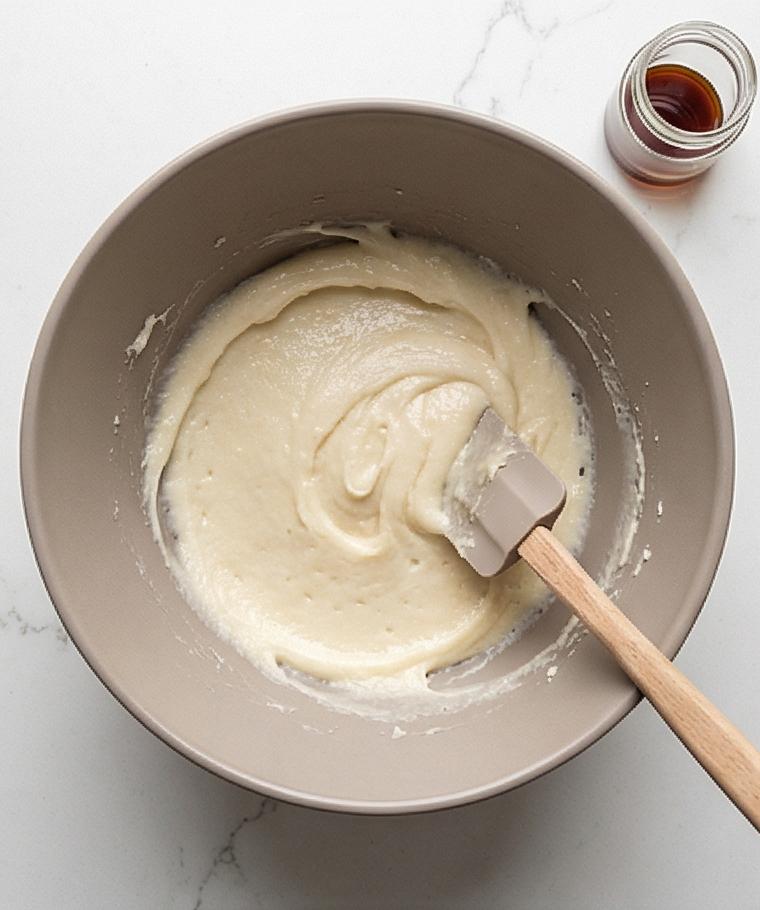
In a large, room-temperature mixing bowl beat the softened unsalted butter with the granulated and packed light brown sugar until the mixture is pale, glossy, and noticeably increased in volume, about 2–3 minutes. Scrape the bowl once or twice for even creaming. Add the eggs one at a time, beating briefly until incorporated, then stir in the vanilla until the mixture looks smooth and silky; the emulsion at this stage is glossy and slightly aerated — the structure that will hold the cookie together.
Step 3: Bring the dough together
With the mixer on low (or by folding gently by hand), add the dry flour mixture to the creamed butter in two to three additions, mixing just until no visible streaks of flour remain and the dough becomes soft and cohesive. The texture will be slightly tacky but pliable; stop as soon as the flour is integrated to avoid overworking, preserving tenderness.
Step 4: Fold in chocolate and chill the dough
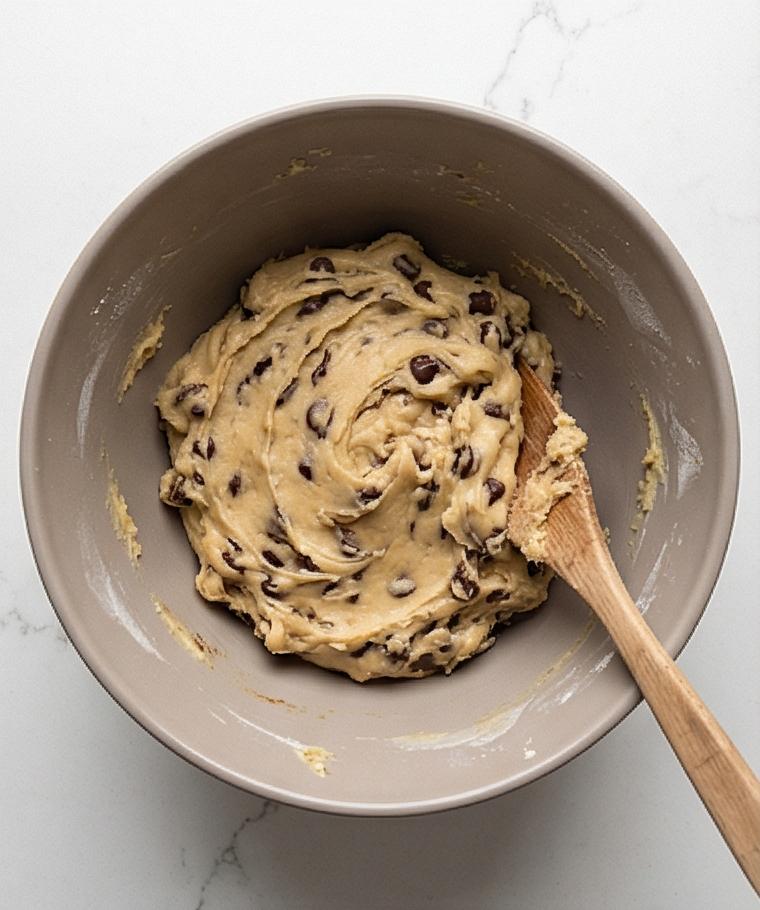
Fold the semisweet chocolate chips or chunks and the chopped toasted nuts (if using) into the dough until evenly distributed — the dough should show pockets of chocolate and occasional nut fragments. Cover the bowl tightly and chill for at least 30 minutes (up to 24 hours) so the fats firm up and flavors marry; chilled dough handles and portions more cleanly and results in better spread control when baked.
Step 5: Portion the cookies, finish tops, and prepare to bake
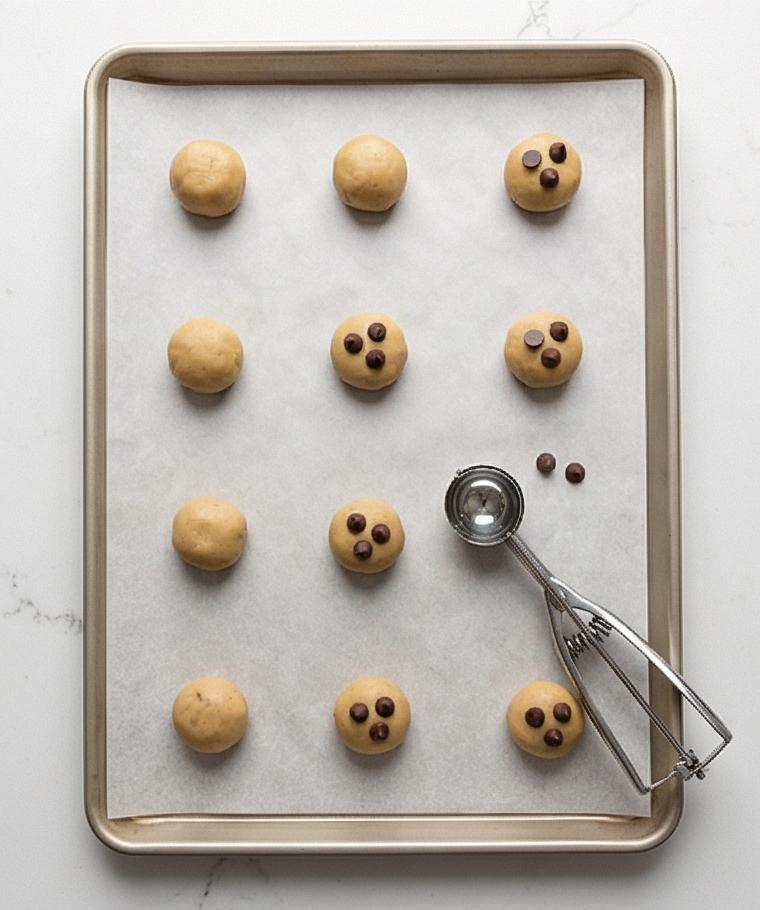
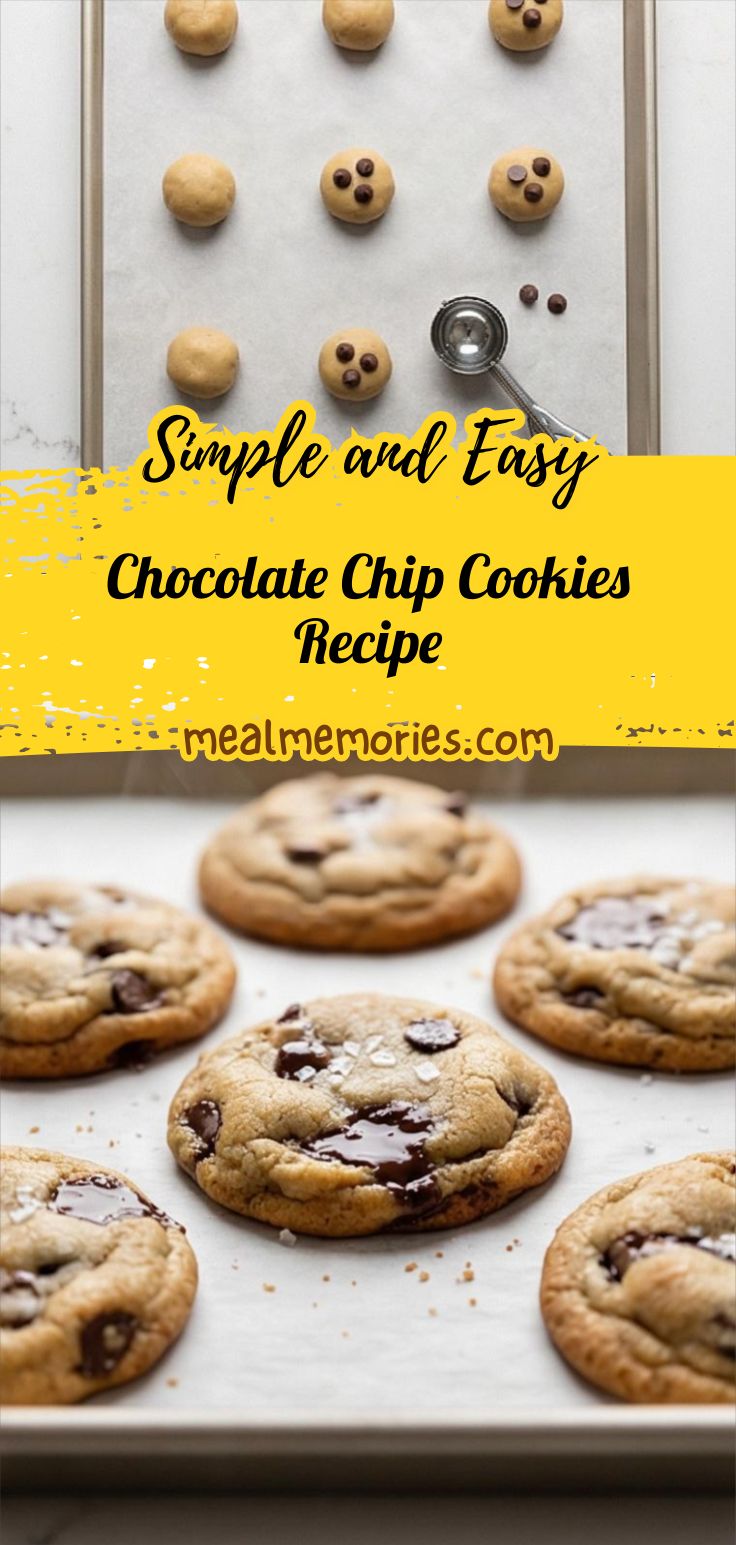
Scoop the chilled dough into 1 1/2 tablespoon (30–35 g) portions, rolling lightly into smooth balls and spacing them on a parchment-lined rectangular baking sheet about 2 inches apart. For a bakery-style finish, gently press a few extra chocolate chips onto the tops so the melted chips will read clearly on the surface after baking. Keep the baking sheet within reach but never show the oven — this is the staged moment before heat transforms texture.
Step 6: Bake, finish with flaky salt, cool, and serve
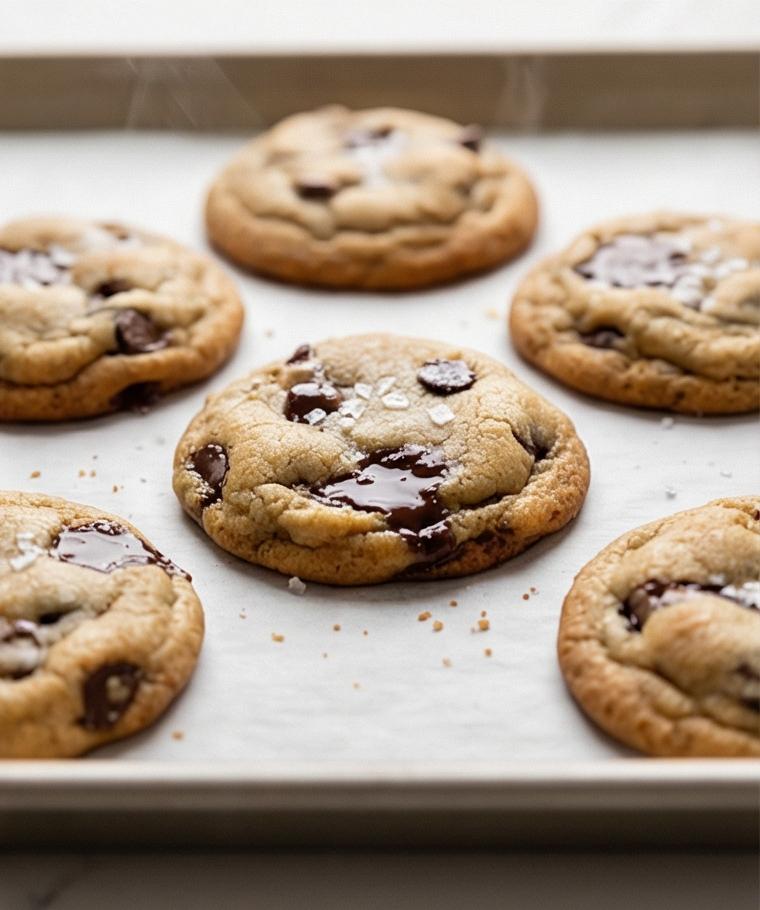
Bake the cookies until the edges are lightly golden and the centers still look slightly soft, removing them to cool on the baking sheet for 5–7 minutes so they set without breaking. If desired, sprinkle a small pinch of flaky sea salt while the biscuits are hot to accent the chocolate. Transfer to a wire rack to cool further, then serve slightly warm or at room temperature; they should have crackled tops, glossy chocolate pools, and chewy centers with crisped edges.
Small Twists and Big Flavor Changes
I like to experiment with this Chocolate Chip Cookies Recipe in small ways to suit seasons and moods. In cooler months I swap half the chips for chopped bittersweet chocolate and add a scant teaspoon of espresso powder to sharpen the chocolate flavor. For a springtime version I fold in chopped dried cherries and white chocolate chips. To make them chewier, I chill the dough overnight; for a cakier bite, use an extra egg yolk. For vegan adaptations, replace butter with a plant-based stick and use a flax egg; results will vary but are delicious when adjusted carefully.
How to Serve
If I am serving these Chocolate Chip Cookies Recipe at a dinner party, I arrange them on a platter with small piles of extra chocolate chunks and toasted nuts so guests can garnish their own. For a casual after-school snack, plate three on a saucer with a cold glass of milk. To scale for a crowd, double the batch and use multiple baking sheets, rotating them in the oven to maintain even color. If you want a warm dessert finish, serve a slightly warmed cookie with a scoop of vanilla ice cream and a drizzle of chocolate sauce.
Storage and Reheating Tips
Store baked cookies in an airtight container at room temperature for up to 4 days; place a slice of bread in the container to help keep them soft if you prefer chewier cookies. For longer storage, freeze baked cookies in a single layer on a tray, then transfer to a freezer bag for up to 3 months.
To reheat, pop frozen or room-temperature cookies in a 300°F oven for 5 to 7 minutes or microwave a single cookie for 8 to 12 seconds to revive a just-baked warmth. If reheating from frozen, let thaw slightly so the center warms evenly.
Common Mistakes and How to Avoid Them
Don’t overcream the butter and sugars; while you want air, too much aeration can make cookies cake-like. Mix just until combined once the flour goes in and you will keep a tender, chewy interior.
Watch your oven temperature and timing. An oven that runs hot will brown edges too quickly and leave centers underdone. Use an oven thermometer and remove cookies when centers still look slightly soft.
Final Thoughts
I hope you bake this Chocolate Chip Cookies Recipe and find the same small satisfactions I do. It is versatile, forgiving, and always a good excuse to share something warm. Happy baking, and enjoy the crumbs.
Frequently Asked Questions.
- What makes these cookies chewy instead of cakey? The balance of brown sugar, the way you mix the dough, and slightly underbaking the centers all contribute to chewiness.
- Can I make the dough ahead of time? Yes, chilling the dough for 30 minutes to 24 hours improves flavor and spread control; overnight chilling often gives the best texture.
- Can I substitute different chocolate? Absolutely; swap semisweet chips for dark, milk, or a mix of chopped chocolate for varied texture and sweetness.
- How do I prevent cookies from spreading too much? Chill the dough, avoid too-warm butter, and measure flour carefully; adding a touch more flour can reduce spread.
- Are these cookies freezer-friendly? Yes, bake and cool fully then freeze in an airtight container for up to 3 months, or freeze raw scooped dough on a tray before bagging.
Chocolate Chip Cookies Recipe
Bake easy, chewy Chocolate Chip Cookies Recipe with crisp edges and glossy chocolate in one batch.
Ingredients
Instructions
Step 1: Combine the dry ingredients
In a medium bowl whisk the all-purpose flour with the baking soda and the fine sea salt until evenly blended and airy; this creates an even leavening base and removes lumps. Use a whisk or fork to aerate the flour gently so the baking soda distributes uniformly — this small step prevents dense pockets in the dough later and gives a light, tender crumb.
Step 2: Cream butter and sugars, then add eggs and vanilla
In a large, room-temperature mixing bowl beat the softened unsalted butter with the granulated and packed light brown sugar until the mixture is pale, glossy, and noticeably increased in volume, about 2–3 minutes. Scrape the bowl once or twice for even creaming. Add the eggs one at a time, beating briefly until incorporated, then stir in the vanilla until the mixture looks smooth and silky; the emulsion at this stage is glossy and slightly aerated — the structure that will hold the cookie together.
Step 3: Bring the dough together
With the mixer on low (or by folding gently by hand), add the dry flour mixture to the creamed butter in two to three additions, mixing just until no visible streaks of flour remain and the dough becomes soft and cohesive. The texture will be slightly tacky but pliable; stop as soon as the flour is integrated to avoid overworking, preserving tenderness.
Step 4: Fold in chocolate and chill the dough
Fold the semisweet chocolate chips or chunks and the chopped toasted nuts (if using) into the dough until evenly distributed — the dough should show pockets of chocolate and occasional nut fragments. Cover the bowl tightly and chill for at least 30 minutes (up to 24 hours) so the fats firm up and flavors marry; chilled dough handles and portions more cleanly and results in better spread control when baked.
Step 5: Portion the cookies, finish tops, and prepare to bake
Scoop the chilled dough into 1 1/2 tablespoon (30–35 g) portions, rolling lightly into smooth balls and spacing them on a parchment-lined rectangular baking sheet about 2 inches apart. For a bakery-style finish, gently press a few extra chocolate chips onto the tops so the melted chips will read clearly on the surface after baking. Keep the baking sheet within reach but never show the oven — this is the staged moment before heat transforms texture.
Step 6: Bake, finish with flaky salt, cool, and serve
Bake the cookies until the edges are lightly golden and the centers still look slightly soft, removing them to cool on the baking sheet for 5–7 minutes so they set without breaking. If desired, sprinkle a small pinch of flaky sea salt while the biscuits are hot to accent the chocolate. Transfer to a wire rack to cool further, then serve slightly warm or at room temperature; they should have crackled tops, glossy chocolate pools, and chewy centers with crisped edges.
Notes
- Chill dough for at least 30 minutes for better flavor and spread control.
- Use a digital scale for consistent results, especially with flour.
- Press extra chocolate chips on top before baking for a bakery-style finish.
- Store with a slice of bread to keep cookies soft for several days.
- Freeze baked cookies or scooped dough for quick future batches.