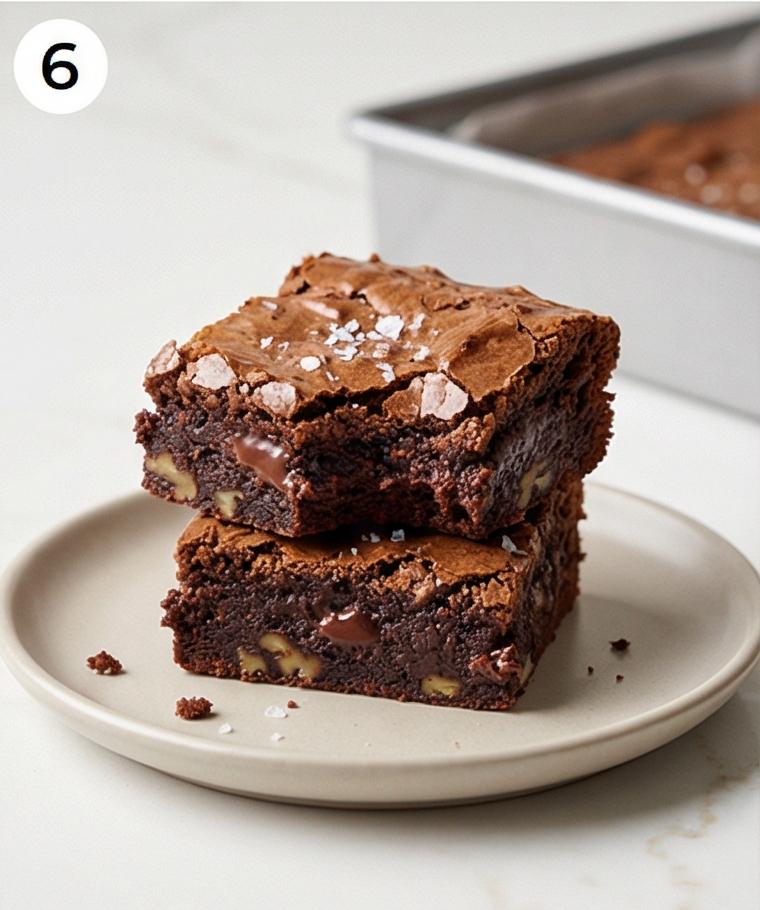
I’m a sucker for anything chocolate, so when I say this Chocolate Cake Recipe feels like a hug in cake form, I mean it. I first made this Chocolate Cake Recipe on a rainy afternoon with too much time and a craving that would not quit, and the result was so comforting I kept making it again and again. The layers bake up tender and the buttercream is silky and not overly sweet, so it feels like a grownup chocolate celebration. You’re going to love how straightforward this Chocolate Cake Recipe is, even if you shy away from baking sometimes.
How This Recipe Became My Rainy-Day Favorite
I remember the afternoon clearly: rain tapping the windows, jazz on low, and the smell of cocoa filling the kitchen. I mixed the batter slowly, watching a glossy stream of boiling water loosen the dark mixture into something silky and hypnotic. When the first layer came out, I felt that tiny, unexpected thrill bakers know well, the mix of relief and pride. Frosting it was meditative; I pressed a spatula into the buttercream and smoothed it with a gentle, almost ritual motion. When a neighbor poked their head in and asked for a slice, the way their eyes lit up made me feel like this cake was a small, edible kindness I could share. That memory is part of why I make this Chocolate Cake Recipe whenever I need a little comfort.
The Ingredients That Make This Cake Sing
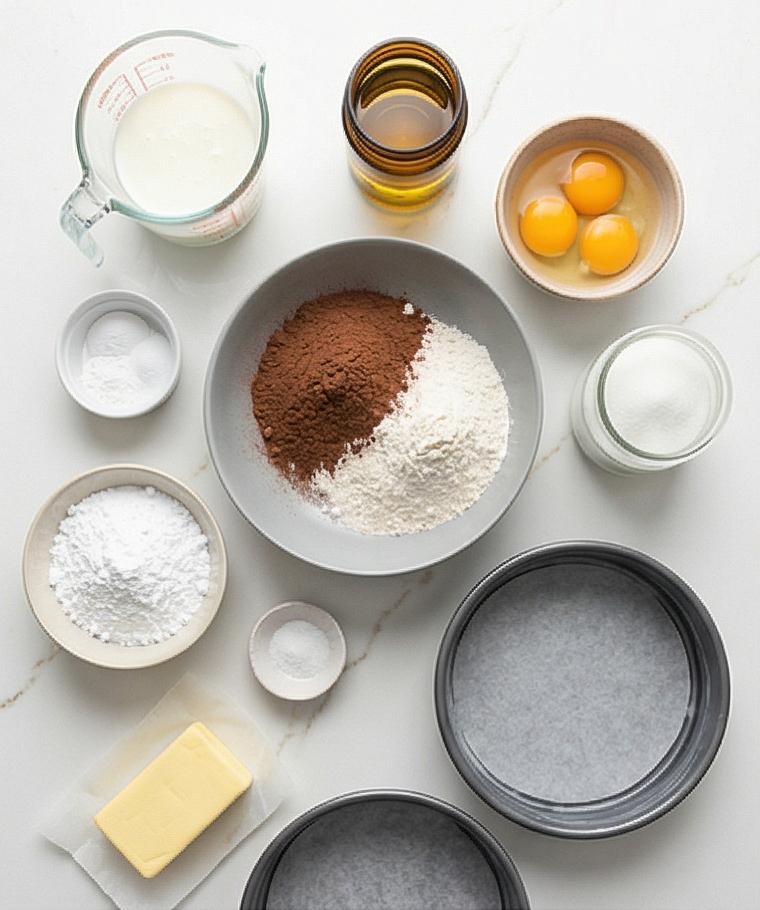
- All-Purpose Flour: The structure builder. Use a spoon-and-level method to avoid packing. Substitute with a 1-to-1 gluten-free flour blend for gluten-free versions, keeping texture expectations in mind.
- Unsweetened Cocoa Powder: The chocolate backbone that defines the flavor. Natural cocoa gives a bright acidity; Dutch-process gives deeper notes. Taste preferences guide the choice.
- Granulated Sugar: Sweetness and tender crumb. Brown or a mix with brown sugar adds depth and molasses notes.
- Leaveners and Salt: Baking powder, baking soda, and sea salt balance lift and flavor. Don’t skip or reduce unless reworking the recipe.
- Buttermilk, Oil, Eggs, Vanilla: Buttermilk adds tang and acidity; oil keeps the crumb moist. Eggs add richness and lift.
- Boiling Water and Espresso Powder: Water thins the batter for a glossy pourable texture; espresso powder amplifies chocolate without tasting coffee.
- Buttercream Ingredients: Unsalted butter, powdered sugar, cocoa, cream, vanilla, and optional melted chocolate make a silky frosting that complements the cake.
Essential Kitchen Tools You’ll Want
A few simple tools make this Chocolate Cake Recipe easier and more consistent. Here are the ones I reach for and why alternatives work too.
- Two 9-inch round cake pans: Even layers bake reliably. If you only have one, bake in batches.
- Mixing bowls and a whisk: For dry and wet mixes; a stand mixer or hand mixer speeds up frosting.
- Measuring cups and a kitchen scale: A scale gives the best accuracy for flour and sugar.
- Parchment rounds and offset spatula: Parchment prevents sticking; an offset spatula helps smooth the buttercream.
- Wire rack and cooling space: Proper cooling keeps the crumb from sweating under the frosting.
- Long serrated knife or cake leveler: For even layers; a bench scraper is handy for smoothing the sides.
Step-by-Step Preparation Guide
Step 1: Prepare the oven and pans
Preheat the oven to 350°F (175°C) and position the rack in the center. Lightly grease two 9-inch round cake pans with softened unsalted butter or nonstick spray, line the bottoms with parchment rounds, grease the parchment, and dust the inside lightly with cocoa powder or all-purpose flour, tapping out the excess. This careful pan prep ensures clean release and tidy edges when the layers come out of the pans.
Step 2: Combine the dry ingredients
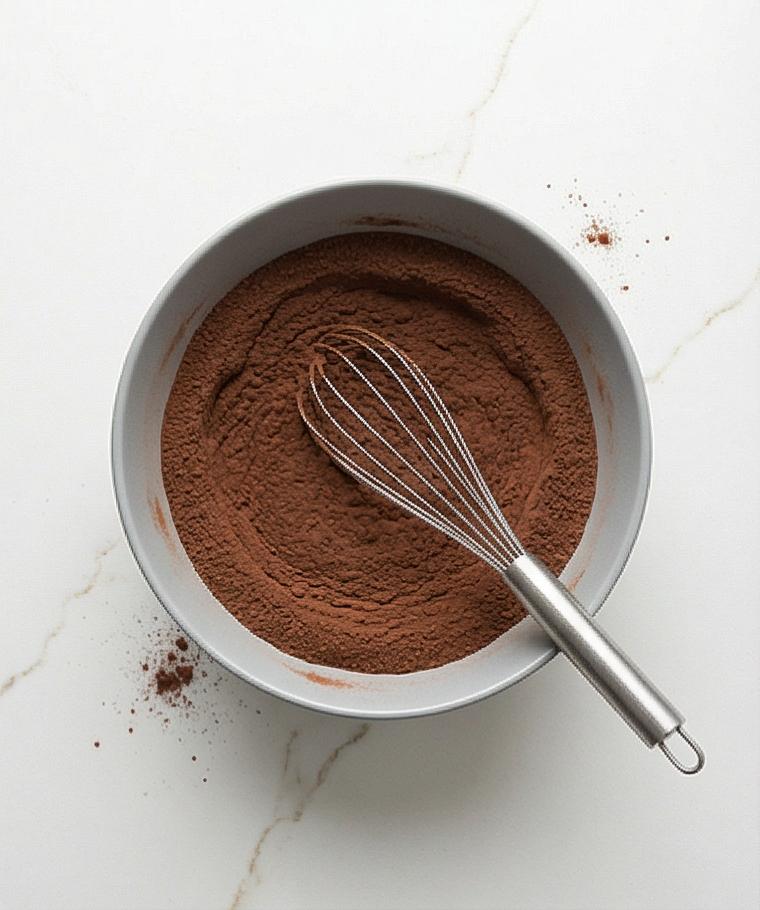
In a large matte-grey ceramic mixing bowl, whisk together the all-purpose flour, unsweetened cocoa powder, granulated sugar, baking powder, baking soda, fine sea salt, and optional instant espresso powder until homogenous and free of visible streaks; the resulting mixture should be velvety and even in tone, with the cocoa creating a deep, uniform chocolatey matte texture.
Step 3: Whisk the wet ingredients and create the batter
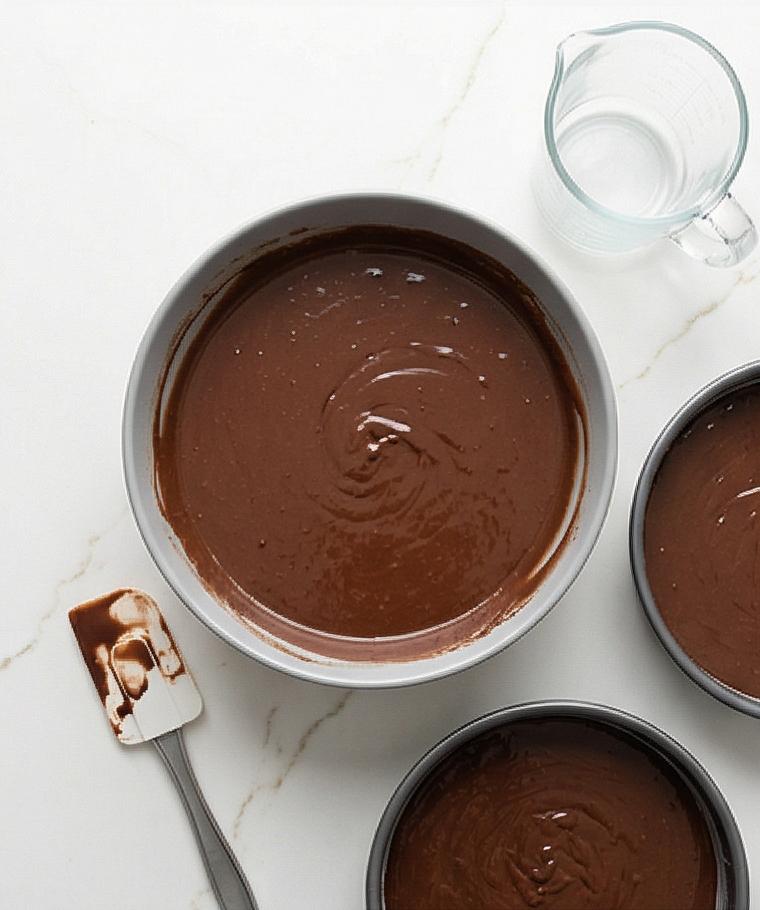
In a clear glass measuring jug whisk the room‑temperature buttermilk, neutral oil, eggs, and vanilla until smooth and glossy. Make a well in the dry mixture and pour the wet mix in; whisk gently just until mostly combined, then slowly stream in the boiling water while continuing to whisk. The final batter will be thin, glossy, and pourable—deep dark chocolate with a satin sheen—so scrape down the bowl and ensure a smooth, lump‑free consistency before dividing.
Step 4: Fill pans and bake, then begin cooling
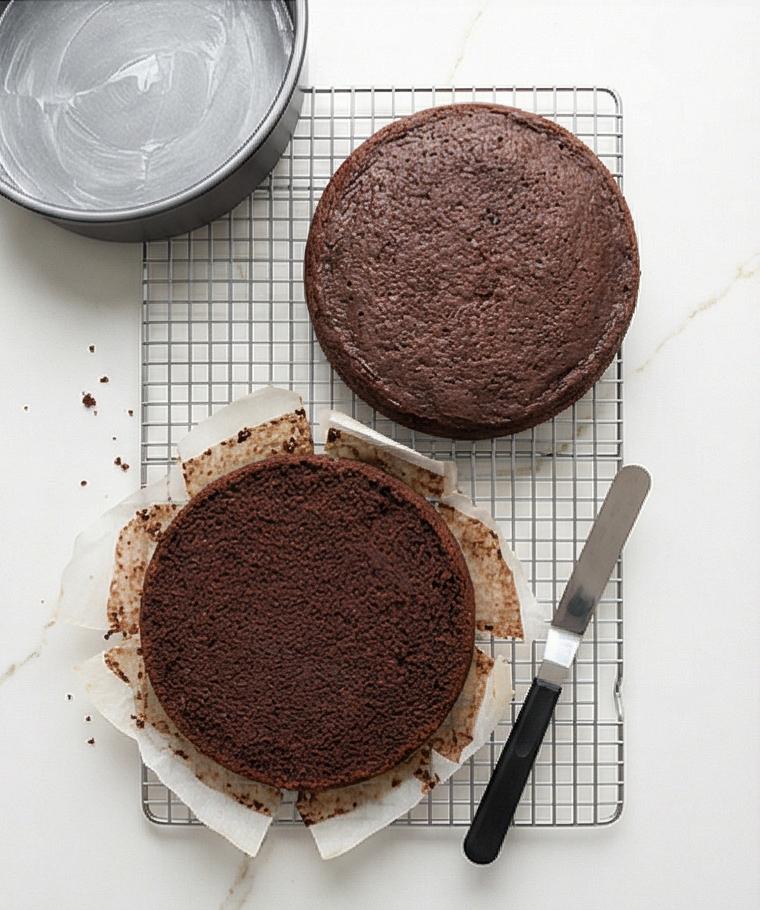
Divide the thin glossy batter evenly between the two prepared pans, weighing or eyeballing for balance. Gently tap the pans on the quartz surface to release large bubbles and level the batter. Bake until tops spring back slightly and a skewer returns with a few moist crumbs. Remove from the oven, rest the pans 10–15 minutes, then invert onto a wire rack to release the rounds and peel away parchment; allow the cakes to cool completely to room temperature before frosting.
Step 5: Make the chocolate buttercream
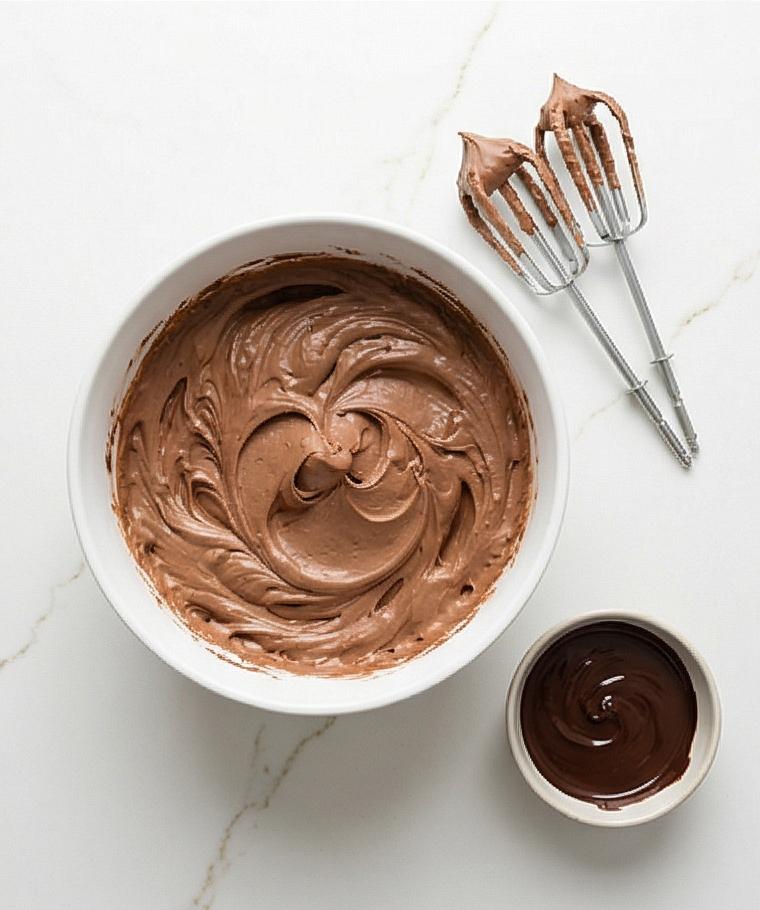
In a large white mixing bowl, beat room‑temperature unsalted butter until creamy and pale, then incorporate sifted cocoa powder and a pinch of salt to form a dense chocolate paste. Gradually add sifted powdered sugar alternated with measured heavy cream, followed by vanilla and the optional melted cooled dark chocolate, beating until the buttercream becomes light, fluffy, and silky—spreadable but with sheen and body. Taste and adjust salt or vanilla, then set the frosting aside at cool room temperature.
Step 6: Level, assemble, and apply a crumb coat
If the cake layers are domed, level them with a long serrated knife. Place the first layer flat onto a cake stand or serving plate (use small parchment strips under the edges to keep the plate clean). Spread about 1–1½ cups of buttercream evenly to a thin 1/4–1/2 inch layer, top with the second layer, and apply a thin crumb coat around the top and sides. Smooth roughly, then chill the cake 15–20 minutes so the crumb coat firms for final frosting.
Step 7: Finish frosting and garnish
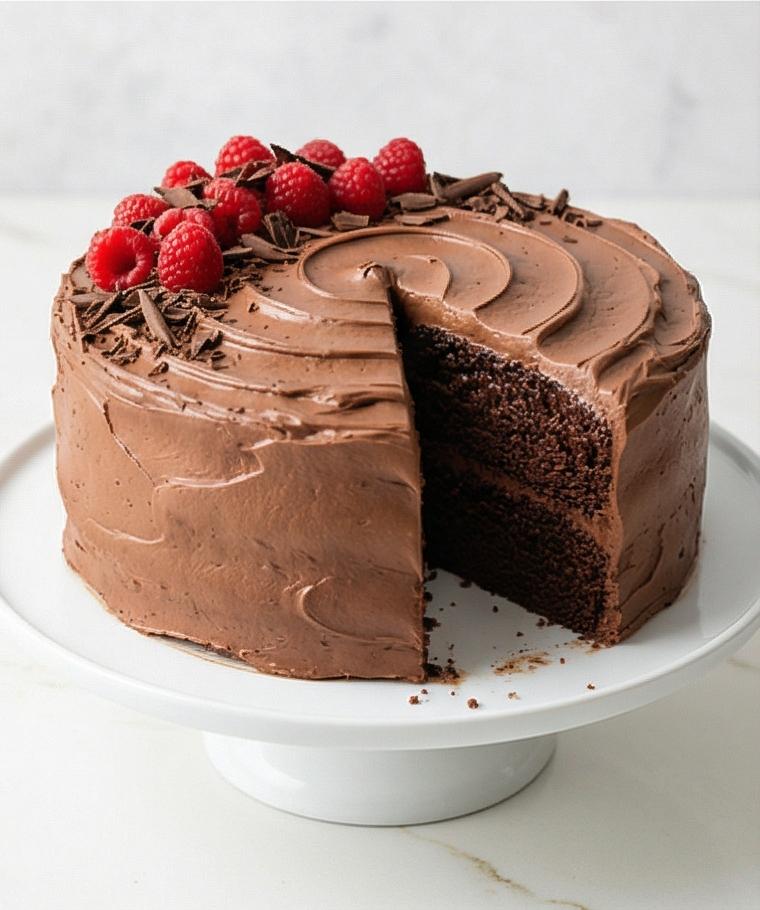
Apply the remaining buttercream generously, either smoothing to a clean finish or working in rustic swirls and peaks with an offset spatula. Add optional chocolate shavings or curls and arrange fresh berries near the top edge. Wipe the serving plate clean of stray frosting and remove any parchment strips.
Step 8: Rest, slice, and store
Let the finished cake sit at room temperature 20–30 minutes before slicing so the frosting softens slightly. Use a large sharp knife, wiping between cuts, and serve slices plain or with lightly sweetened whipped cream or vanilla ice cream if desired. Store leftovers covered at room temperature for up to 2 days or refrigerate up to 5 days; thaw refrigerated slices at room temperature before serving.
Making It Your Own
I like to experiment with small swaps. Try half brown sugar and half granulated for a warmer flavor profile; it makes the cake feel almost caramelized in the best way.
For a dairy-free version I swap the buttercream to a coconut cream based frosting and use plant milk for the batter. The oil keeps the crumb moist so texture stays great.
Seasonal twists are fun. Stir a teaspoon of orange zest into the batter in winter, or top the cake with macerated summer berries for a bright contrast. Each tweak taught me something about balance, and the cake forgives small adjustments.
How to Serve
When I host, this Chocolate Cake Recipe is my default centerpiece. For a dinner party of eight, slice the two 9-inch layers into generous wedges and plate with a dollop of lightly sweetened whipped cream and a few raspberries. The color contrast looks dramatic and inviting.
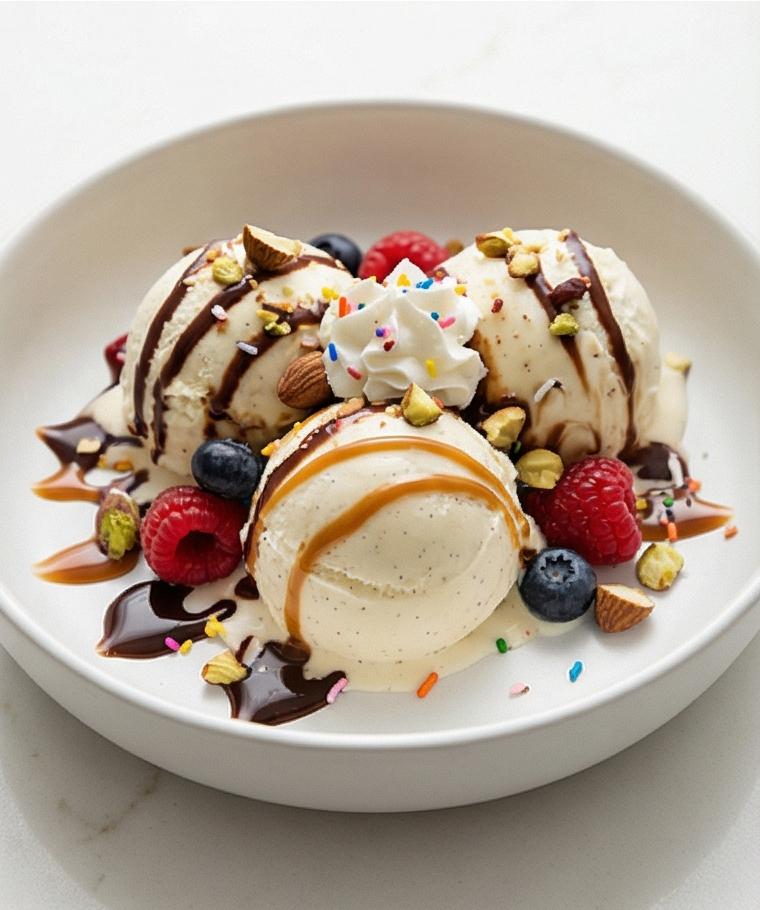
For larger crowds, bake two batches or serve the cake in smaller slices with a scoop of vanilla ice cream. If you want an elegant presentation, pipe small rosettes of buttercream around the top edge and sprinkle chocolate curls in the center. For a casual gathering, leave the frosting rustic and serve on a wooden board with a cake server.
Storage and Reheating Tips
Store the cake covered at room temperature for up to 48 hours; the crumb stays tender and the buttercream remains spreadable. If your kitchen is warm, keep it refrigerated and bring slices to room temperature before serving so the frosting softens.
To revive chilled or slightly stale slices, warm a single slice in a microwave-safe plate for 10-12 seconds to soften the buttercream and open the flavors. You can also briefly toast small slices in a low oven, but watch closely so the sugar does not cook further.
Baking Blunders and Simple Fixes
Too-dense crumb? You may have overmeasured flour or overmixed. Use a scale for accuracy and mix until just combined. Thin batter is normal here because of the boiling water; don’t panic.
Frosting too soft? Chill it for 10 minutes and beat briefly before spreading. Crumbs in the frosting? Apply a thin crumb coat, chill, then finish with the final layer of buttercream.
Let’s Bake It Together
Give this Chocolate Cake Recipe a try this week. It is forgiving, rewarding, and a reliable way to brighten a weekday or celebrate a special moment. Make a double batch of frosting if you love extra frosting like I do, and invite someone over to share the first slice.
Frequently Asked Questions.
- Q: Can I make the batter ahead? A: Yes, you can mix the batter and refrigerate it for up to 24 hours; bring it to room temperature before baking for best rise.
- Q: Can I freeze the baked layers? A: Absolutely. Wrap cooled layers tightly and freeze up to 2 months; thaw in the fridge overnight before frosting.
- Q: Is the instant espresso powder necessary? A: No, it is optional but it enhances the chocolate flavor without making the cake taste like coffee.
- Q: How do I get a super-smooth buttercream finish? A: Use a crumb coat, chill until firm, then use an offset spatula and a bench scraper for clean edges.
- Q: Can I reduce sugar? A: You can reduce sugar slightly but it will change texture and tenderness; reduce by no more than 10 to 15% for best results.
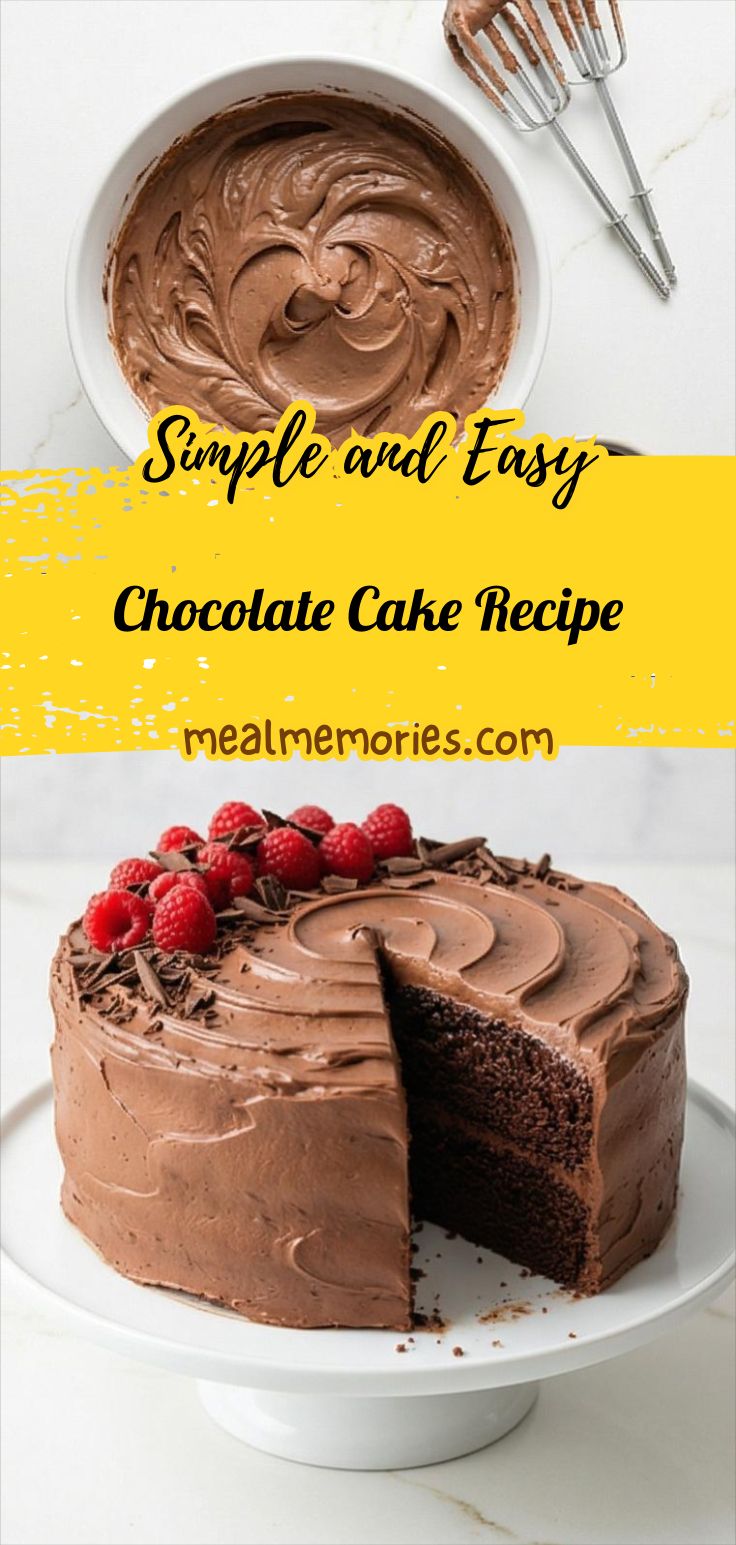
Chocolate Cake Recipe
Make Chocolate Cake Recipe today: rich, moist layers with silky chocolate buttercream for celebrations.
Ingredients
Instructions
Step 1: Prepare the oven and pans
Preheat the oven to 350°F (175°C) and position the rack in the center. Lightly grease two 9-inch round cake pans with softened unsalted butter or nonstick spray, line the bottoms with parchment rounds, grease the parchment, and dust the inside lightly with cocoa powder or all-purpose flour, tapping out the excess. This careful pan prep ensures clean release and tidy edges when the layers come out of the pans.
Step 2: Combine the dry ingredients
In a large matte-grey ceramic mixing bowl, whisk together the all-purpose flour, unsweetened cocoa powder, granulated sugar, baking powder, baking soda, fine sea salt, and optional instant espresso powder until homogenous and free of visible streaks; the resulting mixture should be velvety and even in tone, with the cocoa creating a deep, uniform chocolatey matte texture.
Step 3: Whisk the wet ingredients and create the batter
In a clear glass measuring jug whisk the room‑temperature buttermilk, neutral oil, eggs, and vanilla until smooth and glossy. Make a well in the dry mixture and pour the wet mix in; whisk gently just until mostly combined, then slowly stream in the boiling water while continuing to whisk. The final batter will be thin, glossy, and pourable—deep dark chocolate with a satin sheen—so scrape down the bowl and ensure a smooth, lump‑free consistency before dividing.
Step 4: Fill pans and bake, then begin cooling
Divide the thin glossy batter evenly between the two prepared pans, weighing or eyeballing for balance. Gently tap the pans on the quartz surface to release large bubbles and level the batter. Bake until tops spring back slightly and a skewer returns with a few moist crumbs. Remove from the oven, rest the pans 10–15 minutes, then invert onto a wire rack to release the rounds and peel away parchment; allow the cakes to cool completely to room temperature before frosting.
Step 5: Make the chocolate buttercream
In a large white mixing bowl, beat room‑temperature unsalted butter until creamy and pale, then incorporate sifted cocoa powder and a pinch of salt to form a dense chocolate paste. Gradually add sifted powdered sugar alternated with measured heavy cream, followed by vanilla and the optional melted cooled dark chocolate, beating until the buttercream becomes light, fluffy, and silky—spreadable but with sheen and body. Taste and adjust salt or vanilla, then set the frosting aside at cool room temperature.
Step 6: Level, assemble, and apply a crumb coat
If the cake layers are domed, level them with a long serrated knife. Place the first layer flat onto a cake stand or serving plate (use small parchment strips under the edges to keep the plate clean). Spread about 1–1½ cups of buttercream evenly to a thin 1/4–1/2 inch layer, top with the second layer, and apply a thin crumb coat around the top and sides. Smooth roughly, then chill the cake 15–20 minutes so the crumb coat firms for final frosting.
Step 7: Finish frosting and garnish
Apply the remaining buttercream generously, either smoothing to a clean finish or working in rustic swirls and peaks with an offset spatula. Add optional chocolate shavings or curls and arrange fresh berries near the top edge. Wipe the serving plate clean of stray frosting and remove any parchment strips.
Step 8: Rest, slice, and store
Let the finished cake sit at room temperature 20–30 minutes before slicing so the frosting softens slightly. Use a large sharp knife, wiping between cuts, and serve slices plain or with lightly sweetened whipped cream or vanilla ice cream if desired. Store leftovers covered at room temperature for up to 2 days or refrigerate up to 5 days; thaw refrigerated slices at room temperature before serving.
Notes
- Use a kitchen scale for more accurate results and a more consistent crumb.
- Room-temperature ingredients incorporate more easily and yield a smoother batter and frosting.
- Chill the crumb coat before final frosting to prevent crumbs from mixing into the outer layer.
- If frosting is too soft, chill briefly and rewhip before spreading.
- Freeze wrapped cake layers for up to 2 months; thaw in the fridge overnight before frosting.