Chicken Stir Fry Recipe: if you are looking for a weeknight winner, this Chicken Stir Fry Recipe has been my go-to for years. I first learned this version on a rainy evening when I wanted something fast, glossy, and comforting without fuss. The balance of soy, oyster sauce, and a whisper of sesame oil gives the dish that restaurant sheen while keeping the flavors approachable. I love how it comes together in a single hot skillet, making cleanup nearly as satisfying as the first bite.
How This Recipe Became My Weeknight Hero
I remember the first time I made this Chicken Stir Fry Recipe for friends: the city smelled like rain and the kitchen felt small and warm. I was nervous about timing the vegetables, but once I heard the high sizzle and saw the sauce bloom into a shiny glaze, relief washed over me. We ate standing at the counter, steam fogging the window, and every bite felt like a tiny celebration. The broccoli had that bright snap, the chicken was tender with crisp-edged bites, and the sauce was just sweet enough to coax smiles. That night taught me to trust high heat and quick moves, and now when I want comfort that arrives fast, this recipe is what I turn to.
Key Ingredients and Why They Matter
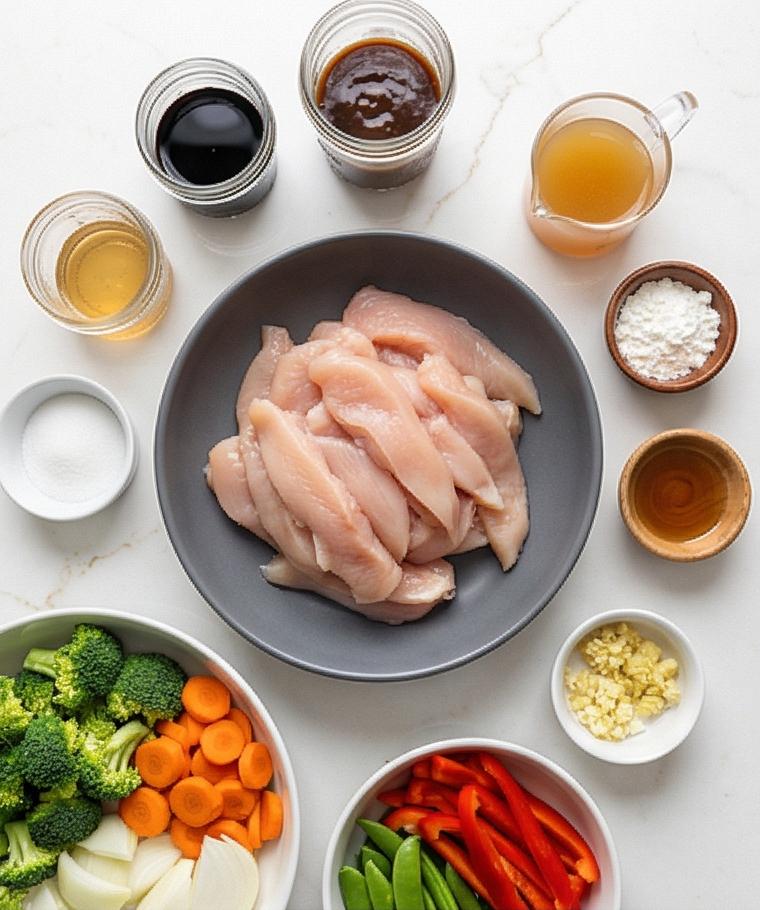
- Boneless Chicken (thighs or breasts): The protein anchors the dish; thighs give juicier results, breasts cook leaner. Substitute turkey or firm tofu for a different protein.
- Soy Sauce: Provides savory depth; low-sodium helps control salt. Tamari is a good gluten-free swap.
- Cornstarch: Tenderizes and creates a silky coating on the chicken; arrowroot works too.
- Toasted Sesame Oil: Adds toasty aroma; a little goes a long way. Use at room temperature for even distribution.
- Oyster Sauce and Rice Vinegar: Oyster adds umami, rice vinegar brightens the sauce; tamari plus a touch of Worcestershire can mimic the profile.
- Vegetables (broccoli, carrot, red pepper, snap peas, onion): Provide color, texture, and crunch; swap seasonal veg as you like.
Essential Kitchen Tools
A few simple tools make this Chicken Stir Fry Recipe sing. A heavy wok or a large, well-seasoned skillet lets you get true, high heat for fast searing and even tossing. Use a sturdy spatula or long-handled tongs so you can move ingredients quickly without losing heat. A small clear measuring cup or jar for the sauce makes it easy to see if the cornstarch dissolved completely. A sharp chef’s knife speeds prep and keeps slices uniform, which matters for even cooking. If you don’t have a wok, use the largest skillet you own; a well-heated cast-iron pan is an excellent alternative. Finally, a fine sieve or microplane is handy if you want to grate ginger quickly.
Step-by-Step Preparation Guide
Step 1: Marinate the chicken
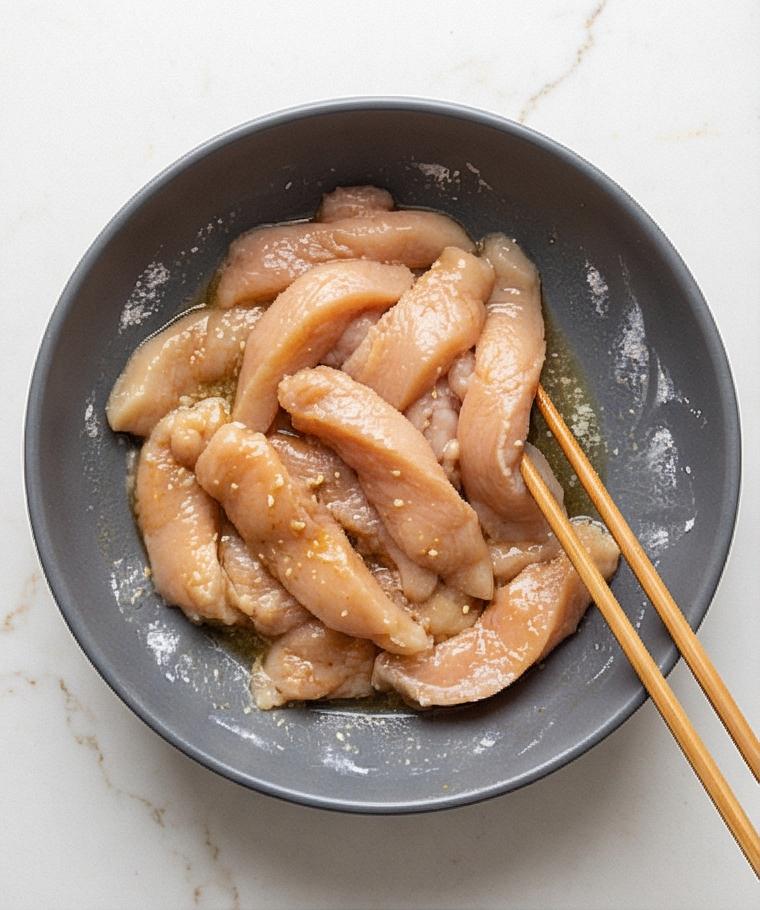
Place the thinly sliced boneless chicken strips in a matte charcoal-gray ceramic bowl and add the first-stage marinade: a tablespoon of soy sauce, a tablespoon of cornstarch, a teaspoon of toasted sesame oil, and a pinch of freshly ground black pepper. Toss gently with clean tongs or chopsticks until each strip is evenly coated and there are no dry cornstarch specks-the chicken should look satin-matte with a faint powdery sheen transforming into a silky film as it sits. Let it rest at room temperature for the brief tenderizing window while you move on to the sauce and veg prep.
Step 2: Whisk the stir-fry sauce to a glossy slurry
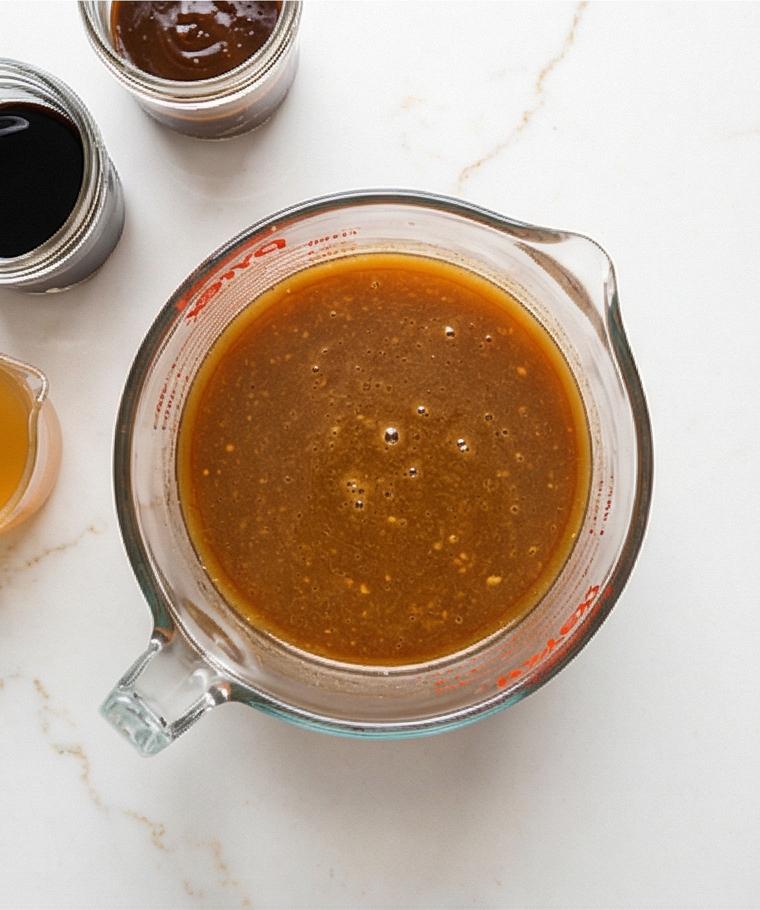
In a small clear glass measuring cup or jar, whisk together the soy sauce, oyster sauce, rice vinegar, optional hoisin, chicken broth (or water), sugar, a teaspoon of cornstarch and a teaspoon of toasted sesame oil until the cornstarch is fully dissolved and the liquid is perfectly smooth and slightly viscous-no lumps, just a thin, glossy slurry that will bloom into a clingy glaze when heated. Rest the jar nearby on the Calacatta-like surface so its deep amber-brown hue contrasts with the white marble.
Step 3: Cut and arrange the vegetables and aromatics into neat piles
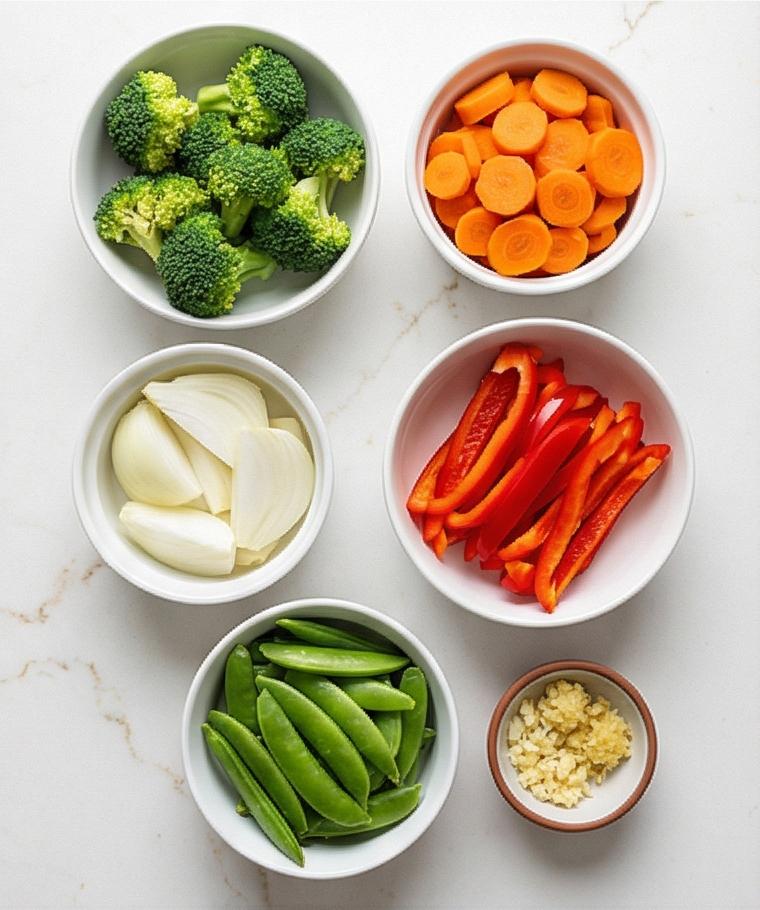
Cut the broccoli into small florets, slice the carrot on a sharp diagonal into thin coins, trim and halve the snap peas, core and thinly slice the red pepper, and separate the onion into thin wedges. Finely mince garlic and ginger, and slice the scallion whites and greens separately. Arrange each component in small white porcelain bowls or tidy piles directly on the quartz surface so their colors read clearly-brilliant broccoli green, translucent onion edges, vibrant red pepper, glossy pea pods-ready for the quick, high-heat move.
Step 4: Show the seared chicken resting with caramelized edges
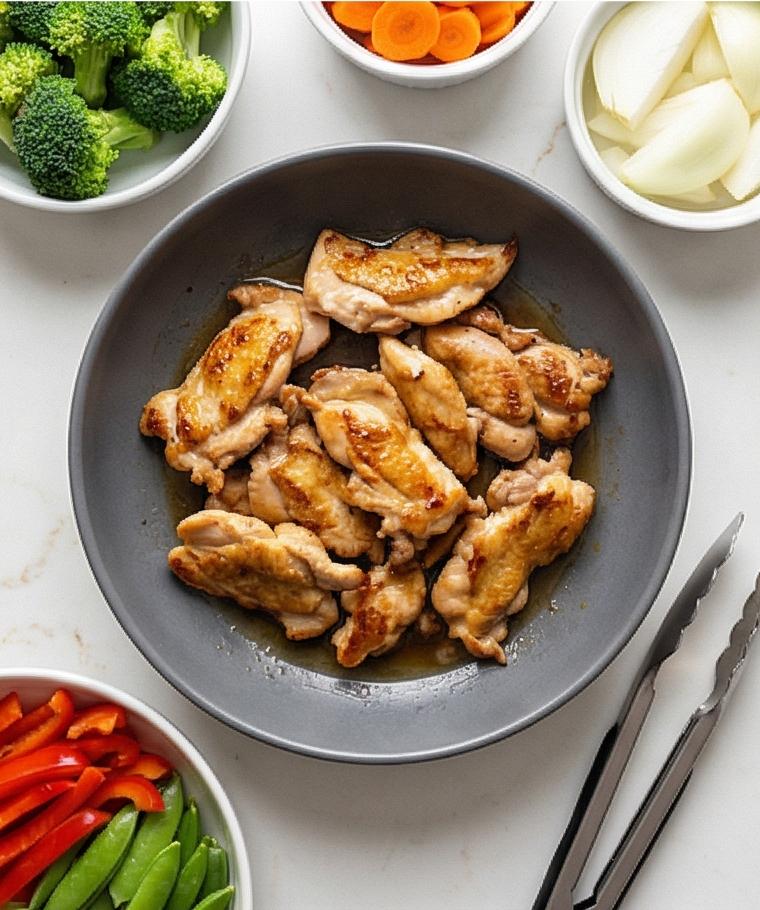
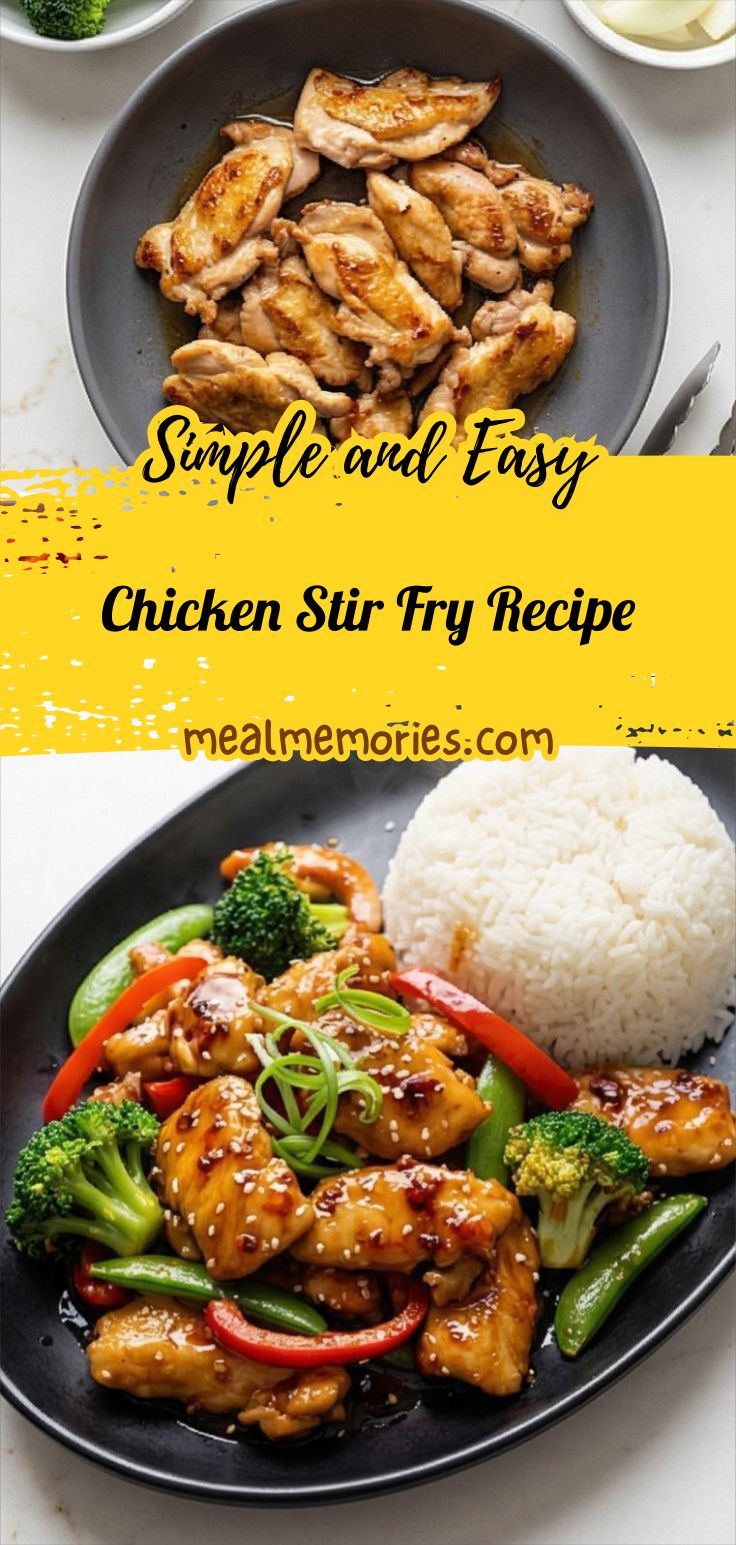
After high-heat searing and rapid stir-frying, transfer the cooked chicken to the same matte charcoal-gray ceramic bowl used earlier so the tool and vessel persist across steps. The chicken pieces should display light golden-brown sear marks, slightly frilled edges where the cornstarch crisped, and a faint sheen from residual juices-each strip plump, opaque, and steaming. Arrange them in a shallow nest to show interior doneness and exterior caramelization without showing any stove or pan.
Step 5: Toss the vegetables, aromatics, and chicken together with the sauce until glossy
Return the seared chicken to the prepared vegetables and aromatics on the surface, pour the previously mixed glossy sauce around the edge so it hits the warm food and thickens, and toss briefly until every floret and strip is lightly coated in a shimmering, clingy glaze. The broccoli should be bright green and crisp-tender, carrots slightly softened but still with snap, peppers and peas vibrant and glossy, and scallion whites fragrant and soft-no excess liquid, just a lively, lacquered coating. Stir until the sauce thickens to a satin finish; taste and nudge seasoning if needed, then let the mixture rest a beat so the sauce settles into a gleaming sheen.
Step 6: Garnish and plate the final stir-fry for immediate serving
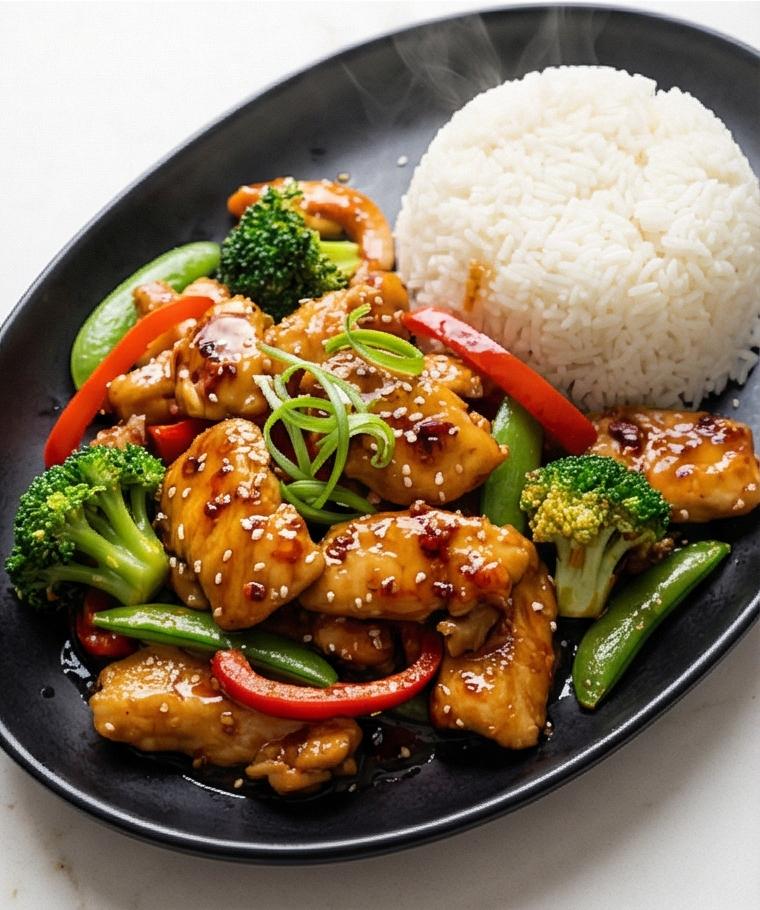
Transfer the glossy chicken stir-fry to a shallow matte black oval ceramic serving platter paired with a compact mound of steaming white rice; finish with a scattering of toasted sesame seeds, thin ribbons of scallion greens, and a light dusting of red pepper flakes or a few drops of chili oil if using. The final composition at eye level should be very close-up and intimate-thick sauce clinging to seared chicken, broccoli crowns studded with sesame, tiny pools of glaze, and rice grains steaming beside the saucy pile-ready to eat immediately.
Making It Your Own
I often experiment with this Chicken Stir Fry Recipe by switching proteins and tweaking the sauce. For a vegetarian take I swap the chicken for extra-firm tofu, pressed and lightly pan-seared, and double the vegetables. In colder months I add thinly sliced shiitake mushrooms and baby bok choy for earthiness.
If you like heat, a drizzle of chili oil or a sprinkle of red pepper flakes at the end livens the plate without complicating the cooking. For a lighter bowl, use low-sodium soy and a splash more rice vinegar to brighten things up. Try a splash of orange juice and zest for a citrus note that plays nicely with the sesame and soy.
How to Serve
When I host, I plan plating and pacing so the Chicken Stir Fry Recipe feels special and effortless. Serve the stir-fry family-style on a large shallow platter with a compact mound of hot steamed rice off to one side so guests can help themselves. Offer small bowls of extra scallion greens, toasted sesame seeds, and chili oil for customization.
For crowds, double the recipe and keep the sauce warm in a small saucepan while you finish two pans of stir-fry sequentially. To make it a plated dinner for guests, spoon a neat bed of rice, then pile the glossy stir-fry on top and finish with a scattering of scallion ribbons for height and color.
Storage and Reheating Tips
Store leftovers in an airtight container in the refrigerator for up to 3 days. The vegetables will soften over time, so keep any extra crunchy veg separate and refresh by briefly sautéing them before combining with reheated chicken.
To reheat, warm the stir-fry in a hot skillet with a teaspoon of oil and a splash of water or chicken broth to loosen the sauce; cook just until heated through to avoid overcooking the chicken and vegetables. For best texture, reheat rice separately and serve immediately.
Common Mistakes and How to Avoid Them
Crowding the pan is the most frequent misstep; it lowers the temperature and causes steaming instead of searing. Work in batches if your pan is small and keep the heat high.
Another pitfall is adding the sauce too early. Give the cornstarch slurry a chance to bloom only when the pan and food are hot so it thickens quickly and glazes the ingredients-skip prolonged simmering.
Final Thoughts
Give this Chicken Stir Fry Recipe a try this week. It rewards careful prep, high heat, and a little attention to timing with bright vegetables, tender seared chicken, and a glossy, flavorful sauce that makes dinner feel like a treat.
Frequently Asked Questions.
-
Q: Can I make this Chicken Stir Fry Recipe gluten-free?
A: Yes, use tamari instead of soy sauce and check that the oyster sauce is gluten-free or swap with a mushroom-based sauce. -
Q: Can I prep any parts ahead?
A: Absolutely. Slice the chicken and vegetables and make the sauce up to a day ahead; keep them refrigerated and stir the sauce before use. -
Q: Which chicken is better: thighs or breasts?
A: Thighs stay juicier and forgive a touch of overcooking; breasts give a leaner result but can dry if overcooked. Both work well here. -
Q: How do I keep vegetables crisp-tender?
A: Cut pieces uniformly, cook over high heat, and add resilient vegetables like broccoli earlier than quick-cooking ones like bell pepper. -
Q: Can I freeze the finished stir-fry?
A: You can, but texture will change. Freeze in shallow portions and reheat gently; fresh-cooked is usually preferable.
Chicken Stir Fry Recipe
Make Chicken Stir Fry Recipe tonight: quick, glossy sauce, crisp veggies, and tender seared chicken.
Ingredients
Instructions
Step 1: Marinate the chicken
Place the thinly sliced boneless chicken strips in a matte charcoal-gray ceramic bowl and add the first-stage marinade: a tablespoon of soy sauce, a tablespoon of cornstarch, a teaspoon of toasted sesame oil, and a pinch of freshly ground black pepper. Toss gently with clean tongs or chopsticks until each strip is evenly coated and there are no dry cornstarch specks—the chicken should look satin-matte with a faint powdery sheen transforming into a silky film as it sits. Let it rest at room temperature for the brief tenderizing window while you move on to the sauce and veg prep.
Step 2: Whisk the stir-fry sauce to a glossy slurry
In a small clear glass measuring cup or jar, whisk together the soy sauce, oyster sauce, rice vinegar, optional hoisin, chicken broth (or water), sugar, a teaspoon of cornstarch and a teaspoon of toasted sesame oil until the cornstarch is fully dissolved and the liquid is perfectly smooth and slightly viscous—no lumps, just a thin, glossy slurry that will bloom into a clingy glaze when heated. Rest the jar nearby on the Calacatta-like surface so its deep amber-brown hue contrasts with the white marble.
Step 3: Cut and arrange the vegetables and aromatics into neat piles
Cut the broccoli into small florets, slice the carrot on a sharp diagonal into thin coins, trim and halve the snap peas, core and thinly slice the red pepper, and separate the onion into thin wedges. Finely mince garlic and ginger, and slice the scallion whites and greens separately. Arrange each component in small white porcelain bowls or tidy piles directly on the quartz surface so their colors read clearly—brilliant broccoli green, translucent onion edges, vibrant red pepper, glossy pea pods—ready for the quick, high-heat move.
Step 4: Show the seared chicken resting with caramelized edges
After high-heat searing and rapid stir-frying, transfer the cooked chicken to the same matte charcoal-gray ceramic bowl used earlier so the tool and vessel persist across steps. The chicken pieces should display light golden-brown sear marks, slightly frilled edges where the cornstarch crisped, and a faint sheen from residual juices—each strip plump, opaque, and steaming. Arrange them in a shallow nest to show interior doneness and exterior caramelization without showing any stove or pan.
Step 5: Toss the vegetables, aromatics, and chicken together with the sauce until glossy
Return the seared chicken to the prepared vegetables and aromatics on the surface, pour the previously mixed glossy sauce around the edge so it hits the warm food and thickens, and toss briefly until every floret and strip is lightly coated in a shimmering, clingy glaze. The broccoli should be bright green and crisp-tender, carrots slightly softened but still with snap, peppers and peas vibrant and glossy, and scallion whites fragrant and soft—no excess liquid, just a lively, lacquered coating. Stir until the sauce thickens to a satin finish; taste and nudge seasoning if needed, then let the mixture rest a beat so the sauce settles into a gleaming sheen.
Step 6: Garnish and plate the final stir-fry for immediate serving
Transfer the glossy chicken stir-fry to a shallow matte black oval ceramic serving platter paired with a compact mound of steaming white rice; finish with a scattering of toasted sesame seeds, thin ribbons of scallion greens, and a light dusting of red pepper flakes or a few drops of chili oil if using. The final composition at eye level should be very close-up and intimate—thick sauce clinging to seared chicken, broccoli crowns studded with sesame, tiny pools of glaze, and rice grains steaming beside the saucy pile—ready to eat immediately.
Notes
- Use thigh meat for juicier results, or breasts if you prefer leaner pieces.
- Press and dry tofu well before using as a vegetarian swap to get a crisp exterior.
- Keep the pan hot and work in batches to avoid steaming the ingredients.
- Prepare all veggies and the sauce before heating the pan for smooth, fast cooking.
- Reheat gently with a splash of broth to refresh the sauce and avoid overcooking.