Brownies Recipe has been my go-to comfort bake for years. The moment the oven warms and the kitchen fills with chocolate notes, I know something good is coming. I love how this Brownies Recipe balances a fudgy interior with that crackly top that everyone fights over. It feels effortless yet reliably stunning, whether I’m bringing a tray to a friend or sneaking a warm square after dinner.
How This Brownies Recipe Became My Rainy-Day Favorite
When the rain tapped my windows one November afternoon, I pulled together ingredients I always keep on hand and made this Brownies Recipe on a whim. The house filled with the scent of melting chocolate and butter, and I remember pressing my nose against the warm oven door as the top began to form a thin, shiny crust. I shared the first warm squares with my partner while wrapped in a blanket; we ate them with small sips of coffee and quiet conversation. The contrast between the fudgy center and the subtle crunch of toasted nuts made each bite feel both indulgent and familiar. That batch became our comfort ritual, the recipe we reach for when we want something simple that still feels like a treat.
Key Ingredients and Why They Matter
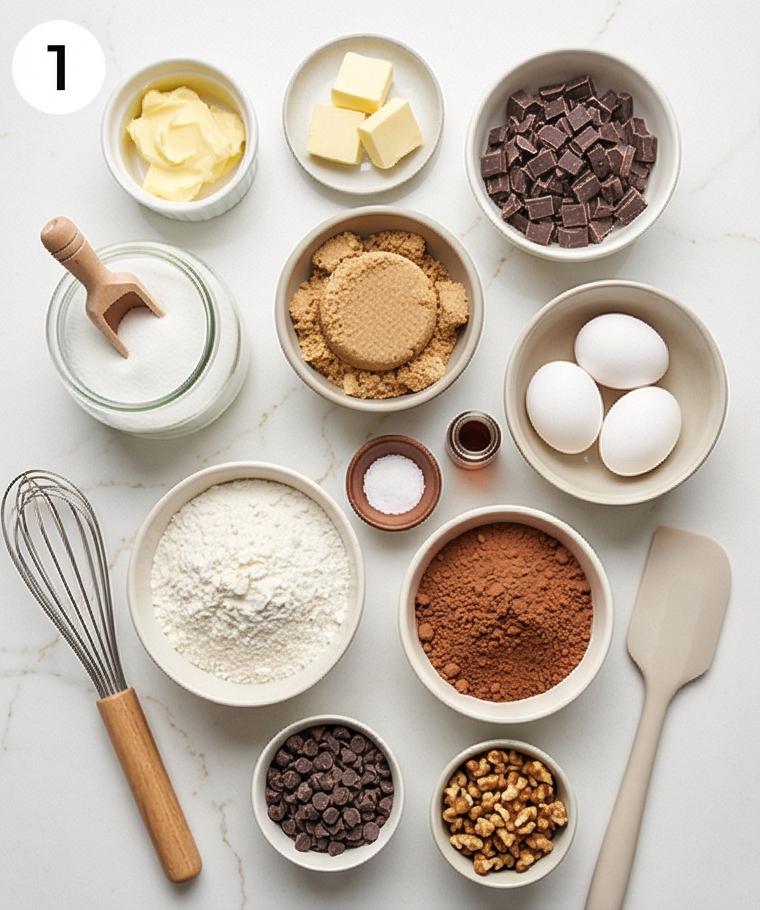
- Unsalted Butter: Provides richness, mouthfeel, and shine. Can substitute with equal amount of salted butter but reduce added salt slightly. Choose European-style butter for extra flavor.
- Semisweet Chocolate: The backbone of flavor and texture. Use 60-70% cacao for balance; swap for bittersweet for deeper intensity or milk chocolate for a sweeter, softer result.
- Granulated and Light Brown Sugar: Granulated adds structure and crackle; brown sugar brings moisture and chew. You can adjust brown sugar upward for a chewier bite.
- Eggs and Vanilla: Eggs aerate and bind, giving the batter elasticity; use room-temperature eggs for best incorporation. Vanilla enhances chocolate notes.
- Flour and Cocoa Powder: Flour sets the crumb while cocoa deepens chocolate flavor. Sift both to avoid lumps.
- Optional Mix-ins: Chocolate chips and toasted nuts add texture and pockets of melted chocolate.
Essential Kitchen Tools
A few simple tools make this Brownies Recipe come together without fuss. The right tools help you control texture and finish, and most have easy alternatives.
- 8-inch square metal baking pan: For even heat and clean edges; a glass pan will work but may need a slightly longer bake time.
- Parchment paper: Ensures easy unmolding; if you don’t have it, grease and flour the pan well.
- Heatproof bowl and saucepan for melting: For a gentle double boiler; you can microwave in short bursts if preferred.
- Whisk and silicone spatula: Whisk to emulsify eggs, spatula to fold without overworking.
- Sifter or fine-mesh sieve: Removes lumps from flour and cocoa and keeps the batter smooth.
- Sharp knife and warm cloth: For clean slices; wipe between cuts for neat squares.
Step-by-Step Preparation Guide
Step 1: Preheat and prepare the pan
Preheat the oven to 350°F (175°C) and position the rack in the middle. Lightly grease an 8-inch (20 cm) square metal baking pan with the softened teaspoon of unsalted butter (or a quick spray), then line the bottom and two opposite sides with a single strip of parchment paper leaving a generous sling for lifting; lightly grease the parchment as well. This ensures easy unmolding and tidy edges once the brownies are baked.
Step 2: Melt chocolate and sugar into a glossy base
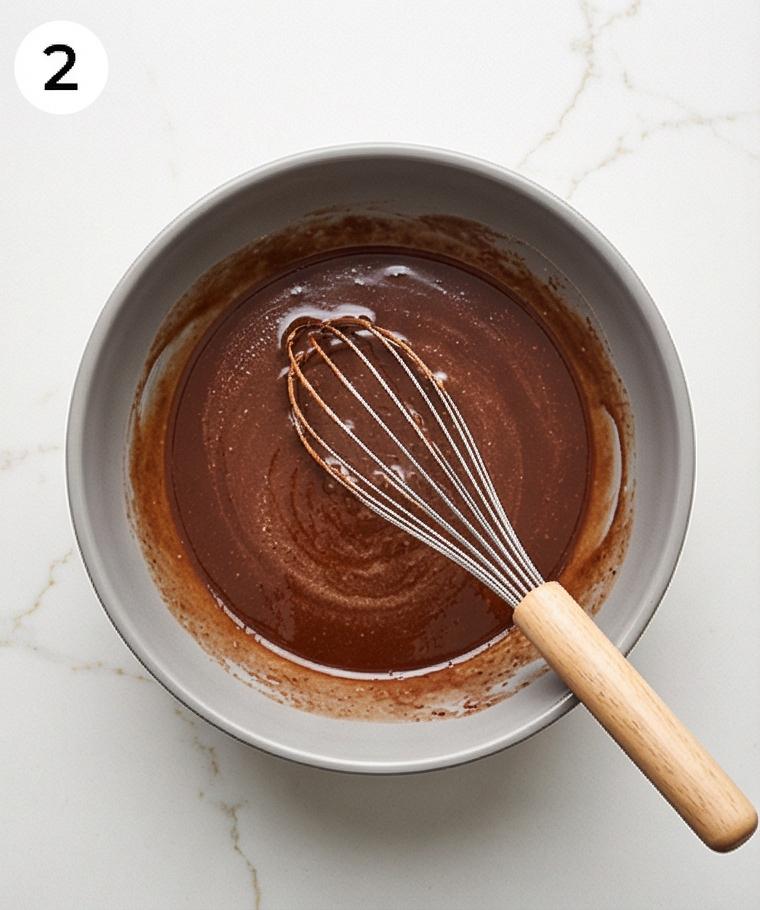
Place the chopped semisweet chocolate and the 10 tablespoons of butter in a medium heatproof bowl and melt gently until smooth, either over barely simmering water or in short microwave bursts, stirring frequently. Remove from heat while warm and whisk in the granulated and light brown sugars until the mixture becomes thick, glossy and homogenous—warm, fluid, and deeply chocolate in color but not hot to the touch.
Step 3: Temper eggs into a shiny, aerated batter
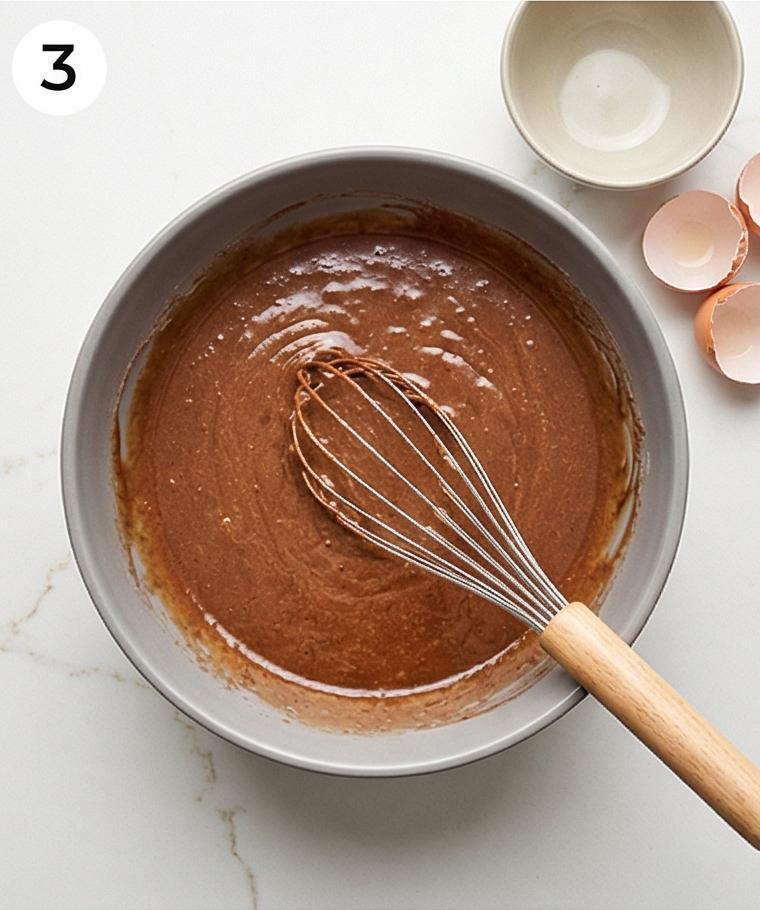
Let the chocolate mixture cool just until warm; then add the room‑temperature eggs one at a time, whisking vigorously after each until fully incorporated so the batter becomes noticeably thicker, shinier, and slightly lighter in hue. Whisk in the vanilla and fine salt until even—this stage produces the signature glossy, elastic batter that foreshadows a crackly top.
Step 4: Fold in sifted dry ingredients and optional mix‑ins
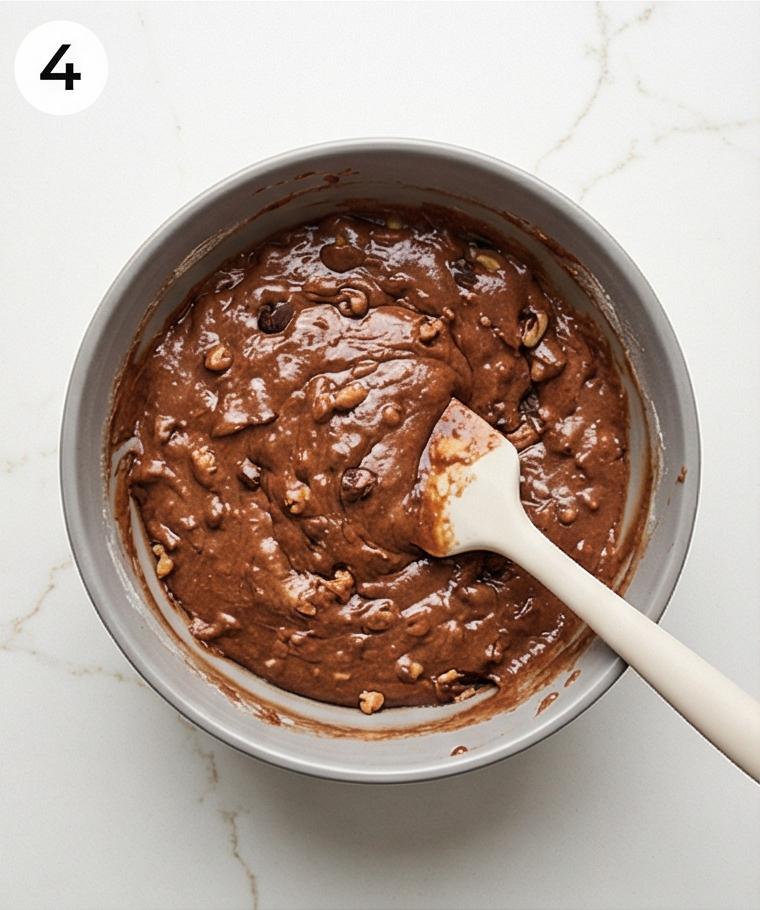
Whisk the all‑purpose flour and unsweetened cocoa together in a small bowl until evenly combined and lump‑free, then gently fold the dry mix into the chocolate batter with a silicone spatula using 20–30 strokes just until no dry streaks remain. If using, fold in semisweet chocolate chips or chunks and the toasted chopped walnuts or pecans with a few gentle strokes so they’re evenly distributed without overworking the batter.
Step 5: Spread, bake, salt, and cool in the pan
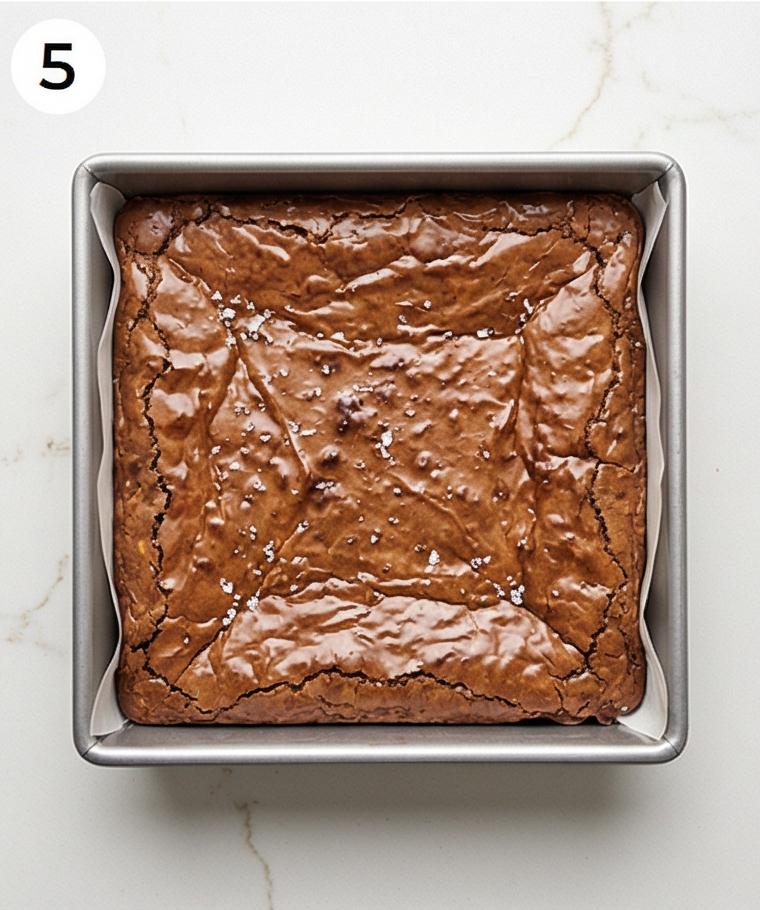
Pour the dense, glossy batter into the prepared parchment‑lined square pan and use a spatula to push into the corners and smooth the top into an even layer. Bake 22–28 minutes, rotating once halfway, until the edges are set and the top is shiny and crinkled; for fudgier brownies aim for the shorter time. Remove from the oven and, if desired, immediately scatter the flaky sea salt over the hot surface. Let the pan cool on a wire rack for at least 30–45 minutes to set the crumb.
Step 6: Unmold, slice, and serve slightly warm or at room temperature
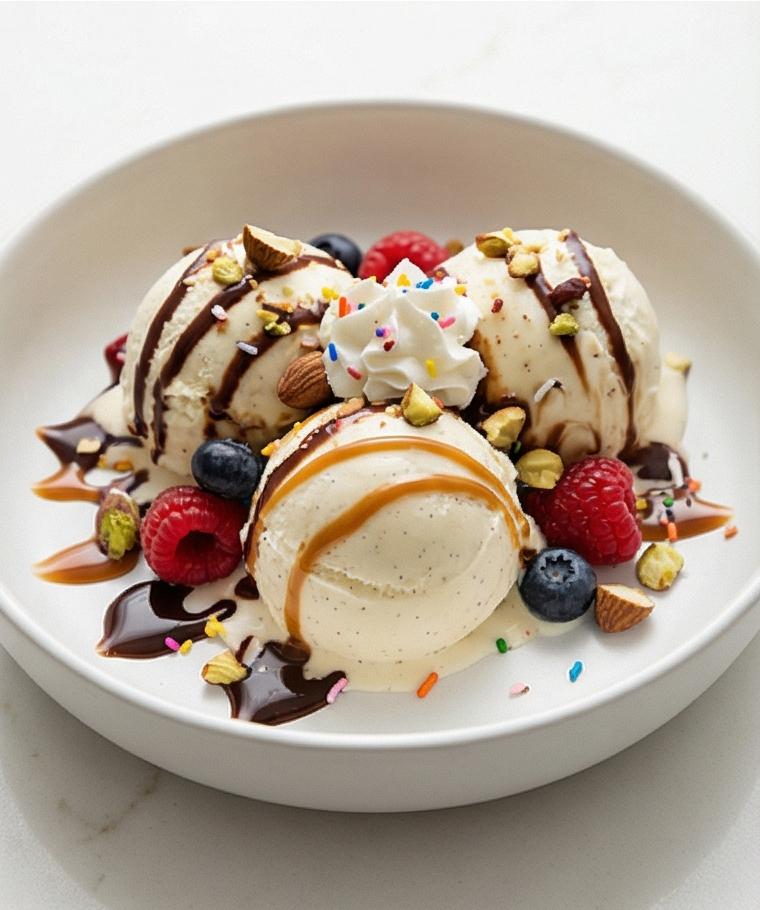
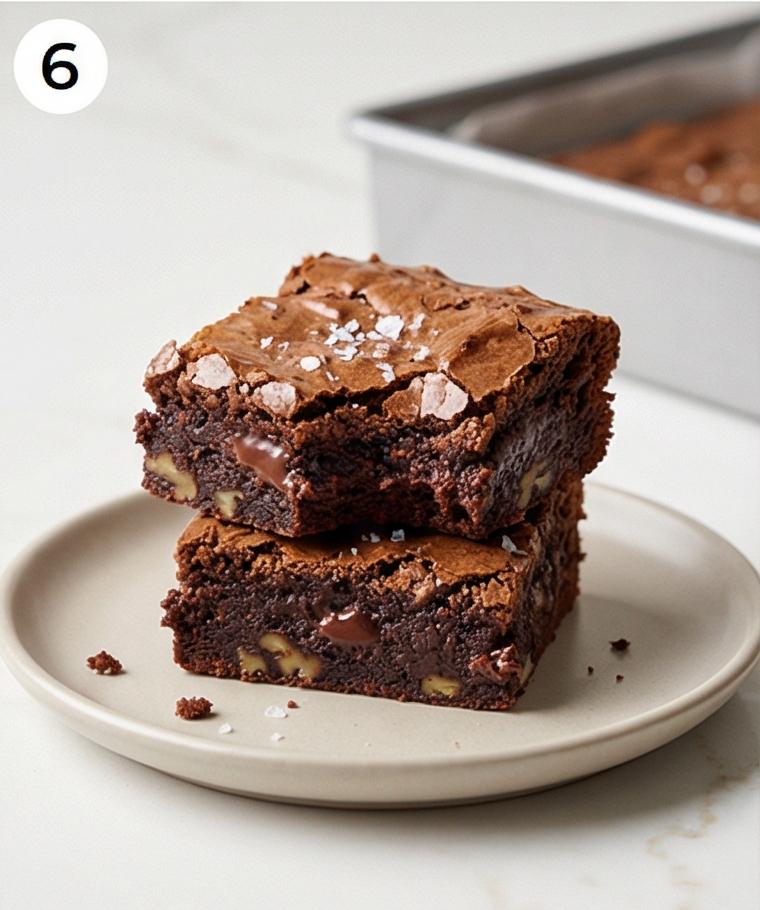
Use the parchment sling to lift the brownie slab from the pan onto a cutting board and trim into neat square pieces (9 large or 12–16 smaller). For the cleanest slices wipe a long sharp knife with a warm damp cloth between cuts. Serve squares slightly warm or at room temperature—on their own, or accompanied by a small scoop of vanilla ice cream, a dollop of whipped cream, or a drizzle of warm chocolate or caramel if you like.
Making It Your Own
I treat this Brownies Recipe like a flexible template, and I love experimenting. For a nut-free version I omit the walnuts and toss in extra chocolate chunks. If you want a more cake-like texture, add an extra tablespoon of flour and bake a few minutes longer. To make them extra gooey, underbake by a couple minutes and let the pan cool well before cutting.
For a seasonal twist, fold in dried cherries and orange zest in winter, or sprinkle chopped fresh strawberries and a bit of sugar before serving in summer. For a vegan take, try plant-based butter and a flax “egg” and reduce baking time slightly. These small swaps keep the spirit of the Brownies Recipe while opening new flavor paths.
How to Serve
When I host, presentation matters even if the food is relaxed. For a casual get-together, cut the slab into 12 smaller squares and stack them on a simple platter. Offer small bowls of toppings like flaky sea salt, toasted nuts, and warm caramel so guests can customize.
For a dinner party dessert, serve larger squares (9 pieces) with a quenelle of vanilla ice cream and a few toasted nut halves for contrast. If you need to stretch servings, slice into 16 thin pieces and plate two to a plate with a dusting of cocoa powder. Warm slightly before serving if you want that just-melted chocolate hug.
Storage and Reheating Tips
Store cooled brownies in an airtight container at room temperature for up to 3 days. Layer pieces with parchment paper to prevent sticking. If your kitchen is warm, refrigerate for up to a week; bring to room temperature before serving so the texture softens.
To refresh stored brownies, warm individual squares in a 300°F oven for 5 to 8 minutes or microwave for 8 to 12 seconds. If frozen, thaw overnight in the refrigerator or for a few hours at room temperature. Reheating briefly brings back that fresh-baked warmth without drying them out.
Common Brownie Blunders and How to Avoid Them
One frequent misstep is overmixing after adding flour, which makes brownies tough. Fold gently and stop when no streaks of dry flour remain. Another is overbaking; set your timer for the shorter end of the range and test with a toothpick or gentle jiggle for a fudgy center.
Also, don’t skip cooling. Cutting too soon results in a crumbly mess. Let the pan rest until the crumb sets, and use a warm, wiped knife for clean slices. These small precautions keep your brownies tender and gooey.
Final Thoughts
If you try this Brownies Recipe, start with the simple version and then make it yours. It is forgiving, quick, and always earns compliments. I can’t wait to hear which variation becomes your favorite.
Frequently Asked Questions.
- Q: Can I use a glass pan instead of metal? A: Yes, but glass may need a couple extra minutes of baking; watch closely so you do not overbake.
- Q: How do I get a crackly top? A: Whisking the sugar into the warm chocolate and then vigorously incorporating the eggs helps create that shiny, crinkled top.
- Q: Can I freeze the brownies? A: Absolutely. Wrap individual squares tightly and freeze for up to 3 months; thaw in the refrigerator or at room temperature.
- Q: Are there good substitutions for nuts? A: Try sunflower seeds for crunch or extra chocolate chunks for texture if you need a nut-free option.
- Q: How fudgy will these be? A: These brownies are intended to be fudgy; bake to the shorter end of the time range for maximum fudginess.
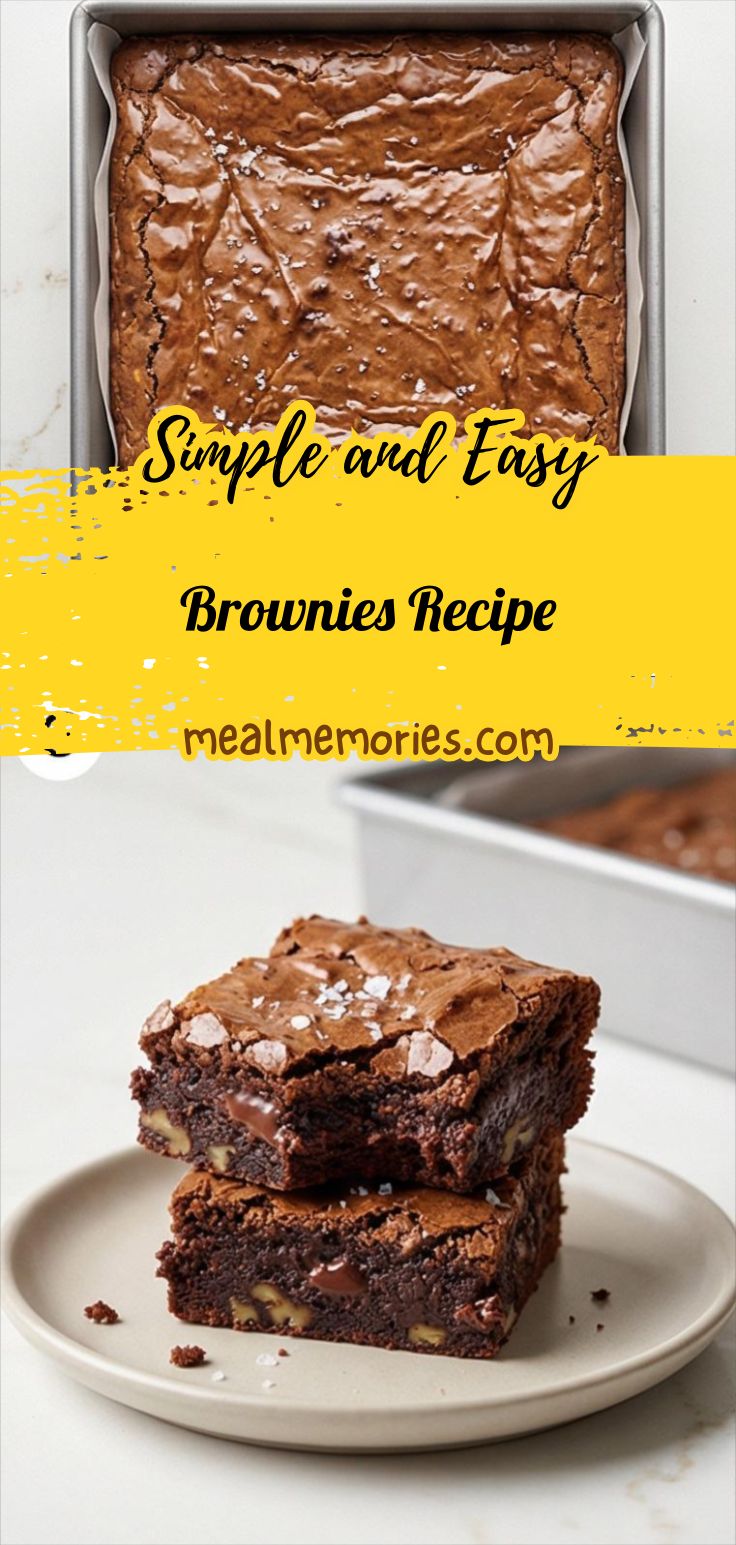
Brownies Recipe
Make Brownies Recipe with a glossy, fudgy center and crackly top; bake, cool, and serve warm for best results.
Ingredients
Instructions
Step 1: Preheat and prepare the pan
Preheat the oven to 350°F (175°C) and position the rack in the middle. Lightly grease an 8-inch (20 cm) square metal baking pan with the softened teaspoon of unsalted butter (or a quick spray), then line the bottom and two opposite sides with a single strip of parchment paper leaving a generous sling for lifting; lightly grease the parchment as well. This ensures easy unmolding and tidy edges once the brownies are baked.
Step 2: Melt chocolate and sugar into a glossy base
Place the chopped semisweet chocolate and the 10 tablespoons of butter in a medium heatproof bowl and melt gently until smooth, either over barely simmering water or in short microwave bursts, stirring frequently. Remove from heat while warm and whisk in the granulated and light brown sugars until the mixture becomes thick, glossy and homogenous—warm, fluid, and deeply chocolate in color but not hot to the touch.
Step 3: Temper eggs into a shiny, aerated batter
Let the chocolate mixture cool just until warm; then add the room‑temperature eggs one at a time, whisking vigorously after each until fully incorporated so the batter becomes noticeably thicker, shinier, and slightly lighter in hue. Whisk in the vanilla and fine salt until even—this stage produces the signature glossy, elastic batter that foreshadows a crackly top.
Step 4: Fold in sifted dry ingredients and optional mix‑ins
Whisk the all‑purpose flour and unsweetened cocoa together in a small bowl until evenly combined and lump‑free, then gently fold the dry mix into the chocolate batter with a silicone spatula using 20–30 strokes just until no dry streaks remain. If using, fold in semisweet chocolate chips or chunks and the toasted chopped walnuts or pecans with a few gentle strokes so they’re evenly distributed without overworking the batter.
Step 5: Spread, bake, salt, and cool in the pan
Pour the dense, glossy batter into the prepared parchment‑lined square pan and use a spatula to push into the corners and smooth the top into an even layer. Bake 22–28 minutes, rotating once halfway, until the edges are set and the top is shiny and crinkled; for fudgier brownies aim for the shorter time. Remove from the oven and, if desired, immediately scatter the flaky sea salt over the hot surface. Let the pan cool on a wire rack for at least 30–45 minutes to set the crumb.
Step 6: Unmold, slice, and serve slightly warm or at room temperature
Use the parchment sling to lift the brownie slab from the pan onto a cutting board and trim into neat square pieces (9 large or 12–16 smaller). For the cleanest slices wipe a long sharp knife with a warm damp cloth between cuts. Serve squares slightly warm or at room temperature—on their own, or accompanied by a small scoop of vanilla ice cream, a dollop of whipped cream, or a drizzle of warm chocolate or caramel if you like.
Notes
- Use room-temperature eggs to help create a glossy batter.
- For fudgier brownies, err on the shorter bake time and let them cool fully before slicing.
- Toast nuts briefly to deepen flavor and add crunch.
- If using a glass pan, add a few extra minutes to baking time and check doneness early.
- Warm a knife between cuts and wipe clean for neat slices.