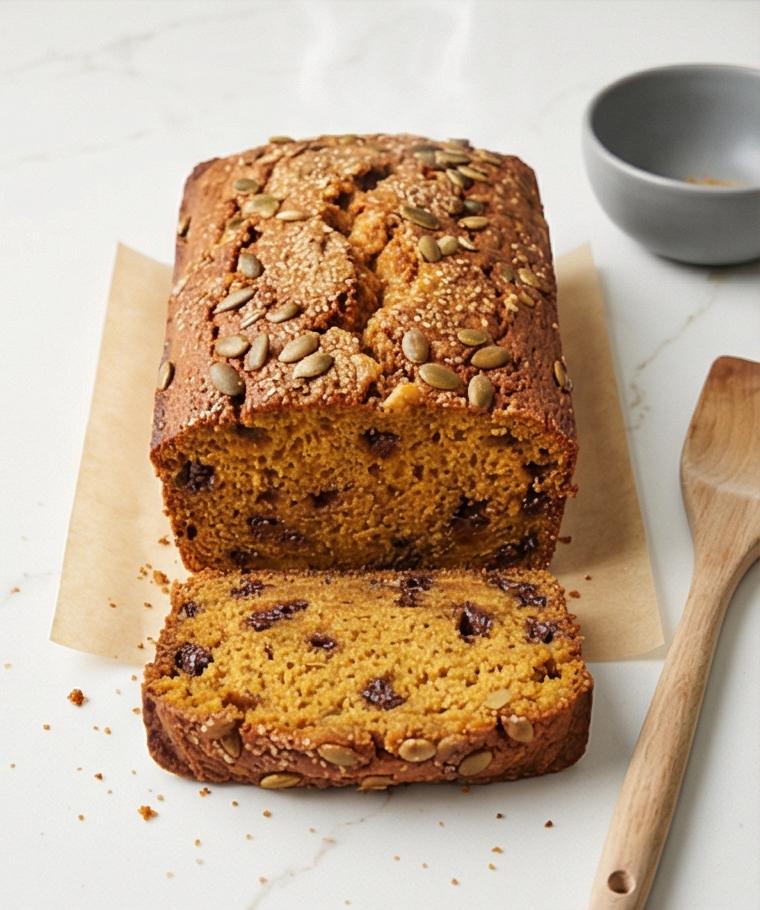
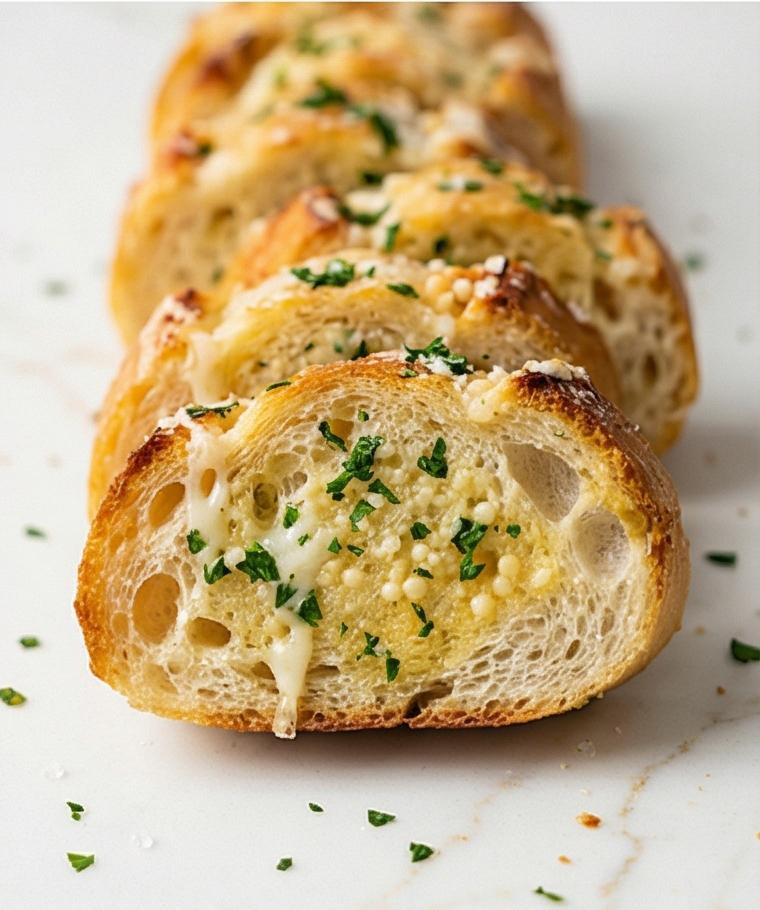
I have a soft spot for the rustic, airy loaves that come from patience and a patient starter, which is why this Ciabatta Recipe shows up on my kitchen counter more often than it should. I learned the rhythm of its long ferment and the joyful mess of a sticky dough while helping a friend open a tiny bakery years ago. That hands-on, slightly flour-dusted experience shaped how I bake now, and every time I pull a golden ciabatta from the oven I get the same warm rush. If you like bread that has big open holes, a crisp crust, and olive oil rubbed on warm crumb, this Ciabatta Recipe will become one of your favorites.
The thing that makes this Ciabatta Recipe worth trying is how forgiving it is when you respect the doughs timing and minimal handling. It rewards patience with texture and flavor you rarely get from quick breads. The preferment builds nuanced aroma while the final dough asks for gentle care more than muscle. Try it on a slow weekend morning and you will see why I keep coming back.
How This Loaf Became My Slow Sunday Ritual
I remember the first rainy Sunday I tried this Ciabatta Recipe from an old notebook: the house smelled like warm grain and yeast for hours. My hands were sticky with dough and the kitchen window fogged while the biga bubbled away at room temperature. I lost track of time watching the surface dome and thinking about how a few simple ingredients could transform. When the crust finally turned that deep golden brown, I cut into the loaf and the crumb smelled of toasted seeds and warm butter. It was simple, honest comfort. Baking this ciabatta taught me to slow down, to value rest, and to enjoy the small ritual of flour on the countertop. Every loaf carries that rainy Sunday memory now, and sharing it with friends always brings the same quiet smile.
The Ingredients That Make the Magic
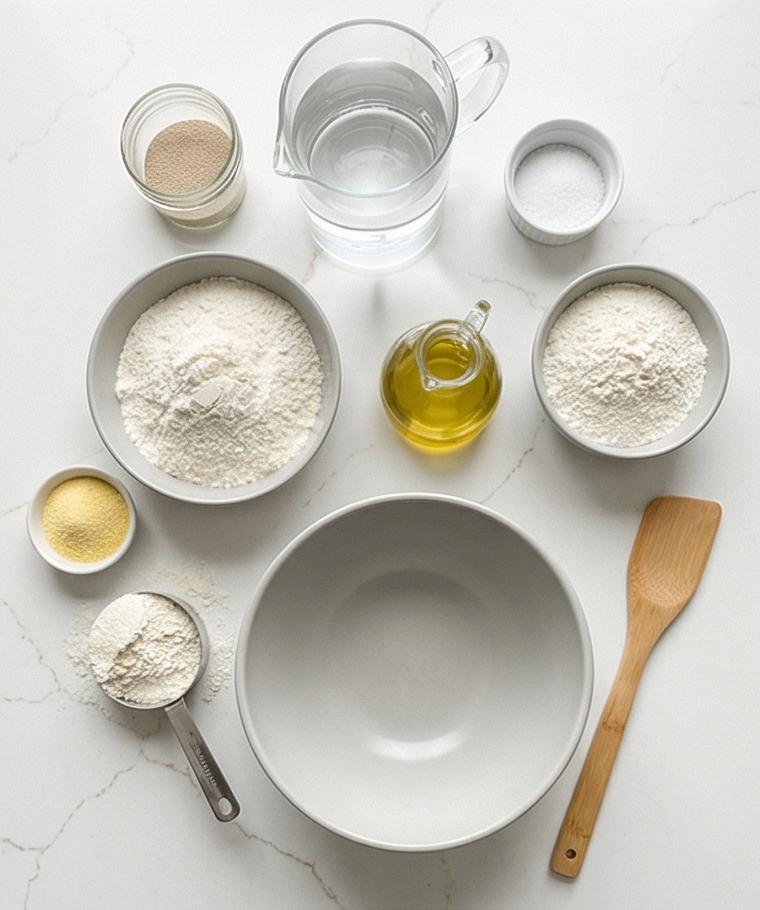
Ingredient choices shape everything from crumb to crust. Pick the best flour you can, use pure water, and trust time.
- Bread Flour: The backbone of structure and chew. Use high-protein flour for good gluten strength; substitute part with all-purpose for a slightly softer crumb.
- All-Purpose Flour: Adds tenderness and balances strength; you can use more bread flour if you want firmer chew.
- Water: Hydration controls openness. Use filtered water and adjust temperature for yeast activity.
- Instant Yeast: A small amount jumpstarts fermentation; active dry can be used if dissolved first.
- Fine Sea Salt: Enhances flavor and controls fermentation; kosher salt works too but adjust volume.
- Extra-Virgin Olive Oil: Adds flavor and tenderness; replace with a neutral oil if desired.
- Cornmeal or Semolina: For dusting and slide; it helps prevent sticking and gives a tiny crunch.
Essential Kitchen Tools and Why They Matter
A few simple tools make this Ciabatta Recipe easier and more reliable. You do not need a pro setup; just quality basics.
- Large Mixing Bowl: For combining biga and final dough; a sturdy bowl keeps dough contained during mixing.
- Dough Scraper: Essential for gentle handling and transferring sticky dough without deflating it.
- Bench Surface (floured): A smooth, well-floured surface preserves air pockets when shaping.
- Baking Stone or Inverted Sheet: Provides radiant heat for a crisp bottom crust; a heavy pan can substitute.
- Metal Steam Pan or Tray: For creating oven steam; pour hot water in at bake time to improve crust.
- Digital Thermometer: Helpful for checking water and oven temperature when you want consistent results.
Step-by-Step Preparation Guide.
Step 1: Build the biga (preferment)
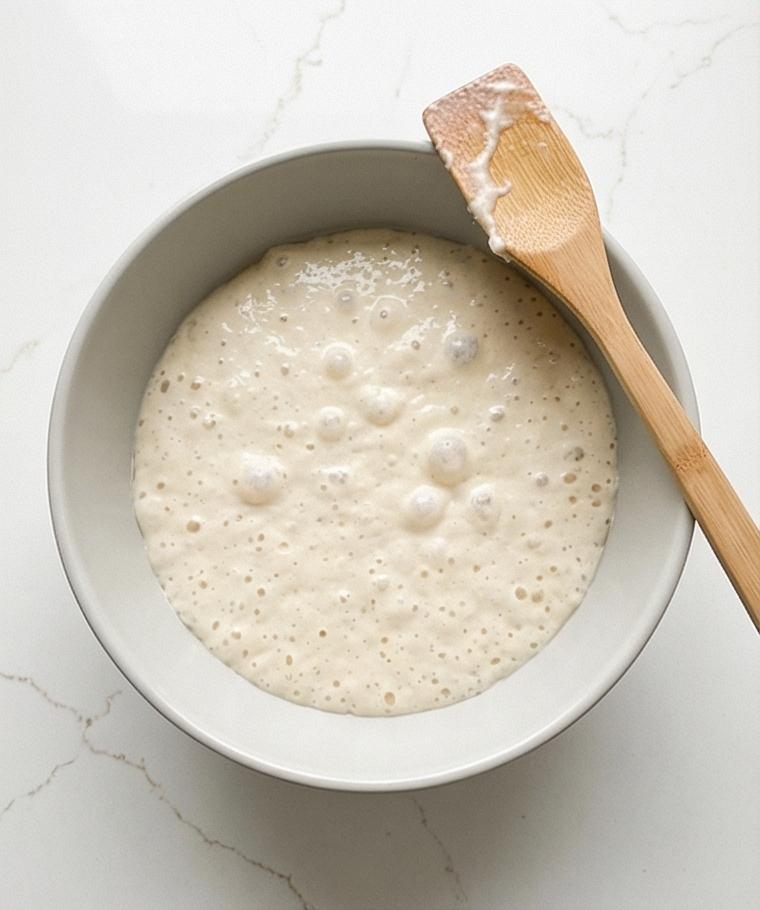
In a medium matte grey ceramic bowl, whisk together 300 g bread flour, 210 g room-temperature water, and a tiny pinch of instant yeast until every speck of flour is hydrated and you have a shaggy, thick batter-like dough with no dry patches. Cover the bowl tightly with plastic wrap or a reusable lid and leave it to ferment at a cool room temperature (about 68–72°F / 20–22°C) for 12–16 hours. The biga is ready when it has risen noticeably, the surface is bubbly and slightly domed, and it smells sweetly yeasty with a mild nutty aroma.
Step 2: Assemble the final dough
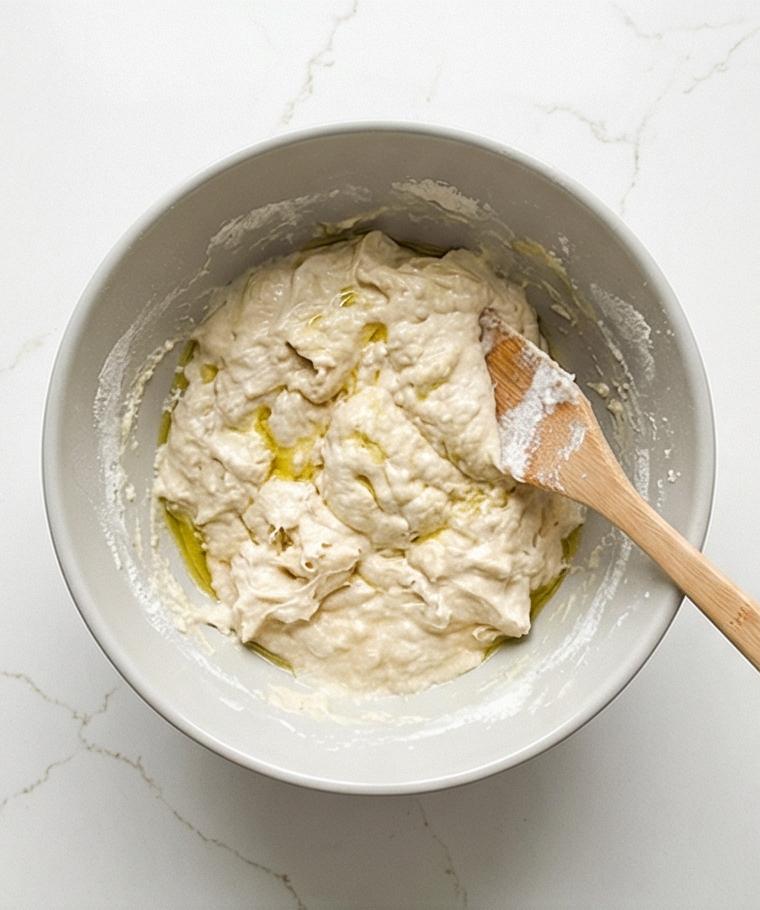
In a large mixing bowl (use the same matte grey ceramic bowl for continuity) whisk together 300 g bread flour, 100 g all-purpose flour, 12 g fine sea salt, and 3 g instant yeast until evenly combined. Add 260 g lukewarm water and 20 g extra-virgin olive oil, then tear the ripe biga into several pieces and add them in. Using a sturdy wooden spatula or a dough scraper, mix until no dry flour remains and the dough comes together into a very sticky, rough mass — glossy, tacky, and elastic in clumps. Scrape the tools and bowl clean; the spatula resting on the rim with dough clinging to it signals this stage.
Step 3: Rest and bulk fermentation with stretch-and-folds
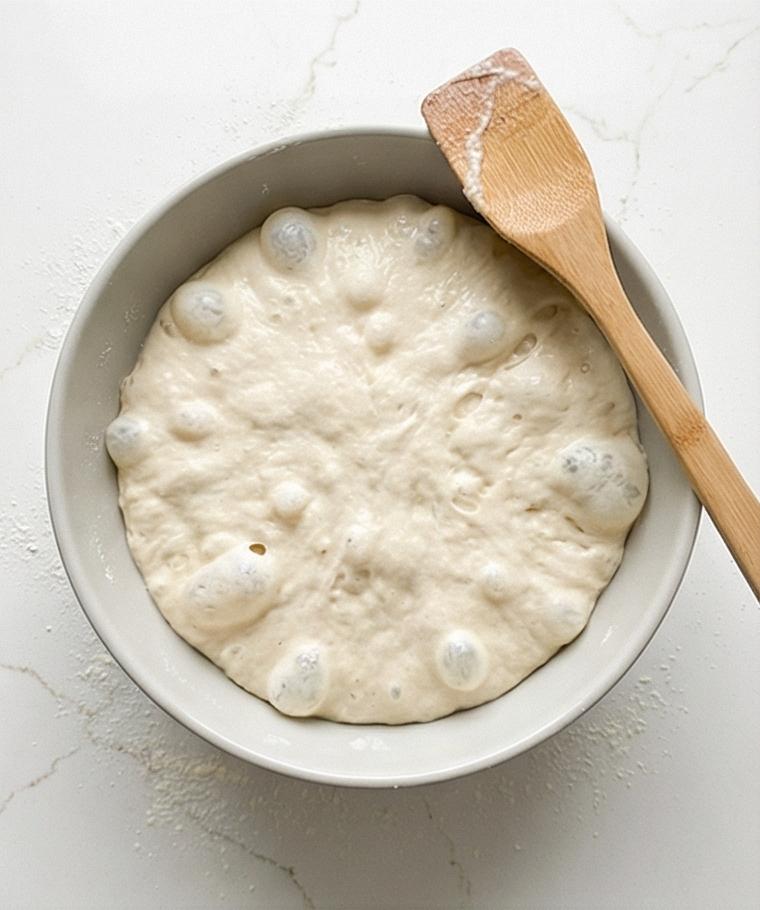
Cover the dough and let it rest for 20–25 minutes to autolyse; the surface will feel slightly smoother and the mass less ragged. Wet one hand and perform a set of 4–6 stretch-and-fold motions: slide under the dough, gently stretch until it resists, then fold it over. Repeat every 30 minutes for two more sets during a 1½–2 hour bulk ferment. Over this time the dough should transform from a sticky blob to an airy, jiggly mass with visible bubbles along the sides and surface — soft, extensible, and buoyant when given a gentle poke.
Step 4: Turn out, divide, and shape with minimal handling
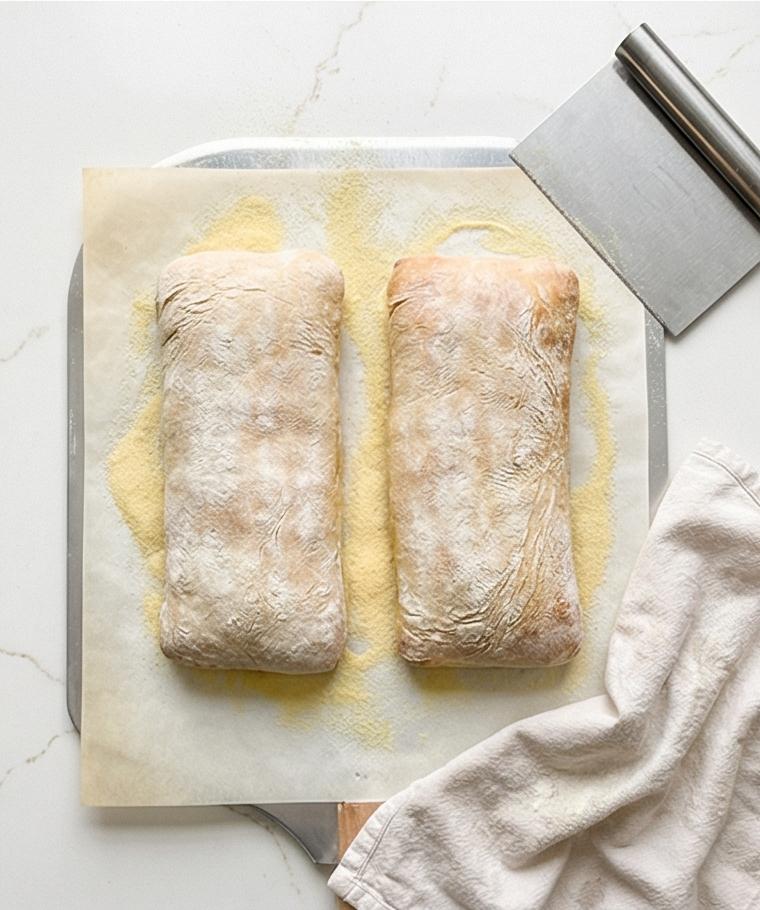
Generously flour the engineered quartz surface with part of the 30 g dusting flour and dust a bench scraper and your hands. Gently scrape the dough onto the floured surface, preserving as many air pockets as possible. Pat the dough into a loose 10 x 8 inch rectangle without kneading; use a floured bench scraper to cut the rectangle into two equal lengthwise strips. Working one piece at a time, lift and very gently stretch each strip to about 10–12 inches, folding any too-thin edges underneath to create a slightly irregular slipper shape. Transfer the two loaves onto a parchment-lined peel or inverted baking sheet that has been dusted with fine cornmeal or semolina, spacing them at least 3 inches apart.
Step 5: Proof, finish, bake and cool
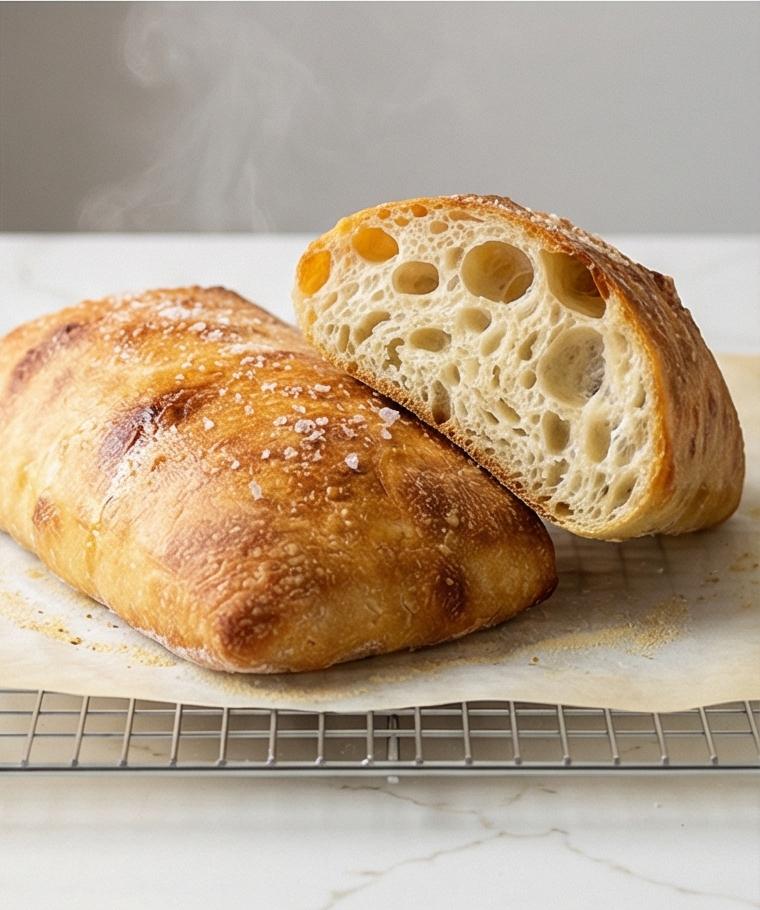
Cover the loaves loosely and proof at room temperature for 35–45 minutes until noticeably puffy and springy to a floured fingertip. Preheat a baking stone or inverted sheet in a hot oven (475°F / 245°C) and have a metal steam pan on the lower rack. Right before baking dust the tops lightly with flour and optionally dimple a few spots with fingertips to encourage a rustic crust. Slide the parchment and loaves onto the preheated stone, create a burst of steam by pouring boiled water into the preheated pan, and bake until the crust is deep golden brown and the loaves sound hollow when tapped (about 22–28 minutes total). Transfer the hot ciabatta to a wire cooling rack on the same minimal quartz surface, brush lightly with olive oil for shine and sprinkle flaky sea salt if desired. Let cool at least 45–60 minutes before slicing.
Making It Your Own
I treat each loaf as a small experiment. For a more rustic note, fold in 1 tablespoon of cracked wheat or 20 g of whole-rye flour during the final mix for an earthy background flavor. If you want a dairy-free or vegan twist, the Ciabatta Recipe is already suitable; skip the optional olive oil brush or use a neutral oil.
For a herby version, press a few sprigs of chopped rosemary and a sprinkle of cracked black pepper into the tops before baking. To go sweet-savory, add 30 g chopped olives and 10 g chopped sun-dried tomatoes to one loaf and leave the other plain to compare. Small changes in hydration or oven steam will change the crumb, so try one variation per bake until you find your favorite.
How to Serve
Think small plates and good company. For a casual supper, split warm ciabatta and serve with bowls of extra-virgin olive oil, balsamic, and flaky salt for dipping. For sandwiches, slice the loaf horizontally and toast the cut side; the open crumb soaks up dressings and oils beautifully.
If I am hosting a dinner, I serve one plain loaf and one flavored loaf to cater to different tastes. For larger crowds double the batch and keep loaves warm in a low oven wrapped in a clean towel. For a single person, slice and freeze extras; ciabatta toasts up brilliantly from frozen.
Storage and Reheating Tips
Store cooled ciabatta loosely wrapped in a paper bag at room temperature for up to two days to preserve crust texture. Avoid plastic for long storage because it softens the crust quickly.
For longer keeping, slice and freeze in a sealed bag for up to three months. Reheat directly from frozen at 350°F for 8-10 minutes or toast individual slices. To revive a day-old loaf, sprinkle the surface lightly with water and bake at 400°F for 6-8 minutes until the crust crisps again.
Common Mistakes and How to Avoid Them
Overworking the dough is a frequent error. Ciabatta thrives on gentle handling; use stretch-and-folds rather than vigorous kneading to keep gas bubbles intact.
Skipping the biga or shortening its ferment time will yield less flavor. Give the preferment the full 12-16 hour rest and you will notice the difference in aroma and crumb.
Final Thoughts and an Invitation
This Ciabatta Recipe is an invitation to slow baking and small rewards. Try it on a weekend and savor the ritual of shaping and waiting. Once you taste that crisp crust and open, airy crumb, you will understand why I keep baking it.
Frequently Asked Questions.
- What is the best flour for this Ciabatta Recipe? Use bread flour for structure; you can replace up to one third with all-purpose for a softer crumb.
- Can I use active dry yeast instead of instant? Yes, dissolve active dry yeast in the lukewarm water first and add it in; use the same weight by grams.
- Do I need a baking stone? A baking stone helps with oven spring and crust, but an inverted heavy sheet works well in a pinch.
- How do I know when the biga is ready? The biga should be bubbly, slightly domed, and smell sweetly yeasty after 12-16 hours at cool room temperature.
- Can I make ciabatta without steam? You can, but steam improves crust color and crispness; use a hot pan with boiled water to create a burst of steam.
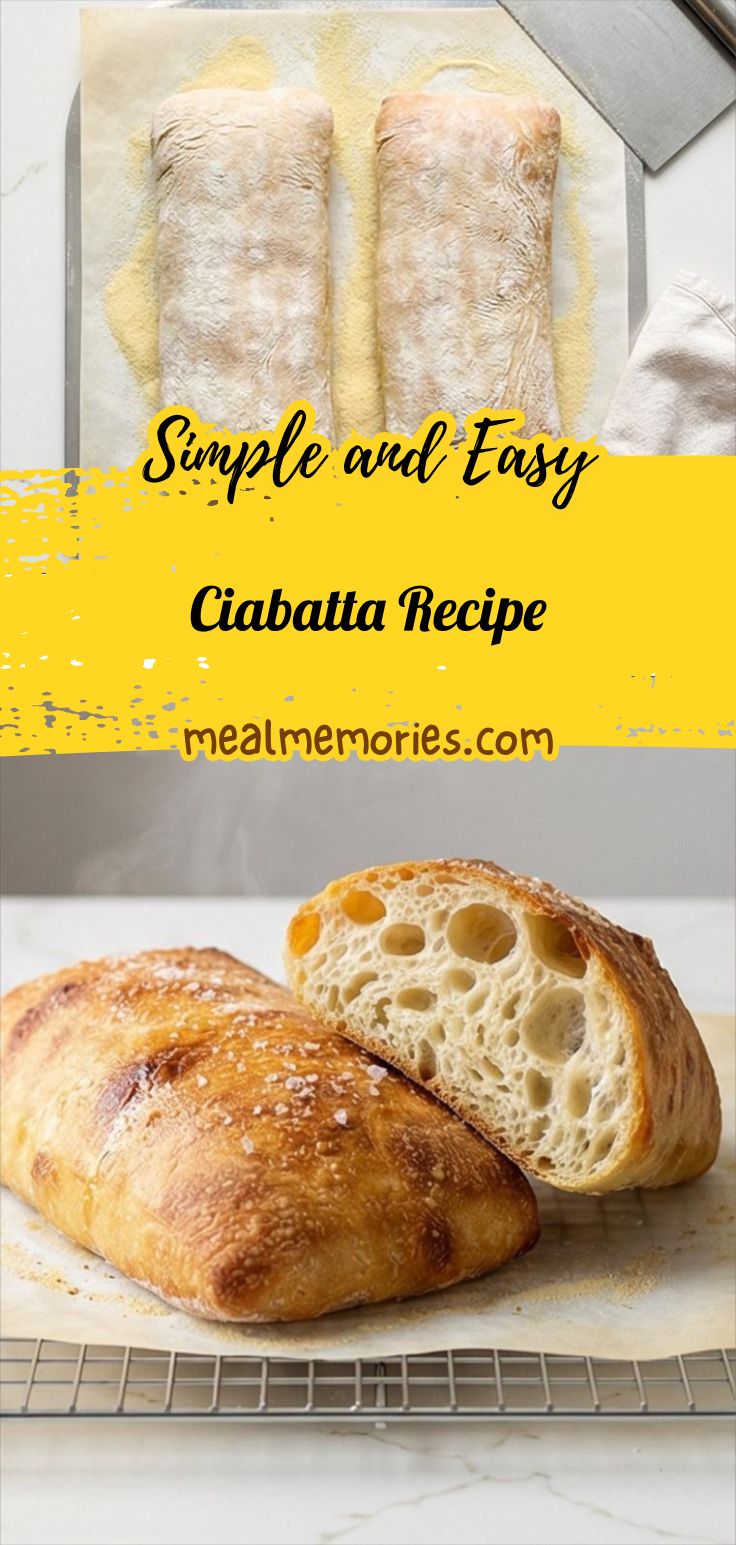
Ciabatta Recipe
Bake airy, golden loaves with this Ciabatta Recipe — make the biga, shape gently, and enjoy crisp crust and open crumb.
Ingredients
Instructions
Step 1: Build the biga (preferment)
In a medium matte grey ceramic bowl, whisk together 300 g bread flour, 210 g room-temperature water, and a tiny pinch of instant yeast until every speck of flour is hydrated and you have a shaggy, thick batter-like dough with no dry patches. Cover the bowl tightly with plastic wrap or a reusable lid and leave it to ferment at a cool room temperature (about 68–72°F / 20–22°C) for 12–16 hours. The biga is ready when it has risen noticeably, the surface is bubbly and slightly domed, and it smells sweetly yeasty with a mild nutty aroma.
Step 2: Assemble the final dough
In a large mixing bowl (use the same matte grey ceramic bowl for continuity) whisk together 300 g bread flour, 100 g all-purpose flour, 12 g fine sea salt, and 3 g instant yeast until evenly combined. Add 260 g lukewarm water and 20 g extra-virgin olive oil, then tear the ripe biga into several pieces and add them in. Using a sturdy wooden spatula or a dough scraper, mix until no dry flour remains and the dough comes together into a very sticky, rough mass — glossy, tacky, and elastic in clumps. Scrape the tools and bowl clean; the spatula resting on the rim with dough clinging to it signals this stage.
Step 3: Rest and bulk fermentation with stretch-and-folds
Cover the dough and let it rest for 20–25 minutes to autolyse; the surface will feel slightly smoother and the mass less ragged. Wet one hand and perform a set of 4–6 stretch-and-fold motions: slide under the dough, gently stretch until it resists, then fold it over. Repeat every 30 minutes for two more sets during a 1½–2 hour bulk ferment. Over this time the dough should transform from a sticky blob to an airy, jiggly mass with visible bubbles along the sides and surface — soft, extensible, and buoyant when given a gentle poke.
Step 4: Turn out, divide, and shape with minimal handling
Generously flour the engineered quartz surface with part of the 30 g dusting flour and dust a bench scraper and your hands. Gently scrape the dough onto the floured surface, preserving as many air pockets as possible. Pat the dough into a loose 10 x 8 inch rectangle without kneading; use a floured bench scraper to cut the rectangle into two equal lengthwise strips. Working one piece at a time, lift and very gently stretch each strip to about 10–12 inches, folding any too-thin edges underneath to create a slightly irregular slipper shape. Transfer the two loaves onto a parchment-lined peel or inverted baking sheet that has been dusted with fine cornmeal or semolina, spacing them at least 3 inches apart.
Step 5: Proof, finish, bake and cool
Cover the loaves loosely and proof at room temperature for 35–45 minutes until noticeably puffy and springy to a floured fingertip. Preheat a baking stone or inverted sheet in a hot oven (475°F / 245°C) and have a metal steam pan on the lower rack. Right before baking dust the tops lightly with flour and optionally dimple a few spots with fingertips to encourage a rustic crust. Slide the parchment and loaves onto the preheated stone, create a burst of steam by pouring boiled water into the preheated pan, and bake until the crust is deep golden brown and the loaves sound hollow when tapped (about 22–28 minutes total). Transfer the hot ciabatta to a wire cooling rack on the same minimal quartz surface, brush lightly with olive oil for shine and sprinkle flaky sea salt if desired. Let cool at least 45–60 minutes before slicing.
Notes
- Allow the biga 12-16 hours at cool room temperature for best flavor
- Handle the dough gently to keep large air pockets intact
- Use a dusting of semolina or cornmeal on the peel to prevent sticking
- Let loaves cool at least 45-60 minutes before slicing to set the crumb
- Freeze sliced leftovers for quick toasts and reheat from frozen
- Create steam by pouring boiled water into a preheated pan at the start of baking