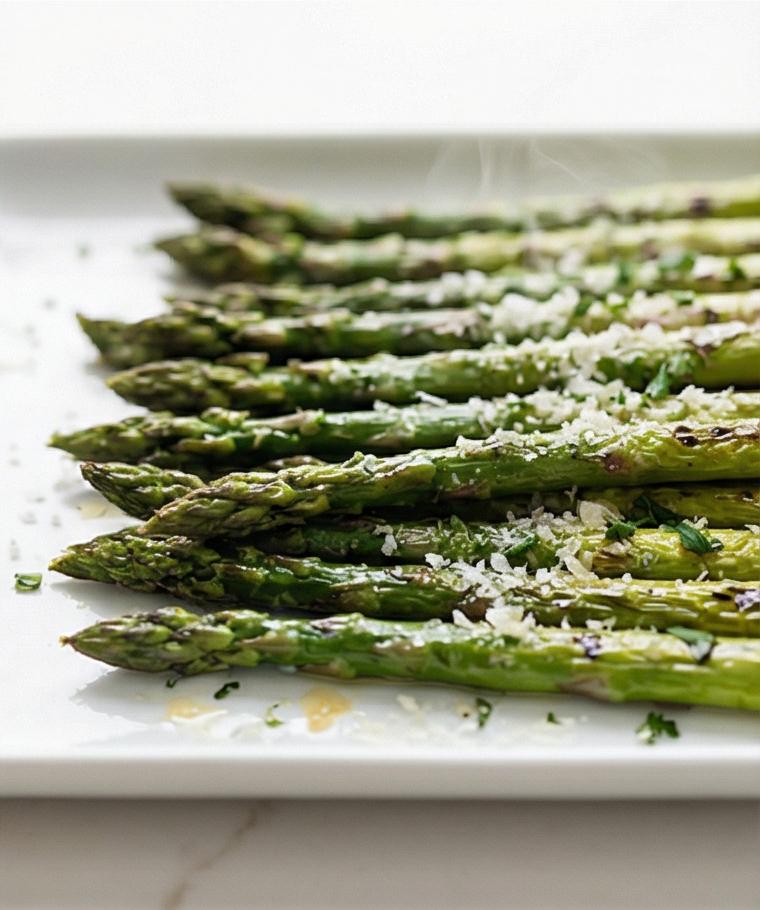
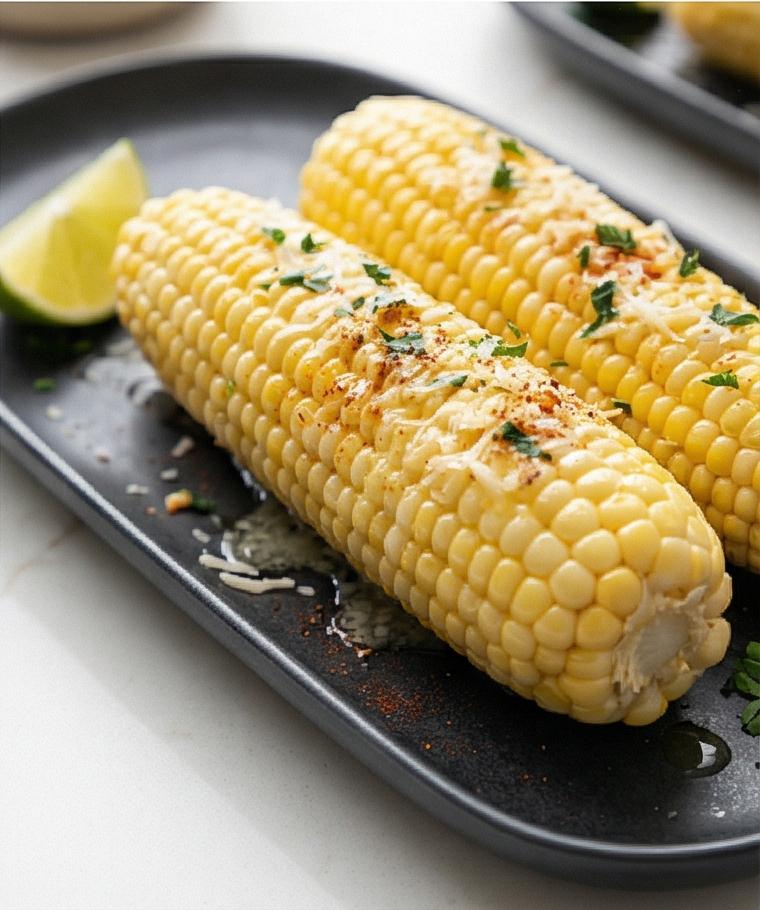
Green Bean Casserole Recipe has been my go-to comfort side for years, and I still make it whenever I want something creamy, crunchy and reliably crowd-pleasing. This Green Bean Casserole Recipe balances crisp fried onions with a silky mushroom sauce so well that people always ask for seconds. I first learned the rhythm of it standing at my grandmother’s counter, and now I find the small rituals of soaking onions and building the sauce as calming as the final, bubbling bake. If you like classic flavors with a little homemade flair, this is worth carving out an afternoon to make.
How This Recipe Became My Rainy-Day Favorite
The first time I made this Green Bean Casserole Recipe for friends it was raining so hard the windows trembled, and the kitchen filled with the warm smell of butter and browned mushrooms. I remember piling the onions into the hot oil and hearing that sharp sizzle, the sound felt like a promise that everything would be all right. When the casserole came out of the oven it was steaming and shining, the creamy sauce peeking through lacy, golden onion crisps. People leaned over the dish like it held a secret, and the room relaxed into slow forks and quiet compliments. That evening taught me that this recipe is more than a side dish: it is a small ceremony of comfort, one you share between the clink of plates and the hush of rain.
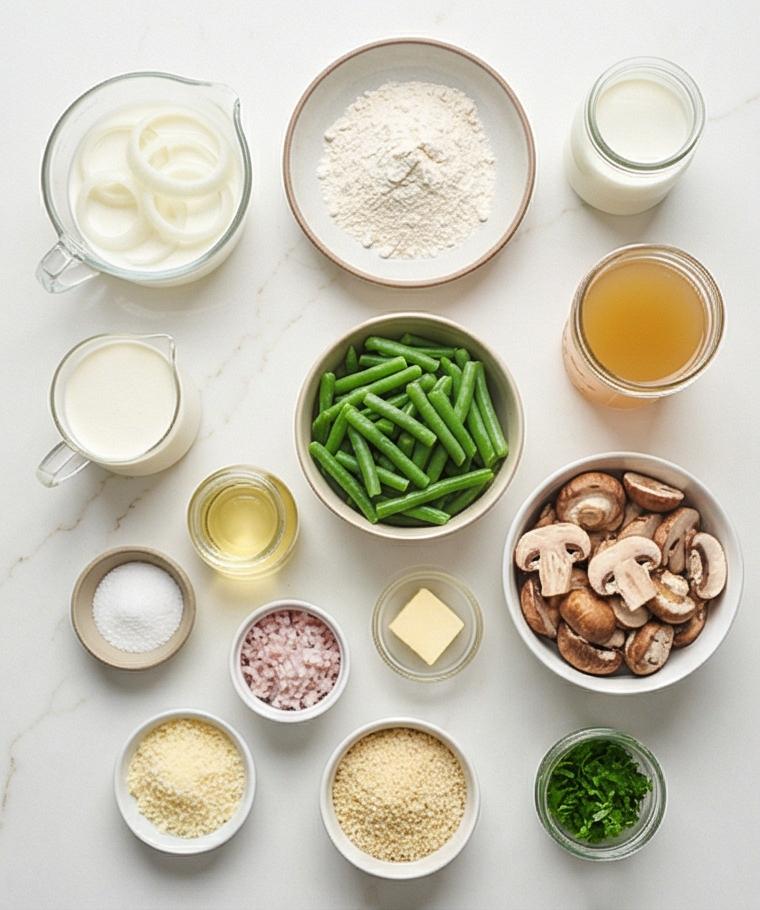
Key Ingredients and Why They Matter
- Yellow Onions: The flavor backbone and texture contrast. Choose firm onions and slice very thin for the crispiest rings. Substitute sweet onions for milder sweetness.
- Fresh Green Beans: Provide snap and color. Pick bright, crisp beans and trim to uniform 2-inch pieces; frozen can work but will be softer.
- Mushrooms: Add umami and body to the sauce. Cremini or white button are ideal; shiitake gives an earthier note.
- Dairy (milk, cream, butter): Creates the silky sauce. Use whole milk and heavy cream for richness; swap to half-and-half for a lighter version.
- All-Purpose Flour: Thickens both the dredge and the sauce. Gluten-free blends can work but expect texture changes.
Essential Kitchen Tools and Friendly Advice
Start with the basics: good tools make this recipe easier and more reliable. A heavy-bottomed pot keeps oil temperature steady for frying, while a wide skillet lets mushrooms brown without crowding. A shallow dish for dredging keeps the coating even. If you don’t own an instant-read thermometer, use a wooden spoon to test oil heat; steady bubbling around a small piece of flour indicates readiness. Baking in a 9×13-inch dish gives the right depth and finish, but a slightly smaller dish is fine if you adjust bake time. Finally, an ice bath and a slotted spoon are small investments that preserve texture and color.
- Heavy-bottomed pot: For frying onions and maintaining oil temperature.
- Wide skillet: For browning mushrooms and building the sauce.
- 9×13-inch baking dish: Ideal for even baking and presentation.
- Shallow dishes: For dredging and holding the flour mix.
- Slotted spoon and tongs: For lifting fried onions and handling beans.
- Instant-read thermometer or wooden spoon: To gauge oil heat and sauce readiness.
Step-by-Step Preparation Guide
Step 1: Soak the Onions and Prep the Dredge
Toss the very thinly sliced yellow onion rings into a medium bowl and pour the chilled buttermilk over them so every ring is lightly saturated; let them rest for at least ten minutes while you whisk the dry dredge. In a shallow dish combine 3/4 cup all-purpose flour, 3/4 teaspoon kosher salt and 1/2 teaspoon freshly ground black pepper, fluffing them together so the flour is uniformly seasoned. This short soak softens the onion centers and helps the flour cling, giving you lacy, crisp edges after frying – think tapered, translucent rings with puffy centers ready for their golden transformation.
Step 2: Fry to Crisp, Drain and Cool
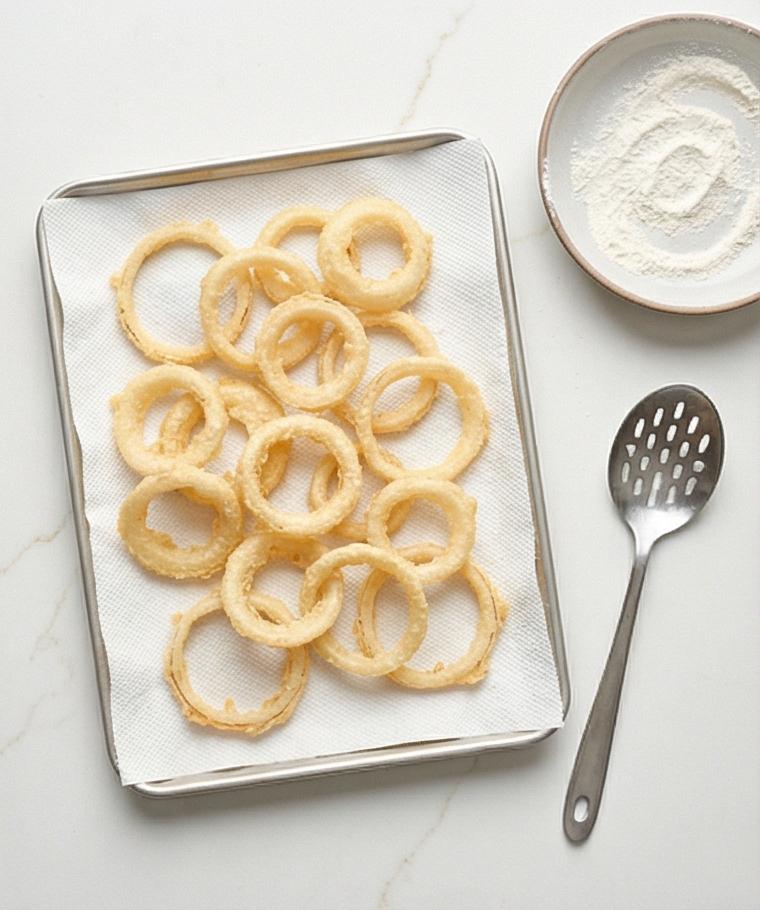
Lift small handfuls of the soaked onions, let excess buttermilk drip, dredge thoroughly in the seasoned flour and lower them into hot oil in batches; fry until light golden and crisp, about 3–5 minutes, then transfer to a paper towel–lined tray to drain and cool – keep them intentionally pale-golden since they will deepen in the oven. Once cooled, set aside about one-third for the final top and let the rest rest in a single layer so they keep their airy, crunchy texture.
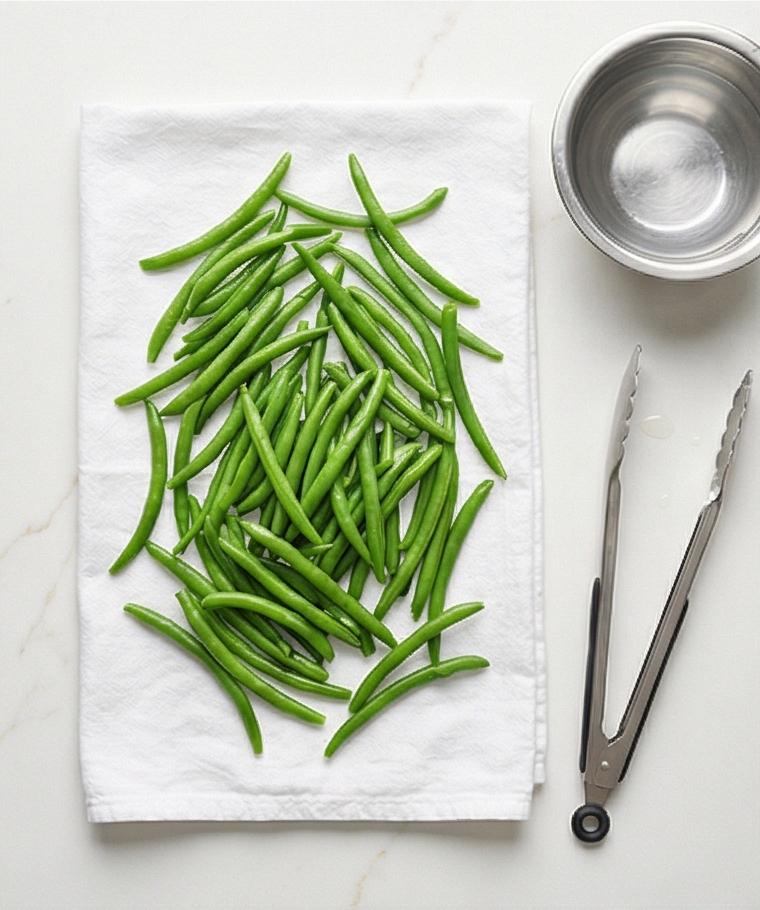
Step 3: Blanch the Green Beans and Shock Them
Bring salted water to a rolling boil, add the trimmed 2-inch green beans and cook just until bright and tender-crisp, then plunge immediately into an ice bath to lock the vivid chartreuse color and firm snap. Drain thoroughly and pat dry so the beans sit glossy but not wet – they should look satin-sheen, with clean cut ends and uniform 2-inch lengths ready to accept the creamy sauce without becoming watery.
Step 4: Brown Mushrooms with Shallot and Garlic
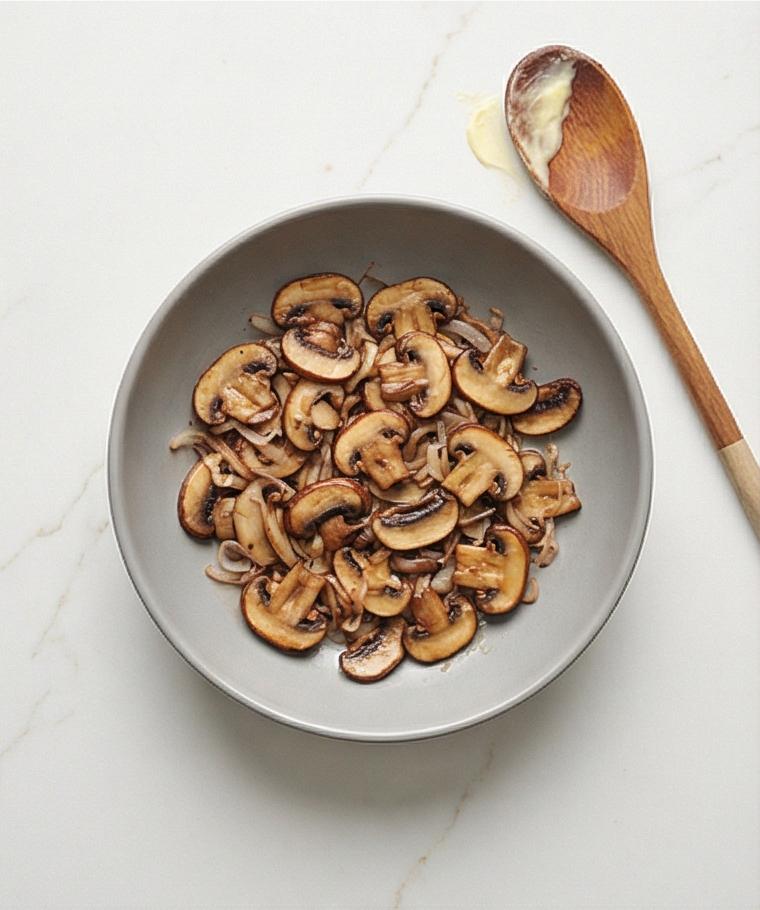
Melt butter and cook the sliced creminis until they release their moisture and develop a warm, caramelized edge; add the minced shallot until translucent and finish with a quick sweep of garlic just until fragrant. The visual here is bronzed mushroom slices with crisped margins and tiny translucent shallot threads, glistening with butter – move them into the same matte ceramic bowl you’ll use for the sauce so the warm, glossy mushrooms and their fond live together and the utensil (a wooden spoon or small spatula) rests on the rim, carrying a smear of golden butter for continuity.
Step 5: Build the Creamy Mushroom Sauce and Combine with Beans
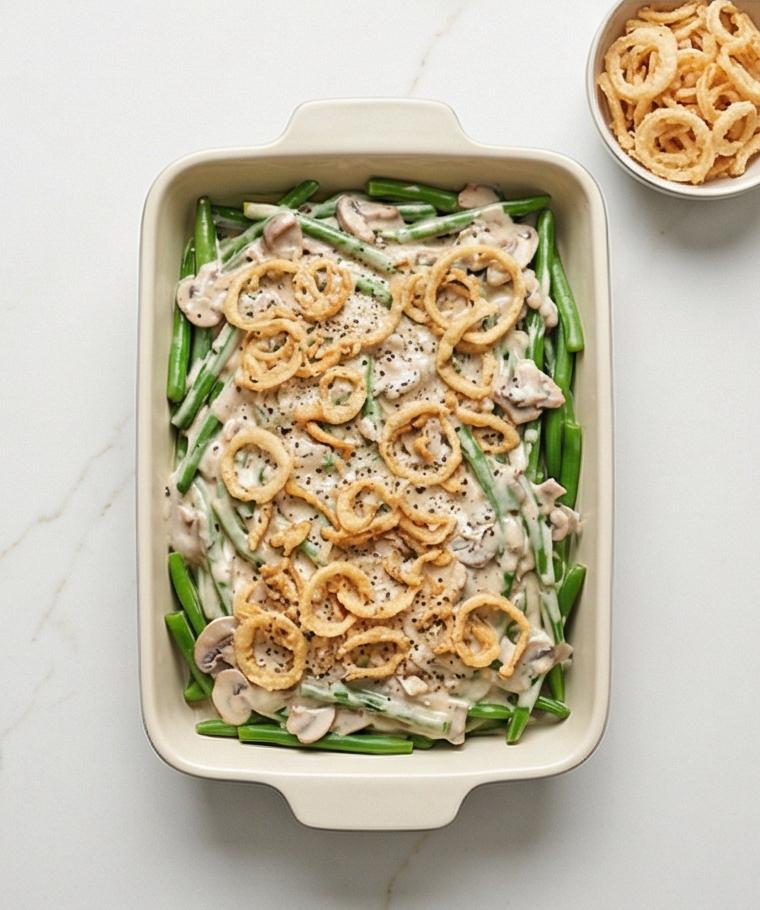
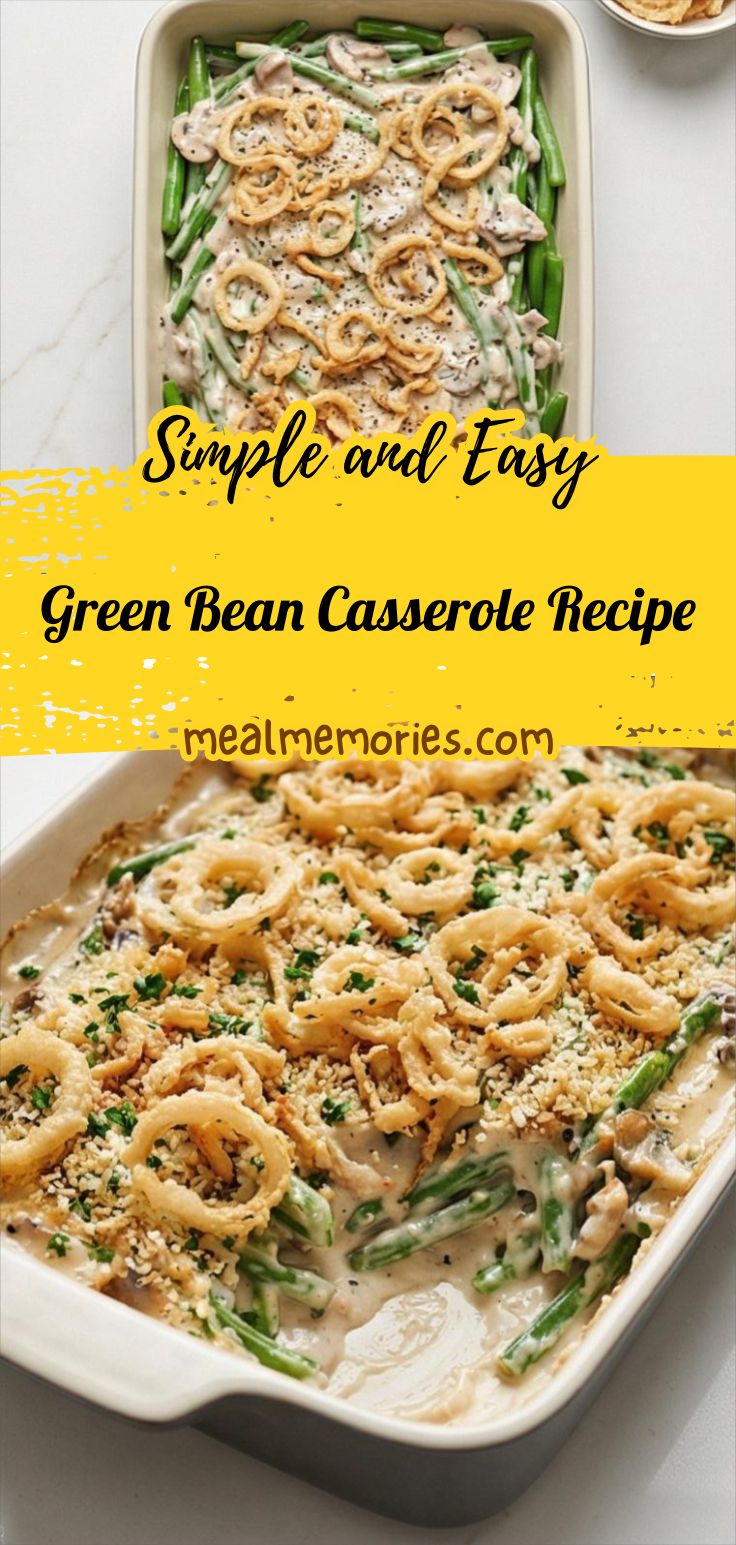
Sprinkle the remaining flour over the mushrooms to form a pale roux, then whisk in broth, whole milk and cream until the mixture becomes a smooth, gently simmering cream that thickly coats a spoon; finish with Worcestershire, Dijon, a hint of nutmeg and the grated Parmesan folded in until glossy. Fold the well-drained blanched green beans into this warm, velvety sauce until each bean is evenly coated – the result should be a creamy, clingy coating with visible mushroom ribbons and flecks of black pepper and parsley. Transfer this mixture into the prepared 9×13-inch rectangular baking dish, spread into an even layer and scatter two-thirds of the fried onions and optional panko over the top, leaving the reserved onions for a later, darker finish. Keep the rectangular baking dish visible on the surface, showing clean edges and the even, mound-free surface ready to bake.
Step 6: Bake, Finish with Reserved Onions, Rest and Serve
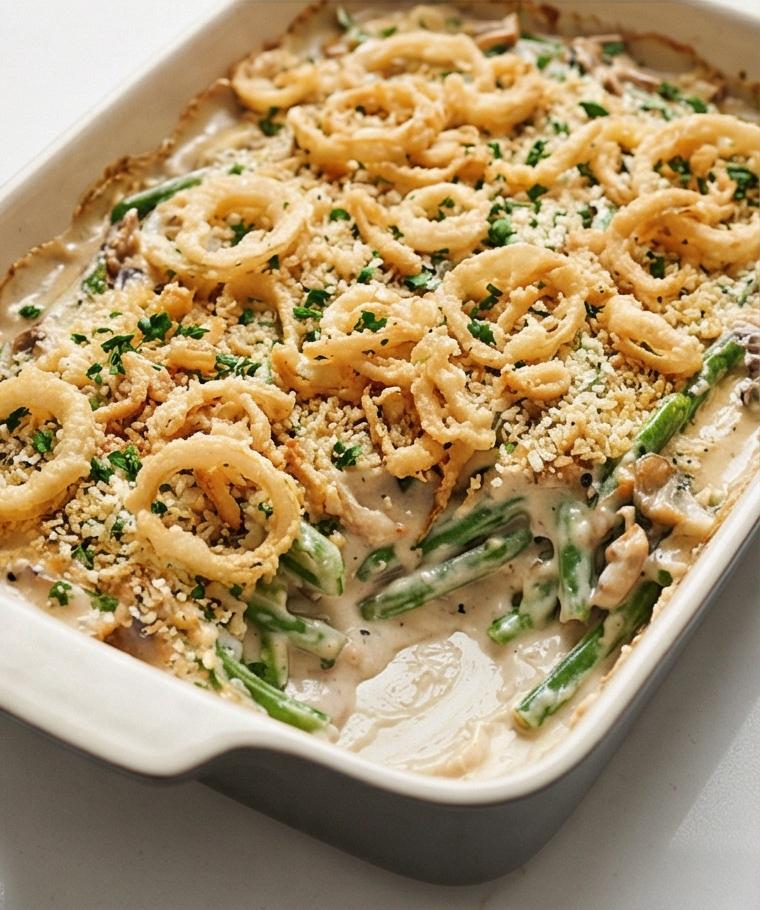
Bake until bubbling at the edges and lightly golden, then mid-bake scatter the reserved fried onions for a deeper golden crown and return briefly to finish; remove, let rest ten minutes so the sauce thickens and serving is neat, and if desired, finish with a scattering of finely chopped fresh parsley. Plate straight from the rectangular 9×13 dish so slices hold their shape and the top shows contrast between molten creamy sauce and crunchy, lacy onion morsels – serve hot within the first 30–45 minutes for best contrasting textures.
Making It Your Own
I treat this Green Bean Casserole Recipe like a template for experiments. For a vegetarian spin, swap the chicken broth for a rich vegetable stock and add a splash of tamari for depth.
Try a smoky twist by stirring in a handful of cooked, crumbled bacon or a spoonful of smoked paprika for a regional nod. Seasonal swaps work well too: in late summer use tender haricots verts and hunt for wild mushrooms. For a lighter version reduce the cream and use whole milk only, or replace the fried onion topping with toasted panko mixed with olive oil and Parmesan for a crunch that is lower in fat but still satisfying.
How to Serve
When hosting, bake in the 9×13-inch dish and bring it to the table straight away so the contrast between bubbling sauce and crisp onions is dramatic. For a family meal, portion into individual ramekins and crisp the reserved onions on top for single-serve presentation. To scale up, double the recipe and use two dishes rather than one oversized pan to keep bake times consistent.
Pair with roast chicken or turkey and a bright salad to cut the richness. If you want to stretch the dish to feed more guests, serve smaller portions alongside several lighter sides so the casserole shines without overwhelming the plate.
Storage and Reheating
Cool any leftovers quickly and refrigerate in an airtight container for up to 3 days; the fried onions will lose some crispness but the flavor holds well. To reheat, loosen the casserole with a splash of milk if the sauce has thickened too much and warm gently in a 350 F oven until bubbling and hot through, about 15-20 minutes.
If you want to freeze, assemble through the topping stage but do not add the reserved onions. Wrap tightly and freeze for up to 2 months. Thaw overnight in the fridge, then bake until heated through and add fresh fried onions at the end for the best texture.
Common Slipups (and How to Fix Them)
A common mistake is frying the onions too dark; keep them pale-golden since they brown more in the oven. If yours go dark, set aside early and use them only as a garnish rather than mixing them in.
Another trap is overcooking the beans during blanching; shock them in ice to stop cooking immediately. If the casserole comes out watery, let it rest longer before serving so the sauce thickens and slices hold shape.
Final Thoughts
I hope this Green Bean Casserole Recipe becomes one of your go-tos for holidays and weeknight comfort alike. It rewards a little attention to technique with deeply satisfying results, and the mix of creamy sauce and crunchy onion topping always brings a table together. Give it a try and make it yours.
Frequently Asked Questions.
- Can I make this Green Bean Casserole Recipe ahead of time and bake it later? Yes, assemble through the topping stage, refrigerate, and bake within 24 hours; add reserved onions mid-bake for best crunch.
- Can I use frozen green beans instead of fresh? You can, but frozen beans will be softer and may release more water; drain and pat dry thoroughly and reduce blanch time.
- Is there a vegetarian version of this Green Bean Casserole Recipe? Absolutely, swap chicken broth for a rich vegetable broth and use vegetarian Worcestershire or a splash of soy sauce for savory depth.
- How do I keep the fried onions crispy? Fry in small batches, drain on paper towels, let them cool in a single layer and add reserved onions near the end of baking for the crispiest finish.
- Can I make this gluten-free? Use a gluten-free all-purpose flour blend for dredging and a gluten-free thickener for the sauce; texture will be slightly different but still tasty.
Green Bean Casserole Recipe
Make Green Bean Casserole Recipe with creamy mushroom sauce and crispy fried onions for a crowd-pleasing side.
Ingredients
Instructions
Step 1: Soak the Onions and Prep the Dredge
Toss the very thinly sliced yellow onion rings into a medium bowl and pour the chilled buttermilk over them so every ring is lightly saturated; let them rest for at least ten minutes while you whisk the dry dredge. In a shallow dish combine 3/4 cup all-purpose flour, 3/4 teaspoon kosher salt and 1/2 teaspoon freshly ground black pepper, fluffing them together so the flour is uniformly seasoned. This short soak softens the onion centers and helps the flour cling, giving you lacy, crisp edges after frying — think tapered, translucent rings with puffy centers ready for their golden transformation.
Step 2: Fry to Crisp, Drain and Cool
Lift small handfuls of the soaked onions, let excess buttermilk drip, dredge thoroughly in the seasoned flour and lower them into hot oil in batches; fry until light golden and crisp, about 3–5 minutes, then transfer to a paper towel–lined tray to drain and cool — keep them intentionally pale-golden since they will deepen in the oven. Once cooled, set aside about one-third for the final top and let the rest rest in a single layer so they keep their airy, crunchy texture.
Step 3: Blanch the Green Beans and Shock Them
Bring salted water to a rolling boil, add the trimmed 2-inch green beans and cook just until bright and tender-crisp, then plunge immediately into an ice bath to lock the vivid chartreuse color and firm snap. Drain thoroughly and pat dry so the beans sit glossy but not wet — they should look satin-sheen, with clean cut ends and uniform 2-inch lengths ready to accept the creamy sauce without becoming watery.
Step 4: Brown Mushrooms with Shallot and Garlic
Melt butter and cook the sliced creminis until they release their moisture and develop a warm, caramelized edge; add the minced shallot until translucent and finish with a quick sweep of garlic just until fragrant. The visual here is bronzed mushroom slices with crisped margins and tiny translucent shallot threads, glistening with butter — move them into the same matte ceramic bowl you’ll use for the sauce so the warm, glossy mushrooms and their fond live together and the utensil (a wooden spoon or small spatula) rests on the rim, carrying a smear of golden butter for continuity.
Step 5: Build the Creamy Mushroom Sauce and Combine with Beans
Sprinkle the remaining flour over the mushrooms to form a pale roux, then whisk in broth, whole milk and cream until the mixture becomes a smooth, gently simmering cream that thickly coats a spoon; finish with Worcestershire, Dijon, a hint of nutmeg and the grated Parmesan folded in until glossy. Fold the well-drained blanched green beans into this warm, velvety sauce until each bean is evenly coated — the result should be a creamy, clingy coating with visible mushroom ribbons and flecks of black pepper and parsley. Transfer this mixture into the prepared 9x13-inch rectangular baking dish, spread into an even layer and scatter two-thirds of the fried onions and optional panko over the top, leaving the reserved onions for a later, darker finish. Keep the rectangular baking dish visible on the surface, showing clean edges and the even, mound-free surface ready to bake.
Step 6: Bake, Finish with Reserved Onions, Rest and Serve
Bake until bubbling at the edges and lightly golden, then mid-bake scatter the reserved fried onions for a deeper golden crown and return briefly to finish; remove, let rest ten minutes so the sauce thickens and serving is neat, and if desired, finish with a scattering of finely chopped fresh parsley. Plate straight from the rectangular 9x13 dish so slices hold their shape and the top shows contrast between molten creamy sauce and crunchy, lacy onion morsels — serve hot within the first 30–45 minutes for best contrasting textures.
Notes
- Reserve one-third of the fried onions to add mid-bake for maximum crunch.
- Use an ice bath to stop the beans cooking instantly and preserve color.
- If sauce is too thin after baking, let the casserole rest 10 minutes to thicken before serving.