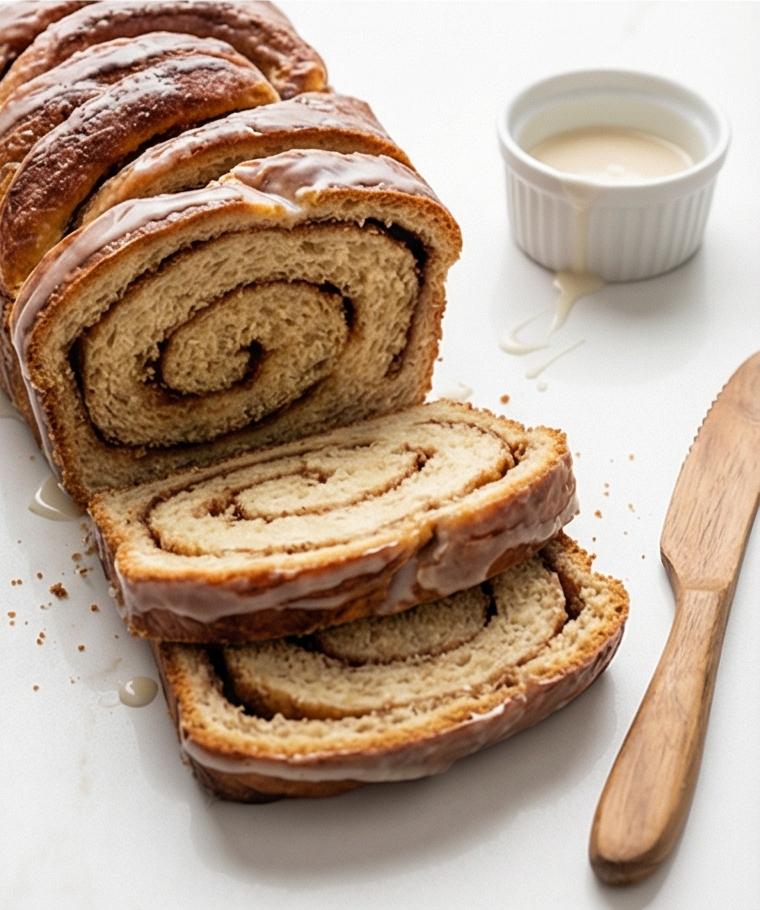
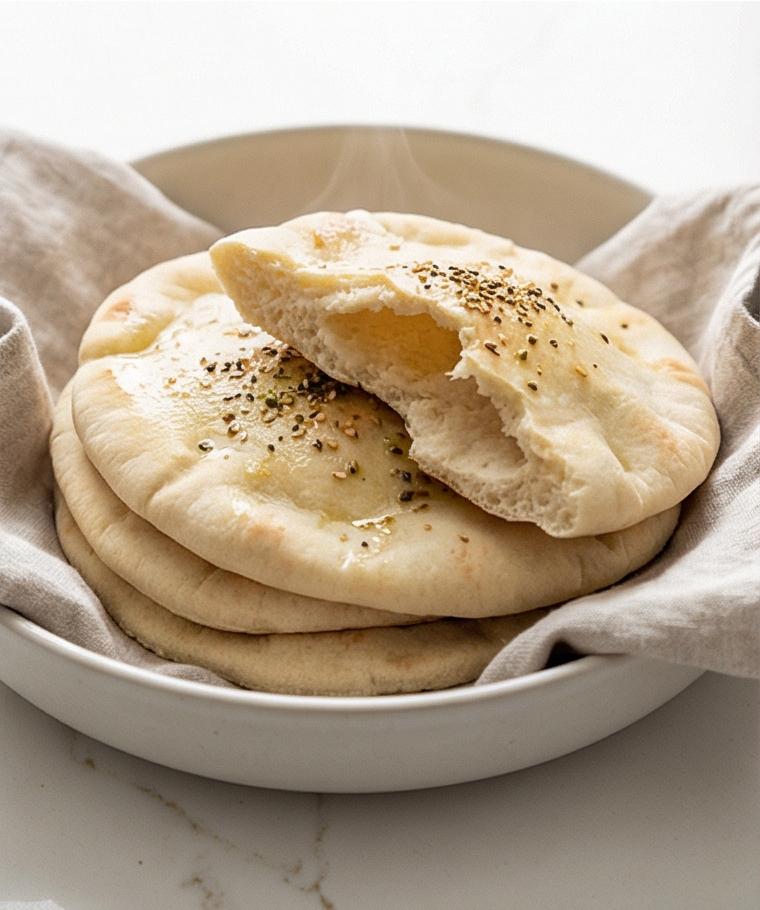
Cheese Bread Recipe is one of those simple joys I go back to when I want something warm, cheesy, and reliably comforting. I first learned this version on a slow afternoon when the smell of melting cheddar filled the kitchen and friends arrived for an impromptu visit. I still make the Cheese Bread Recipe when I need a no-fail centerpiece for a casual dinner or a weekend sandwich that holds up to soup. The loaf is buttery, slightly garlicky if you choose, and threaded with gooey pockets of sharp cheddar that make every slice worth the effort.
How This Recipe Became My Rainy-Day Favorite
The first time I baked this Cheese Bread Recipe it was raining hard outside and I had a stack of good bread flour in the pantry and a fridge full of cheese. I remember pressing my fingertips into the warm dough and feeling it slowly spring back as the yeast worked, while the kitchen filled with a toasted, cheesy aroma that made the whole apartment feel cozier. I was nervous about rolling in the filling, but when the loaf came out of the oven with a glossy, bubbly crust I laughed out loud. A neighbor knocked and we shared steaming slices with butter and a little parsley on top. That memory stuck because the recipe is forgiving, tactile, and instantly rewarding: you can smell the butter and cheddar before you even slice, and the soft crumb somehow tastes like celebration even on a wet weekday.
The Ingredients That Make the Magic
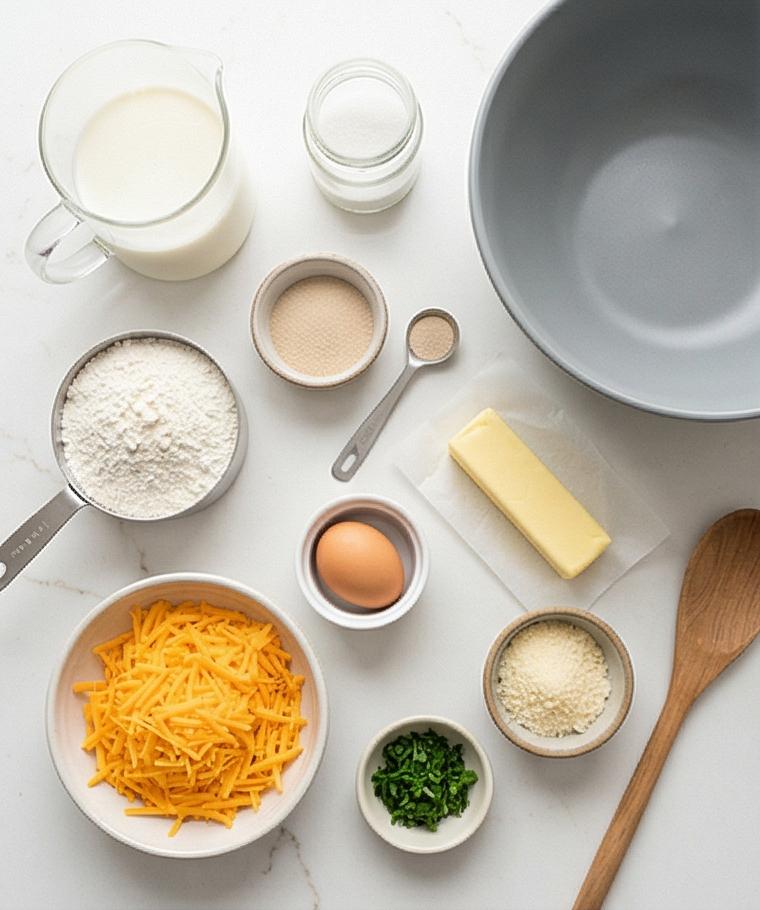
- Whole Milk: Adds richness and helps activate the yeast; substitute with warm half-and-half for extra richness or plant-based milk thinned with a tablespoon of butter if needed.
- Active Dry Yeast: The leavening heart; instant yeast can be used but skip the proof step and add directly to the dry ingredients.
- Bread Flour: Gives structure and chew; all-purpose works in a pinch but expect a slightly softer crumb.
- Butter and Egg: Provide tenderness, flavor, and color; use softened butter for even mixing.
- Sharp Cheddar and Parmesan: The flavor core; swap in Gruyere or smoked gouda for a different profile.
Essential Tools I Rely On
A short intro: This recipe is forgiving, but the right tools make everything smoother and more enjoyable.
- Measuring Cups and Digital Scale: Accurate measurements mean consistent results; weigh flour where possible to avoid dense dough.
- Stand Mixer with Dough Hook (optional): Speeds kneading and is kinder on your hands; a sturdy wooden spoon and extra elbow grease work too.
- 9 x 5-Inch Loaf Pan: Keeps the loaf shaped; you can use a slightly larger pan but the loaf will spread more.
- Bench Scraper: Helps turn and shape the dough cleanly; a spatula or knife can substitute.
- Instant-Read Thermometer: Confirms doneness without guesswork; aim for 190–200°F in the loaf center.
Step-by-Step Preparation Guide
Step 1: Wake and Proof the Yeast
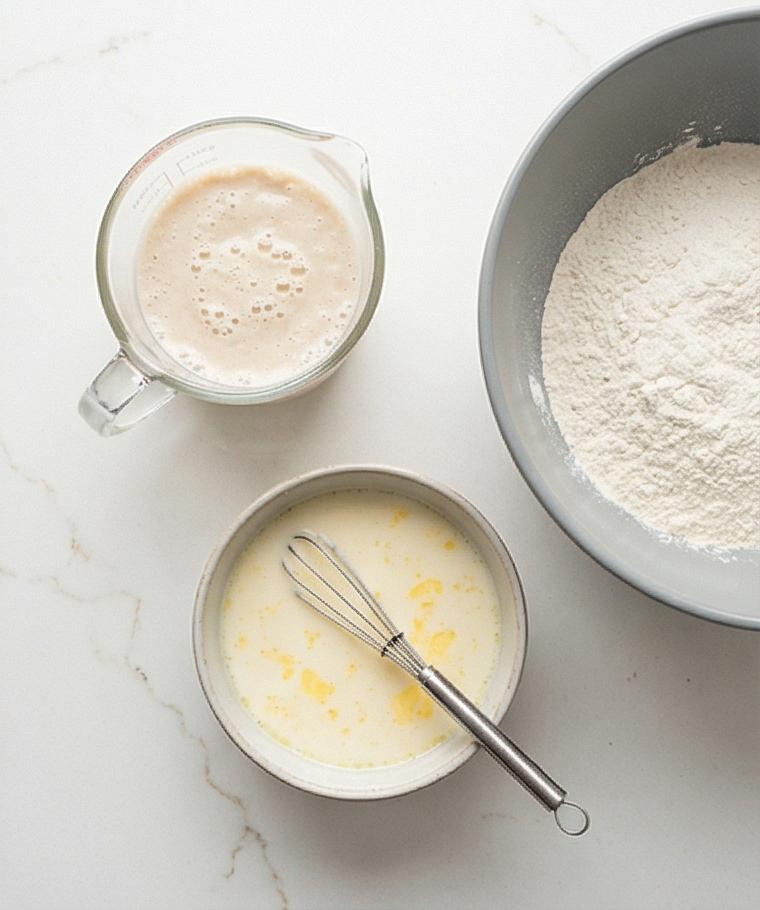
Warm the whole milk until it feels warm but not hot (about 100–110°F / 38–43°C). In a small clear glass jug or measuring cup combine the warmed milk with the granulated sugar, sprinkle the active dry yeast over the surface, and let it sit undisturbed until it becomes visibly foamy and slightly expanded — a soft, airy cap of bubbles that smells faintly yeasty. While the yeast proofs, have a small ramekin with the room-temperature egg and softened butter ready so you can whisk them into the foamy mix; the wet mixture should look creamy with tiny flecks of butter suspended in it.
Step 2: Combine Dry Ingredients and Build the Shaggy Dough
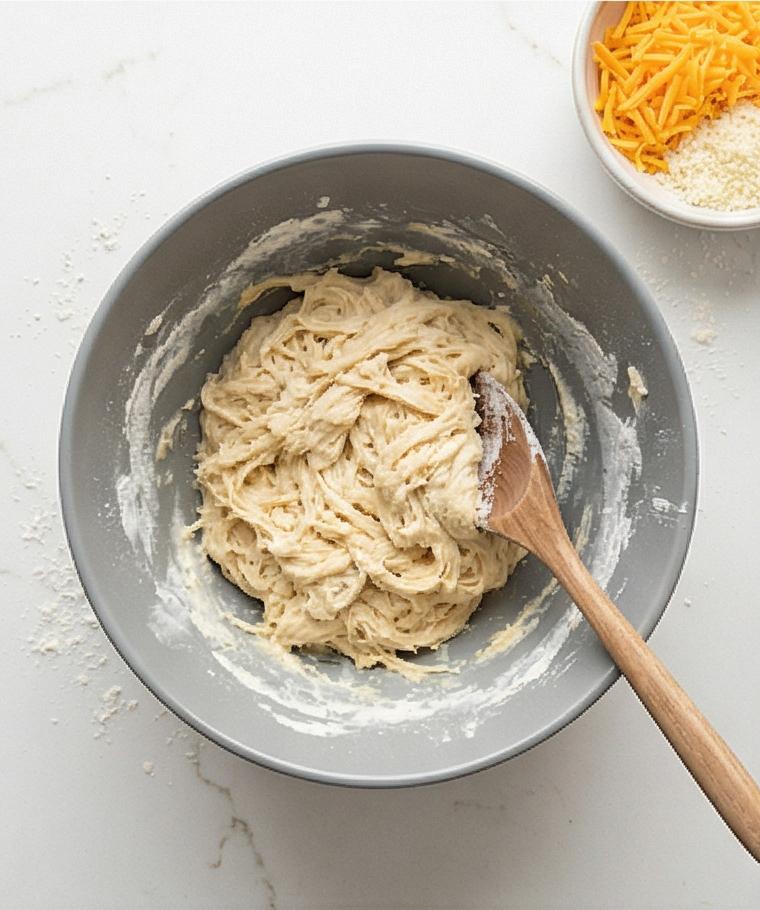
Whisk the bread flour with fine sea salt and garlic powder in a large matte-grey ceramic mixing bowl until evenly distributed. Pour the creamy yeast-and-egg mixture into the dry ingredients and stir with a wooden spoon or dough hook until a rough, shaggy dough forms — no dry pockets but still loose and tacky, with visible strands of flour clinging to the spoon and bowl. The texture should feel coarse and slightly sticky, a clear “before” state that promises elasticity after kneading. Set the bowl (same matte-grey bowl) aside ready for kneading.
Step 3: Knead to a Smooth, Elastic Ball
Knead the dough on a lightly floured surface or in the mixer with the dough hook until it transforms into a smooth, elastic ball that stretches without tearing and springs back slowly when pressed. Adjust with small pinches of extra bread flour only if necessary so the dough remains soft and slightly tacky, not dry. The finished dough should be smooth, slightly glossy from the butter, and show faint windowpane stretch when gently pulled — a tactile, resilient mass that’s ready to be shaped.
Step 4: First Rise, Fill with Cheese, and Shape into a Log
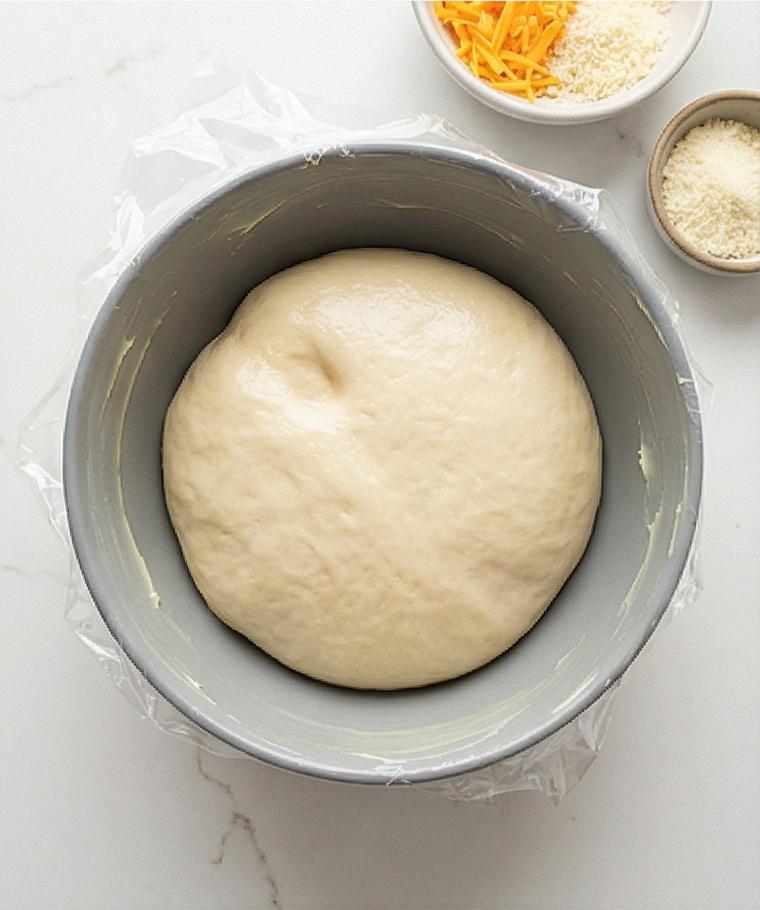
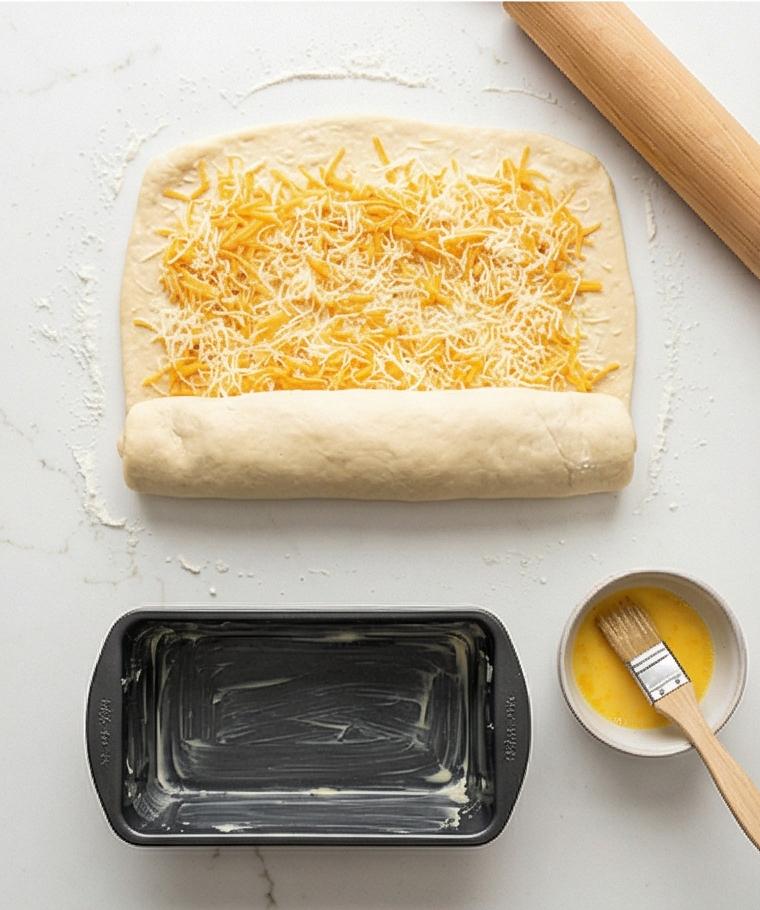
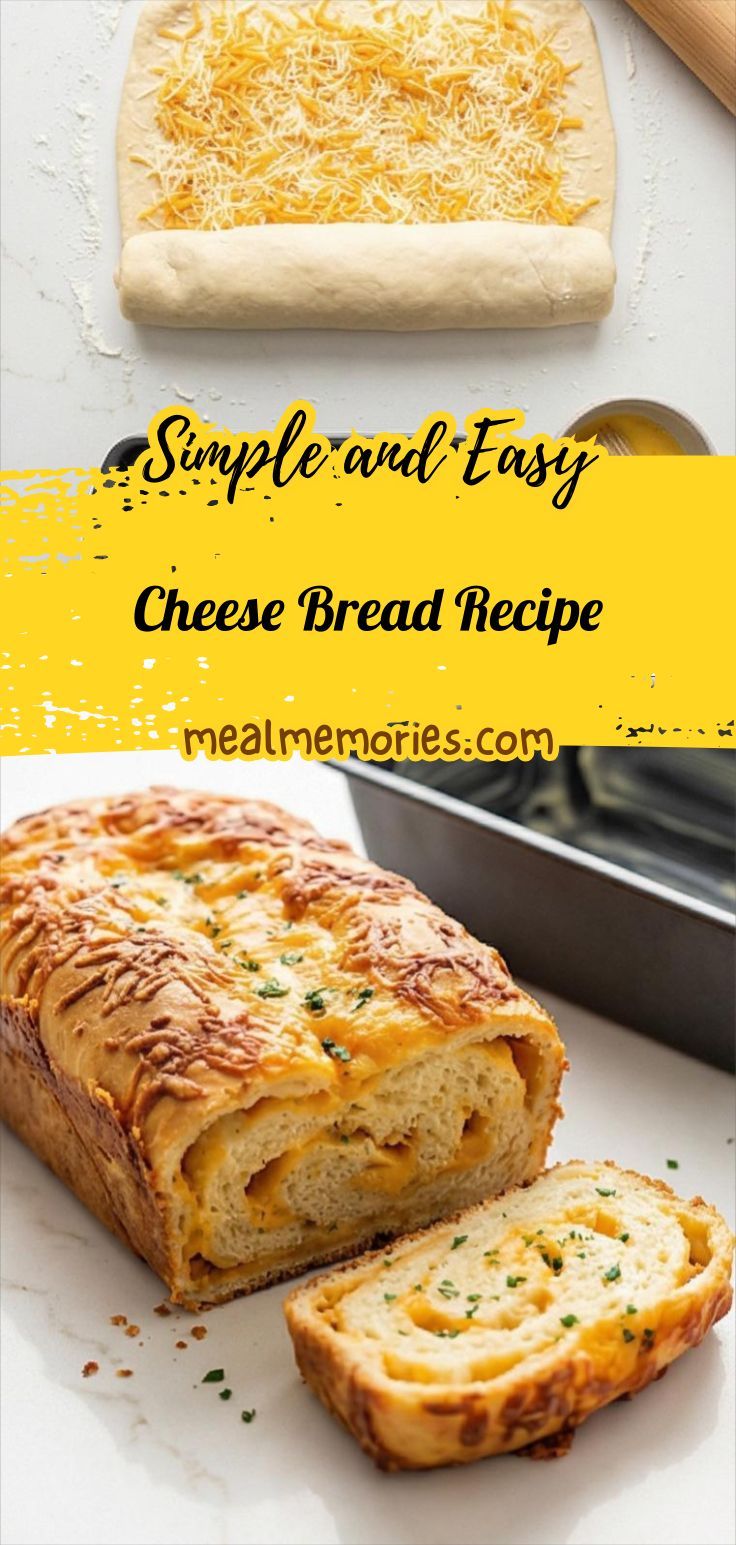
Lightly grease the same large bowl with a thin smear of butter and nestle the dough ball inside, turning once to coat. Cover loosely and let it rise until doubled and pillowy; a fingertip should leave a slow-springing indentation. Meanwhile measure the cheddar and Parmesan into small ceramic bowls. After the first rise, gently degas the dough, roll it out into an even 10 x 14-inch rectangle on a floured surface, sprinkle the interior filling cheeses in an even layer leaving a small border, then roll tightly into a log and seal the seam and ends to trap the cheese. Grease a 9 x 5-inch rectangular loaf pan thoroughly with butter and transfer the filled log seam-side down into the pan, adjusting it to fit evenly.
Step 5: Final Rise, Egg Wash, Bake, Cool, and Slice
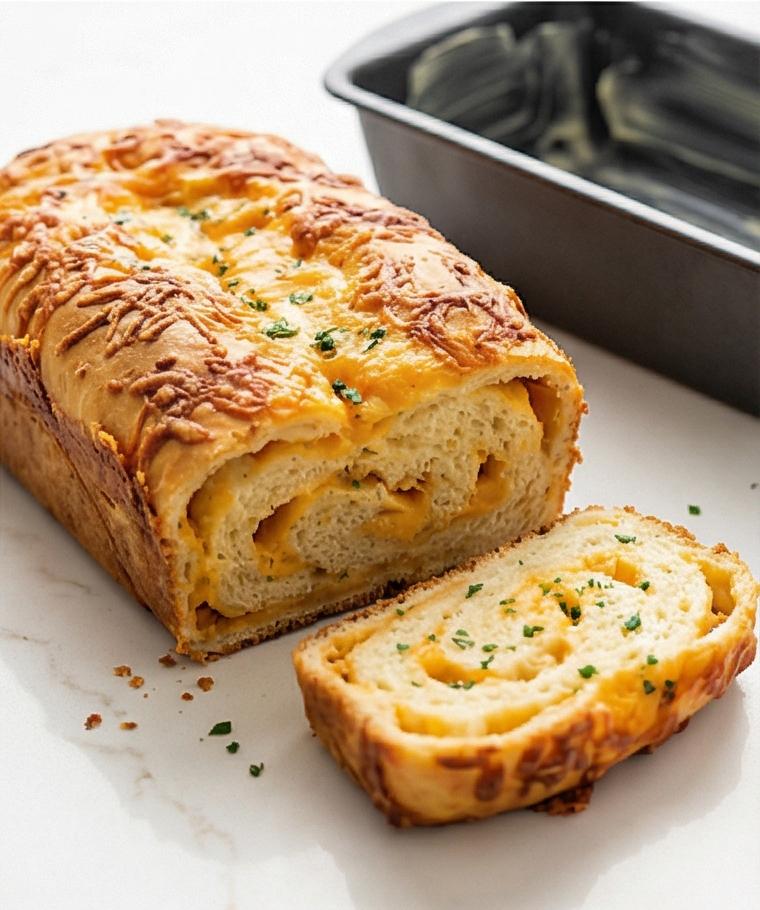
Cover the pan for a second rise until the loaf puffs about 1 inch above the rim. Whisk an egg with a tablespoon of milk to a smooth egg wash in a small bowl and, without deflating the loaf, brush a thin even coat over the risen top. Immediately scatter the reserved shredded cheddar and grated Parmesan evenly across the crust so they adhere. Bake until deep golden-brown with glossy, bubbly melted cheese on top and an interior temperature around 190–200°F (88–93°C). Let the loaf rest in the pan 10–15 minutes, then turn out onto a rack and cool at least 30–45 minutes before slicing; the crumb should be warm, tender, slightly stretchy with visible swirls and pockets of melted cheddar. Finish with a light sprinkle of chopped parsley or chives and slice with a serrated knife into 3/4–1 inch thick slices.
Making It Your Own
I love swapping cheeses as a simple experiment. Try smoked gouda for a campfire note or Gruyere for a nuttier profile. For a spicy twist, fold in a handful of finely chopped jalapenos or a teaspoon of smoked paprika with the filling cheese. For a vegetarian but lighter loaf, use reduced-fat cheddar and cut back to 2 tablespoons of butter; the texture will be slightly less tender but still satisfying.
If you need a dairy-free version, use a vegan butter and a plant-based shredded cheese made for melting; expect a different crumb and more moisture, so reduce added milk slightly. For a seasonal twist, add roasted garlic or caramelized onions to the filling — they introduce sweet, savory pockets that pair beautifully with the cheddar.
How to Serve
When I host, I slice the Cheese Bread Recipe into 3/4 inch pieces and lay them on a long wooden board with pats of butter, a bowl of tomato soup, and a simple green salad. For a casual buffet, halve the slices for sliders and add roasted turkey or smoked ham.
To scale up, bake multiple loaves and keep them warm in a low oven (200°F) wrapped in foil. To serve a smaller crowd, cut the loaf in half before baking in two smaller pans for faster rise and a slightly different crust-to-crumb ratio.
Garnish with chopped parsley or chives and a scattering of extra grated Parmesan for a glossy, photogenic finish.
Storage and Reheating Tips
Cool the loaf completely before storing to prevent sogginess. Wrapped tightly in plastic wrap and stored in an airtight container, the loaf keeps at room temperature for 2 days or in the refrigerator for up to 5 days. For longer storage, slice and freeze in a single layer on a sheet pan, then transfer to a zip-top bag for up to 3 months.
To reheat, toast individual slices in a skillet over medium heat until the crust re-crisps and the cheese softens, or warm in a 350°F oven for 8–10 minutes from room temperature. For frozen slices, thaw briefly at room temperature then reheat as above for best texture.
Common Mistakes and How to Avoid Them
Not proofing the yeast properly can leave the loaf dense. Always check for a foamy, bubbly yeast cap before mixing; if it fails to foam, start over with fresh yeast and warmer milk.
Over-flouring during kneading will create a dry, heavy crumb. Add flour sparingly and aim for a soft, slightly tacky dough. Also, be gentle when rolling the filling in; seal seams well so cheese does not leak and burn on the pan.
Final Thoughts and Encouragement
Give the Cheese Bread Recipe a try even if you fear bread baking; it rewards a bit of patience with big flavor. The process is hands-on, comforting, and flexible, and you end up with a loaf that makes sandwiches, soups, and snack time better.
Frequently Asked Questions
- Can I use instant yeast instead of active dry yeast? Yes, use instant yeast but add it directly to the dry ingredients and skip the proofing step.
- Can I swap all-purpose flour for bread flour? Yes, you can, but expect a slightly softer, less chewy crumb when using all-purpose flour.
- How do I know when the loaf is done? The best check is an instant-read thermometer: the interior should be 190–200°F (88–93°C). The crust should be deep golden-brown and bubbly.
- Can I make this gluten-free? You can try a gluten-free flour blend formulated for yeast breads, but texture will differ and may need xanthan gum or other binders.
- What are good cheese substitutions? Gruyere, smoked gouda, or a sharper white cheddar work well; mix textures for best melt and flavor.
Cheese Bread Recipe
Bake the Cheese Bread Recipe for a warm, cheesy loaf perfect for sandwiches and soup nights.
Ingredients
Instructions
Step 1: Wake and Proof the Yeast
Warm the whole milk until it feels warm but not hot (about 100–110°F / 38–43°C). In a small clear glass jug or measuring cup combine the warmed milk with the granulated sugar, sprinkle the active dry yeast over the surface, and let it sit undisturbed until it becomes visibly foamy and slightly expanded — a soft, airy cap of bubbles that smells faintly yeasty. While the yeast proofs, have a small ramekin with the room-temperature egg and softened butter ready so you can whisk them into the foamy mix; the wet mixture should look creamy with tiny flecks of butter suspended in it.
Step 2: Combine Dry Ingredients and Build the Shaggy Dough
Whisk the bread flour with fine sea salt and garlic powder in a large matte-grey ceramic mixing bowl until evenly distributed. Pour the creamy yeast-and-egg mixture into the dry ingredients and stir with a wooden spoon or dough hook until a rough, shaggy dough forms — no dry pockets but still loose and tacky, with visible strands of flour clinging to the spoon and bowl. The texture should feel coarse and slightly sticky, a clear “before” state that promises elasticity after kneading. Set the bowl (same matte-grey bowl) aside ready for kneading.
Step 3: Knead to a Smooth, Elastic Ball
Knead the dough on a lightly floured surface or in the mixer with the dough hook until it transforms into a smooth, elastic ball that stretches without tearing and springs back slowly when pressed. Adjust with small pinches of extra bread flour only if necessary so the dough remains soft and slightly tacky, not dry. The finished dough should be smooth, slightly glossy from the butter, and show faint windowpane stretch when gently pulled — a tactile, resilient mass that’s ready to be shaped.
Step 4: First Rise, Fill with Cheese, and Shape into a Log
Lightly grease the same large bowl with a thin smear of butter and nestle the dough ball inside, turning once to coat. Cover loosely and let it rise until doubled and pillowy; a fingertip should leave a slow-springing indentation. Meanwhile measure the cheddar and Parmesan into small ceramic bowls. After the first rise, gently degas the dough, roll it out into an even 10 x 14-inch rectangle on a floured surface, sprinkle the interior filling cheeses in an even layer leaving a small border, then roll tightly into a log and seal the seam and ends to trap the cheese. Grease a 9 x 5-inch rectangular loaf pan thoroughly with butter and transfer the filled log seam-side down into the pan, adjusting it to fit evenly.
Step 5: Final Rise, Egg Wash, Bake, Cool, and Slice
Cover the pan for a second rise until the loaf puffs about 1 inch above the rim. Whisk an egg with a tablespoon of milk to a smooth egg wash in a small bowl and, without deflating the loaf, brush a thin even coat over the risen top. Immediately scatter the reserved shredded cheddar and grated Parmesan evenly across the crust so they adhere. Bake until deep golden-brown with glossy, bubbly melted cheese on top and an interior temperature around 190–200°F (88–93°C). Let the loaf rest in the pan 10–15 minutes, then turn out onto a rack and cool at least 30–45 minutes before slicing; the crumb should be warm, tender, slightly stretchy with visible swirls and pockets of melted cheddar. Finish with a light sprinkle of chopped parsley or chives and slice with a serrated knife into 3/4–1 inch thick slices.
Notes
- Use an instant-read thermometer to ensure the loaf reaches 190–200°F for perfect doneness.
- Weigh flour when possible for consistent results and avoid a dense loaf.
- If the yeast does not foam during proofing, start again with fresh yeast and slightly warmer milk.
- Freeze sliced portions on a sheet pan before bagging for easy future toasting.
- For extra flavor, fold in roasted garlic or caramelized onions with the shredded cheese.