Rhubarb Cake has been one of my go-to spring desserts for years, and I still love how a simple tray of it can brighten an ordinary afternoon. The tart rhubarb and sweet crumb create a perfect contrast, and this Rhubarb Cake is forgiving enough for a busy weeknight bake. I keep a 9×13 pan ready when rhubarb is in season, and the smell as it bakes always draws my family to the kitchen. If you like easy, nostalgic desserts that taste like sunshine, this is one to try.
How This Rhubarb Cake Became My Rainy-Day Favorite
I remember the first time I made this Rhubarb Cake on a wet April afternoon when the garden was full of pink stalks. The kitchen felt warm against the rain outside, and the sharp, green-sour scent of chopped rhubarb filled the air as I tossed it with flour to keep it from sinking. When the cake came out golden with a crackly sugared top, my partner and I sat with spoons and a melting scoop of vanilla ice cream, feeling like kids again. It became a ritual: rainy days, rhubarb cake, and slow conversation. That sensory memory still pulls me into the kitchen whenever the stalks appear in the market.
The Stars of the Cake
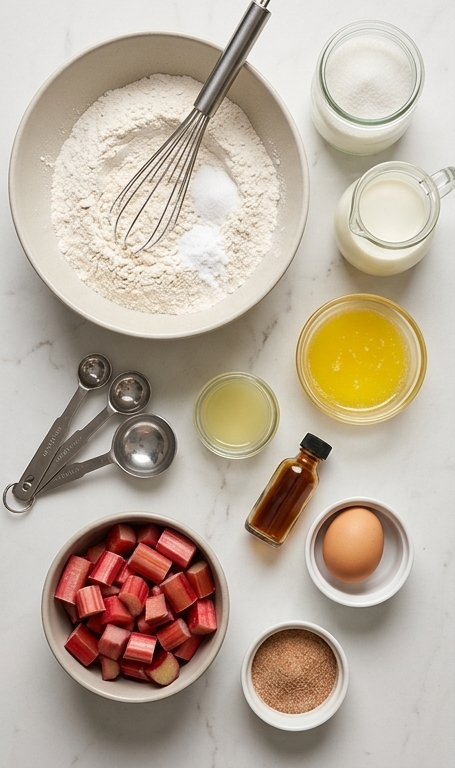
- All-Purpose Flour: The base that gives structure; sift or whisk to keep it light. Substitute half whole wheat for nuttiness but expect a denser crumb.
- Granulated Sugar: Sweetens and tenderizes; you can switch to coconut sugar for a deeper caramel note, but color will darken.
- Milk: Adds moisture and helps dissolve the sugar; use buttermilk for a tangier lift.
- Unsalted Butter: Provides richness and flavor; melted butter keeps the batter smooth. Use neutral oil for a dairy-free swap.
- Fresh Rhubarb: The star tart element; choose firm, brightly colored stalks and trim any tough ends.
Kitchen Tools You’ll Want
Start with a short intro: the right tools make this Rhubarb Cake easier and more reliable. A 9×13 pan gives the classic sheet-cake shape and even baking. Mixing bowls keep wet and dry ingredients separate so you avoid overmixing. A spatula helps you transfer batter and smooth the top for even browning. If you don’t have a ramekin, use a small bowl for the topping mix.
- 9×13-inch baking pan: Ensures the correct depth and bake time – line with parchment for easy removal.
- Large mixing bowl: For whisking dry ingredients – choose a bowl with room to stir.
- Small bowl or measuring jug: For wet ingredients – helps combine liquids evenly.
- Whisk and spatula: Whisk aerates dry ingredients; spatula folds without overworking.
- Measuring cups and spoons: Accuracy matters for consistent texture – use level measures.
Step-by-Step Preparation Guide
Step 1: Preheat and Prepare the Pan
Preheat the oven to 350°F and generously grease a 9×13-inch baking pan, tapping out any excess so the surface is evenly coated; set the greased rectangular pan aside on the quartzite countertop to stay ready. This step ensures even browning and an easy release later – it’s quick but essential, so do it first and let the pan wait quietly on the table.
Step 2: Whisk the Dry Ingredients
In a large bowl whisk together the all-purpose flour, salt, and baking soda until uniform and airy; this distributes the leavening and salt perfectly and keeps the flour lump-free. Leave the dry mix in the bowl on the work surface, a light dusting on the rim and a gentle floury texture visible in the bowl.
Step 3: Combine the Wet Ingredients
In a small bowl or measuring jug combine the granulated sugar, milk, melted butter, fresh lemon juice, and vanilla extract, stirring until the sugar begins to dissolve and the mixture looks slightly glossy. Crack and beat the room-temperature egg separately, then stir it into this wet mixture until smooth — the wet batter should appear cohesive, slightly glossy, and pourable.
Step 4: Fold the Rhubarb into the Dry Mix
Tip the chopped fresh rhubarb into the bowl with the flour mixture and gently toss so each piece is lightly coated with flour. This keeps the rhubarb suspended in the batter later, preventing it from sinking and ensuring bright pink pockets within the cake.
Step 5: Combine Wet and Dry into a Batter
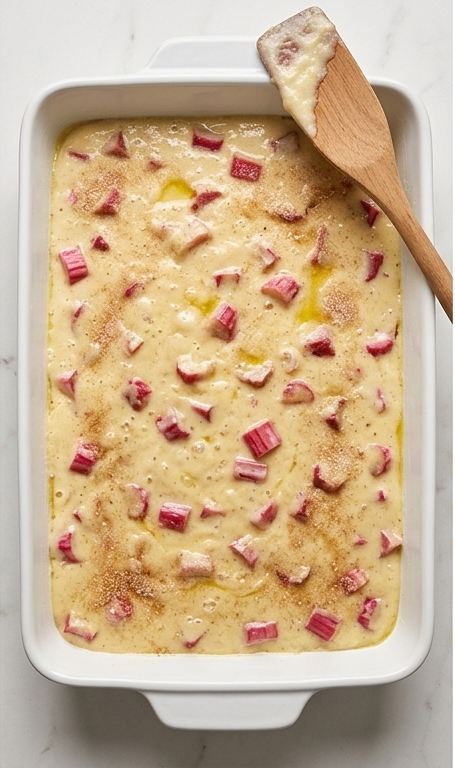
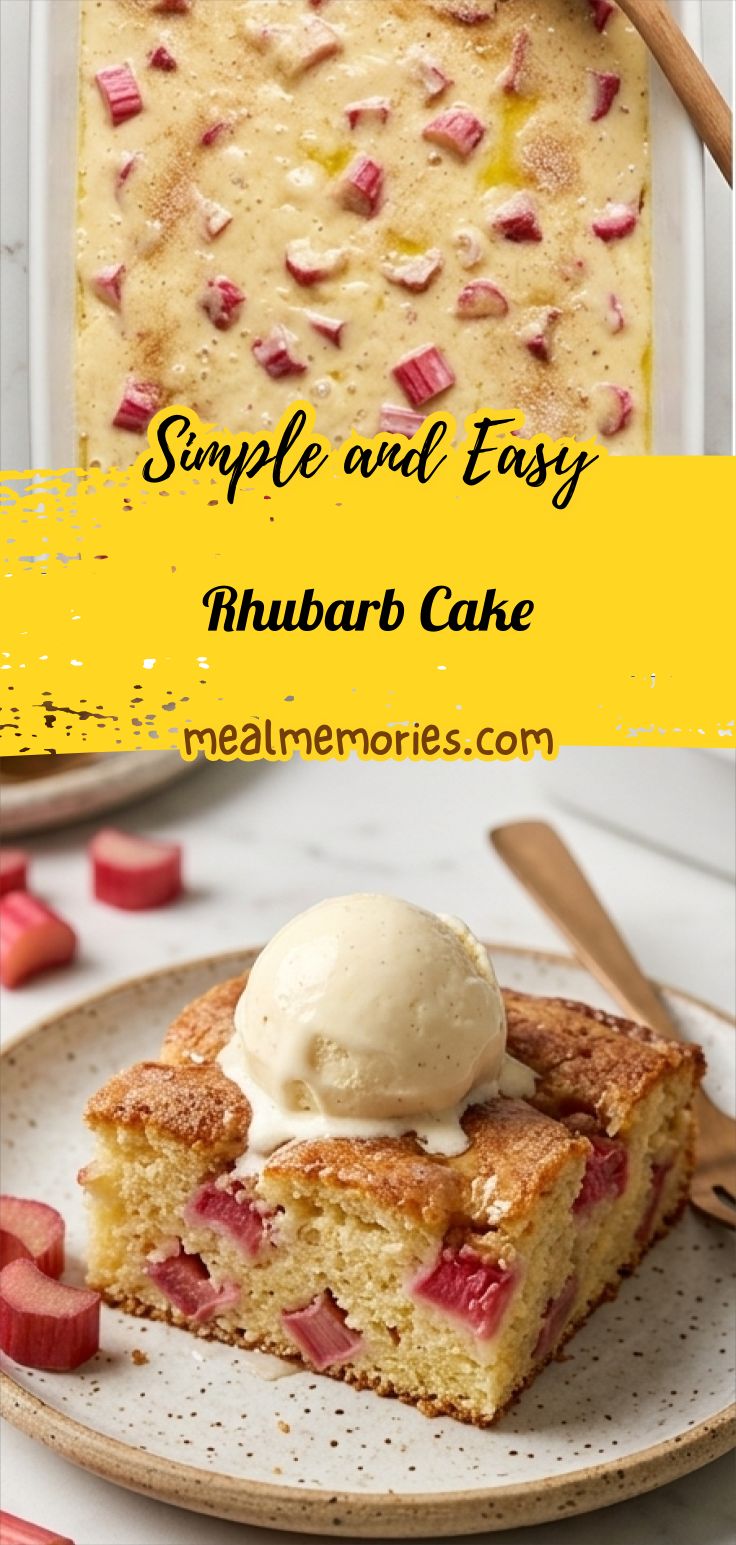
Pour the wet mixture into the flour-and-rhubarb bowl and stir with a spoon just until combined: the batter should be thick but pourable, pale yellow, speckled with vibrant pink rhubarb chunks and showing small streaks of melted butter. Avoid overmixing so the crumb stays tender and rhubarb retains its texture.
Step 6: Transfer, Top, and Smooth
Transfer the batter into the prepared 9×13-inch pan, smoothing the surface with a spatula so it’s level and the rhubarb sits evenly. In a small ramekin combine the topping sugar and cinnamon and sprinkle it evenly over the top so a fine granular crust will form as it bakes.
Step 7: Bake Until Just Done
Bake the pan for 40–45 minutes, or until a toothpick inserted near the center comes out clean; the top should be golden-brown with a slightly crusty texture while the interior stays moist. Remove the pan to the countertop and let it cool until it’s safe to handle.
Step 8: Cool, Slice, and Serve with Ice Cream
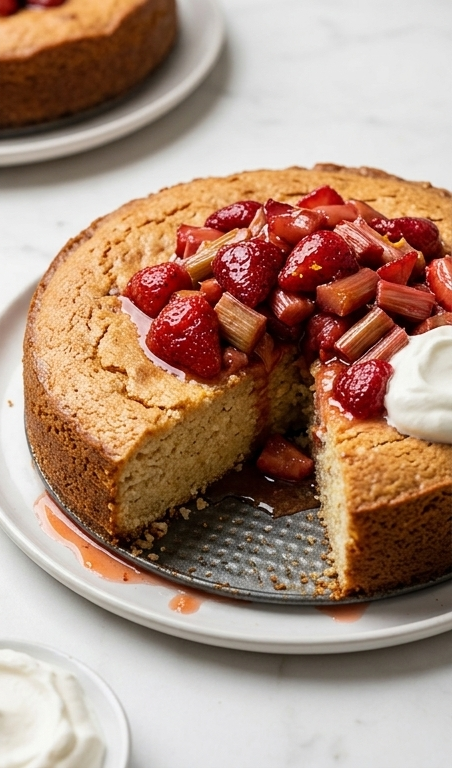
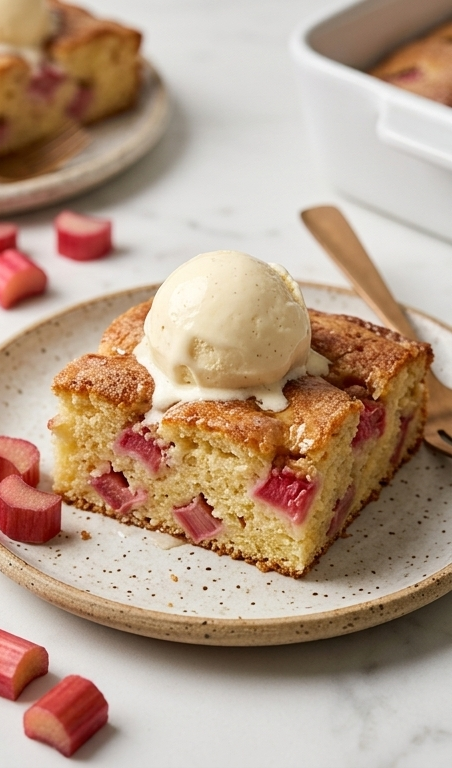
Once cooled, slice rectangular pieces from the pan and serve a slice on a plate with a generous scoop of vanilla ice cream that will glisten and soften slightly against the warm cake. Garnish with a few extra rhubarb pieces if you like and enjoy the contrast of the crispy top, tender pale-yellow crumb, and bright ruby rhubarb.
Making It Your Own
I often experiment with small swaps and keep notes on what works. Try adding a streusel topping for more crunch in one batch; I love a mix of oats, brown sugar, and cold butter for a rustic finish. For a dairy-free version, replace the milk and butter with almond milk and melted coconut oil and expect a slightly different texture.
If you want a brighter lemon note, add a teaspoon of lemon zest to the wet mix. When I reduced the sugar by a quarter the cake was still balanced with slightly more rhubarb tang, which my family enjoyed; just watch the topping sugar so the crust still forms.
How to Serve
Picture a casual spring brunch: slice the Rhubarb Cake into rectangles and arrange them on a platter amid fresh flowers. For a cozy dessert course, plate each slice with a scoop of vanilla ice cream and a sprig of mint. If you are serving a larger group, cut smaller portions and serve family-style with small bowls of whipped cream and ice cream so guests can choose.
To make it elegant for a dinner party, dust the slices lightly with confectioners sugar and serve on warm plates; for a picnic, pack cooled slices between parchment so they travel well.
Storage and Reheating Tips
Store any leftover Rhubarb Cake at room temperature covered with foil for up to two days to preserve the crust. For longer storage, wrap tightly and refrigerate for up to five days; bring slices to room temperature before serving for the best texture.
To reheat, pop a slice in a 325°F oven for 8 to 10 minutes or microwave briefly for 20 to 30 seconds if you are short on time. If frozen, thaw overnight in the fridge and reheat as above.
Common Slip-Ups and How to Avoid Them
One common mistake is overmixing the batter. Stir just until combined so the crumb stays tender and the rhubarb keeps its lovely pockets of color.
Another is using soggy or overly wet rhubarb. Pat larger pieces dry if they seem juicy and cut uniformly so the cake bakes evenly.
Final Thoughts
Give this Rhubarb Cake a try the next time you spot fresh stalks at the market. It is simple, reliably delicious, and full of bright flavor that tastes like spring on a plate. You might find, like I did, that it becomes a small tradition in your home.
Frequently Asked Questions.
- Can I use frozen rhubarb in Rhubarb Cake? Yes, you can use frozen rhubarb but thaw and drain it well so excess liquid does not thin the batter.
- How tart will the Rhubarb Cake be? The cake balances tart and sweet; adjust sugar slightly if you prefer a milder tartness.
- Can I halve the recipe for a smaller pan? Yes, halve ingredients and use an 8×8-inch pan; reduce baking time and check for doneness earlier.
- Is there a gluten-free option for this Rhubarb Cake? Substitute a 1-to-1 gluten-free flour blend and expect a slightly different texture but similar flavor.
- How should I know when the cake is done? Insert a toothpick near the center – it should come out clean or with a few moist crumbs.
Rhubarb Cake
Bake Rhubarb Cake for a tender, tangy 9x13 dessert—serve warm with vanilla ice cream.
Ingredients
Instructions
Step 1: Preheat and Prepare the Pan
Preheat the oven to 350°F and generously grease a 9x13-inch baking pan, tapping out any excess so the surface is evenly coated; set the greased rectangular pan aside on the quartzite countertop to stay ready. This step ensures even browning and an easy release later — it’s quick but essential, so do it first and let the pan wait quietly on the table.
Step 2: Whisk the Dry Ingredients
In a large bowl whisk together the all-purpose flour, salt, and baking soda until uniform and airy; this distributes the leavening and salt perfectly and keeps the flour lump-free. Leave the dry mix in the bowl on the work surface, a light dusting on the rim and a gentle floury texture visible in the bowl.
Step 3: Combine the Wet Ingredients
In a small bowl or measuring jug combine the granulated sugar, milk, melted butter, fresh lemon juice, and vanilla extract, stirring until the sugar begins to dissolve and the mixture looks slightly glossy. Crack and beat the room-temperature egg separately, then stir it into this wet mixture until smooth — the wet batter should appear cohesive, slightly glossy, and pourable.
Step 4: Fold the Rhubarb into the Dry Mix
Tip the chopped fresh rhubarb into the bowl with the flour mixture and gently toss so each piece is lightly coated with flour. This keeps the rhubarb suspended in the batter later, preventing it from sinking and ensuring bright pink pockets within the cake.
Step 5: Combine Wet and Dry into a Batter
Pour the wet mixture into the flour-and-rhubarb bowl and stir with a spoon just until combined: the batter should be thick but pourable, pale yellow, speckled with vibrant pink rhubarb chunks and showing small streaks of melted butter. Avoid overmixing so the crumb stays tender and rhubarb retains its texture.
Step 6: Transfer, Top, and Smooth
Transfer the batter into the prepared 9x13-inch pan, smoothing the surface with a spatula so it’s level and the rhubarb sits evenly. In a small ramekin combine the topping sugar and cinnamon and sprinkle it evenly over the top so a fine granular crust will form as it bakes.
Step 7: Bake Until Just Done
Bake the pan for 40–45 minutes, or until a toothpick inserted near the center comes out clean; the top should be golden-brown with a slightly crusty texture while the interior stays moist. Remove the pan to the countertop and let it cool until it’s safe to handle.
Step 8: Cool, Slice, and Serve with Ice Cream
Once cooled, slice rectangular pieces from the pan and serve a slice on a plate with a generous scoop of vanilla ice cream that will glisten and soften slightly against the warm cake. Garnish with a few extra rhubarb pieces if you like and enjoy the contrast of the crispy top, tender pale-yellow crumb, and bright ruby rhubarb.
Notes
- Use firm, brightly colored rhubarb stalks for best flavor and texture.
- Toss rhubarb with flour to prevent it from sinking in the batter.
- Avoid overmixing the batter to keep the crumb tender.
- Serve warm with vanilla ice cream or whipped cream for contrast.
- To freeze, cool slices completely and wrap tightly before freezing.