Grilled BBQ Chicken is my go-to for backyard dinners and messy, satisfying plates. I still remember the first time I took a whole bird to the grill and watched the skin turn from pale to blistered, glossy, and fragrant. The recipe’s balance of simple seasoning, a patient sear, and sticky barbecue glaze always delivers, whether I’m feeding friends or tucking into leftovers. I love how straightforward the method is, and how reliably the Grilled BBQ Chicken becomes the centerpiece of the table each time.
How This Recipe Became My Sunday Crowd-Pleaser
The first Grilled BBQ Chicken I made for a group was on an unseasonably warm Sunday, with wet napkins, laughter, and a spontaneous chorus of compliments. I had been nervous, flipping and basting with a borrowed brush, but the smell of searing skin and caramelizing sauce erased any doubt. The memory is vivid: the sizzling sound as the chicken hit the grate, the deep color forming under my hands, and the way my neighbor closed her eyes at the first bite. It felt like a tiny triumph, the kind that makes you want to cook for people again and again. Ever since, this recipe has been my late-summer ritual, the one I turn to when I want something reliably delicious but not pretentious.
Key Ingredients and Why They Matter
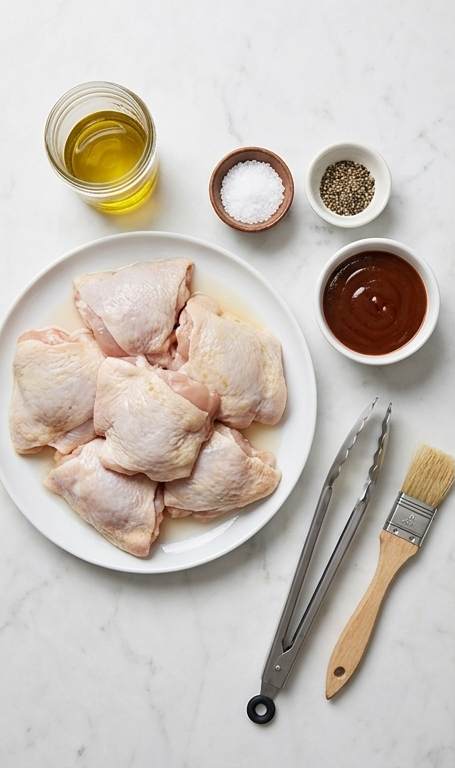
- Whole Chicken: The star of the show, offering a mix of white and dark meat for varied texture; you can use parts if you prefer quicker cooking. Choose a bird that feels firm and check for even weight.
- Olive Oil: Helps the seasoning cling and the skin crisp; swap for avocado oil if you need a higher smoke point.
- Salt and Pepper: Simple, essential seasonings that enhance the meat’s natural flavor; use kosher salt for even coverage.
- Barbecue Sauce: Provides the glossy, caramelized finish; pick a sauce you love or make a homemade version for more control.
Essential Kitchen Tools and Why They Help
A few reliable tools make Grilled BBQ Chicken far less fussy and more fun to cook. A sturdy pair of tongs keeps you safe while flipping and lets you handle hot pieces without tearing the skin. A good basting brush lets you layer sauce so it caramelizes without burning. A meat thermometer is nonnegotiable if you want juicy results; it takes the guesswork out of doneness. If you don’t have a thermometer, press the meat for firmness or cut a small slit to check for clear juices. Alternatives like a grill pan or oven finishing under broiler work when a grill is not available.
Step-by-Step Preparation Guide.
Step 1: Preheat the grill
Preheat the grill to medium heat so it’s ready the moment the chicken hits the grate. This step gets the cooking environment into the right zone for a long, steady cook that crisps the skin without burning the exterior, aim for a steady medium heat so the pieces will brown evenly and render their fat slowly.
Step 2: Rub, oil and season the chicken
Pat the chicken pieces dry, then rub each piece lightly with olive oil so the skin will crisp and the seasoning will cling. Season generously with salt and freshly cracked black pepper, massaging the oil and seasoning into the crevices around the joints and skin folds. Let the seasoned pieces rest briefly while the grill stabilizes, the oil sheen and salt will help develop golden color when they sear.
Step 3: Sear skin-side down for color and render fat
Place the chicken skin-side down on the hot, oiled grate and let it cook undisturbed for about 15 minutes to develop deep golden-brown color and blistered, partially crisped skin while fat renders beneath. The goal here is clear: a deeply caramelized, textured skin with concentrated savory browned pockets that will stand up to basting later. Remove from direct heat and prepare to baste.
Step 4: Turn, baste with barbecue sauce and finish cooking
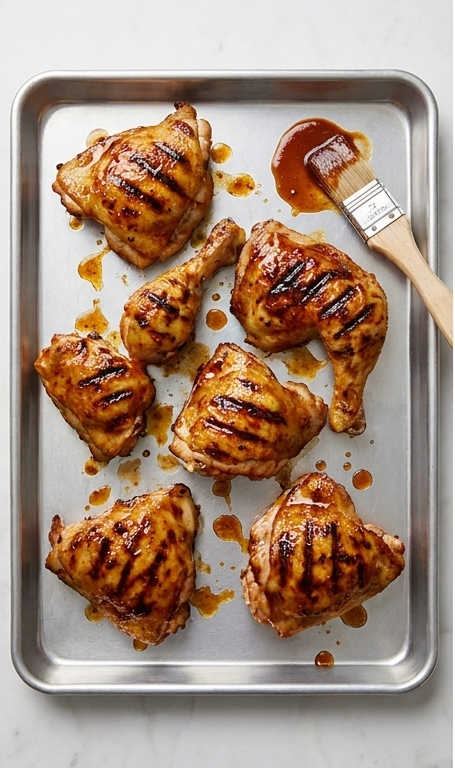
Turn each piece over, and begin brushing with a thick, glossy barbecue sauce; continue to cook for another 20–30 minutes, periodically brushing to build layers of sticky, caramelized glaze. Cook until the breast registers 165°F and the thighs 175°F; the surface should show darker caramel edges, sticky glaze pooling in creases, and moist, fully cooked interior. Keep the brush nearby, it’s your active tool to paint successive shiny coats of sauce.
Step 5: Rest briefly and plate
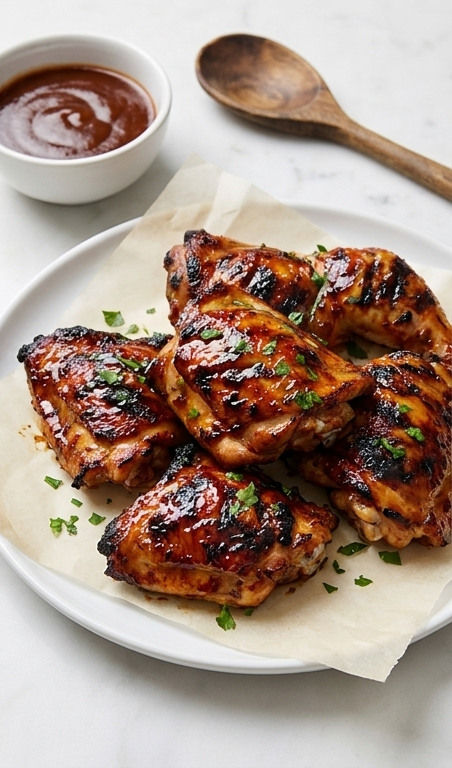
Remove the chicken to rest for 5 minutes so the juices redistribute; during this short rest the surface will tighten slightly, the glaze will settle into a glossy finish, and the aromas will concentrate. Transfer the pieces to a white plate lined with parchment paper, arrange artfully, sprinkle with a little freshly chopped parsley for bright contrast, and serve with a small bowl of extra barbecue sauce and a wooden spoon alongside.
Making It Your Own
I like to experiment with regional twists when I make Grilled BBQ Chicken. For a Southern touch, I brush a vinegar-forward sauce during the last 10 minutes for a tangy finish. If I want a sweeter glaze, I mix a little molasses or honey into the sauce and baste gently so it caramelizes without burning. For a spicier night, smoked paprika and a splash of hot sauce in the rub change the mood entirely. If you need a lighter option, skip the skin and baste breasts more often so they stay moist. Vegetarian friends get a similar treatment on grilled cauliflower steaks.
How to Serve
When I host, Grilled BBQ Chicken is plated with simple sides that let the main flavor shine. For a casual gathering, quarter the pieces and arrange them on a large platter with pickles, coleslaw, and cornbread nearby so guests can help themselves. For a dinner party, plate two pieces per person on warmed plates with a smear of extra sauce, a wedge of lemon, and a scatter of herbs. To scale up, double the recipe for larger groups and stagger grilling so you always have a hot batch ready. Leftovers transform into sandwiches or salads the next day.
Storage and Reheating Tips
Store leftover Grilled BBQ Chicken in an airtight container in the refrigerator for up to 3 days. Keep sauce separate when possible to preserve texture. Reheat gently to keep the meat juicy, either in a low oven at 300°F until warmed through or in a skillet with a splash of water and a lid to steam briefly.
If you need to freeze portions, wrap them tightly and freeze for up to 3 months. Thaw overnight in the refrigerator, then reheat using the oven method and add fresh sauce at the end to restore gloss and flavor.
Common Mistakes and How to Avoid Them
A frequent misstep is rushing the sear; if you flip too early the skin will stick and you will lose color. Give the chicken a good 10 to 15 minutes skin-side down to develop that golden surface. Overbasting too early can also lead to burned sauce, so start glazing when the skin has already developed color and finish with frequent, light brushes.
Another trap is relying on feel alone for doneness. Use a thermometer to hit safe temperatures without drying the meat. If you worry about flare-ups, move pieces to indirect heat and finish them there until they reach temperature.
Final Thoughts
Give Grilled BBQ Chicken a try this weekend and treat the process like part of the fun. With a little patience at the sear and thoughtful basting, you will end up with juicy meat and a sticky, caramelized glaze that everyone will remember. It’s straightforward, forgiving, and perfect for sharing.
Frequently Asked Questions.
- Q: How long will it take to grill a whole cut-up chicken? A: Plan on about 40 minutes of grilling after the initial sear, plus prep and a short rest.
- Q: Can I use store-bought barbecue sauce? A: Yes, choose a flavor you love; homemade lets you tailor sweetness and acidity.
- Q: What if I don’t have a grill? A: Sear in a cast-iron skillet and finish in a 400°F oven until the chicken reaches safe temperature.
- Q: How do I prevent flare-ups? A: Trim excess fat, keep a spray bottle of water nearby, and move pieces to indirect heat if flames spike.
- Q: What’s the best way to check doneness? A: Use an instant-read thermometer; breasts 165°F, thighs 175°F.
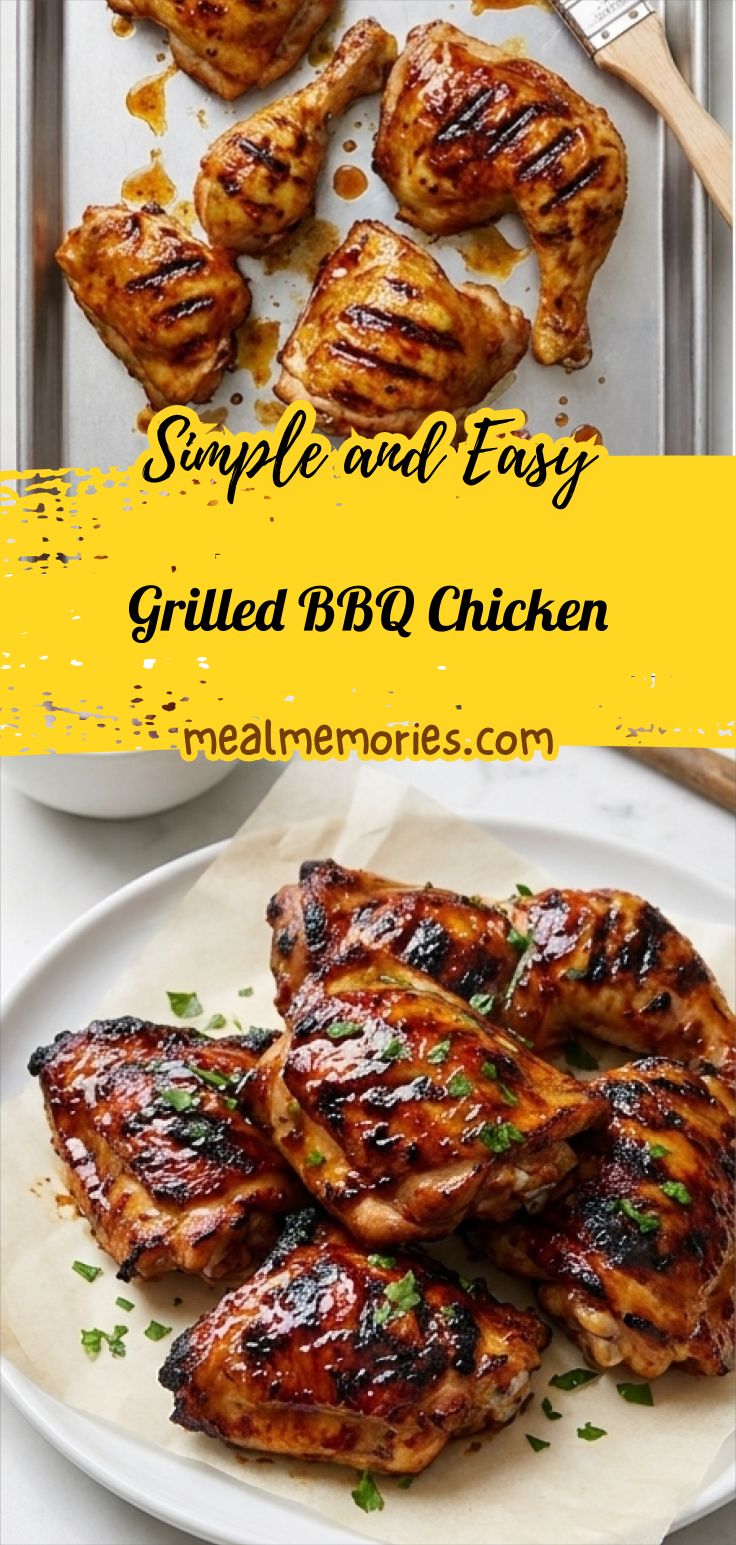
Grilled BBQ Chicken
Grilled BBQ Chicken: Grill a whole chicken to sticky, smoky perfection and serve it hot.
Ingredients
Instructions
Step 1: Preheat the grill
Preheat the grill to medium heat so it's ready the moment the chicken hits the grate. This step gets the cooking environment into the right zone for a long, steady cook that crisps the skin without burning the exterior — aim for a steady medium heat so the pieces will brown evenly and render their fat slowly.
Step 2: Rub, oil and season the chicken
Pat the chicken pieces dry, then rub each piece lightly with olive oil so the skin will crisp and the seasoning will cling. Season generously with salt and freshly cracked black pepper, massaging the oil and seasoning into the crevices around the joints and skin folds. Let the seasoned pieces rest briefly while the grill stabilizes — the oil sheen and salt will help develop golden color when they sear.
Step 3: Sear skin-side down for color and render fat
Place the chicken skin-side down on the hot, oiled grate and let it cook undisturbed for about 15 minutes to develop deep golden-brown color and blistered, partially crisped skin while fat renders beneath. The goal here is clear: a deeply caramelized, textured skin with concentrated savory browned pockets that will stand up to basting later. Remove from direct heat and prepare to baste.
Step 4: Turn, baste with barbecue sauce and finish cooking
Turn each piece over, and begin brushing with a thick, glossy barbecue sauce; continue to cook for another 20–30 minutes, periodically brushing to build layers of sticky, caramelized glaze. Cook until the breast registers 165°F and the thighs 175°F; the surface should show darker caramel edges, sticky glaze pooling in creases, and moist, fully cooked interior. Keep the brush nearby — it’s your active tool to paint successive shiny coats of sauce.
Step 5: Rest briefly and plate
Remove the chicken to rest for 5 minutes so the juices redistribute; during this short rest the surface will tighten slightly, the glaze will settle into a glossy finish, and the aromas will concentrate. Transfer the pieces to a white plate lined with parchment paper, arrange artfully, sprinkle with a little freshly chopped parsley for bright contrast, and serve with a small bowl of extra barbecue sauce and a wooden spoon alongside.
Notes
- Let the chicken rest after grilling to redistribute juices.
- Use an instant-read thermometer for accurate doneness.
- Start basting after the skin has developed color to avoid burning.
- Keep extra sauce on the side for serving.
- If grilling for a crowd, stagger batches to keep the heat consistent.