I love rolling up my sleeves and turning simple pantry staples into something that feels a little magical. The Focaccia Bread Recipe in this post is one I keep coming back to when I want an easy, impressive loaf that smells like a warm Italian kitchen. It starts with a basic dough and a little olive oil love, and finishes with those signature dimples that hold salty, herbaceous pockets in every bite. I find the process therapeutic, and the reward is a golden, pillowy focaccia that disappears faster than I expect.
How This Focaccia Became My Rainy-Day Comfort
There was a rainy afternoon when I first tried this Focaccia Bread Recipe from a scribbled note in a friend’s cookbook. The house filled with the scent of warm yeast and olive oil, and I remember pressing my oiled fingertips into the dough and feeling oddly triumphant as each dimple formed. The first bite was warm and tender, flecked with rosemary and salt, and I felt like I had made something both rustic and elegant. Since then, I reach for this recipe whenever I want comfort with a little flourish, whether serving it alongside a stew or tearing off strips for guests. The texture—airy but with a sturdy, olive-oil kissed crust—always brings people to the table.
The Ingredients That Make It Sing
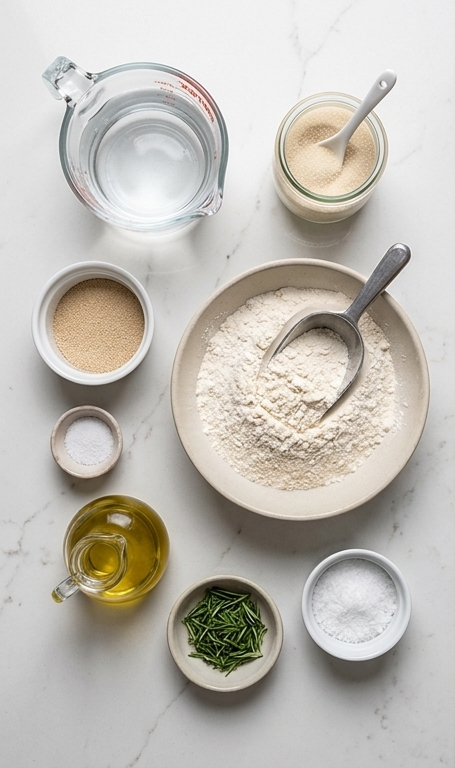
- Warm Water (105 to 115°F): Activates the yeast. If you do not have a thermometer, aim for water that feels warm but not hot to the inside of your wrist. Too-hot water will kill the yeast.
- Cane Sugar: Feeds the yeast and helps with browning. Honey or agave can substitute in a pinch.
- Active Dry Yeast: The leavener that gives the focaccia its lift. Instant yeast can be used but skip the bloom step and add directly to dry ingredients.
- All-Purpose Flour: Provides structure. Bread flour will give slightly chewier results and a more open crumb.
- Sea Salt: Seasons the dough. Use fine or kosher salt in the dough and flaky sea salt on top for crunch.
- Extra-Virgin Olive Oil: Adds flavor and tenderness. Don’t skimp on quality for the finishing oil.
- Chopped Fresh Rosemary: Classic topping; swap with thyme, oregano, or sliced olives for variety.
Essential Kitchen Tools and Why They Help
This Focaccia Bread Recipe is forgiving, but a few tools make it smoother and more reliable. A stand mixer with a dough hook speeds up kneading and gives consistent results, especially if you bake often. A 9×13-inch baking dish is used here; you can substitute a rimmed baking sheet for a thinner focaccia. A good instant-read thermometer is handy for checking water temperature and doneness. Finally, keep a sturdy spatula and a pastry brush or your fingers on hand for oiling and shaping the dough. If you do not have a stand mixer, knead by hand on a floured surface for 7 to 10 minutes instead.
- Stand mixer with dough hook: Consistent kneading and less effort.
- 9×13-inch baking dish or rimmed sheet: Ensures correct thickness and even baking.
- Instant-read thermometer: For accurate water and internal temperature checks.
- Spatula and pastry brush: Easy transfer and even oiling.
Step-by-Step Preparation Guide
Step 1: Bloom the Yeast
In the bowl of a stand mixer fitted with a dough hook, combine the warm water (105°–115°F) and cane sugar, stirring once to dissolve. Sprinkle the active dry yeast evenly over the surface and stir gently. Set the bowl aside, uncovered, for about five minutes until the yeast is distinctly foamy and fragrant — a soft, bubbled surface that smells faintly yeasty. If the mixture fails to foam, discard and restart with fresh yeast; you want a lively, aerated liquid before proceeding.
Step 2: Form and Knead the Dough
Add the all-purpose flour and sea salt to the mixer bowl and mix on low speed until a rough, shaggy dough comes together. Increase the mixer to medium and knead for about five minutes until the dough transforms into a very elastic, noticeably sticky mass that clings to the hook and begins to pull slightly away from the bowl. It should be glossy with hydration and springy to the touch when prodded with a spatula — a dough that promises an open, airy crumb.
Step 3: First Rise in an Oiled Bowl
Brush a large mixing bowl with two tablespoons of extra-virgin olive oil, then transfer the sticky dough into it using a spatula (it will be too tacky to handle cleanly). Turn the dough once to coat it lightly in oil, and brush any oil pooling at the edges over the top so the surface is slick and shiny. Cover the bowl with plastic wrap or a damp towel and let the dough rest at room temperature until doubled in size, about 1 to 1½ hours — a pillowy, domed surface that holds an imprint briefly when touched.
Step 4: Shape into the Pan and Second Rise
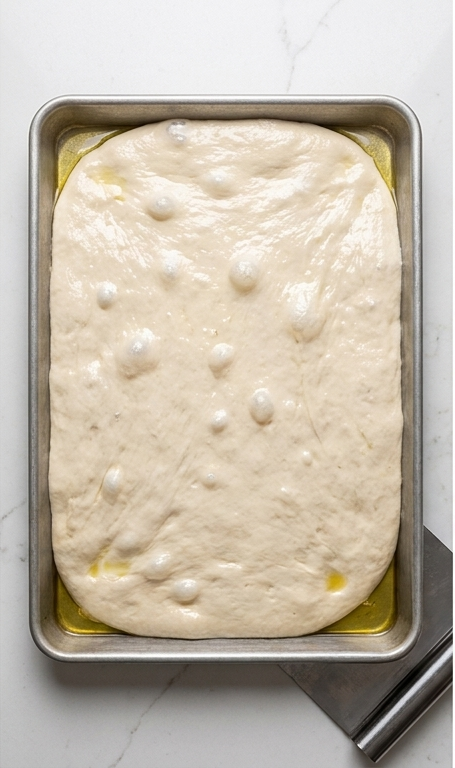
Brush a 9×13-inch baking dish with another two tablespoons of olive oil. Uncover the dough, oil your fingers lightly, and fold the dough into itself around the edges to form a rough ball, then lift and transfer the dough into the prepared rectangular pan, turning it once to coat in oil. Press the dough gently to the pan’s edges, allow it to relax and pull away, then press again to achieve an even rectangular shape. Cover and let rise again until doubled, about 45 minutes (preheat the oven to 425°F roughly 30 minutes into this rise).
Step 5: Dimple, Season, and Bake
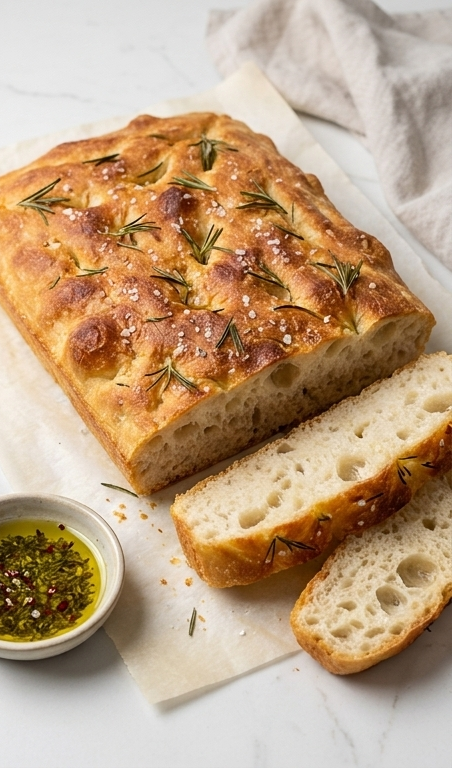
Remove the covering and drizzle the remaining two tablespoons of olive oil across the dough’s surface so it shines. Rub your oiled fingers and press them firmly into the dough, creating deep, characteristic dimples that reach to the pan beneath; the surface should look pocked and glossy. Sprinkle flaky sea salt and chopped fresh rosemary evenly over the top, then bake until the crust is golden-brown and crisp, 20 to 30 minutes. When baked, the focaccia will have a bronzed, slightly blistered exterior with a glossy olive-oil sheen and an open, tender crumb visible where strips are cut.
Making It Your Own
I like to experiment with toppings the way some people experiment with music playlists. Try swapping chopped rosemary for thinly sliced red onions and cherry tomatoes for a sweeter, jewel-toned focaccia. For a savory, punchy version, scatter caramelized garlic and shaved Parmesan before baking. If you need a dairy-free or vegan twist, the base recipe already fits the bill if you skip cheese toppings.
For seasonal variations, in summer use heirloom tomatoes and basil after baking. In fall, roast small cubes of butternut squash and dot the dough before the final rise to let the squash sink in. Small changes make this Focaccia Bread Recipe feel new each time.
How to Serve
If I am hosting, I cut the focaccia into long strips as an appetizer for dipping in herb-infused olive oil and balsamic. For a casual meal, split it and use it as a sandwich base; the olive-oil richness holds up well to grilled vegetables and melted cheese. For larger gatherings, bake two pans side by side and serve on wooden boards so guests can tear the bread themselves.
Adjust for serving size by using a rimmed sheet for a thinner focaccia that yields more pieces, or a smaller pan for a thicker, heartier loaf. Warm it slightly before serving to bring out the olive oil aroma and make tearing more satisfying.
Storage and Reheating Tips
Cool completely, then wrap the focaccia tightly in plastic wrap or a reusable food wrap and store at room temperature for up to two days. For longer storage, freeze whole or sliced pieces in a freezer bag for up to three months. Thaw at room temperature.
To reheat, warm in a 350°F oven for 8 to 12 minutes until the crust crisps and the interior is soft and warm. For single slices, a toaster oven or skillet over medium heat works great to revive the crust and bring back the olive oil aroma.
Common Mistakes and How to Avoid Them
Underproofing is a frequent misstep. If the dough does not double, be patient and allow more time in a slightly warmer spot. Overproofing will collapse the structure, so watch for a dough that holds an imprint briefly.
Using too little oil steals flavor and prevents proper browning. Be generous with oil on the pan and the surface so the focaccia stays moist and glossy after baking.
Let’s Bake This Together
Give the Focaccia Bread Recipe a try this weekend and notice how straightforward the process really is. With a little patience during the rises and a few good pinches of flaky salt, you will be rewarded with a crowd-pleasing loaf that makes any meal feel special. Share a photo if you do, and enjoy the warm, olive-oil kissed slices.
Frequently Asked Questions.
- Can I use instant yeast instead of active dry yeast? Yes. If you use instant yeast, mix it with the dry ingredients and skip the blooming step. You may see a slightly quicker rise.
- How do I know when the focaccia is done baking? It should be golden-brown on top and sound hollow when tapped. An internal temperature around 200°F indicates doneness.
- Can I make this gluten-free? You can try a 1-to-1 gluten-free flour blend, but expect a different crumb and a denser texture. Adjust hydration if the dough seems too dry.
- What are good toppings besides rosemary? Try sliced olives, caramelized onions, cherry tomatoes, flaky sea salt, or thinly sliced garlic for varied flavors.
- Can I prepare the dough ahead of time? Yes. After the first rise, cover and refrigerate the dough overnight. Bring it to room temperature before shaping and the second rise.
Focaccia Bread Recipe
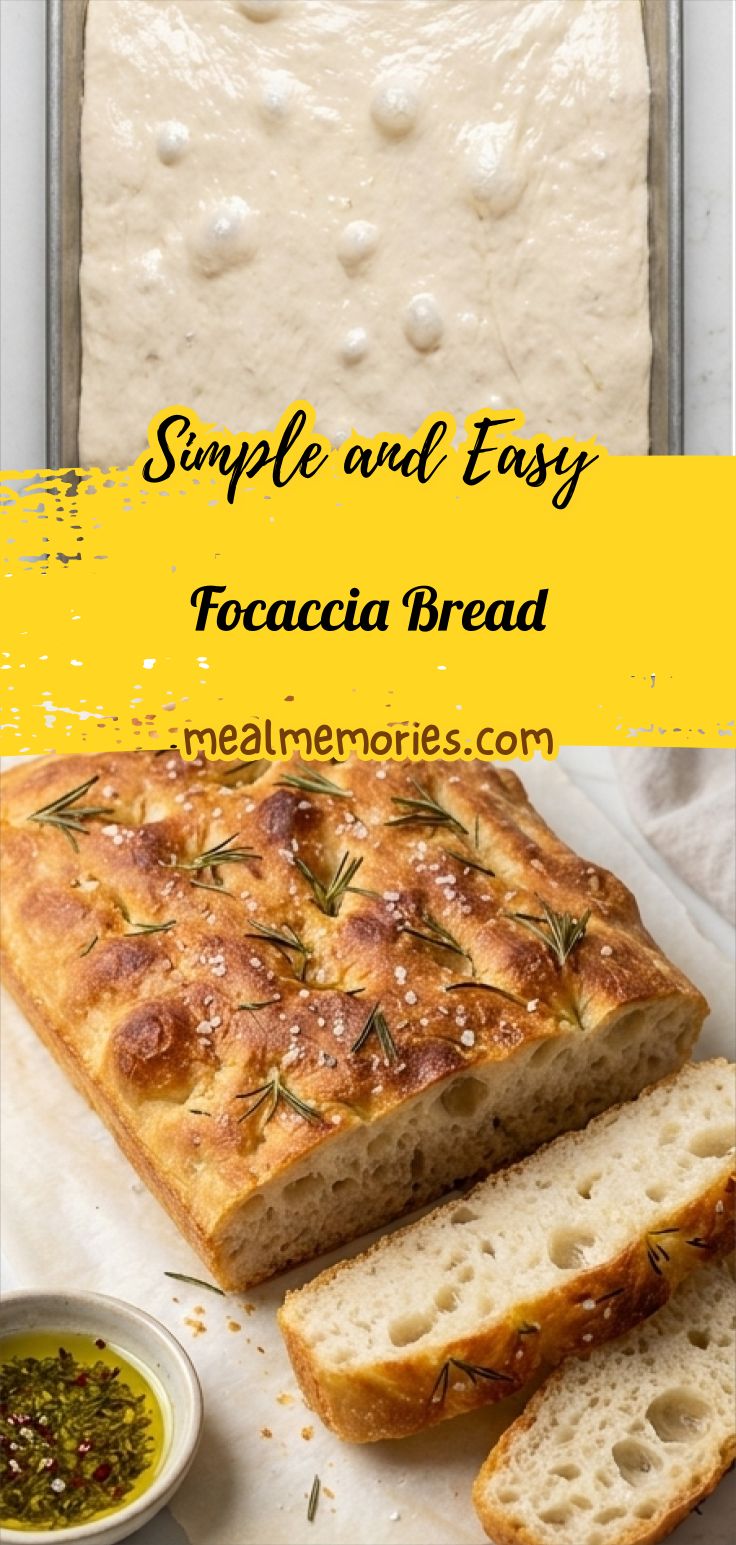
Bake the Focaccia Bread Recipe for a golden, rosemary-sprinkled loaf with a tender, olive-oil rich crumb.
Ingredients
Instructions
Step 1: Bloom the Yeast
In the bowl of a stand mixer fitted with a dough hook, combine the warm water (105°–115°F) and cane sugar, stirring once to dissolve. Sprinkle the active dry yeast evenly over the surface and stir gently. Set the bowl aside, uncovered, for about five minutes until the yeast is distinctly foamy and fragrant — a soft, bubbled surface that smells faintly yeasty. If the mixture fails to foam, discard and restart with fresh yeast; you want a lively, aerated liquid before proceeding.
Step 2: Form and Knead the Dough
Add the all-purpose flour and sea salt to the mixer bowl and mix on low speed until a rough, shaggy dough comes together. Increase the mixer to medium and knead for about five minutes until the dough transforms into a very elastic, noticeably sticky mass that clings to the hook and begins to pull slightly away from the bowl. It should be glossy with hydration and springy to the touch when prodded with a spatula — a dough that promises an open, airy crumb.
Step 3: First Rise in an Oiled Bowl
Brush a large mixing bowl with two tablespoons of extra-virgin olive oil, then transfer the sticky dough into it using a spatula (it will be too tacky to handle cleanly). Turn the dough once to coat it lightly in oil, and brush any oil pooling at the edges over the top so the surface is slick and shiny. Cover the bowl with plastic wrap or a damp towel and let the dough rest at room temperature until doubled in size, about 1 to 1½ hours — a pillowy, domed surface that holds an imprint briefly when touched.
Step 4: Shape into the Pan and Second Rise
Brush a 9×13-inch baking dish with another two tablespoons of olive oil. Uncover the dough, oil your fingers lightly, and fold the dough into itself around the edges to form a rough ball, then lift and transfer the dough into the prepared rectangular pan, turning it once to coat in oil. Press the dough gently to the pan’s edges, allow it to relax and pull away, then press again to achieve an even rectangular shape. Cover and let rise again until doubled, about 45 minutes (preheat the oven to 425°F roughly 30 minutes into this rise).
Step 5: Dimple, Season, and Bake
Remove the covering and drizzle the remaining two tablespoons of olive oil across the dough’s surface so it shines. Rub your oiled fingers and press them firmly into the dough, creating deep, characteristic dimples that reach to the pan beneath; the surface should look pocked and glossy. Sprinkle flaky sea salt and chopped fresh rosemary evenly over the top, then bake until the crust is golden-brown and crisp, 20 to 30 minutes. When baked, the focaccia will have a bronzed, slightly blistered exterior with a glossy olive-oil sheen and an open, tender crumb visible where strips are cut.
Notes
- If the yeast does not foam, try again with slightly warmer water and fresh yeast.
- Be generous with olive oil on the pan and dough to ensure a glossy crust.
- Preheat the oven while the dough finishes its second rise for best oven spring.
- For deeper flavor, refrigerate the dough overnight after the first rise and bake the next day.