Belgian Waffles Recipe has a special place in my weekend routine. I make Belgian Waffles Recipe whenever I want a bright, comforting brunch that feels a little indulgent and a little humble at the same time. This Belgian Waffles Recipe delivers deep pockets for syrup, a crisp exterior, and an airy interior that keeps everyone returning for more. I’ve tweaked the process over the years until it reliably sings, and I love how simple ingredients yield something that looks postcard-perfect on the plate.
How This Recipe Became My Sunday Morning Ritual
I remember the first time I made these waffles for friends: the kitchen smelled warm and yeasty, and the sound of a sizzling waffle iron felt like a promise. I nervously ladled batter into hot grids while conversation bubbled in the next room, then watched as each waffle browned into glossy ridges that caught syrup like tiny wells. The first bite was a mix of textures; crisp on the outside, tender and cloudlike inside, with butter melting into honeyed pockets. That shared quiet between bites and mugs of coffee is what keeps me coming back to this Belgian Waffles Recipe whenever I want to slow down and celebrate a simple morning.
The Key Ingredients and Why They Matter
- All-purpose Flour: The structural backbone; choose a good, fresh bag. Swap in part bread flour for a chewier bite or cake flour for a softer crumb.
- Granulated Sugar: Adds mild sweetness and browning. Brown sugar can deepen flavor.
- Instant Yeast: The leavening agent that creates airiness and subtle tang; active dry yeast will work if proofed first.
- Whole Milk: Enriches the batter and helps tenderize; for dairy-free, use full-fat oat or coconut milk.
- Unsalted Butter: Gives flavor and crispness; clarified butter stays crisp longer. For vegan, use a neutral oil or vegan spread.
- Eggs & Vanilla: Eggs add lift and structure; vanilla adds warmth. For an egg-free version, try a commercial egg replacer.
Essential Kitchen Tools and Why They Help
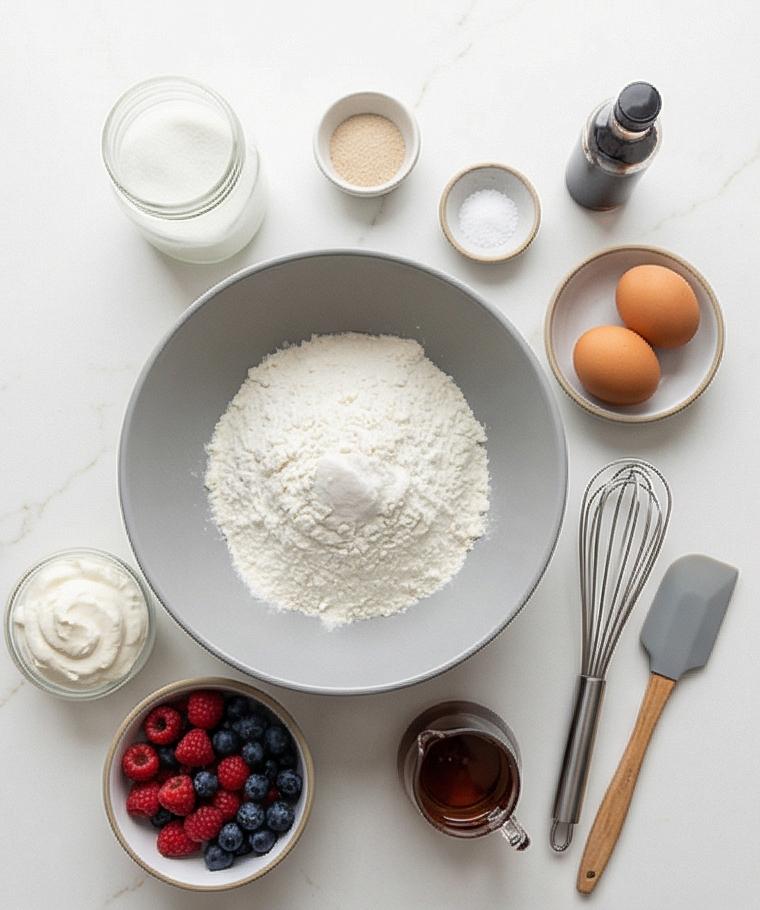
A few reliable tools make this Belgian Waffles Recipe easier and more consistent. A sturdy whisk helps aerate dry ingredients and blend wet ones smoothly; if you don’t have a whisk, a fork or hand mixer will do. Matching mixing bowls give you the space to combine and rest the batter without spills. A heatproof measuring jug or small saucepan is good for warming milk and checking temperature; a candy thermometer is a helpful optional tool. A silicone spatula is gentle for folding and a ladle helps portion batter into the waffle iron evenly. Finally, a good waffle iron that reaches steady heat is worth it; if you don’t own one, a well-seasoned cast iron grid pan or a griddle with a press can be creative alternatives.
Step-by-Step Preparation Guide
Step 1: Combine the dry ingredients
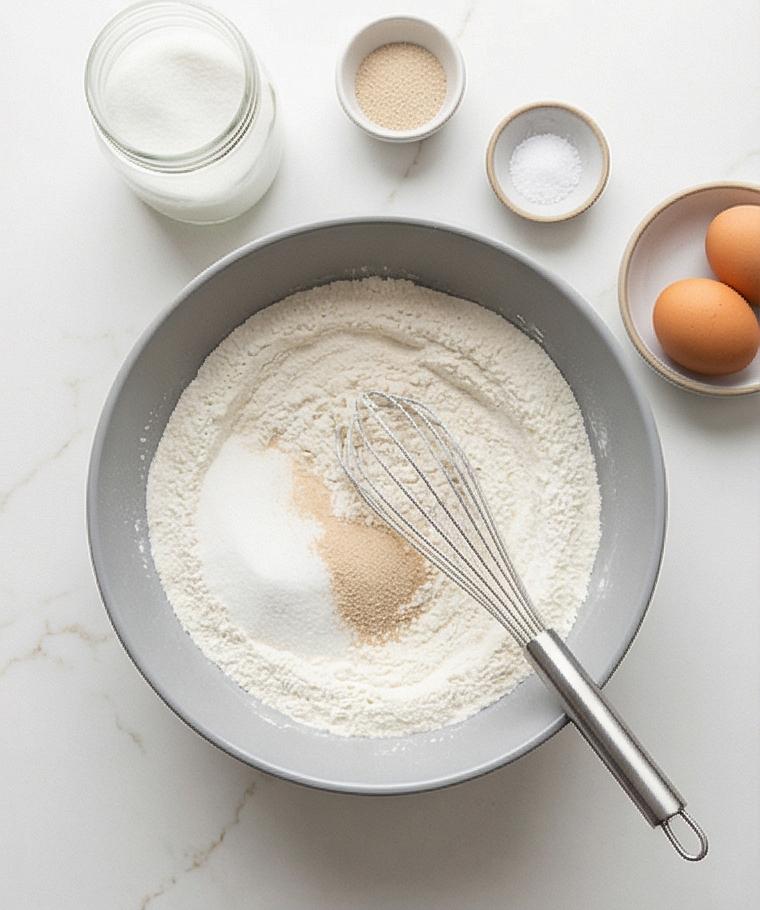
In a large matte grey ceramic mixing bowl place the flour, granulated sugar, instant yeast, fine sea salt, and the optional pinch of ground cinnamon. Whisk gently with a stainless-steel whisk until the dry mix looks uniform — fine pale flour flecked with the soft tan granules of sugar and the faint specks of cinnamon, evenly aerated. The bowl sits centered on the Calacatta-like surface; a small glass jar of extra sugar and a tiny ceramic ramekin of yeast sit nearby as tidy companions.
Step 2: Warm and melt the wet elements, then combine
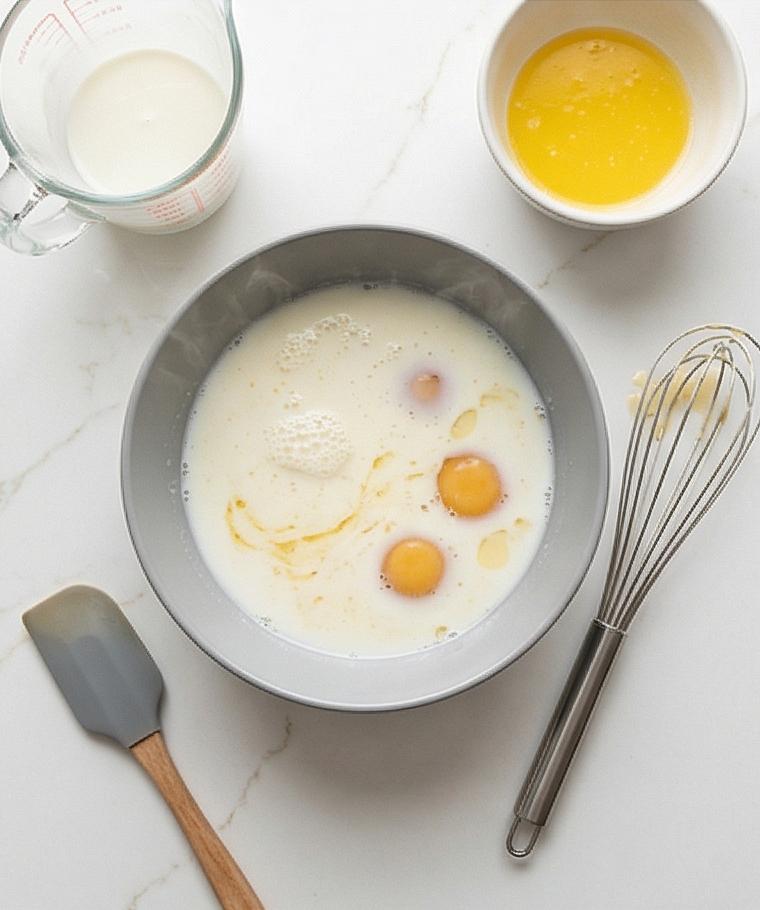
Gently melt the butter in a small heatproof bowl until glossy and fully liquid, then let it cool until just warm; warm the whole milk in a glass measuring jug to lukewarm so it’s slightly steamy at the rim but not hot. In a medium matching matte grey bowl whisk the room-temperature eggs and vanilla until smooth, then whisk in the warm milk and the warm melted butter until silky and homogeneous — the mixture should look slightly glossy with faint egg ribbons and tiny surface bubbles from whisking. A small wooden spoon and the same stainless whisk rest nearby for continuity.
Step 3: Form the batter and rest to rise
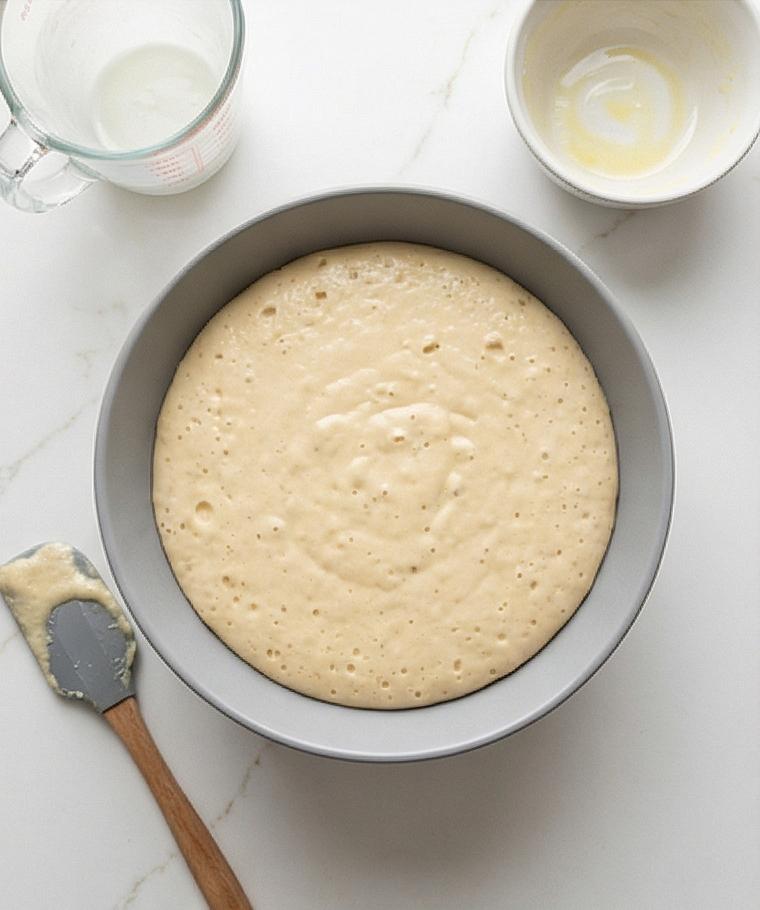
Make a well in the center of the dry ingredients and pour the warm wet mixture in slowly, whisking gently from the center outward until a thick, cohesive batter forms. Stop when there are no dry pockets; a few small lumps are fine. Cover the matte grey bowl tightly with a clean linen towel and let the batter rest at warm room temperature until it doubles, becoming puffy with visible small bubbles and a slightly domed surface — the texture should read airy and pillowy, with a satin sheen where the batter stretched. Keep the same whisk leaned against the bowl rim as a persistent tool.
Step 4: Cooked waffles transferred to a cooling rack
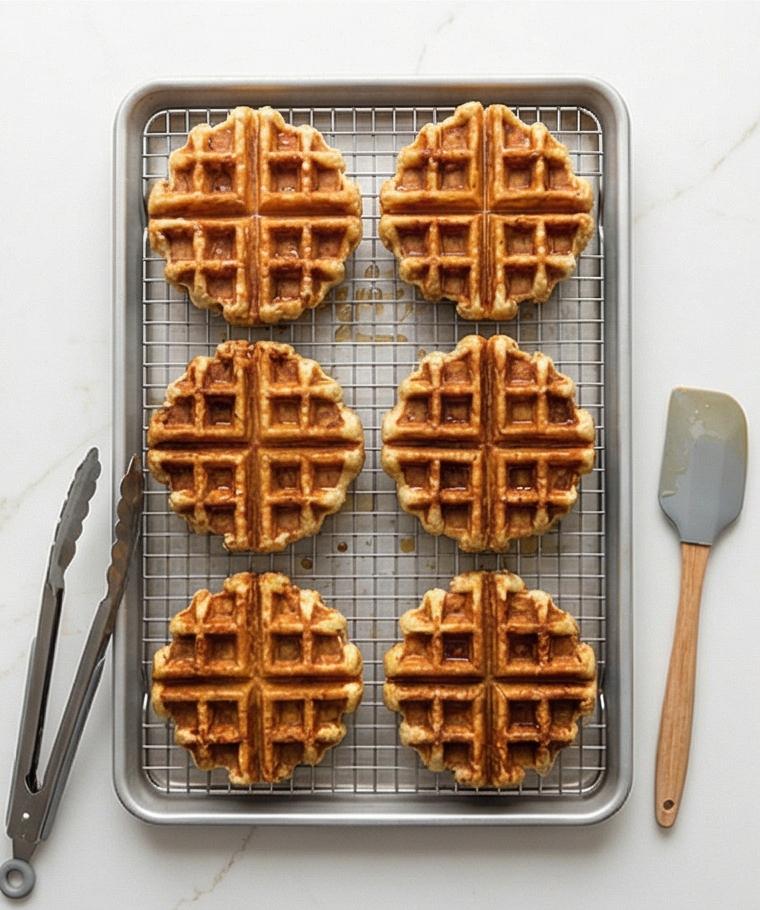
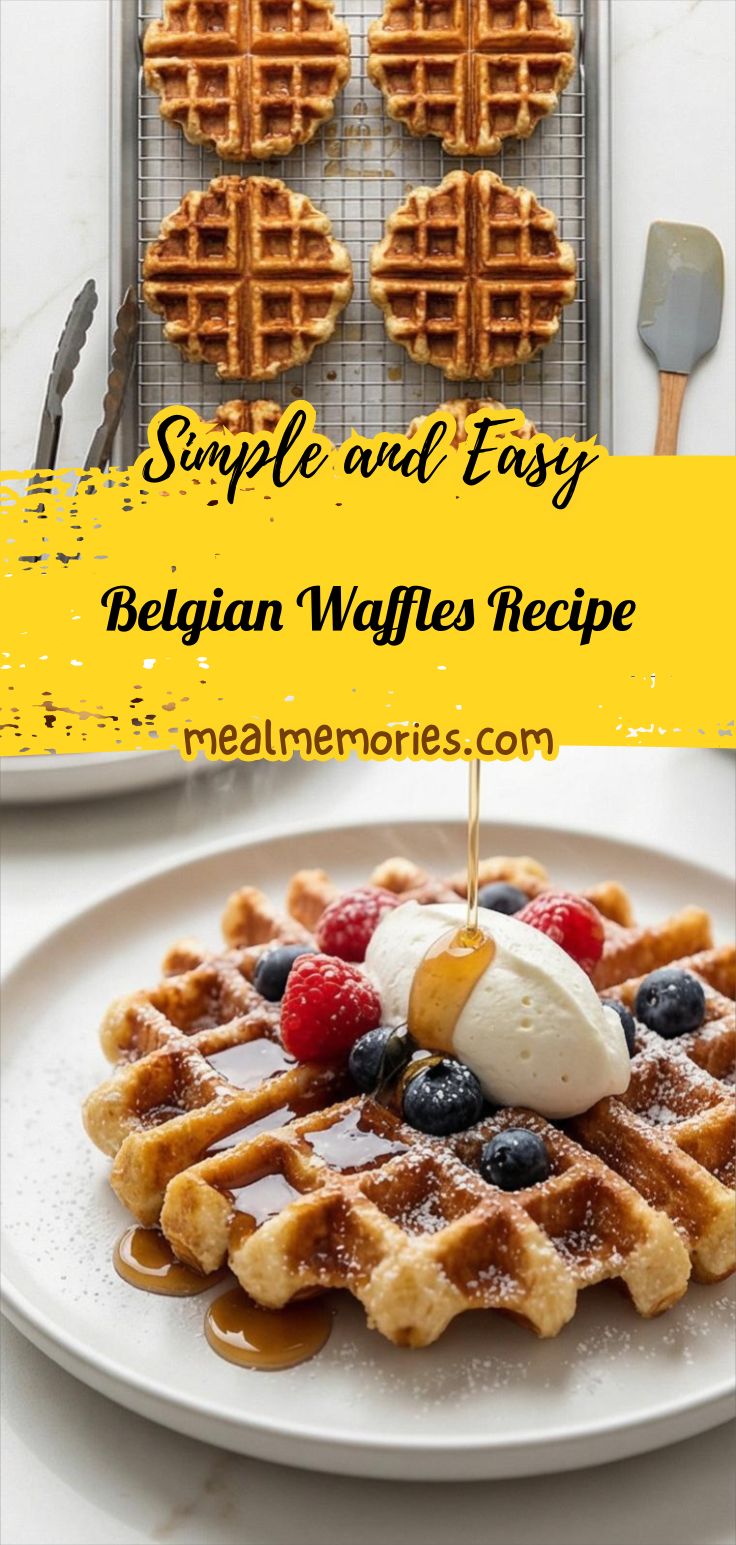
After a gentle 2–3-stir deflation with a silicone spatula, ladle the thick batter and cook into deep-pocket Belgian waffles until each waffle is deep golden, with a crisp, porous exterior and visible caramelized edges. Arrange the finished waffles in a single layer on a wire cooling rack set over a shallow baking sheet so the undersides stay crisp; each waffle should show honeyed brown ridges, crackly texture, and hollow-sounding pockets. A heatproof silicone spatula and metal tongs sit beside the rack, echoing the earlier tools.
Step 5: Plate, finish and serve
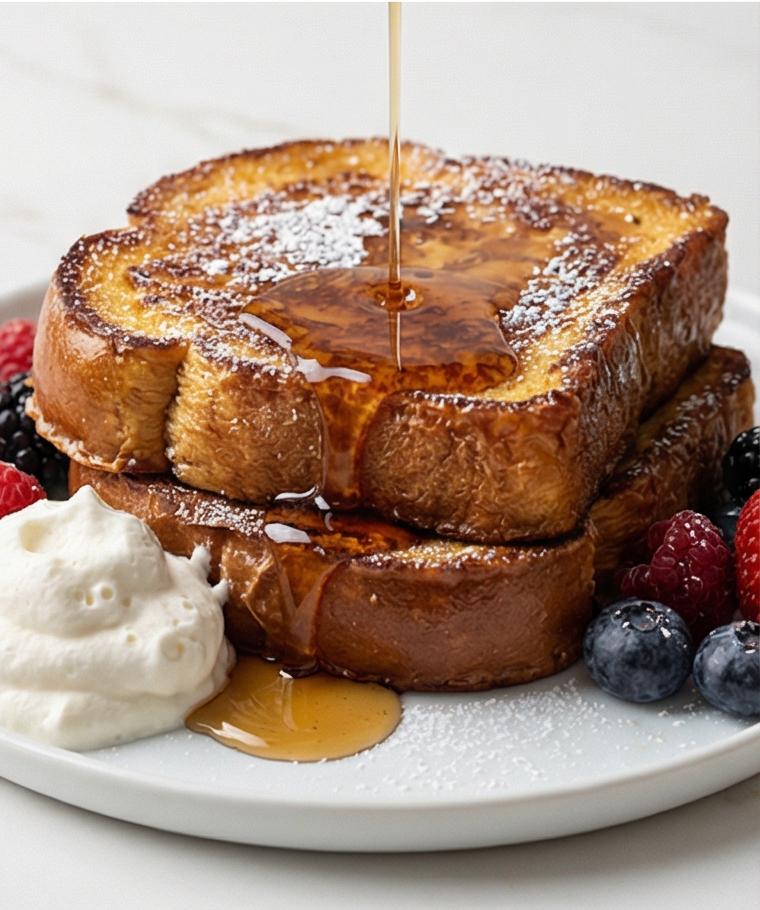
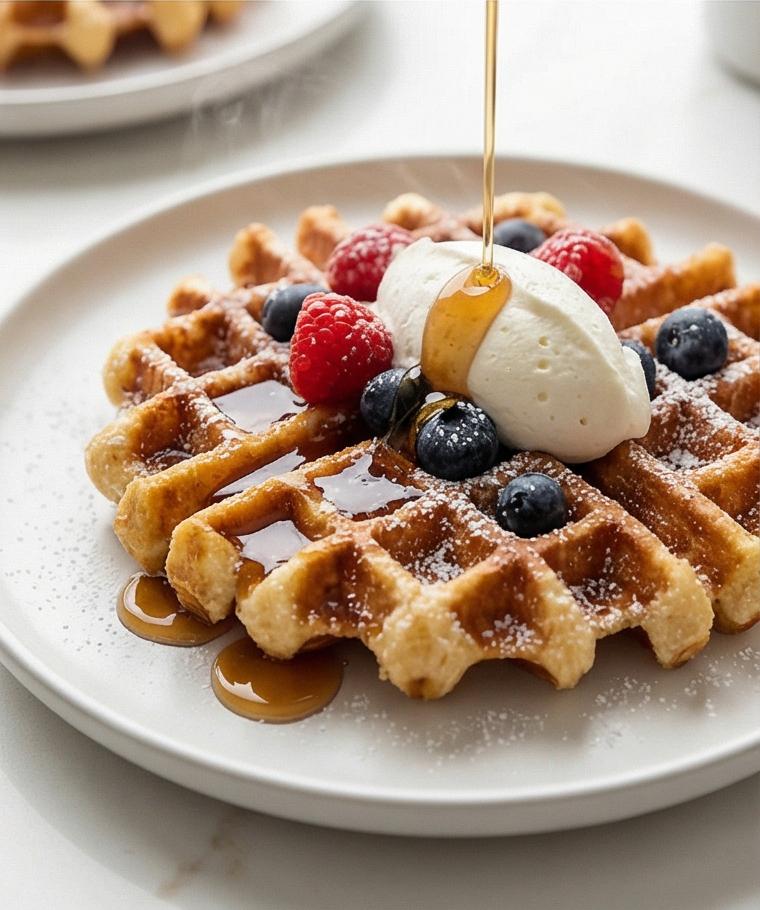
For serving, place one hot Belgian waffle on a shallow matte white plate; spoon warm maple syrup pooling into the pockets, add a small mound of chilled lightly sweetened whipped cream, and scatter a handful of fresh berries alongside. Finish with a delicate dusting of confectioners’ sugar through a fine sieve so the sugar lands like snow on the crisp ridges. Present the plate eye-level, very close-up to show steam, syrup viscosity, the airy interior and the toothsome crisp edge — a final inviting portrait.
Making It Your Own
I experimented by folding in a teaspoon of lemon zest once and loved the bright lift it gave against the buttery batter. Try stirring toasted chopped hazelnuts into the batter for a nutty crunch that plays well with maple. For a chocolate twist, add two tablespoons of dutch-process cocoa and a splash more milk; the waffles keep their crisp pockets but carry a rich, dessert feel. If you need a dairy-free version, swap the whole milk for full-fat oat milk and use a plant-based butter; the texture changes slightly but stays tender. For seasonal spin, fold in grated apple and a pinch of cinnamon in autumn, or use macerated summer berries and a dollop of mascarpone when berries are peak.
How to Serve
When I host brunch, I preheat the waffle iron and nearby warming tray so waffles stay hot as guests eat. For a family-style spread, stack waffles on a large platter and set bowls of warm maple syrup, whipped cream, and berries for self-serve assembly. For a dinner-party dessert, make two waffles per guest, top with a scoop of vanilla ice cream, drizzle warm berry compote, and finish with a mint sprig.
To scale, double the batter for 12 to 16 waffles; keep a low oven at 200 degrees Fahrenheit to hold cooked waffles crisp on a rack while you finish the batch. If you want plated single servings, warm plates briefly so the waffles keep their heat when presented.
Storage and Reheating Tips
Leftover waffles freeze beautifully. Cool completely on a rack, then layer between parchment in an airtight container or zip-top bag and freeze for up to one month. To reheat from frozen, place directly in a toaster or toaster oven on medium until edges are crisp and centers are heated through.
For short-term storage, stack waffles separated by parchment in the fridge for up to two days. Reheat gently in a 350 degree Fahrenheit oven for 6 to 8 minutes to refresh the exterior. Avoid microwaving unless you plan to crisp them afterward; microwaves make waffles soft and lose crunch.
Common Mistakes and How to Avoid Them
Underheating the waffle iron yields soggy waffles. Wait until the iron reaches steady heat and test with a small spoon of batter first. Also resist the urge to overfill the grids; excess batter makes uneven cooking and sticky cleanup.
Skipping the rest period can leave waffles dense. Let the batter double and become puffy so those signature airy pockets develop. If the room is cold, give the bowl a warm spot to rise, like near a gently warm oven.
A Warm Invitation
I hope this Belgian Waffles Recipe inspires a slow morning or a bright weekend brunch in your kitchen. Dust some sugar, pour warm syrup, and enjoy the small ritual of making something delicious from simple ingredients. Try it once and you’ll find reasons to make it again.
Frequently Asked Questions.
- What type of yeast should I use and can I substitute it? You can use instant yeast as written; if you only have active dry yeast, proof it in the lukewarm milk for 5 to 10 minutes before mixing.
- Can I make the batter the night before? You can refrigerate overnight after the first rise, but let it come back to room temperature and puff slightly before cooking.
- How do I get the waffles extra crispy? Use melted butter in the batter, preheat the iron thoroughly, and finish waffles briefly in a 425 degree Fahrenheit oven on a rack.
- Can I freeze cooked waffles? Yes, freeze on a baking sheet until solid, then store in a bag with parchment between layers for up to a month.
- What can I serve besides maple syrup and berries? Try lemon curd, nutella, sweetened mascarpone, caramelized bananas, or a scoop of ice cream for a dessert twist.
Belgian Waffles Recipe
Make Belgian Waffles Recipe: crisp, deep-pocketed waffles with maple syrup, berries, and whipped cream for an unforgettable brunch.
Ingredients
Instructions
Step 1: Combine the dry ingredients
In a large matte grey ceramic mixing bowl place the flour, granulated sugar, instant yeast, fine sea salt, and the optional pinch of ground cinnamon. Whisk gently with a stainless-steel whisk until the dry mix looks uniform — fine pale flour flecked with the soft tan granules of sugar and the faint specks of cinnamon, evenly aerated. The bowl sits centered on the Calacatta-like surface; a small glass jar of extra sugar and a tiny ceramic ramekin of yeast sit nearby as tidy companions.
Step 2: Warm and melt the wet elements, then combine
Gently melt the butter in a small heatproof bowl until glossy and fully liquid, then let it cool until just warm; warm the whole milk in a glass measuring jug to lukewarm so it’s slightly steamy at the rim but not hot. In a medium matching matte grey bowl whisk the room-temperature eggs and vanilla until smooth, then whisk in the warm milk and the warm melted butter until silky and homogeneous — the mixture should look slightly glossy with faint egg ribbons and tiny surface bubbles from whisking. A small wooden spoon and the same stainless whisk rest nearby for continuity.
Step 3: Form the batter and rest to rise
Make a well in the center of the dry ingredients and pour the warm wet mixture in slowly, whisking gently from the center outward until a thick, cohesive batter forms. Stop when there are no dry pockets; a few small lumps are fine. Cover the matte grey bowl tightly with a clean linen towel and let the batter rest at warm room temperature until it doubles, becoming puffy with visible small bubbles and a slightly domed surface — the texture should read airy and pillowy, with a satin sheen where the batter stretched. Keep the same whisk leaned against the bowl rim as a persistent tool.
Step 4: Cooked waffles transferred to a cooling rack
After a gentle 2–3-stir deflation with a silicone spatula, ladle the thick batter and cook into deep-pocket Belgian waffles until each waffle is deep golden, with a crisp, porous exterior and visible caramelized edges. Arrange the finished waffles in a single layer on a wire cooling rack set over a shallow baking sheet so the undersides stay crisp; each waffle should show honeyed brown ridges, crackly texture, and hollow-sounding pockets. A heatproof silicone spatula and metal tongs sit beside the rack, echoing the earlier tools.
Step 5: Plate, finish and serve
For serving, place one hot Belgian waffle on a shallow matte white plate; spoon warm maple syrup pooling into the pockets, add a small mound of chilled lightly sweetened whipped cream, and scatter a handful of fresh berries alongside. Finish with a delicate dusting of confectioners’ sugar through a fine sieve so the sugar lands like snow on the crisp ridges. Present the plate eye-level, very close-up to show steam, syrup viscosity, the airy interior and the toothsome crisp edge — a final inviting portrait.
Notes
- Let the batter rise in a warm spot until doubled for best texture.
- Use melted butter and a well-preheated waffle iron for crisper waffles.
- Cool on a wire rack before freezing to keep waffles from getting soggy.