Banana Bread Recipe has been my go-to when the bananas get too spotted to ignore and I need something comforting on the counter. I keep a mental shortcut for this Banana Bread Recipe, the one I reach for when friends drop by or when I need the house to smell like warm vanilla. Years of small tweaks have taught me when to fold in nuts and when to let chocolate chips take the spotlight. This loaf is forgiving, cozy, and reliably impressive — and it always disappears first at gatherings.
How This Recipe Became My Rainy-Day Favorite
One sticky, gray afternoon I stacked a few overly ripe bananas on the counter and decided to try this banana bread as a way to practice patience. The oven heat felt like a small, private sun while the batter bubbled and smelled of cinnamon and brown sugar. I remember the first slice steaming on my plate, the crumb still forgiving and warm, butter melting into pockets of banana. That first bite felt like a small triumph: simple ingredients turned into something generous. Since then, this Banana Bread Recipe has been a comfort in tiny domestic storms — proof that a few humble groceries can turn into a moment that tastes like home.
The Heart of the Loaf: Primary Ingredients
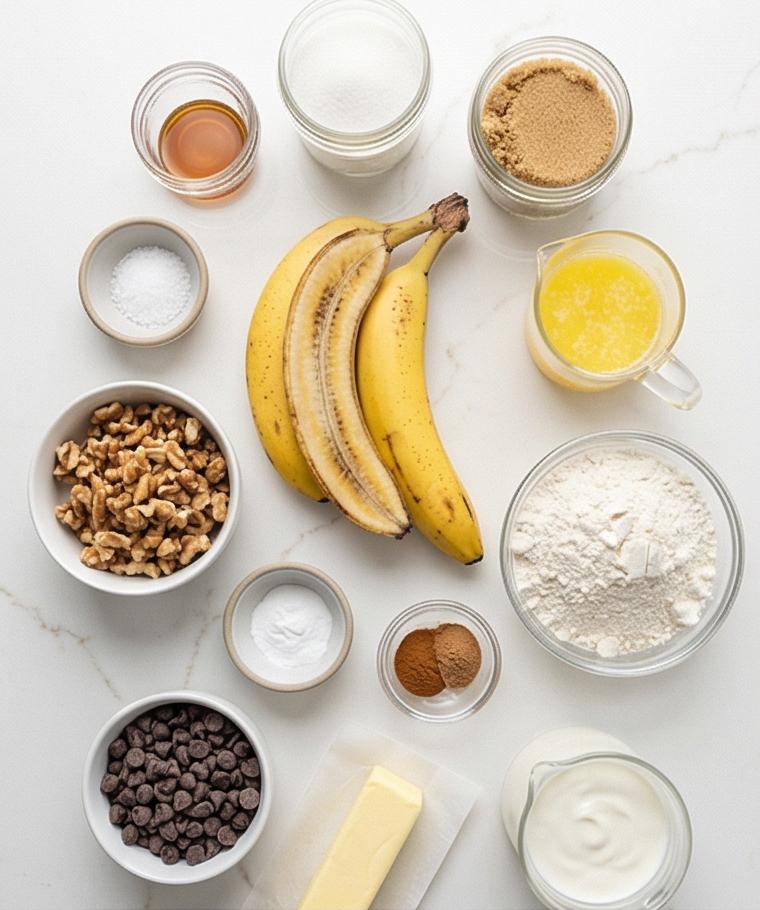
- All-Purpose Flour: The structure for the loaf; pick unbleached for a tender crumb and spoon-and-level to avoid a dry texture.
- Very Ripe Bananas: The flavor engine; black-spotted bananas give the richest taste. No perfect substitute, but applesauce can add moisture in a pinch.
- Butter and Sugars: Butter brings richness while granulated and brown sugar balance sweetness and offer depth; coconut sugar or a mix of maple syrup may be used carefully.
- Eggs and Yogurt: Provide lift and keep the crumb tender. Buttermilk can replace yogurt for a tangy note.
- Nuts and Chocolate Chips: Add texture and flavor contrast; toasted walnuts or pecans are classic, and vegan chips work if avoiding dairy.
Essential Kitchen Tools
A few reliable tools make this Banana Bread Recipe go smoothly and keep the process stress-free. Start with a sturdy 9 x 5-inch loaf pan and a parchment sling so the loaf lifts cleanly. Use a rubber spatula for gentle folding and a whisk for the dry mix so you don’t overwork the batter. A mixing bowl with a matte finish helps reduce sticking and makes photos look cozy if you like to document baking.
- 9 x 5-inch loaf pan: For even shape and bake; use a metal pan for great browning.
- Parchment paper: Makes unmolding easy and clean.
- Rubber spatula: Essential for folding without deflating.
- Whisk and bowls: Separate dry and wet mixing keeps things simple.
Step-by-Step Preparation Guide
Step 1: Preheat and Prepare the Pan
Preheat the oven and prepare the 9 x 5–inch loaf pan by greasing it with butter or nonstick spray and fitting a parchment sling into the bottom and long sides. This step is about structure and restraint — make sure the pan is well-lined so the finished loaf lifts cleanly. Wipe any excess butter from the edges so the parchment sits flat and unobstructed; visual neatness here prevents tears and keeps the final rectangular silhouette pristine.
Step 2: Toast Nuts and Combine the Dry Mix
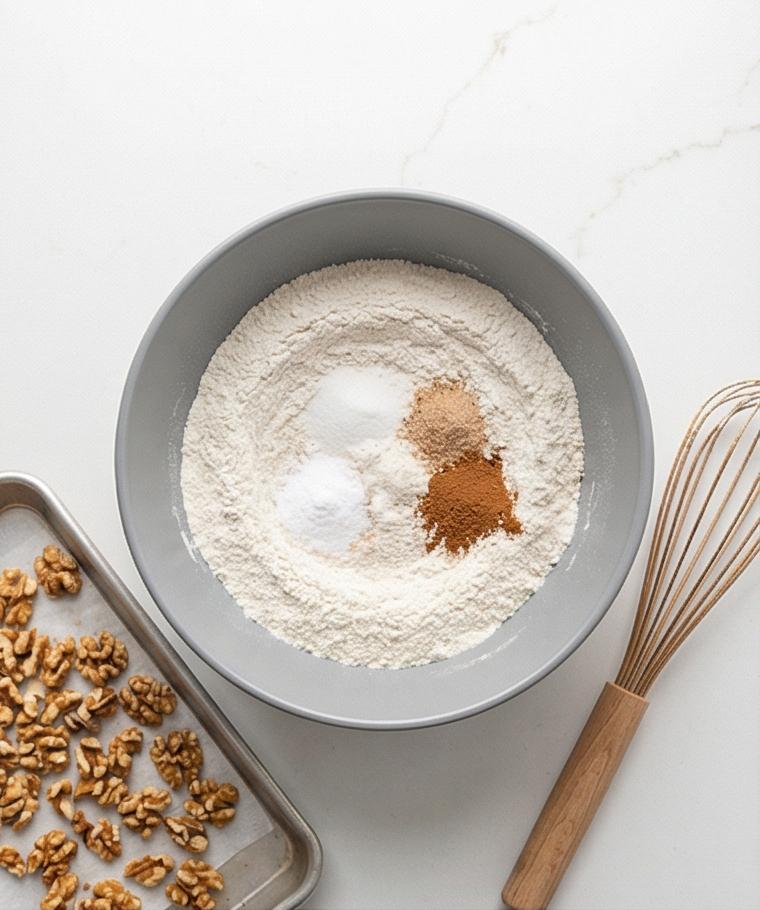
Toast the chopped walnuts or pecans until fragrant and lightly golden, then let them cool. In the same top-down workspace, whisk together the all-purpose flour, baking soda, fine sea salt, ground cinnamon, and nutmeg in a medium bowl until homogeneous and free of streaks. Reserve a small handful of toasted nuts for topping.
Step 3: Mash Bananas and Build the Wet Base
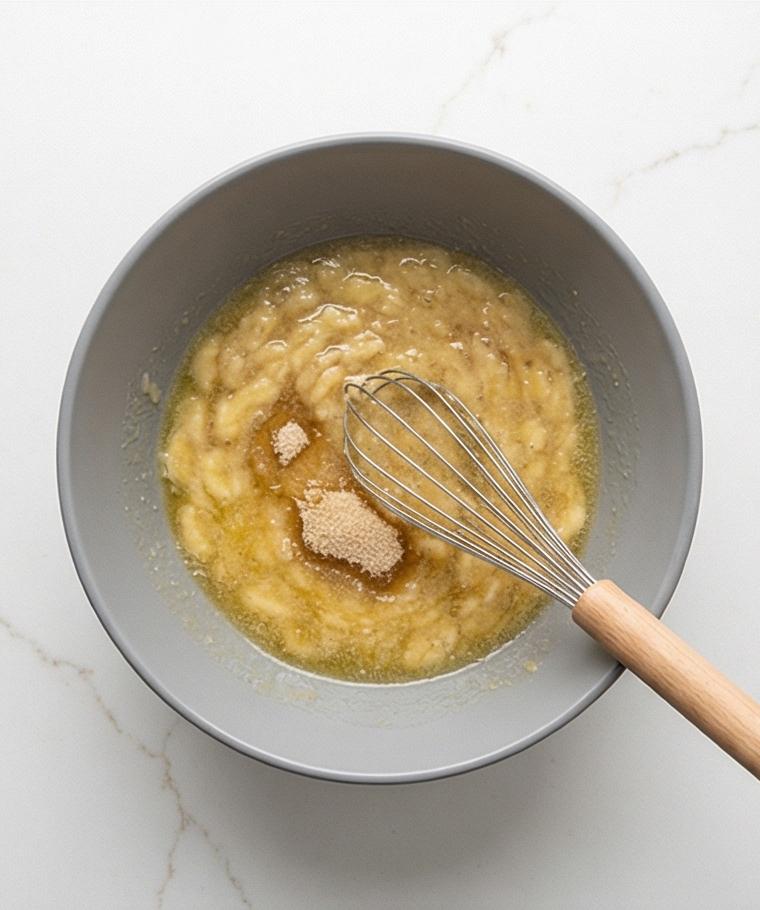
Peel and mash the very ripe bananas until mostly smooth with a few small lumps remaining. In a large matte mixing bowl, whisk the mashed bananas with the melted, slightly cooled butter and both sugars until the mixture becomes glossy and slightly lightened in color. Add the room-temperature eggs one at a time, whisking to full incorporation, then stir in yogurt (or sour cream) and vanilla until the wet mixture is creamy and homogeneous.
Step 4: Fold Dry into Wet and Add Mix‑Ins
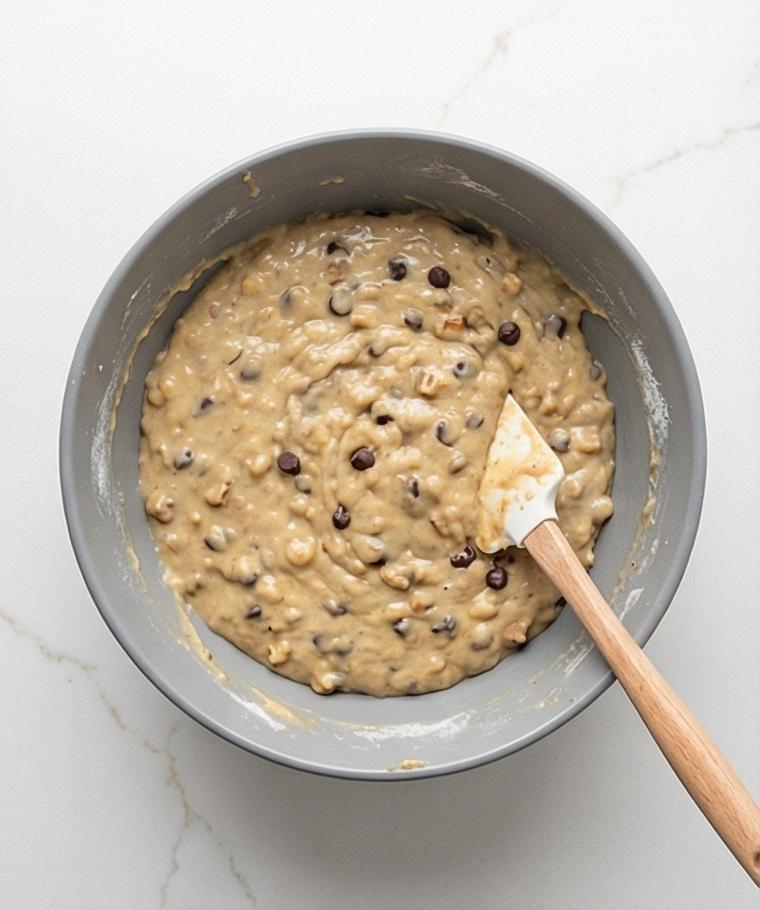
Gently add the dry flour mixture to the wet banana base and fold with a rubber spatula just until you no longer see pockets of dry flour — the batter should be thick, slightly lumpy and tender-looking. Fold in the cooled toasted nuts and optional chocolate chips with a few careful strokes so they are evenly distributed without overworking the batter. Keep the same matte bowl and wooden-handled spatula visible to show continuity of tools.
Step 5: Transfer to Loaf Pan and Finish the Top
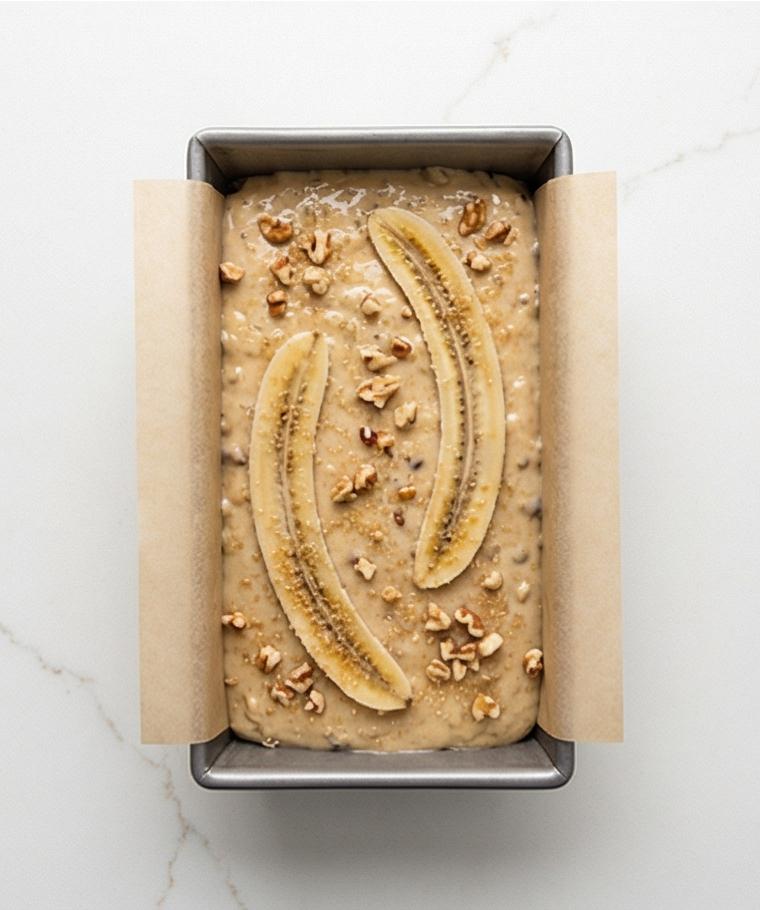
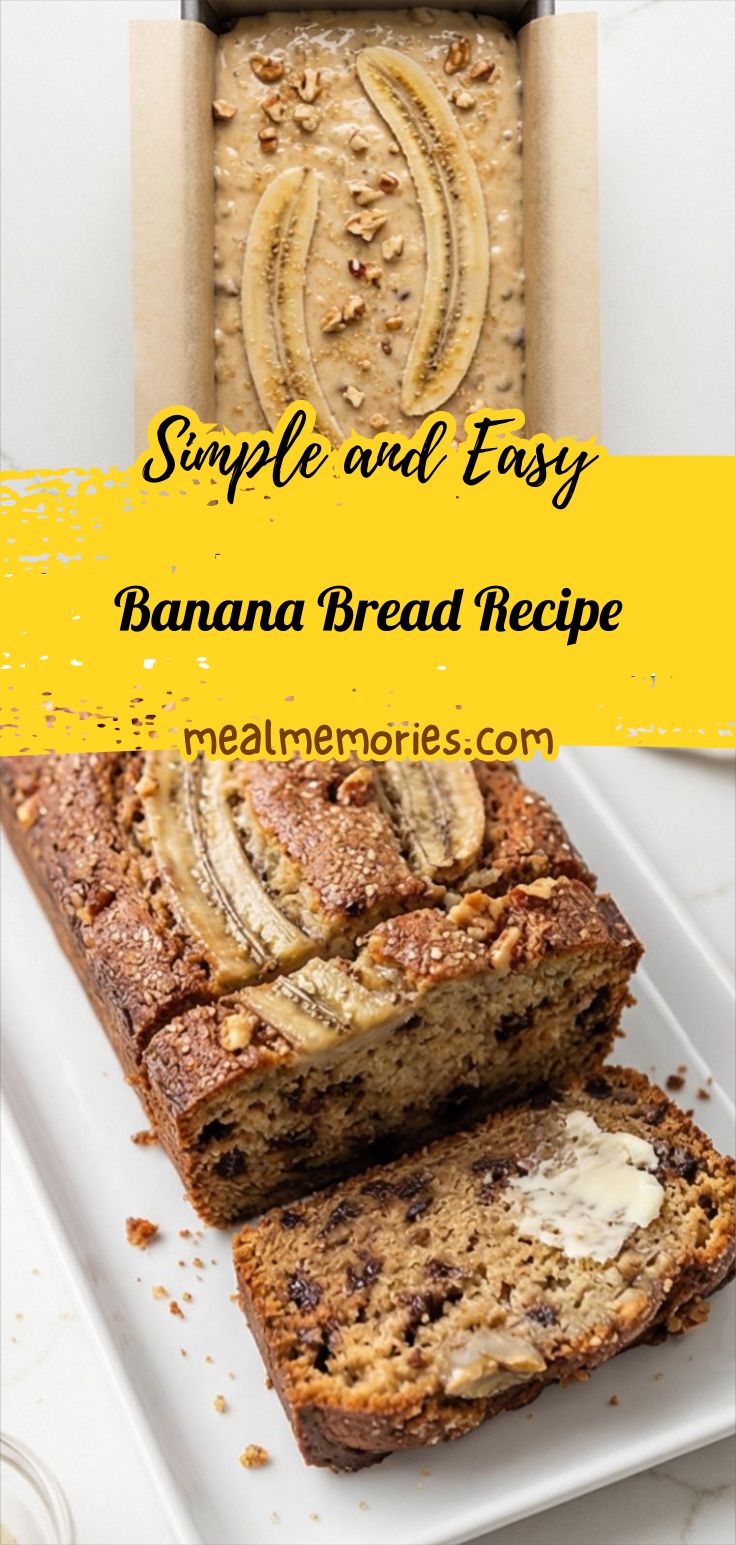
Scrape the thick banana batter into the prepared parchment-lined loaf pan and smooth the surface with the spatula. Arrange the sliced banana decoratively down the center if using, then sprinkle the reserved toasted nuts and coarse turbinado sugar for a crunchy, caramelized finish. Ensure the loaf surface reads moist and glossy with visible nut fragments and sugar crystals ready to caramelize in the oven.
Step 6: Bake, Cool, Slice, and Serve
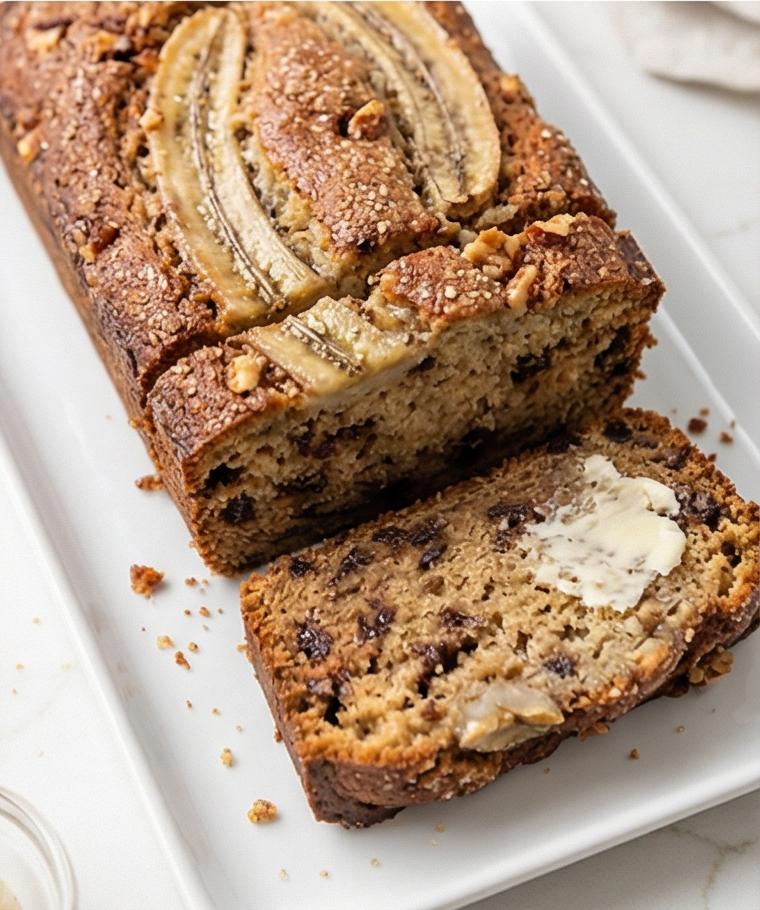
Bake until the loaf is deep golden-brown, domed and slightly cracked on top, and a skewer comes out with a few moist crumbs. Let the loaf rest in the pan 15 minutes, then lift it out on the parchment sling and transfer to a wire rack to cool completely so the crumb sets. Slice the loaf into even, 3/4‑inch (2 cm) pieces and arrange them in a tidy rectangular composition for serving — each slice should show a tender, moist crumb, pockets of banana, toasted nuts, and any melted chocolate chips. Serve slightly warm or at room temperature with butter or spread of choice.
Making It Your Own
Try a few experiments to make this Banana Bread Recipe yours. Swap half the flour for whole wheat pastry flour for a nuttier, denser crumb; you may need an extra tablespoon of yogurt to keep it moist. For a dairy-free twist, use melted coconut oil and coconut yogurt — the banana flavor will still shine.
Add in seasonal flair: grated orange zest and dried cranberries in winter, or toasted coconut and macadamia nuts for a tropical lift. For a lower-sugar version, reduce the granulated sugar slightly and increase brown sugar for moisture, or use a 3:1 mix of mashed banana to a natural liquid sweetener in small trials.
How to Serve
When I host, I slice the Banana Bread Recipe into even pieces and arrange them on a wood board with a small dish of softened butter and a pot of strong coffee. For brunch, offer thin slices toasted and topped with ricotta and a drizzle of honey.
To scale: double the ingredients and bake in two pans, or use a 9 x 13-inch pan and watch the bake time closely; the loaf will set faster and may need 10 to 20 minutes less per loaf if you split the batter. For parties, cut into smaller finger slices and serve warm with flavored butters for variety.
Storage and Reheating Tips
Store the cooled loaf wrapped tightly in plastic wrap or in an airtight container at room temperature for up to 3 days. Keeping it wrapped prevents the crumb from drying out and preserves the aroma of banana and vanilla.
For longer life, freeze whole or sliced portions in freezer-safe bags for up to 3 months. Thaw at room temperature or gently reheat slices in a toaster oven at low heat until warm. A quick 10 to 15 second zap in the microwave perks up a single slice, but avoid overheating or it will become rubbery.
Common Mistakes and How to Avoid Them
Overmixing the batter is the usual culprit if your loaf is tough. Fold just until the flour disappears; a few streaks are okay. Use a gentle hand and scrape the sides carefully so you do not deflate the risen batter.
Underripe bananas will leave the loaf mild and less sweet. Wait until the bananas are heavily spotted and fragrant; that intense banana flavor is worth the patience.
Ready When You Are
Give this Banana Bread Recipe a try this weekend. It is forgiving, full of flavor, and a perfect project whether you bake alone on a rainy afternoon or bring a loaf to share. You’ll have a warm, fragrant loaf that makes any morning feel a little more like home.
Frequently Asked Questions.
- Can I make this Banana Bread Recipe gluten-free?
Yes. Use a 1-to-1 gluten-free flour blend that includes xanthan gum, and reduce mixing a touch to avoid a gummy texture. - How ripe should the bananas be?
Very ripe, with heavy brown spots or mostly brown skins. They should be soft and fragrant to maximize sweetness and flavor. - Can I skip the nuts or chocolate chips?
Absolutely. The recipe works well plain; nuts and chips are optional for texture and contrast. - How do I know when the loaf is done?
The top should be deep golden and a skewer inserted in the center should come out with a few moist crumbs, not wet batter. - Can I halve the recipe?
Yes. Bake in a smaller loaf pan or reduce baking time and check earlier; keep an eye on color and skewer tests.
Banana Bread Recipe
Bake the Banana Bread Recipe now: moist, nutty loaf with toasted walnuts, easy steps for the Banana Bread Recipe everyone loves.
Ingredients
Instructions
Step 1: Preheat and Prepare the Pan
Preheat the oven and prepare the 9 x 5–inch loaf pan by greasing it with butter or nonstick spray and fitting a parchment sling into the bottom and long sides. This step is about structure and restraint — make sure the pan is well-lined so the finished loaf lifts cleanly. Wipe any excess butter from the edges so the parchment sits flat and unobstructed; visual neatness here prevents tears and keeps the final rectangular silhouette pristine.
Step 2: Toast Nuts and Combine the Dry Mix
Toast the chopped walnuts or pecans until fragrant and lightly golden, then let them cool. In the same top-down workspace, whisk together the all-purpose flour, baking soda, fine sea salt, ground cinnamon, and nutmeg in a medium bowl until homogeneous and free of streaks. Reserve a small handful of toasted nuts for topping.
Step 3: Mash Bananas and Build the Wet Base
Peel and mash the very ripe bananas until mostly smooth with a few small lumps remaining. In a large matte mixing bowl, whisk the mashed bananas with the melted, slightly cooled butter and both sugars until the mixture becomes glossy and slightly lightened in color. Add the room-temperature eggs one at a time, whisking to full incorporation, then stir in yogurt (or sour cream) and vanilla until the wet mixture is creamy and homogeneous.
Step 4: Fold Dry into Wet and Add Mix‑Ins
Gently add the dry flour mixture to the wet banana base and fold with a rubber spatula just until you no longer see pockets of dry flour — the batter should be thick, slightly lumpy and tender-looking. Fold in the cooled toasted nuts and optional chocolate chips with a few careful strokes so they are evenly distributed without overworking the batter. Keep the same matte bowl and wooden-handled spatula visible to show continuity of tools.
Step 5: Transfer to Loaf Pan and Finish the Top
Scrape the thick banana batter into the prepared parchment-lined loaf pan and smooth the surface with the spatula. Arrange the sliced banana decoratively down the center if using, then sprinkle the reserved toasted nuts and coarse turbinado sugar for a crunchy, caramelized finish. Ensure the loaf surface reads moist and glossy with visible nut fragments and sugar crystals ready to caramelize in the oven.
Step 6: Bake, Cool, Slice, and Serve
Bake until the loaf is deep golden-brown, domed and slightly cracked on top, and a skewer comes out with a few moist crumbs. Let the loaf rest in the pan 15 minutes, then lift it out on the parchment sling and transfer to a wire rack to cool completely so the crumb sets. Slice the loaf into even, 3/4‑inch (2 cm) pieces and arrange them in a tidy rectangular composition for serving — each slice should show a tender, moist crumb, pockets of banana, toasted nuts, and any melted chocolate chips. Serve slightly warm or at room temperature with butter or spread of choice.
Notes
- Use very ripe bananas for the best flavor and natural sweetness.
- Reserve a handful of toasted nuts for a crunchy top and visual appeal.
- Do not overmix; fold until just combined to keep the loaf tender.
- Freeze sliced portions individually for quick breakfasts and toast to refresh.
- If using a 9 x 13 pan, watch bake time closely and check earlier for doneness.