I still remember the first time I made this No-Bake Mimosa Cheesecake for a Sunday brunch; the kitchen smelled like orange zest and white chocolate, and everyone lingered over the first slice. I’ve nudged the recipe a little here and there over the years, but its essence is delightfully simple: a crisp graham crust, a silky white chocolate-cheese filling brightened with champagne and orange, and a cloud of whipped cream on top. Making the No-Bake Mimosa Cheesecake feels like a small celebration, whether it’s for a weekday treat or a special morning. If you love subtle bubbles and citrus notes, this cheesecake will become one of your favorite no-fuss desserts.
There’s something joyful about a dessert that tastes celebratory without demanding the oven. The aroma of orange zest and the whisper of champagne in the filling create a dessert that’s both elegant and approachable. I promise it’s easier than it looks, and the payoff is generous smiles at the table.
How This Recipe Became My Brunch-Party Favorite
I first tested the No-Bake Mimosa Cheesecake on a rainy spring morning when guests were due by noon and I wanted something that felt special but wouldn’t leave me hunched over a hot oven. The first forkful made a friend close her eyes and say, “This tastes like Sunday.” I remember the lightness of the filling, the glossy specks of orange zest, and how the champagne added a delicate lift that never overwhelmed. The sound of clinking glasses and little exclamations as people tried a bite is such a vivid memory. Since then, I’ve made small adjustments to the balance of sweetness and texture, learned when to chill longer, and found that piping a whipped cream border makes everyone feel like the moment matters. Baking can be grand, but this No-Bake Mimosa Cheesecake taught me that thoughtful simplicity often makes the best memories.
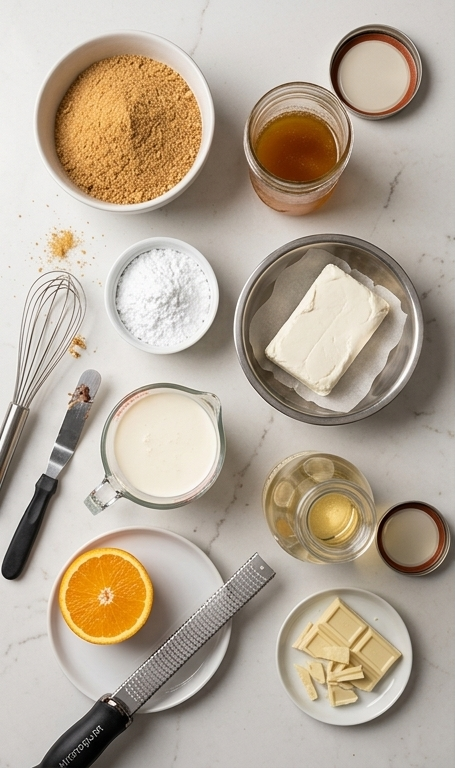
The Ingredients That Make the Magic
- Graham cracker crumbs: These form the sturdy, buttery base that contrasts the creamy filling; substitute with digestive biscuits or vanilla wafers for a slightly different flavor.
- Unsalted butter: Binds the crust and controls salt; use melted coconut oil for a dairy-free crust alternative.
- White chocolate: Provides sweetness and silkiness; pick a good-quality bar for smooth melting or swap for white chocolate chips.
- Heavy whipping cream: Supports both the ganache and the folded mousse; use full-fat coconut cream for a dairy-free twist.
- Powdered sugar: Keeps the whipped cream stable and smooth; caster sugar will not dissolve as readily.
- Cream cheese: The backbone of the filling; full-fat gives the best texture, but light cream cheese will work with a firmer set.
- Champagne: Adds subtle acidity and fragrance; use prosecco or a dry sparkling wine as a budget-friendly substitute.
- Orange zest: Brightens every bite; use Meyer lemons for a different citrus note.
Essential Kitchen Tools and Why They Matter
A short intro: the right tools make this No-Bake Mimosa Cheesecake straightforward and stress-free. Here’s what I reach for and why each piece helps.
- 9-inch springform pan: Helps you unmold the cake cleanly; a regular cake pan will work but you may need to line and invert carefully.
- Food processor or rolling pin and bag: For fine graham crumbs; evenly crushed crumbs press better and hold the crust together.
- Microwave-safe bowl or double boiler: For gently melting white chocolate; low heat prevents scorching and graininess.
- Stand mixer or hand mixer: Whips cream and cream cheese to the right texture; whisk by hand if needed but expect more effort.
- Offset spatula and rubber spatula: An offset spatula smooths the top beautifully; a rubber spatula helps fold in whipped cream without deflating.
- Piping bag and star tip: Optional, for a pretty whipped cream border; a spoon or zip-top bag with the corner snipped is a fine alternative.
Step-by-Step Preparation Guide
Step 1: Prepare the crust and pan
Lightly grease the edges of a 9-inch springform pan and line the bottom with a round of parchment. Grind graham crackers into a fine, even crumb in a processor, then pour the melted unsalted butter over the crumbs and stir until every particle looks glossy and evenly coated. Press the mixture firmly and evenly into the bottom and slightly up the sides of the springform to form a compact golden-brown base. Pop the crust into the refrigerator or freezer while you move on — chilling the crust keeps it crisp and sets the shape for the creamy filling.
Step 2: Melt the white chocolate and cool
Chop or break the white chocolate into uniform pieces and place them in a microwave-safe bowl with the measured 5 tablespoons of heavy cream. Heat gently at reduced power in short bursts, stirring between each interval, until the chocolate softens and you can whisk it smooth into a glossy, satin emulsion. Set this warm ganache aside to cool to near room temperature so it won’t melt the whipped cream when combined.
Step 3: Whip the cream for folding
Chill a metal mixing bowl and whisk briefly, then whip 1 1/4 cups of heavy cream with the powdered sugar until you reach stiff, airy peaks — glossy, billowy, and able to hold shape. The whipped cream should feel pillowy and light, with fine bead-like texture where the whisk lifted through it. Set this whipped cream aside gently so it keeps its volume for folding into the cheese base.
Step 4: Build the flavored cheesecake base
Beat the room-temperature cream cheese until completely smooth and without lumps, scraping the bowl frequently. Add the cooled white chocolate emulsion and the bright orange zest, beating until fully combined into a silky, ivory mixture streaked with tiny orange specks. Pour in the champagne and continue to beat just until homogeneous — the alcohol adds subtle lift and a faint shimmer but the texture remains dense and velvety.
Step 5: Fold, fill, and smooth
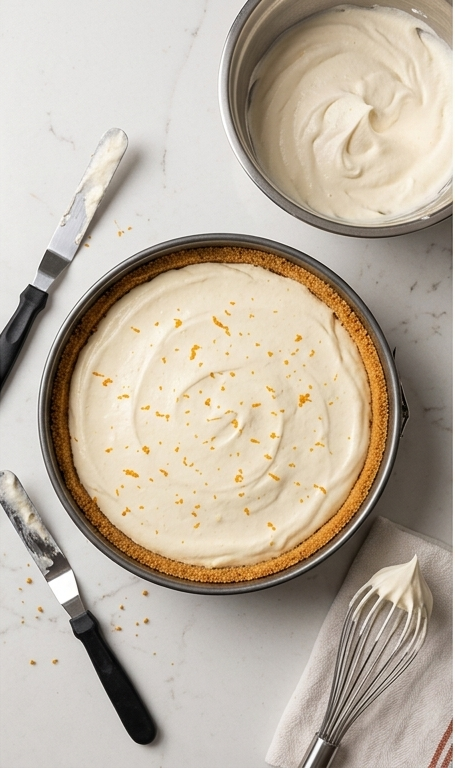
Gently fold the prepared whipped cream into the cream cheese mixture in two additions, using broad, deliberate strokes to retain air; the goal is an airy yet stable mousse-like filling with soft peaks and a satin surface. Transfer and pour the pale, peach-tinged filling into the chilled graham crust in the springform pan, then smooth the top with an offset spatula so the surface is even and slightly domed. Refrigerate the assembled cheesecake for at least four hours, until set and sliceable.
Step 6: Chill until set
Leave the filled springform undisturbed in the fridge for the minimum setting time, allowing the emulsion and whipped network to knit into a spoonable, sliceable mass. The filling should transition from soft and jiggly to a resilient, barely springy cream that holds clean knife edges when sliced.
Step 7: Finish with a whipped cream border and orange zest
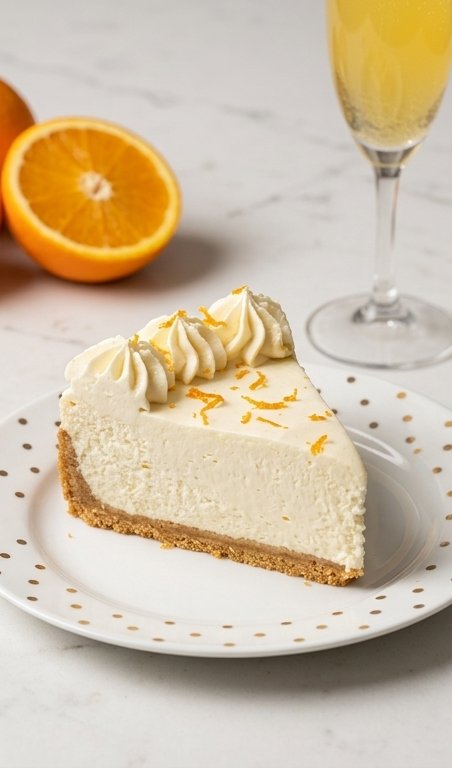
Make a second batch of whipped cream using the same chilling and whipping technique, sweetening to taste. Remove the cheesecake from the springform, place it on your serving plate, and pipe a neat border using a large open star tip to create defined, ridged rosettes. Sprinkle fine threads of orange zest over the border and a few delicate flakes onto the center for aroma and a bright visual pop.
Making It Your Own
I like to tinker, so I often swap in prosecco if I have a fruity bottle on hand; it gives the No-Bake Mimosa Cheesecake a slightly different fruit profile. For a lower-sugar version, try cutting the powdered sugar by a quarter and increasing orange zest so the citrus shines through more. If someone at the table avoids dairy, experiment with full-fat coconut cream and a dairy-free cream cheese to keep the structure while changing the flavor.
For a seasonal spin, fold in a spoonful of raspberry compote between the crust and filling for summer, or top with thinly sliced poached pears in autumn. Regional twists include swapping graham crackers for speculoos in cooler months, which adds warm spice notes and pairs beautifully with the champagne lift.
How to Serve
When I serve this No-Bake Mimosa Cheesecake for guests, I slice it thin and plate it with a small fresh orange segment and a tiny mint sprig so the presentation feels light and intentional. For a brunch of six to eight, the standard 9-inch will yield elegant portions; for a larger crowd, make two and stagger them so guests can try both.
If you want a more indulgent presentation, add a drizzle of orange syrup or a few fresh berries on the side. For a children-friendly version, omit the champagne and use a splash of orange juice instead; the texture stays the same and everyone can enjoy a special dessert.
Storage and Reheating Tips
Store the assembled No-Bake Mimosa Cheesecake in the refrigerator, covered loosely with plastic wrap or in an airtight cake container, for up to 3 days. Keeping it airtight preserves the delicate whipped texture and prevents the cake from picking up fridge odors.
I don’t recommend freezing slices, as the whipped texture changes on thawing, but you can freeze the unfilled crust and thaw it before pouring in the filling. If you do freeze the whole cake, expect small textural shifts and thaw slowly in the refrigerator for several hours.
Common Mistakes and How to Avoid Them
One frequent slip is folding the whipped cream too aggressively, which deflates the filling and gives a denser result. Use broad, gentle strokes and fold in two additions to keep airiness. Another pitfall is adding the warm chocolate while it is still hot; always cool the ganache to near room temperature so it doesn’t melt the whipped cream.
Also, don’t rush the chilling time. The 4-hour minimum gives a sliceable set; I often chill overnight for the cleanest edges and best flavor melding.
Final Thoughts and an Invitation
If you’re looking for a dessert that feels celebratory but won’t crowd your schedule, give the No-Bake Mimosa Cheesecake a try. I’d love to hear how you personalize it and what drinks you pair it with at your next brunch. Make a little time, bring out the zester, and enjoy the process; the results are always worth the wait.
Frequently Asked Questions.
- Can I make the No-Bake Mimosa Cheesecake ahead of time? Yes, you can make it a day ahead and keep it covered in the fridge; chilling overnight often improves the texture and flavor.
- What can I use instead of champagne? Prosecco or a dry sparkling wine works well, and for a nonalcoholic option, use chilled orange juice.
- Can I freeze the cheesecake? The texture changes when frozen, so I don’t recommend freezing slices; freezing the crust alone is a better option.
- How can I prevent the filling from being too soft? Ensure the whipped cream is at stiff peaks, fold gently to retain air, and chill the cake for at least 4 hours or overnight.
- Is there a substitute for white chocolate? High-quality white chocolate is best for the silky texture; you could omit it and increase cream and powdered sugar, but the flavor will be different.
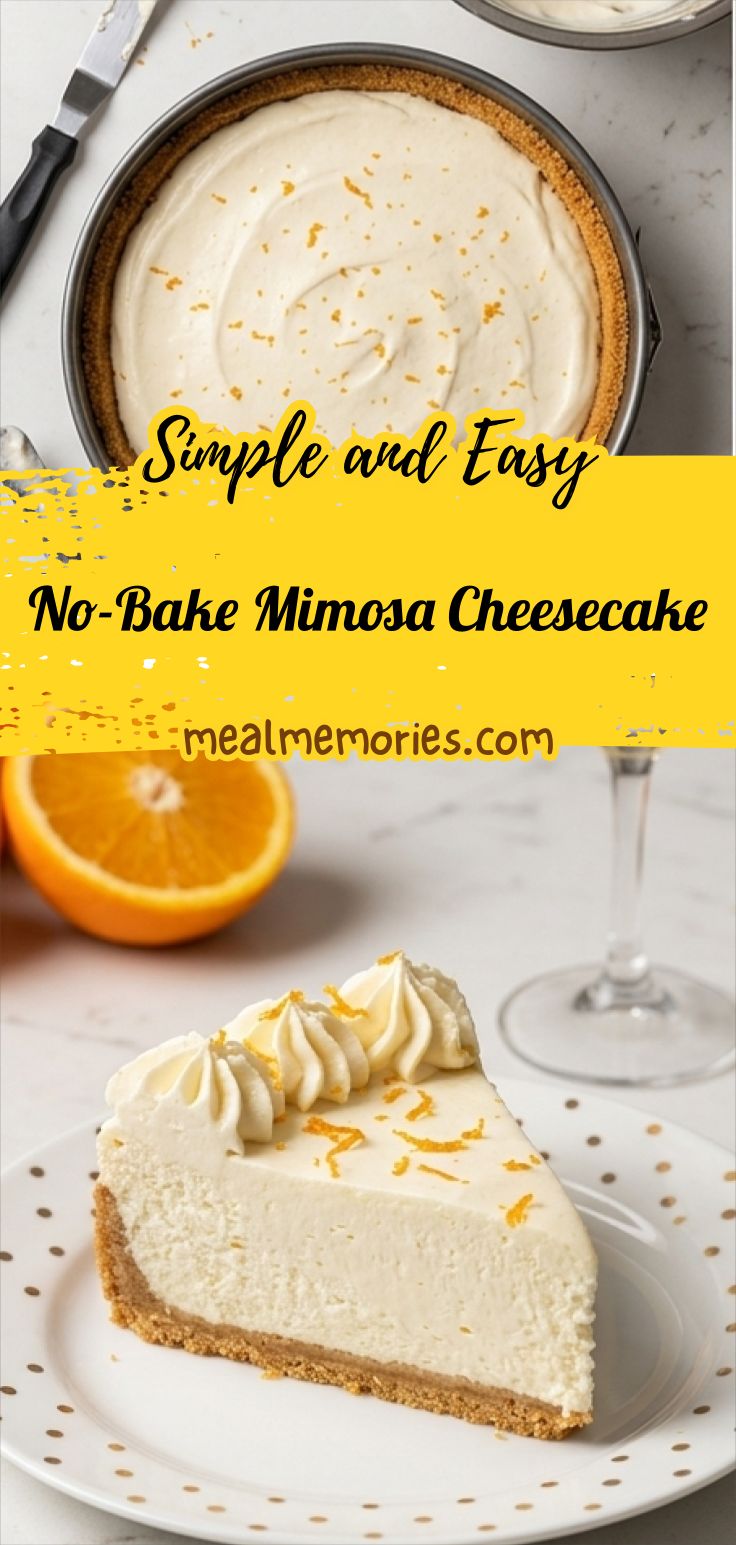
No-Bake Mimosa Cheesecake
Make No-Bake Mimosa Cheesecake: a silky, champagne-kissed cheesecake with orange zest and a crisp graham crust. Serve chilled.
Ingredients
Instructions
Step 1: Prepare the crust and pan
Lightly grease the edges of a 9-inch springform pan and line the bottom with a round of parchment. Grind graham crackers into a fine, even crumb in a processor, then pour the melted unsalted butter over the crumbs and stir until every particle looks glossy and evenly coated. Press the mixture firmly and evenly into the bottom and slightly up the sides of the springform to form a compact golden-brown base. Pop the crust into the refrigerator or freezer while you move on — chilling the crust keeps it crisp and sets the shape for the creamy filling.
Step 2: Melt the white chocolate and cool
Chop or break the white chocolate into uniform pieces and place them in a microwave-safe bowl with the measured 5 tablespoons of heavy cream. Heat gently at reduced power in short bursts, stirring between each interval, until the chocolate softens and you can whisk it smooth into a glossy, satin emulsion. Set this warm ganache aside to cool to near room temperature so it won’t melt the whipped cream when combined.
Step 3: Whip the cream for folding
Chill a metal mixing bowl and whisk briefly, then whip 1 1/4 cups of heavy cream with the powdered sugar until you reach stiff, airy peaks — glossy, billowy, and able to hold shape. The whipped cream should feel pillowy and light, with fine bead-like texture where the whisk lifted through it. Set this whipped cream aside gently so it keeps its volume for folding into the cheese base.
Step 4: Build the flavored cheesecake base
Beat the room-temperature cream cheese until completely smooth and without lumps, scraping the bowl frequently. Add the cooled white chocolate emulsion and the bright orange zest, beating until fully combined into a silky, ivory mixture streaked with tiny orange specks. Pour in the champagne and continue to beat just until homogeneous — the alcohol adds subtle lift and a faint shimmer but the texture remains dense and velvety.
Step 5: Fold, fill, and smooth
Gently fold the prepared whipped cream into the cream cheese mixture in two additions, using broad, deliberate strokes to retain air; the goal is an airy yet stable mousse-like filling with soft peaks and a satin surface. Transfer and pour the pale, peach-tinged filling into the chilled graham crust in the springform pan, then smooth the top with an offset spatula so the surface is even and slightly domed. Refrigerate the assembled cheesecake for at least four hours, until set and sliceable.
Step 6: Chill until set
Leave the filled springform undisturbed in the fridge for the minimum setting time, allowing the emulsion and whipped network to knit into a spoonable, sliceable mass. The filling should transition from soft and jiggly to a resilient, barely springy cream that holds clean knife edges when sliced.
Step 7: Finish with a whipped cream border and orange zest
Make a second batch of whipped cream using the same chilling and whipping technique, sweetening to taste. Remove the cheesecake from the springform, place it on your serving plate, and pipe a neat border using a large open star tip to create defined, ridged rosettes. Sprinkle fine threads of orange zest over the border and a few delicate flakes onto the center for aroma and a bright visual pop.
Notes
- Chill the crust before filling to keep it crisp.
- Use room-temperature cream cheese for a lump-free base.
- Cool the white chocolate ganache to near room temperature before folding into whipped cream.
- Whip cream to stiff peaks and fold gently to retain airiness.
- Chill the assembled cheesecake at least 4 hours or overnight for best texture.