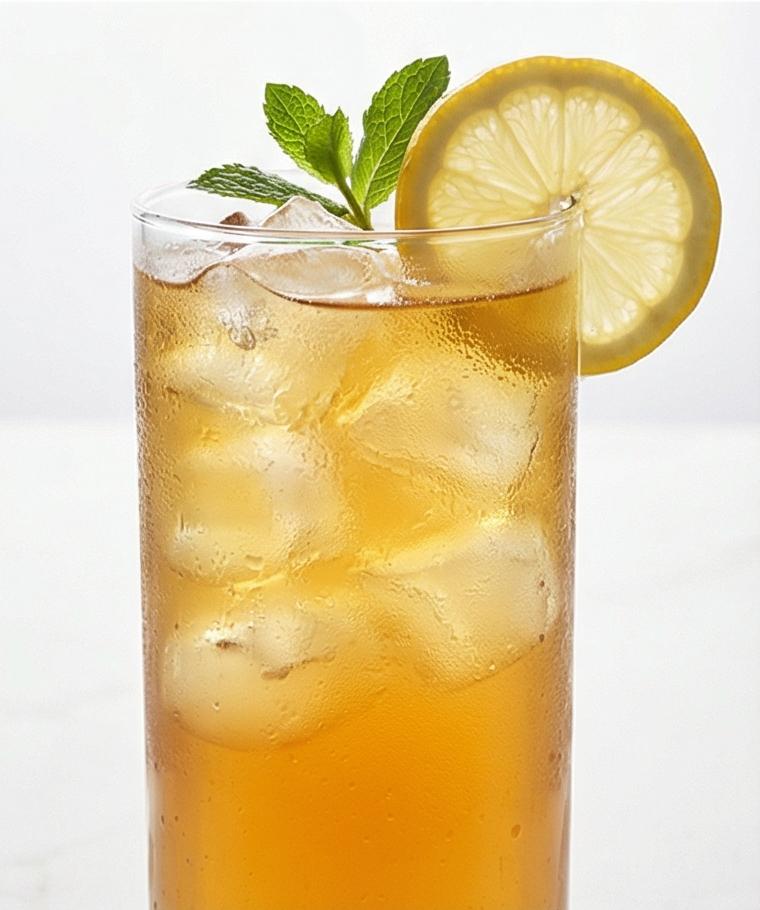
Mimosa Recipe: a simple classic that always brings a sunny smile to the table. I make this Mimosa Recipe whenever friends drop by for a relaxed brunch or when I want to celebrate small victories at home. It feels effortless, but there is a little technique behind that perfect fizz and balanced sweetness. Over the years I have learned how small details – like chilling the glasses and pouring gently – turn an everyday drink into something celebratory.
How This Recipe Became My Weekend Ritual
The first time I mastered the Mimosa Recipe I was setting up a last-minute brunch for a friend who had flown in from out of town. The kitchen smelled of citrus as I squeezed oranges and the refrigerator hummed with the chilled bottle waiting patiently. When we finally lifted the glasses, the bubbles caught the light and the sound felt like a tiny applause. There was a warmth in that moment, equal parts relief and joy, and the drink tasted like hospitality – bright, uncomplicated, and unfussy. That memory made this recipe my go-to when I want something that says welcome without drama.
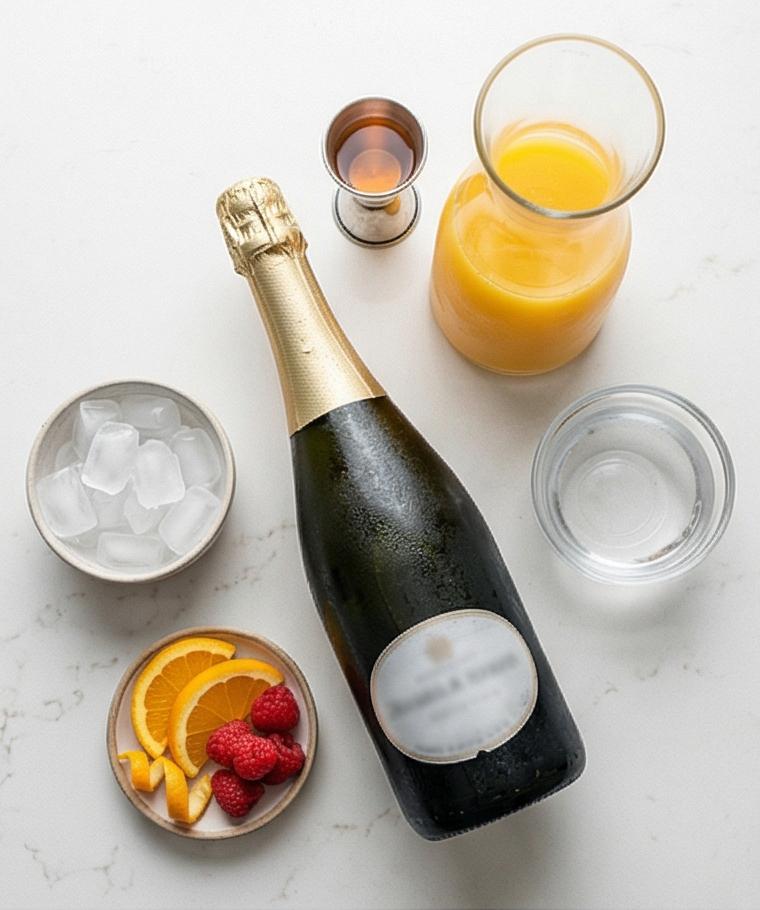
Main Ingredients and Why They Matter
- Dry sparkling wine: The star of the show for effervescence and backbone. Choose Brut Champagne, Cava, or Prosecco depending on budget – Prosecco is bright and friendly, Champagne is complex and dry. If you prefer lower alcohol, look for an extra dry or demi-sec style.
- Pulp-free orange juice: Adds sweetness and fresh citrus character. Fresh-squeezed is ideal, but high-quality pulp-free juice works well. Avoid cloudy or high pulp juices which change the texture.
- Orange liqueur: Optional depth and orange aroma. Cointreau or Triple Sec are classic; omit for a lighter drink or substitute a teaspoon of orange zest for aroma.
- Garnishes: Orange twists and berries add aroma and visual polish. Ensure they are dry so they do not dilute the drink.
Essential Kitchen Tools and Why They Help
Start with a short list of tools that really make a difference when you want consistent, beautiful mimosas. Each tool saves time and helps maintain the delicate texture and temperature of the drink.
- Champagne flutes: Narrow glasses keep bubbles concentrated and give the mimosa an elegant profile. If you don’t have flutes, use tall narrow wine glasses.
- Chilled carafe or jug: Shows the juice and keeps it cold without needing ice. A clear vessel helps you monitor pulp content.
- Small jigger: For optional orange liqueur so your measures are precise and consistent.
- Bar spoon: A slim spoon helps combine liquids gently without losing carbonation. A chopstick can substitute in a pinch.
Step-by-Step Preparation Guide
Step 1: Chill the sparkling wine and orange juice
Place the unopened bottle of dry sparkling wine and the orange juice into the refrigerator at least three hours before serving so both reach 39–41°F (4–5°C). This step preserves the fine carbonation and keeps the finished mimosa bright and effervescent; think of it as locking in texture and temperature so you never need ice in the drink itself. Keep the juice in a clear glass carafe or jug so you can see its pulp-free, opaque golden-orange color while it chills.
Step 2: Chill the flutes and prepare garnishes
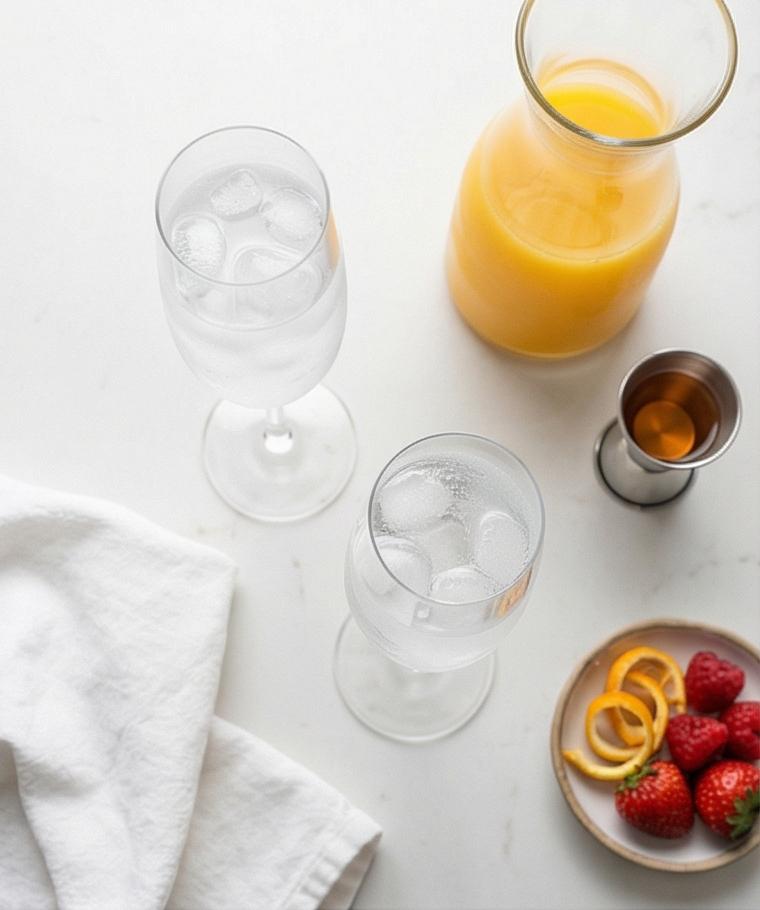
About 15 minutes before serving, chill your champagne flutes: either fill each flute halfway with cold water and a few ice cubes or place them empty in the refrigerator/freezer for 10–15 minutes until the glass feels very cold to the touch. While they chill, rinse and thinly slice 4 oranges into half-wedges or twists and gently rinse 4–8 raspberries or small strawberries, then pat everything completely dry with a clean towel so no surface water dilutes the drink. Keep the prepared garnishes arranged in a small ceramic dish and the juice in the same clear carafe mentioned earlier for visual continuity.
Step 3: Empty and dry the chilled glasses, stage the service
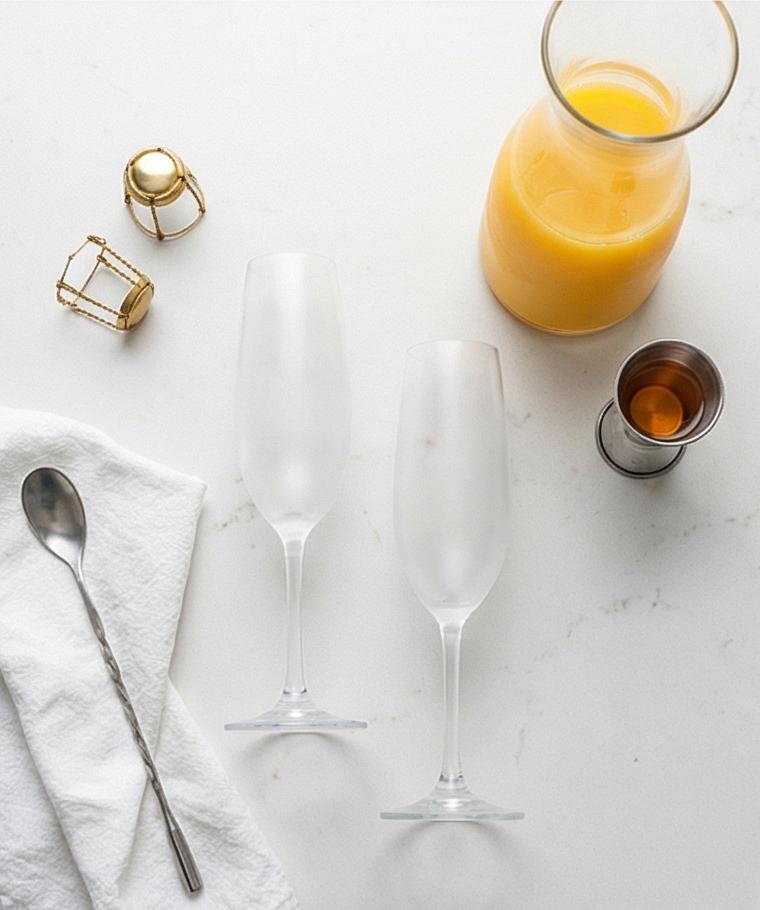
Quickly discard the ice water from the flutes if you used it, and dry the inside of each glass with a clean towel so the glass is cold but not wet – the goal is cold surface contact without melting or dilution. Arrange the cold, dry flutes on the quartz surface in a neat row next to the juice carafe, a small chilled jigger for optional liqueur, and a narrow bar spoon resting beside a small bowl holding the dried garnishes; these tools persist through the next steps so keep them in frame.
Step 4: Open the sparkling wine carefully
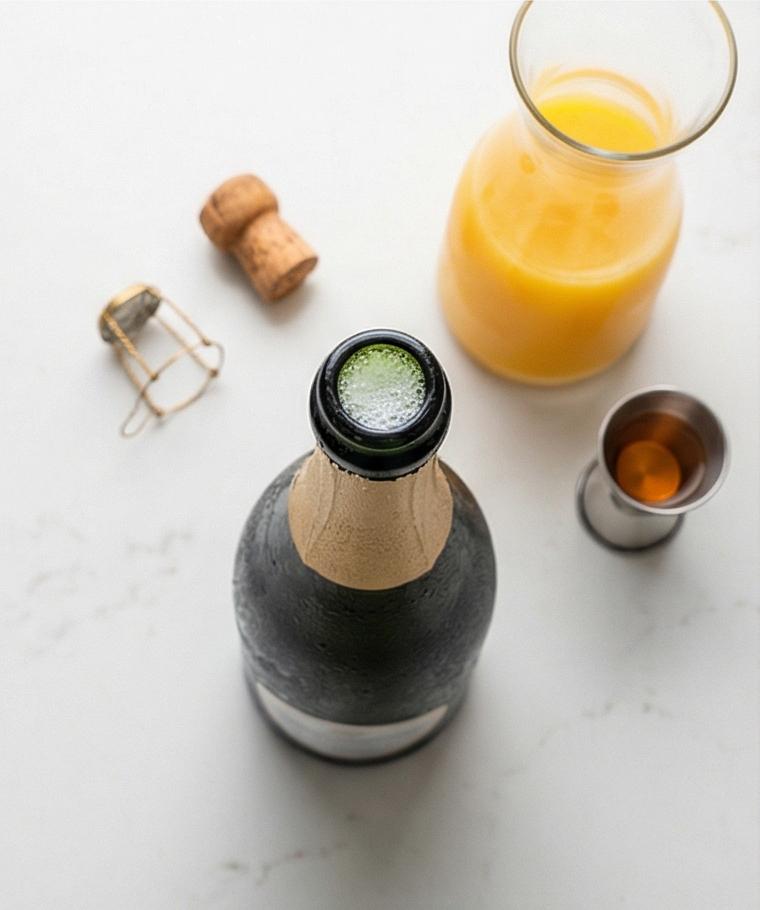
Place the well-chilled bottle on the surface at a slight angle (no hands shown) with the foil removed and the loosened wire cage set nearby; gently ease the cork free by holding the bottle at 45 degrees and twisting the bottle (not the cork) so it slips out with a soft sigh rather than a loud pop – preserve as much carbonation as possible. Show the opened bottle with a thin froth at the mouth and the cork resting beside it on the quartz surface; keep the same clear juice carafe and jigger visible to maintain utensil persistence.
Step 5: Pour the sparkling wine and optionally add orange liqueur
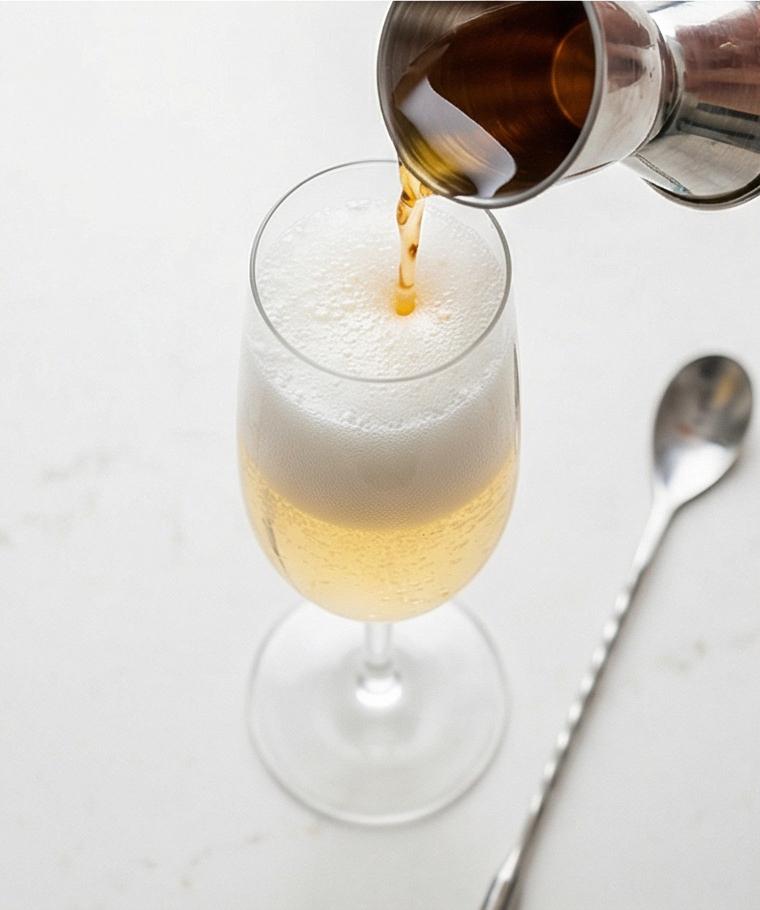
Hold each chilled flute nearly upright and slowly pour 3 ounces (90 ml) of chilled sparkling wine down the side so it forms a thick, foamy head that settles in a few seconds; the glass should sit about half-full. If you’re using orange liqueur, gently measure and pour 1 tablespoon (15 ml) into each flute from a small chilled jigger so it nestles into the sparkling wine. Keep the pours steady and the bubbles tight and fine – the texture here is a delicate froth and shimmering micro-bubbles.
Step 6: Add the orange juice and lightly combine
Keeping the flute nearly upright, slowly pour an equal measure (3 ounces / 90 ml) of chilled, pulp-free orange juice into the center of each glass so it mixes naturally with the sparkling wine without foaming over. Very gently stir once with the narrow bar spoon, keeping the spoon just below the surface to coax the liquids together without knocking out carbonation; the finished interior should be an even, opaque golden-orange with fine bubbles rising steadily, and a soft, settled foam on top.
Step 7: Garnish and serve immediately
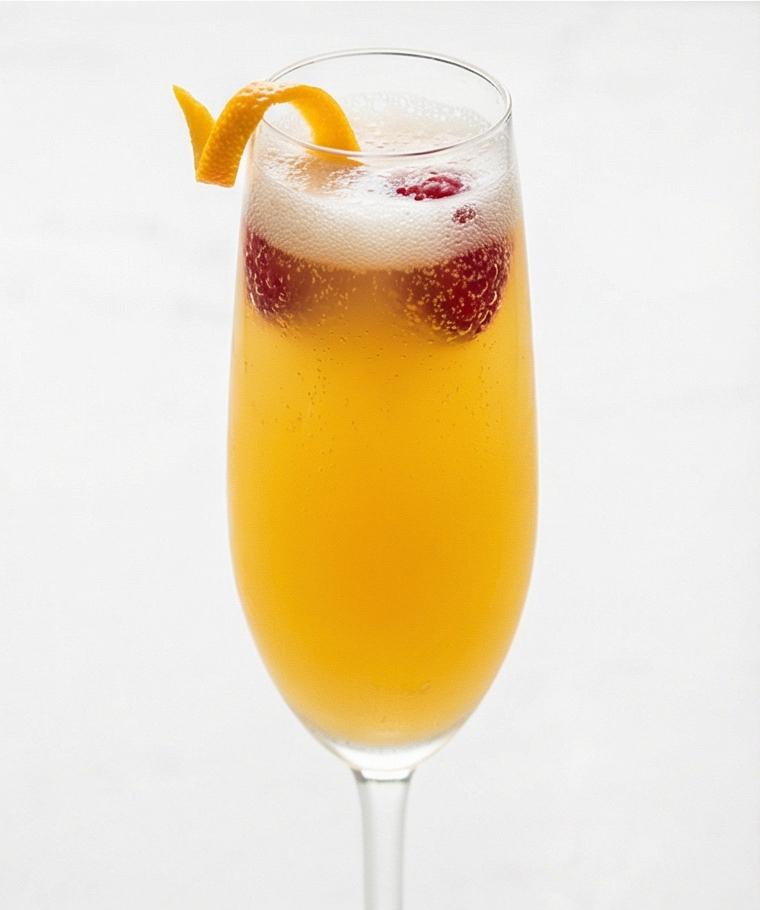
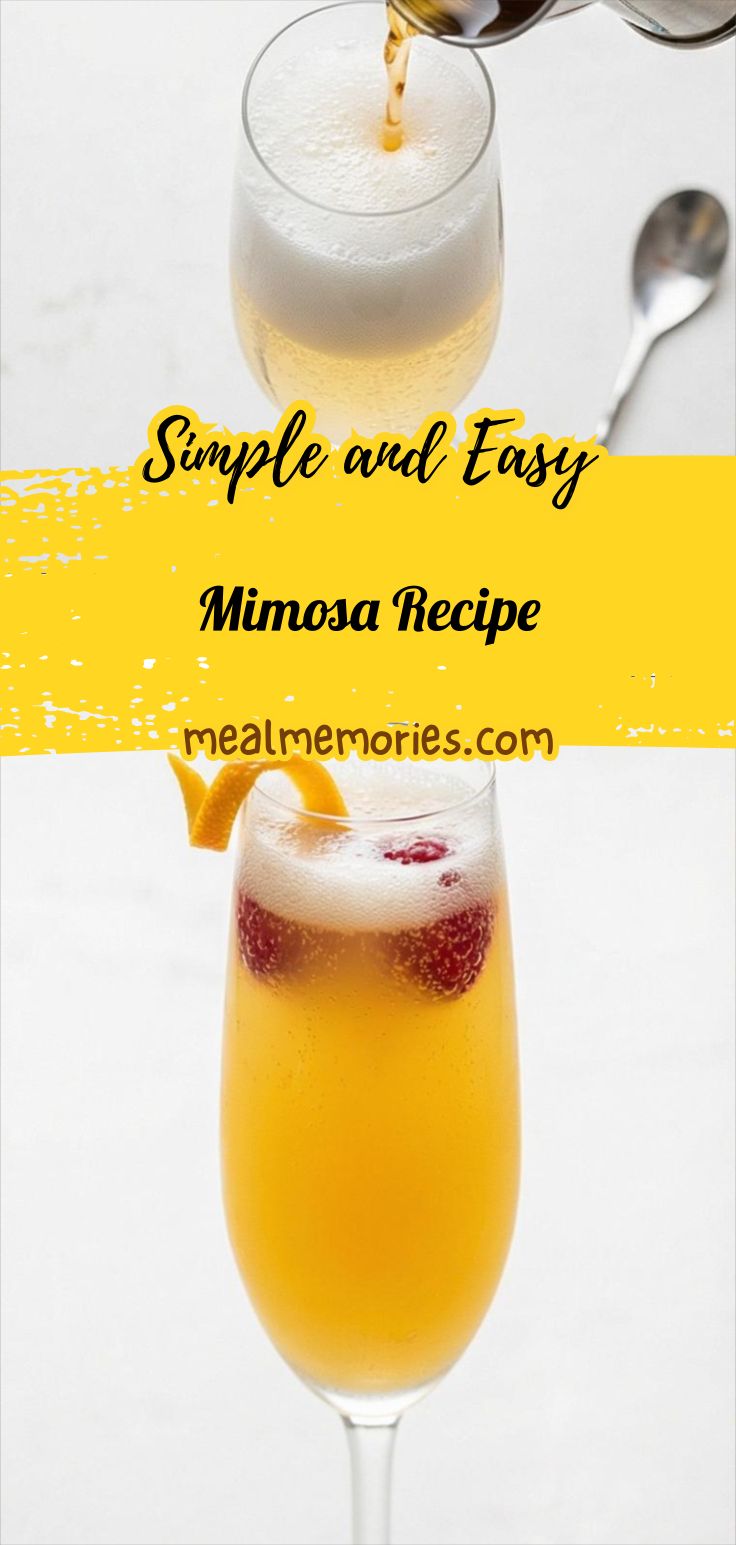
Place a thin orange half-wedge or twist on the rim and drop 1–2 dry raspberries or a small strawberry into the drink; ensure garnishes are completely dry to avoid dilution. Serve each mimosa right away while it is very cold and effervescent. If serving a crowd, keep the remaining bottles and carafe chilled at 39–41°F (4–5°C) and assemble each glass to order rather than pre-mixing.
Making It Your Own
I like to experiment with a small twist of flavor when I have guests who enjoy variety. Try swapping one part orange juice for blood orange in season – the color is stunning and the flavor is slightly deeper. For a lower sugar version, dilute 1 part juice with 1 part club soda and increase the sparkling wine slightly to keep the effervescence lively.
If you prefer a boozier mimosa, add a splash of orange liqueur or 1/2 ounce of Grand Marnier to the bottle before pouring. For a crowd, set up a mimosa bar with multiple juices – classic orange, mango, and peach – and let guests personalize their pours.
How to Serve
When hosting, plan on about 3 ounces of sparkling wine and 3 ounces of juice per glass. For a small brunch of four people, open one bottle and pour to order so each glass is freshly mixed. If you are serving 8 to 12 people, open two or three bottles and station a chilled carafe of juice so you can assemble quickly without losing bubbles.
Present the flutes on a tray with small bowls of garnishes – orange twists, raspberries, and a little bowl of candied citrus peel for a sweet option. Use cloth napkins and a simple vase of fresh flowers to keep the table feeling festive but effortless.
Storage and Reheating Tips
Mimosas are best served immediately and are not meant to be stored for long. If you need to prep ahead, chill all components separately – bottles, juice, and garnishes – and assemble to order.
Leftover sparkling wine will lose its fizz if resealed and refrigerated for more than a day. Use a sparkling wine stopper and consume within 24 hours. Leftover mixed mimosa should be avoided because the bubbles dissipate quickly and the texture will be flat.
Common Mistakes and How to Avoid Them
A common mistake is using warm components – it kills the bubbles and flattens the drink. Always chill both the wine and juice thoroughly. Another mistake is pouring too vigorously – pour down the side and let the bubbles settle.
Over-garnishing or adding wet fruit can water down the mimosa. Pat garnishes dry and add them at the last second. Keep the measures simple and consistent to let the flavors sing.
A Warm Invitation
If you enjoy sparkling drinks that feel like a small celebration, try this Mimosa Recipe this weekend. It is forgiving, fast, and always a crowd-pleaser. I hope it brings as many easy smiles at your table as it does at mine.
Frequently Asked Questions.
- What kind of sparkling wine is best for a Mimosa Recipe? – Brut Champagne, Cava, or a dry Prosecco are all great; choose based on your budget and preference for dryness.
- Can I use refrigerated orange juice from the store? – Yes, high-quality pulp-free orange juice works fine, though fresh-squeezed adds brightness.
- Do I have to add orange liqueur to make a proper Mimosa Recipe? – No, the liqueur is optional and adds depth; omit it for a lighter drink.
- How far in advance can I prepare mimosas for a party? – Prep components ahead, but assemble each glass just before serving to preserve bubbles.
- Can I make a nonalcoholic version of the Mimosa Recipe? – Yes, substitute sparkling water or nonalcoholic sparkling wine for a lovely alcohol-free version.
Mimosa Recipe
Make this Mimosa Recipe for bright, bubbly brunch drinks that are easy and elegant.
Ingredients
Instructions
Step 1: Chill the sparkling wine and orange juice
Place the unopened bottle of dry sparkling wine and the orange juice into the refrigerator at least three hours before serving so both reach 39–41°F (4–5°C). This step preserves the fine carbonation and keeps the finished mimosa bright and effervescent; think of it as locking in texture and temperature so you never need ice in the drink itself. Keep the juice in a clear glass carafe or jug so you can see its pulp-free, opaque golden-orange color while it chills.
Step 2: Chill the flutes and prepare garnishes
About 15 minutes before serving, chill your champagne flutes: either fill each flute halfway with cold water and a few ice cubes or place them empty in the refrigerator/freezer for 10–15 minutes until the glass feels very cold to the touch. While they chill, rinse and thinly slice 4 oranges into half-wedges or twists and gently rinse 4–8 raspberries or small strawberries, then pat everything completely dry with a clean towel so no surface water dilutes the drink. Keep the prepared garnishes arranged in a small ceramic dish and the juice in the same clear carafe mentioned earlier for visual continuity.
Step 3: Empty and dry the chilled glasses, stage the service
Quickly discard the ice water from the flutes if you used it, and dry the inside of each glass with a clean towel so the glass is cold but not wet — the goal is cold surface contact without melting or dilution. Arrange the cold, dry flutes on the quartz surface in a neat row next to the juice carafe, a small chilled jigger for optional liqueur, and a narrow bar spoon resting beside a small bowl holding the dried garnishes; these tools persist through the next steps so keep them in frame.
Step 4: Open the sparkling wine carefully
Place the well-chilled bottle on the surface at a slight angle (no hands shown) with the foil removed and the loosened wire cage set nearby; gently ease the cork free by holding the bottle at 45 degrees and twisting the bottle (not the cork) so it slips out with a soft sigh rather than a loud pop — preserve as much carbonation as possible. Show the opened bottle with a thin froth at the mouth and the cork resting beside it on the quartz surface; keep the same clear juice carafe and jigger visible to maintain utensil persistence.
Step 5: Pour the sparkling wine and optionally add orange liqueur
Hold each chilled flute nearly upright and slowly pour 3 ounces (90 ml) of chilled sparkling wine down the side so it forms a thick, foamy head that settles in a few seconds; the glass should sit about half-full. If you’re using orange liqueur, gently measure and pour 1 tablespoon (15 ml) into each flute from a small chilled jigger so it nestles into the sparkling wine. Keep the pours steady and the bubbles tight and fine — the texture here is a delicate froth and shimmering micro-bubbles.
Step 6: Add the orange juice and lightly combine
Keeping the flute nearly upright, slowly pour an equal measure (3 ounces / 90 ml) of chilled, pulp-free orange juice into the center of each glass so it mixes naturally with the sparkling wine without foaming over. Very gently stir once with the narrow bar spoon, keeping the spoon just below the surface to coax the liquids together without knocking out carbonation; the finished interior should be an even, opaque golden-orange with fine bubbles rising steadily, and a soft, settled foam on top.
Step 7: Garnish and serve immediately
Place a thin orange half-wedge or twist on the rim and drop 1–2 dry raspberries or a small strawberry into the drink; ensure garnishes are completely dry to avoid dilution. Serve each mimosa right away while it is very cold and effervescent. If serving a crowd, keep the remaining bottles and carafe chilled at 39–41°F (4–5°C) and assemble each glass to order rather than pre-mixing.
Notes
- Chill both the sparkling wine and orange juice for at least 3 hours for best bubbles
- Use pulp-free juice and dry the garnishes to avoid dilution
- Pour sparkling wine slowly down the side of the glass to preserve carbonation
- If you need to save opened sparkling wine, use a proper stopper and consume within 24 hours