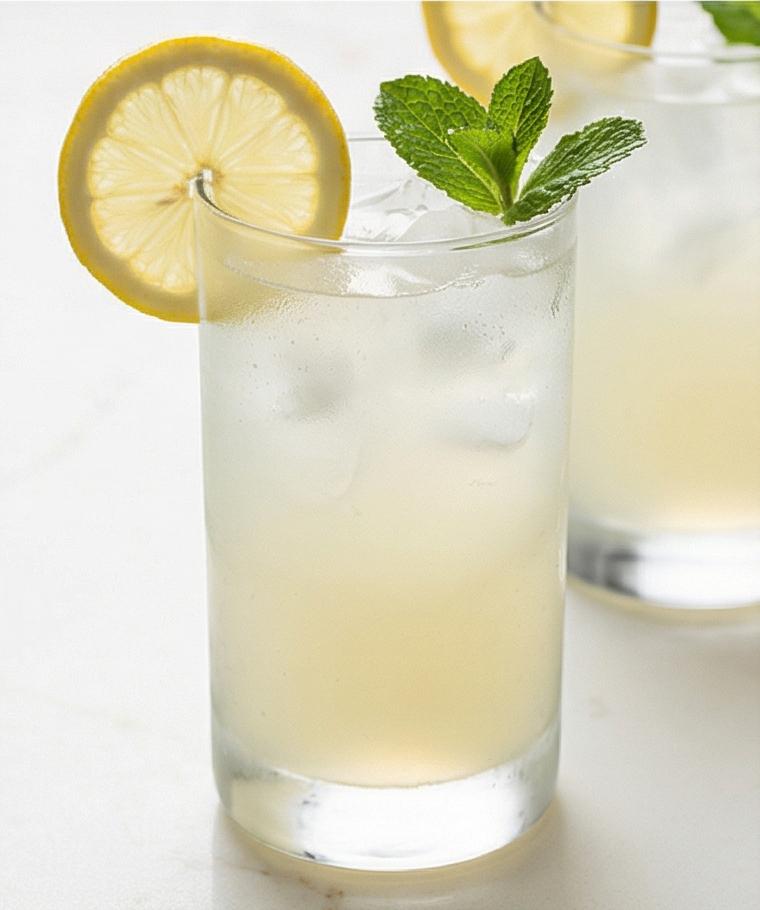
Milkshake Recipe: I love the simple pleasure of a perfectly blended milkshake. This Milkshake Recipe is one I come back to when I need a quick, comforting treat that still feels special. I first learned to make it for friends on a hot summer night, and the way the chilled glasses fogged up made everyone pause before taking a sip. It’s easy, forgiving, and always pleasing, which is why I keep this Milkshake Recipe in heavy rotation in my kitchen.
How This Recipe Became My Rainy-Day Favorite
I remember the first time I made this milkshake for a neighborhood potluck: rain tapping the windows, the living room warm with laughter, and the smell of vanilla lifting from the blender. I was nervous the shake would be too thin or too sweet, but the balance of cold whole milk and dense vanilla ice cream felt like a small triumph. The first spoonful was a quiet, joyful moment – creamy, cold, and slightly nostalgic. Watching friends close their eyes and smile reminded me that food often does the gentle work of making an ordinary night feel deliberate and bright. That memory still guides how I plate and garnish every time.
What Makes These Ingredients Shine
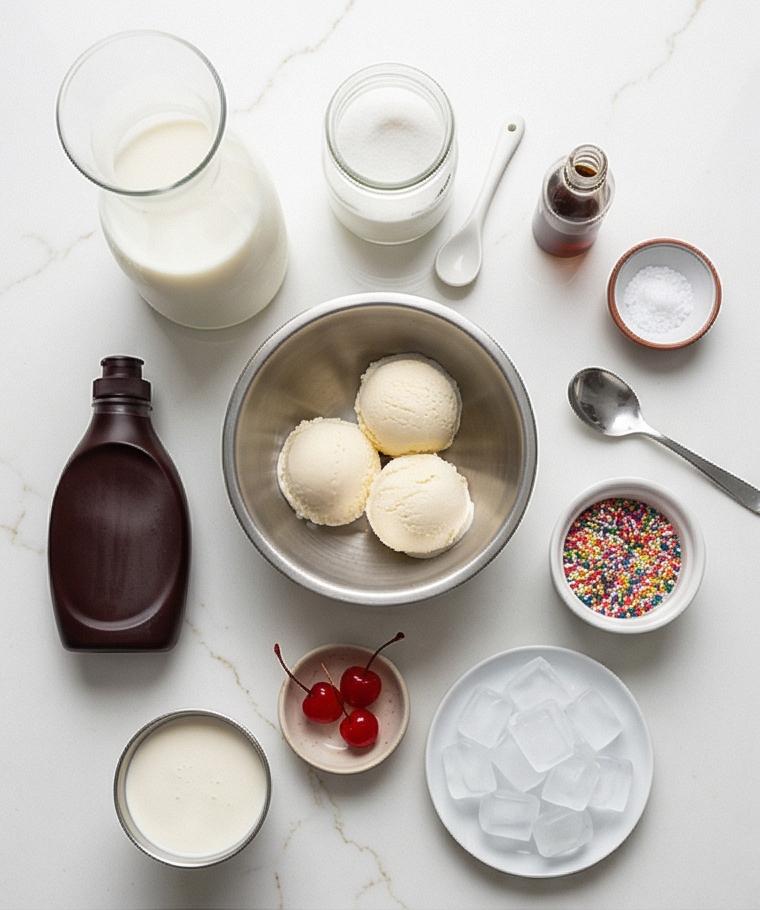
- Vanilla ice cream: The star of the show. Use a high-quality, full-fat vanilla for richness; substitute with frozen yogurt for a lighter option but expect less creaminess.
- Whole milk: Provides the slick, drinkable backbone. Use 2% for a lighter shake or oat milk for a dairy-free twist.
- Granulated sugar: Optional sweetness. Omit or replace with maple syrup or honey if your ice cream is already sweet.
- Pure vanilla extract: Amplifies flavor. Use a vanilla bean paste for extra depth.
- Fine sea salt: Balances sweetness. A small pinch goes a long way.
- Heavy whipping cream: For topping. Coconut cream works for dairy-free whipped topping.
- Powdered sugar: Sweetens whipped cream smoothly; use less if you prefer less sweet topping.
- Chocolate syrup, sprinkles, cherries: Garnishes that add contrast and fun. Fresh berries can substitute for a seasonal twist.
Essential Kitchen Tools
A few simple tools make this Milkshake Recipe effortless. A good blender will determine texture, so choose one that handles soft solids without overheating. A sturdy ice cream scoop keeps portions even and tidy. Chilled glasses help the shake stay cold longer and look more inviting when frosted. A medium mixing bowl and hand mixer or whisk get the whipped cream to the right peaks. Measuring spoons and a liquid measuring cup ensure balance in flavor. If you don’t have a blender, an immersion blender in a deep jar can work in a pinch, and a mason jar plus vigorous stirring can be a last-resort workaround.
Step-by-Step Preparation Guide.
Step 1: Chill the serving glasses and soften the ice cream
Place two tall serving glasses in the freezer until thoroughly chilled, then transfer very briefly softened vanilla ice cream from the freezer to the refrigerator so it becomes just scoopable but still cold and dense. Work quickly and gently—the goal is ice cream that holds a clean, rounded scoop with a slightly matte crust and a creamy, pillowy interior. Keep the chilled glasses upright in the freezer until needed so they pick up a faint frosting on the outside.
Step 2: Make the sweetened milk base
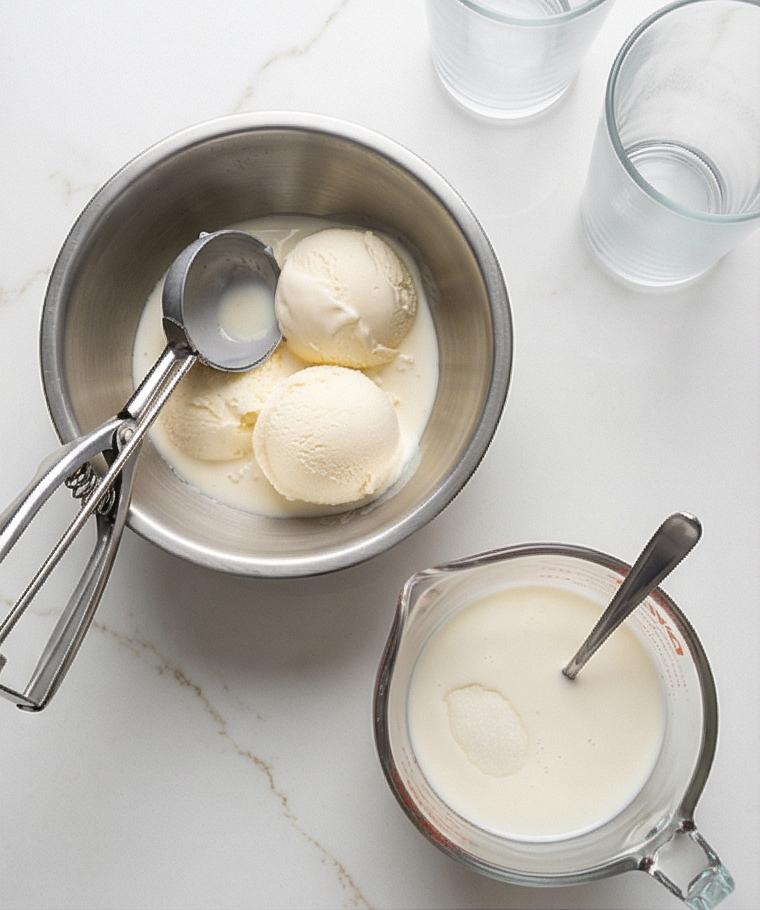
In a clear liquid measuring cup combine very cold whole milk, granulated sugar (if using), pure vanilla extract, and a tiny pinch of fine sea salt. Stir until the sugar mostly dissolves; the liquid should be pale and slightly glossy with a faint sheen of dissolved sugar on the surface. This base tastes a touch sweeter than the finished shake because it will be diluted by the ice cream—think of it as the milk backbone that will make the shake velvety.
Step 3: Load the blender and break up the ice cream
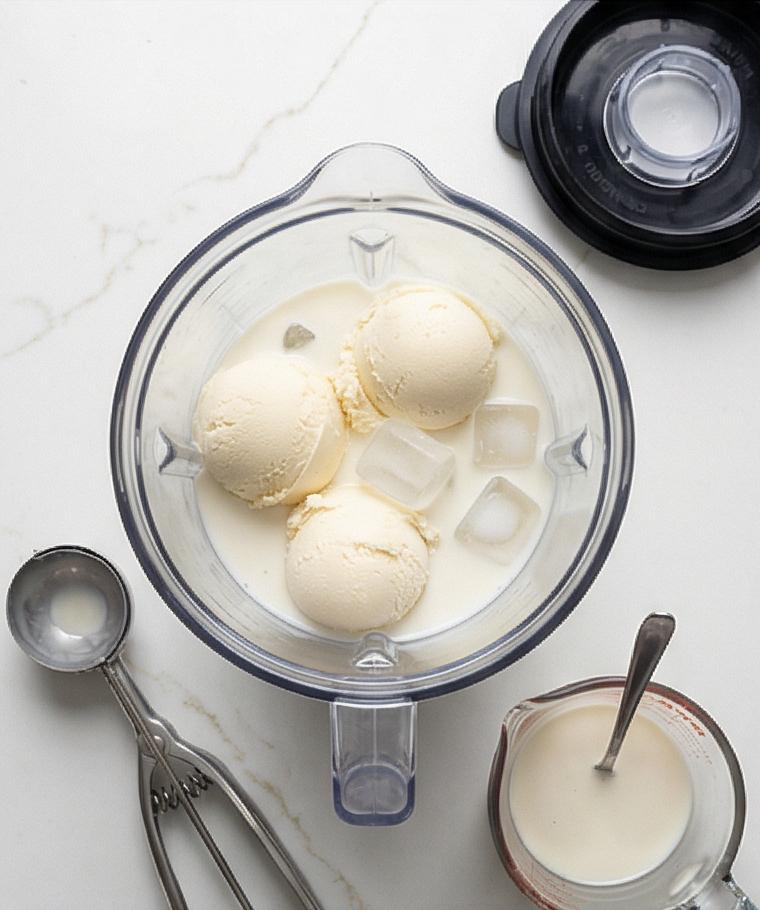
Add the milk-sugar-vanilla mixture to a tall clear blender jar, then nest the slightly softened large scoops of vanilla ice cream into the jar, and, if desired, tuck in a handful of ice cubes for extra frost. The composition at this moment reads as dense pale scoops floating in a cold liquid pool, contrasted by translucent ice cubes. Secure the lid and start the blending process to begin turning distinct scoops into a cohesive, creamy emulsion.
Step 4: Blend to a smooth, clingy milkshake and adjust
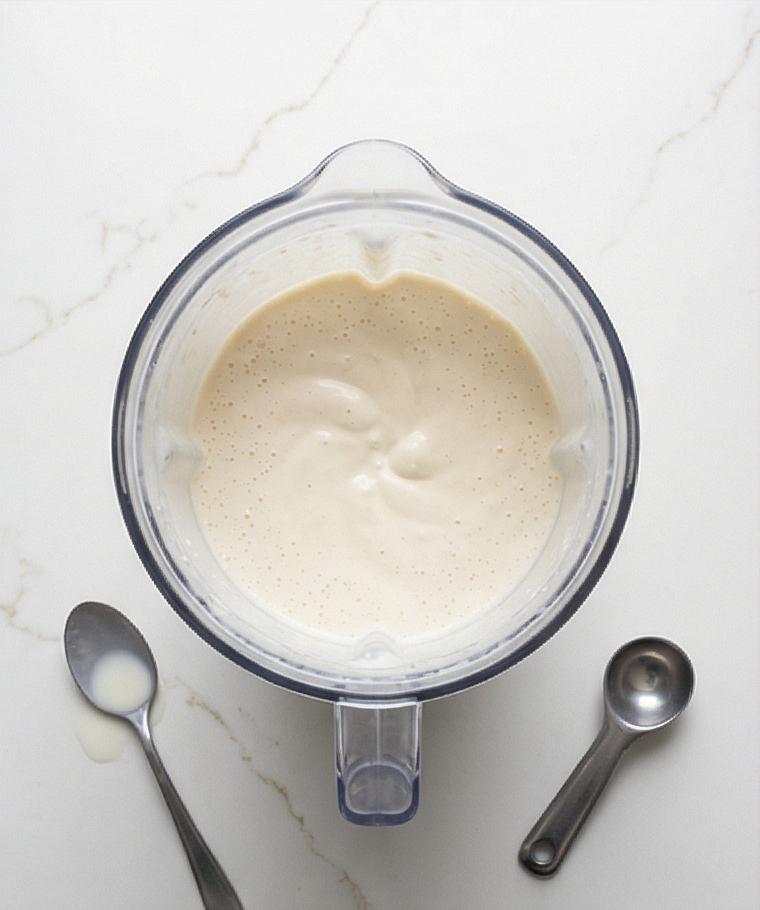
Blend briefly on low to break up the ice cream, then increase speed until the mixture is completely smooth and slightly thickened – pourable but with body, clinging softly to the sides of the jar in broad, glossy ribbons. If the texture is too stiff, add one or two tablespoons of cold milk; if too thin, fold in an extra small scoop of ice cream and blend again. Taste and correct sweetness with tiny increments of sugar if needed. You should see a glossy, homogeneous pale cream with micro-air bubbles evenly distributed through the body.
Step 5: Whip the cream and prepare the glasses
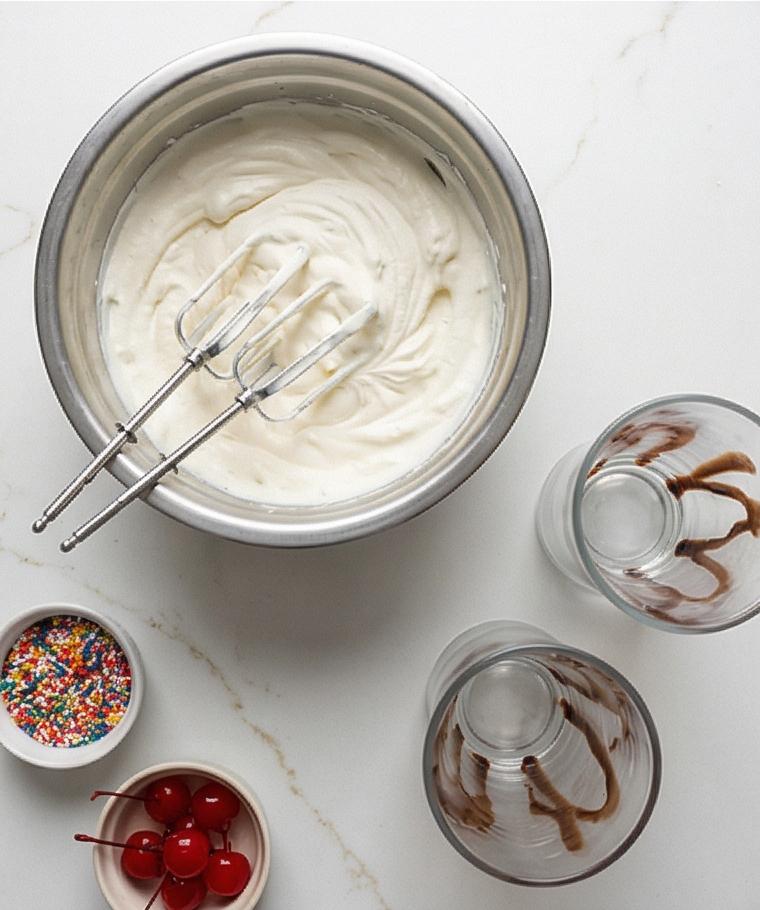
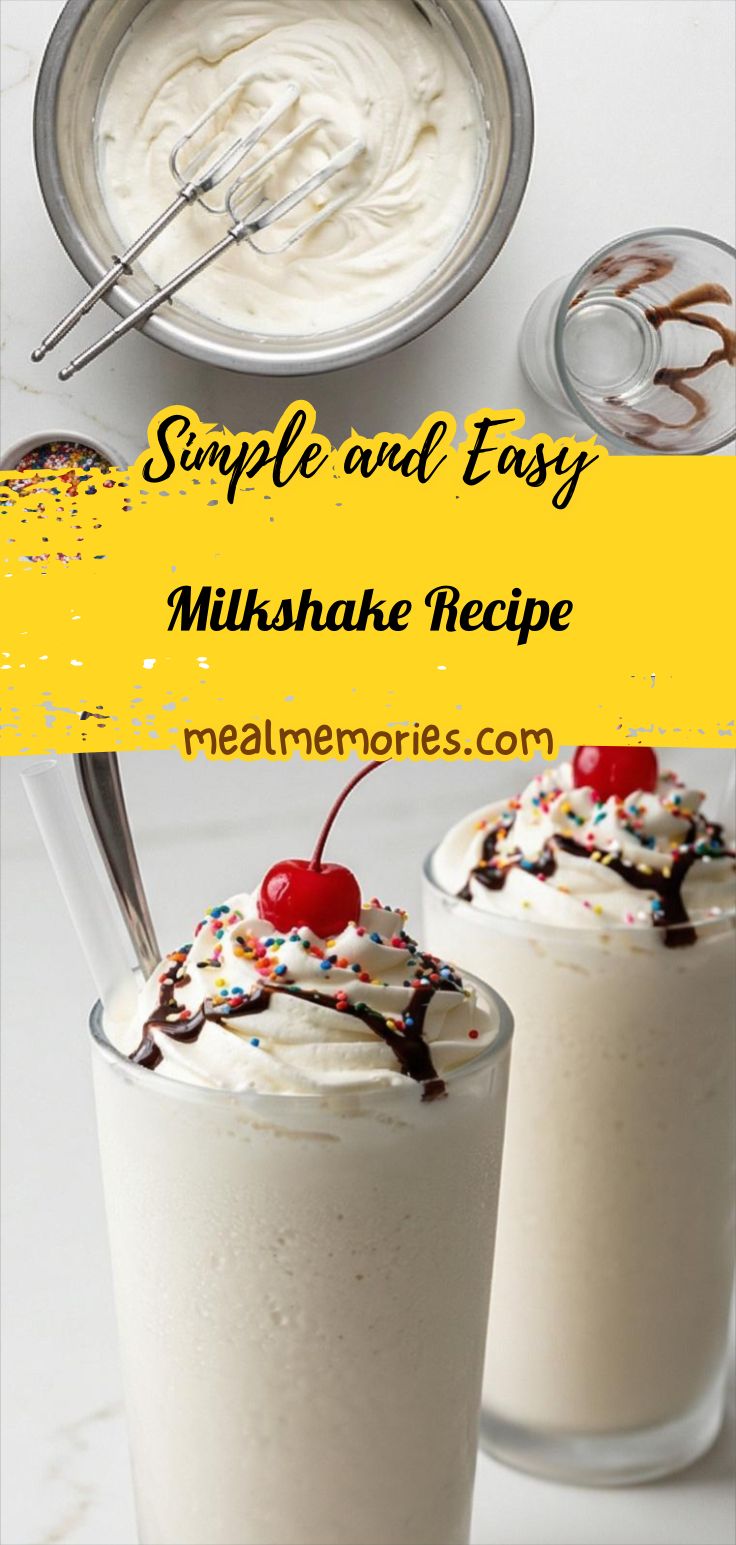
Chill a medium mixing bowl, then whip cold heavy cream with confectioners’ sugar and a touch of vanilla until soft-to-medium peaks form: smooth, satiny ridges that hold shape but still feel cushiony and yielding. Keep the whisk or beaters nearby, resting lightly in the bowl. Remove the chilled glasses and, if desired, drizzle chocolate syrup down the inside of each tall glass so it forms elegant vertical streaks from rim to base—this creates contrast and motion against the pale shake.
Step 6: Assemble, garnish, and serve
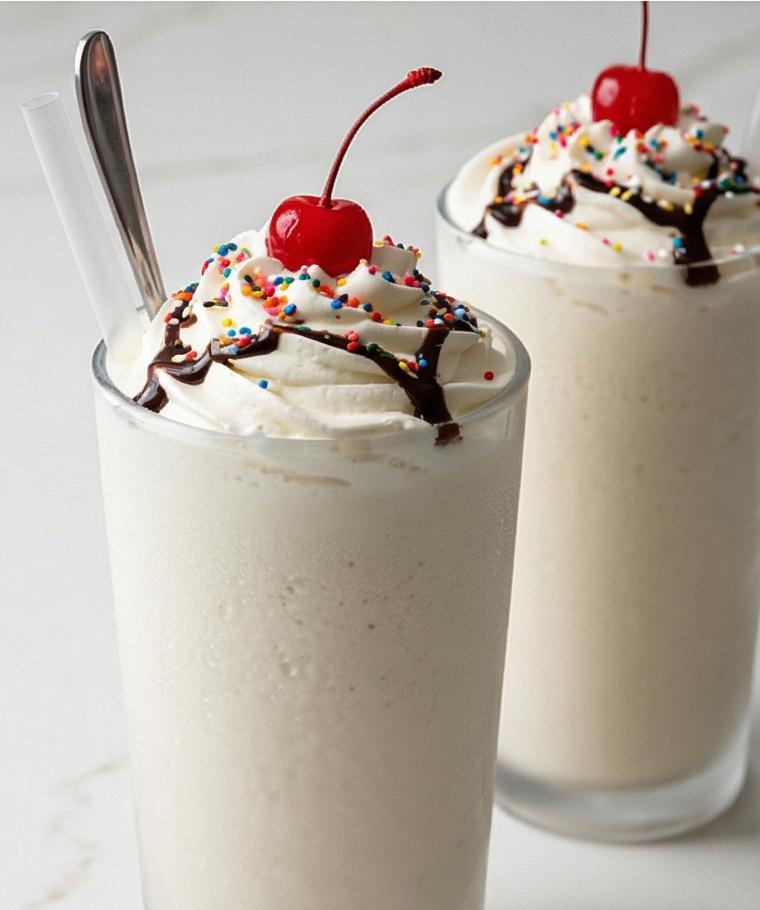
Immediately divide the blended milkshake between the two frosted glasses, leaving a narrow gap for the whipped cream. Pipe or spoon a generous swirl of that soft, luxurious whipped cream on top, creating a tall soft peak with visible ridges and a delicate matte sheen. Finish with an optional drizzle of chocolate syrup across the cream, a scattering of rainbow or chocolate sprinkles for tiny bursts of color, and a single maraschino cherry with stem perched on each peak. Offer a wide straw and a long spoon alongside the glasses and serve while the shake is cold and the whipped cream still airy.
Making It Your Own
I often experiment with flavors by folding in mix-ins after the initial blend. Try peanut butter and a swirl of chocolate for a classic pairing. For a fruit-forward version, blend in a handful of frozen strawberries or raspberries and finish with fresh slices.
For dietary needs, swap dairy with full-fat coconut milk ice cream and a splash of oat milk; texture will vary but can still be delightfully creamy. In cooler months, add a pinch of ground cinnamon and top with a toasted nut crumb for a cozy, almost dessert-like sip.
Regional twists are fun: stir in dulce de leche for a Latin-inspired shake or a spoonful of matcha powder for a Japanese flair. Small experiments change the vibe without losing the core Milkshake Recipe comfort.
How to Serve
When hosting, make two or a dozen: scale the ingredients proportionally and blend in batches so texture stays perfect. For a casual gathering, set up a garnish bar with syrups, sprinkles, and cherries so guests can customize their Milkshake Recipe experience. Use chilled tall glasses for presentation and serve on a small plate with a napkin and long spoon.
For larger parties, pre-scoop firm ice cream into covered containers and keep them in the freezer until you are ready to blend. If you want to elevate the presentation, dip the rim of each glass lightly in melted chocolate and then in crushed cookies before filling. Accented garnishes make the shakes feel like the main event.
Storage and Reheating Tips
Milkshakes are best enjoyed immediately; the airy texture and frosted exterior change quickly once blended. If you must store leftovers, pour into an airtight container and freeze. When you want to revive the shake, let it sit at room temperature for a few minutes, then reblend with a splash of cold milk until smooth. Expect a slightly denser texture after freezing.
Whipped cream will lose loft if stored too long. Make the whipped topping fresh when possible, or keep it in a chilled container for up to a day. For make-ahead parties, prepare the mix-ins and garnishes ahead so assembly is fast and fresh.
Common Slipups and Easy Fixes
Overblending can thin the shake, so pulse at first and increase speed only as needed. If your Milkshake Recipe comes out too watery, stir in a small extra scoop of ice cream and blend briefly to recover body.
Using room-temperature glasses will melt the shake faster. Keep glasses chilled while you prepare and serve quickly. If the shake tastes flat, a tiny pinch of salt brightens the flavor and balances sweetness.
Final Scoop
Give this Milkshake Recipe a try tonight and enjoy how a few simple ingredients create something celebratory. It’s forgiving, fast, and endlessly tweakable. Make it for yourself or make a memory by sharing it with friends.
Frequently Asked Questions.
- How long does it take to make the Milkshake Recipe? It takes about 10 minutes from start to finish if your ingredients are ready.
- Can I make this milkshake dairy-free? Yes, use dairy-free ice cream and oat or almond milk, and whip coconut cream for topping.
- How do I get a thicker milkshake? Use less milk, add one extra small scoop of ice cream, or include a few ice cubes while blending.
- Can I prepare any parts ahead of time? Yes, pre-scoop ice cream and prepare garnishes ahead; whip cream right before serving for best texture.
- What is the best blender for this recipe? A mid-high power blender that handles frozen ingredients without overheating is ideal, but a sturdy countertop blender or an immersion blender in a deep jar will work.
Milkshake Recipe
Make a creamy Milkshake Recipe in minutes—blend vanilla ice cream and cold milk for two indulgent shakes.
Ingredients
Instructions
Step 1: Chill the serving glasses and soften the ice cream
Place two tall serving glasses in the freezer until thoroughly chilled, then transfer very briefly softened vanilla ice cream from the freezer to the refrigerator so it becomes just scoopable but still cold and dense. Work quickly and gently—the goal is ice cream that holds a clean, rounded scoop with a slightly matte crust and a creamy, pillowy interior. Keep the chilled glasses upright in the freezer until needed so they pick up a faint frosting on the outside.
Step 2: Make the sweetened milk base
In a clear liquid measuring cup combine very cold whole milk, granulated sugar (if using), pure vanilla extract, and a tiny pinch of fine sea salt. Stir until the sugar mostly dissolves; the liquid should be pale and slightly glossy with a faint sheen of dissolved sugar on the surface. This base tastes a touch sweeter than the finished shake because it will be diluted by the ice cream—think of it as the milk backbone that will make the shake velvety.
Step 3: Load the blender and break up the ice cream
Add the milk-sugar-vanilla mixture to a tall clear blender jar, then nest the slightly softened large scoops of vanilla ice cream into the jar, and, if desired, tuck in a handful of ice cubes for extra frost. The composition at this moment reads as dense pale scoops floating in a cold liquid pool, contrasted by translucent ice cubes. Secure the lid and start the blending process to begin turning distinct scoops into a cohesive, creamy emulsion.
Step 4: Blend to a smooth, clingy milkshake and adjust
Blend briefly on low to break up the ice cream, then increase speed until the mixture is completely smooth and slightly thickened — pourable but with body, clinging softly to the sides of the jar in broad, glossy ribbons. If the texture is too stiff, add one or two tablespoons of cold milk; if too thin, fold in an extra small scoop of ice cream and blend again. Taste and correct sweetness with tiny increments of sugar if needed. You should see a glossy, homogeneous pale cream with micro-air bubbles evenly distributed through the body.
Step 5: Whip the cream and prepare the glasses
Chill a medium mixing bowl, then whip cold heavy cream with confectioners’ sugar and a touch of vanilla until soft-to-medium peaks form: smooth, satiny ridges that hold shape but still feel cushiony and yielding. Keep the whisk or beaters nearby, resting lightly in the bowl. Remove the chilled glasses and, if desired, drizzle chocolate syrup down the inside of each tall glass so it forms elegant vertical streaks from rim to base—this creates contrast and motion against the pale shake.
Step 6: Assemble, garnish, and serve
Immediately divide the blended milkshake between the two frosted glasses, leaving a narrow gap for the whipped cream. Pipe or spoon a generous swirl of that soft, luxurious whipped cream on top, creating a tall soft peak with visible ridges and a delicate matte sheen. Finish with an optional drizzle of chocolate syrup across the cream, a scattering of rainbow or chocolate sprinkles for tiny bursts of color, and a single maraschino cherry with stem perched on each peak. Offer a wide straw and a long spoon alongside the glasses and serve while the shake is cold and the whipped cream still airy.
Notes
- Use full-fat vanilla ice cream for the creamiest texture.
- Chill glasses ahead so the shake stays cold and looks frosted.
- Pulse the blender to avoid over-thinning; adjust milk in tablespoons for texture.
- Make whipped cream just before serving for maximum loft.
- Freeze leftovers in an airtight container and reblend with a splash of milk to revive.