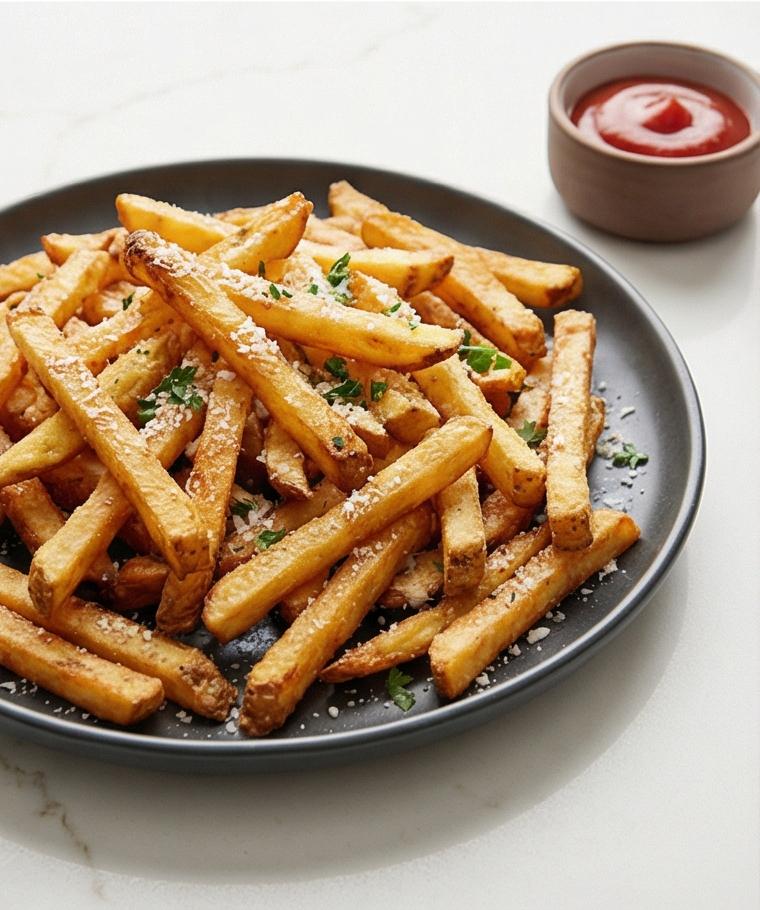
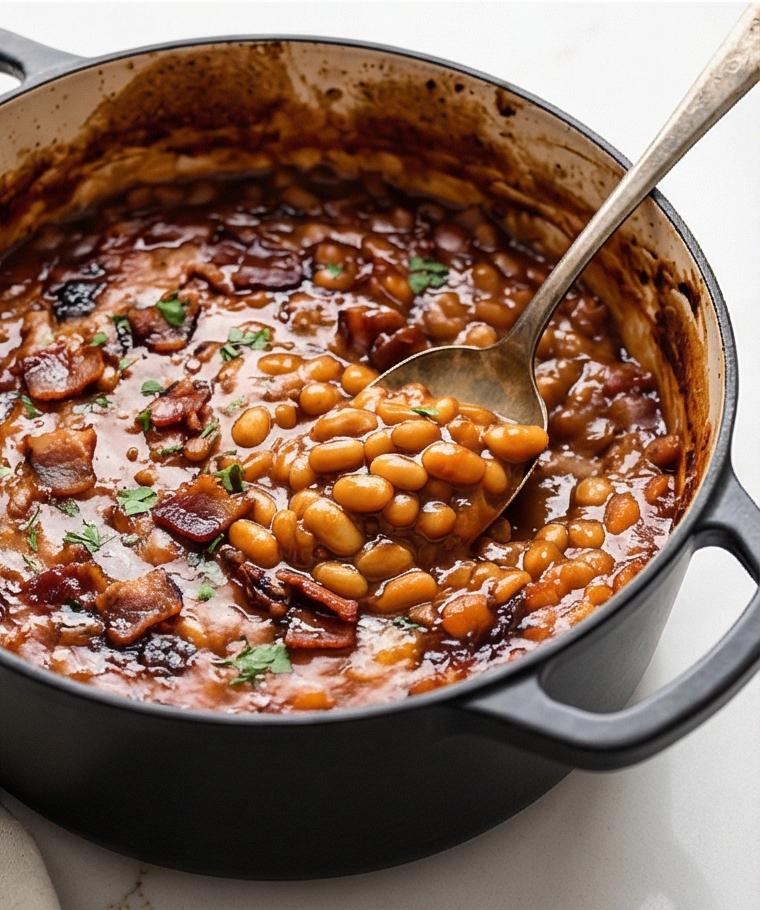
I still remember the first time I made this Scalloped Potatoes Recipe for a Sunday family dinner: the house filled with a buttery, herbal scent that felt like a warm invitation. Over the years this Scalloped Potatoes Recipe became my go-to comfort side—easy enough for a weeknight, elegant enough for company. I love how thin, tender potato slices soak up the glossy cream sauce and how the top browns just so, promising the silky interior beneath. If you want a crowd-pleasing dish that feels both nostalgic and a little fancy, this Scalloped Potatoes Recipe is exactly that.
How This Recipe Became My Rainy-Day Favorite
When I was learning to cook for guests, I once tried to impress a friend with a complicated roast and nearly burned the timing. The scalloped potatoes saved the night because they were forgiving. I remember standing at the counter, fingers still sniffing of thyme, listening to rain on the window while the kitchen filled with the sound of gentle bubbling from the oven. The onions softened into ribbons that tasted sweet and cozy; every spoonful felt like a small reward. We ate the casserole with simple roasted chicken and a crisp salad, and the potatoes turned a potentially frazzled dinner into a slow, cozy evening. Since then, this dish has been my fallback for weathering busy days or celebrating small wins, always delivering comfort and making the table feel more welcoming.
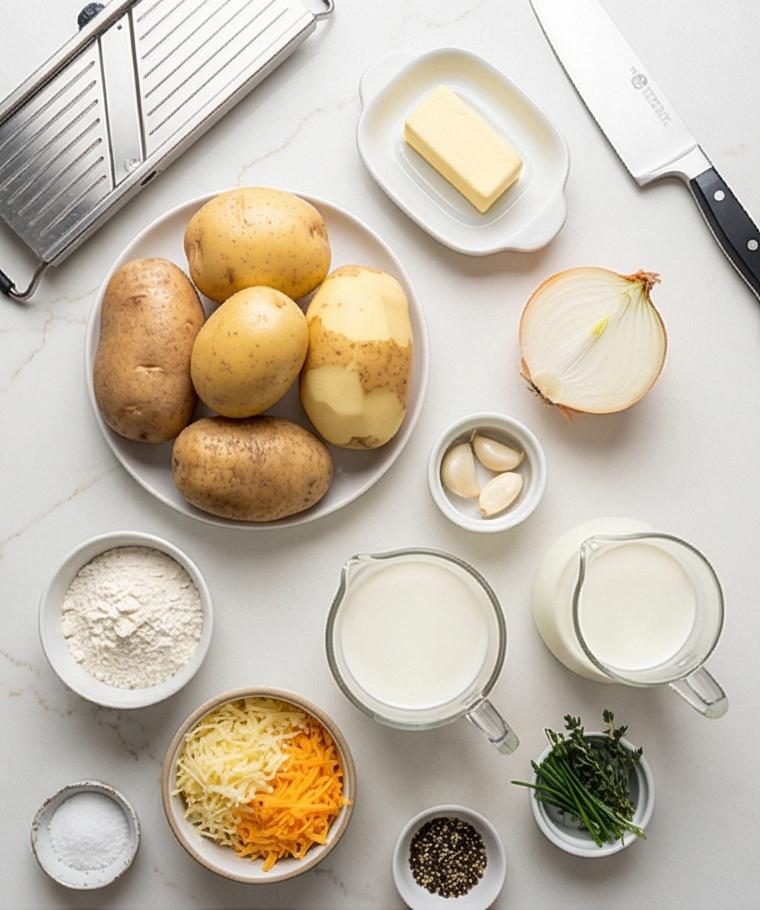
Primary Ingredients and What They Do
- Potatoes: The base and texture hero. Choose Yukon Gold for creaminess or Russets for a fluffier mouthfeel; slice uniformly for even cooking.
- Whole Milk and Heavy Cream: Create the luscious sauce; use lower-fat milk for a lighter version or a mix of milk and half-and-half as a substitute.
- Butter and Flour: The roux backbone; butter adds richness while flour thickens the sauce—use equal parts or a gluten-free flour if needed.
- Onion and Garlic: Add sweetness and gentle aromatic depth; shallots are a nice swap.
- Cheese (optional): Gruyère or sharp cheddar adds savory pockets—omit for a dairy-pure version.
Essential Kitchen Tools Youll Want
A short intro: these tools make the process easier and help you get that restaurant-quality finish at home.
- Sharp knife or mandoline: For perfectly even potato slices; a mandoline speeds the job but use a guard or cut carefully.
- 9×13-inch baking dish: The size yields neat layers and even baking; use a similar casserole pan if you only have one.
- Heavy-bottomed skillet: For softening the onion and building the roux; a sauté pan with good heat control is ideal.
- Whisk: To smooth the sauce and prevent lumps; a fork can do in a pinch but whisking is faster.
- Tongs and clean towels: For draining and drying potato slices; dryness prevents a watery sauce.
Alternatives like an immersion blender are unnecessary here, but a box grater or food processor makes quick work of grating the cheese.
Step-by-Step Preparation Guide
Step 1: Preheat and grease the baking dish
Preheat the oven to 350°F (175°C) and lightly coat a 9×13-inch rectangular baking dish with 1 tablespoon softened unsalted butter, making sure the bottom and sides are evenly greased so nothing will stick. This small, careful step sets the stage for even browning and clean slices later; a lightly buttered rim helps the sauce cling to the potato edges.
Step 2: Peel and slice the potatoes thinly
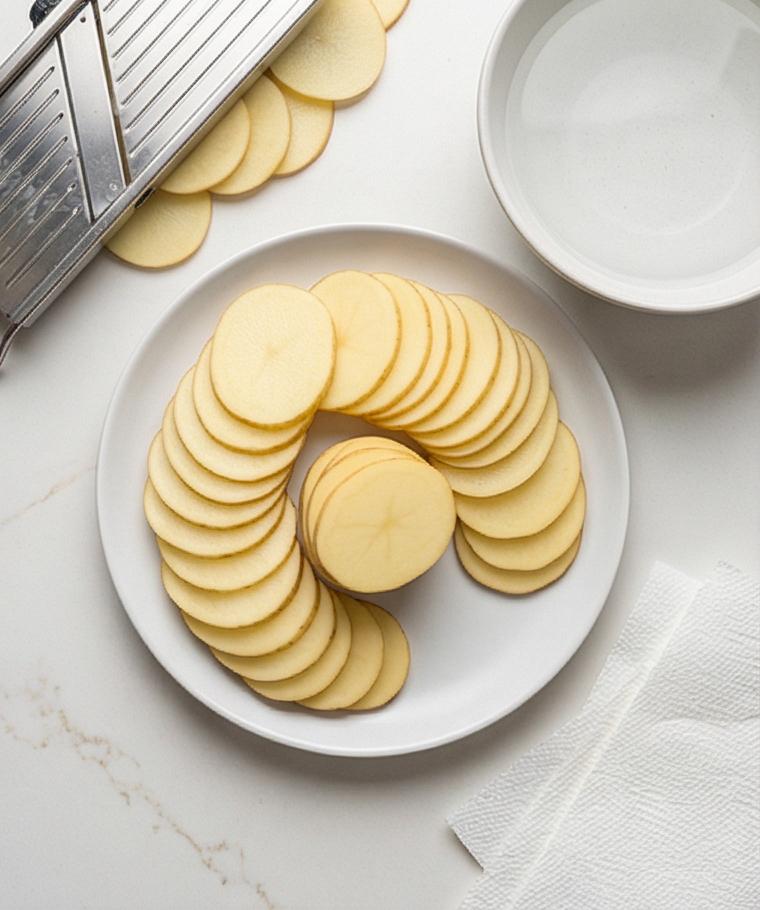
Peel 3 pounds of Yukon Gold or Russet potatoes and slice them into very even 1/8-inch (3 mm) rounds using a sharp knife or mandoline. Keep the slices uniform for consistent cooking—stack them neatly on a plate as you work, and if you pause, submerge the slices briefly in cold water to prevent browning. When ready to assemble, drain and pat the rounds completely dry so they won’t water down the sauce.
Step 3: Soften the onions in butter
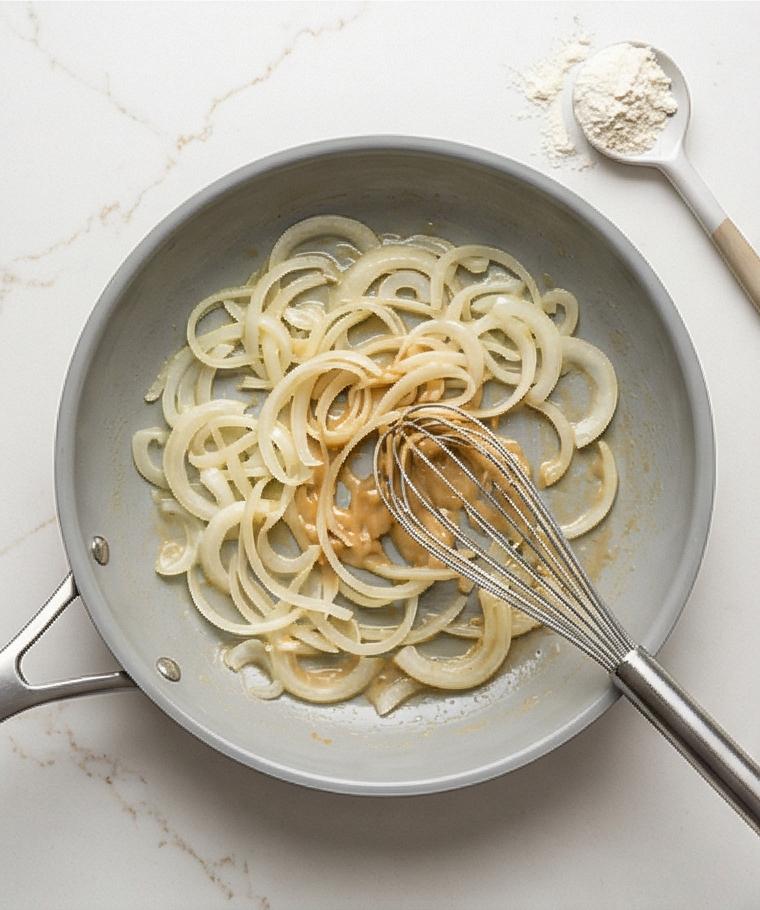
Melt 4 tablespoons of butter in a pan until it shimmers, then add one very thinly sliced yellow onion and cook gently until translucent and soft, about 5–7 minutes; you want glossy, tender ribbons of onion without any brown bits, bright and buttery in appearance. Stir in minced garlic for just a brief fragrant moment, being careful the garlic never darkens—this step leaves you with soft, sweet onions suspended in butter.
Step 4: Build the roux and incorporate the cream mixture
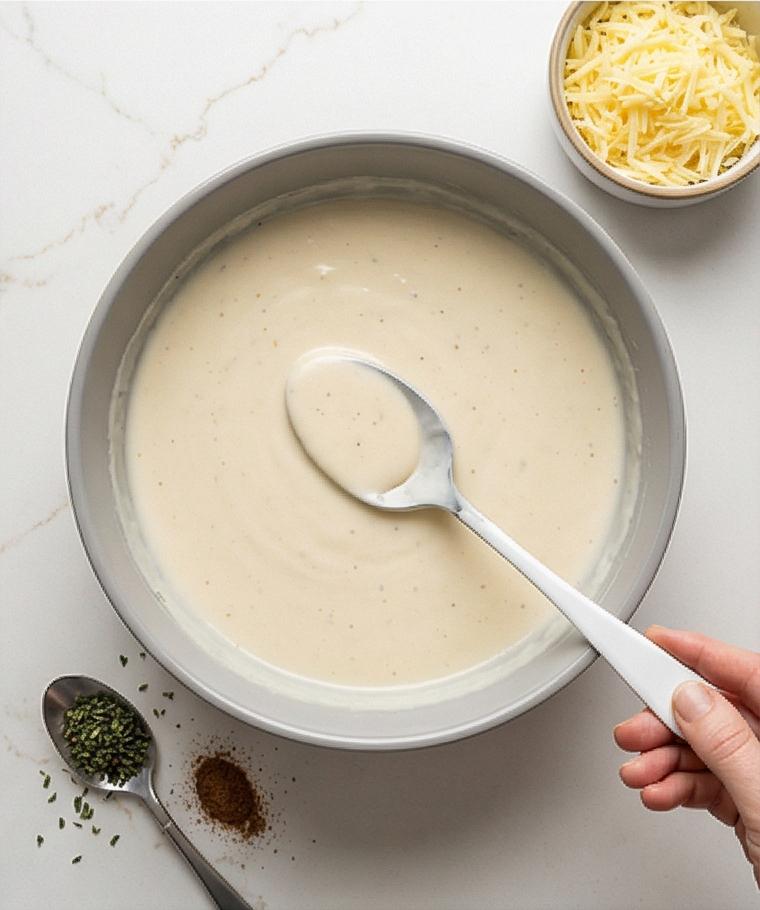
Sprinkle in 4 tablespoons of flour and cook with the onions for 1–2 minutes until the mixture looks slightly foamy and nutty. Slowly whisk in the combined whole milk and heavy cream in several additions until perfectly smooth, then add salt, a little black pepper, chopped fresh thyme and a whisper of nutmeg. Simmer gently, whisking often, until the sauce thickens to coat the back of a spoon; if using the cheesy variation, stir in 1/2 cup grated cheese now so it melts silky and smooth. The finished sauce should be glossy, slightly viscous, and pale ivory.
Step 5: Taste and adjust the sauce
Carefully taste the warm cream sauce and tweak seasoning—add a pinch more salt or pepper if needed. The texture should be velvety and clingy, thick enough to sit between slices without pooling into a watery puddle. Keep the sauce warm and ready for assembly; its sheen and thickness are the key visual and mouthfeel anchors for the finished dish.
Step 6: Dry the potato slices and start the first layer
Drain any soaking water from the potato slices and pat them completely dry with clean towels so the sauce can adhere. Arrange one-third of the potato rounds in an even, slightly overlapping layer across the bottom of the buttered rectangular dish; finish this layer with a light pinch of the reserved salt and pepper, and spoon about one-third of the hot cream sauce over so it seeps between the slices. If using cheese, scatter roughly one-third of the grated cheese over this first layer to begin forming those golden pockets of melted cheese.
Step 7: Repeat layering and complete the top
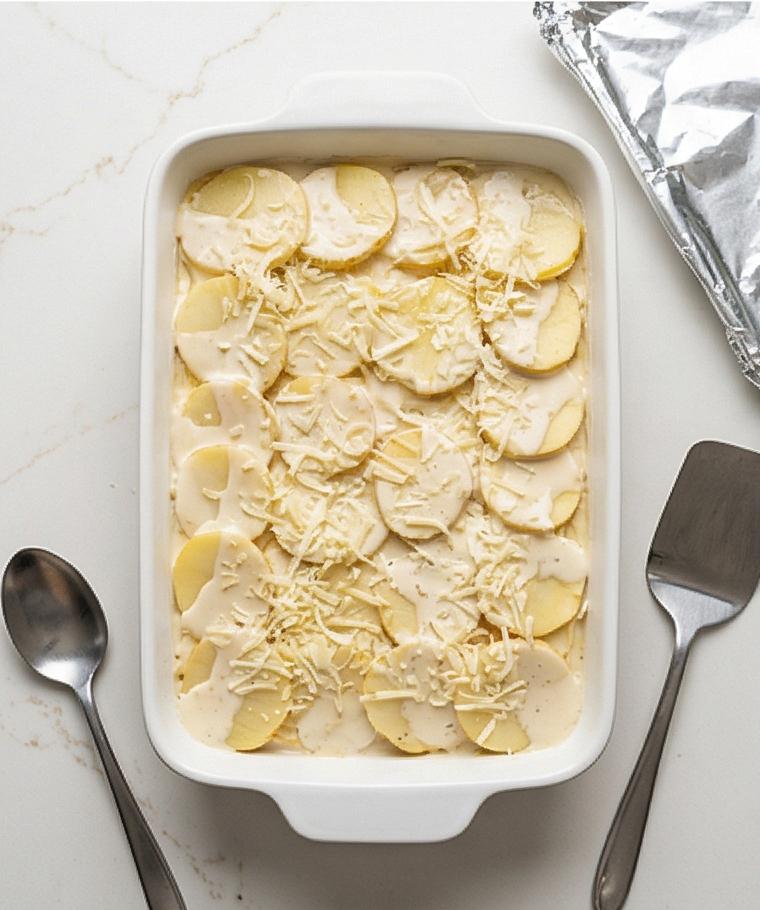
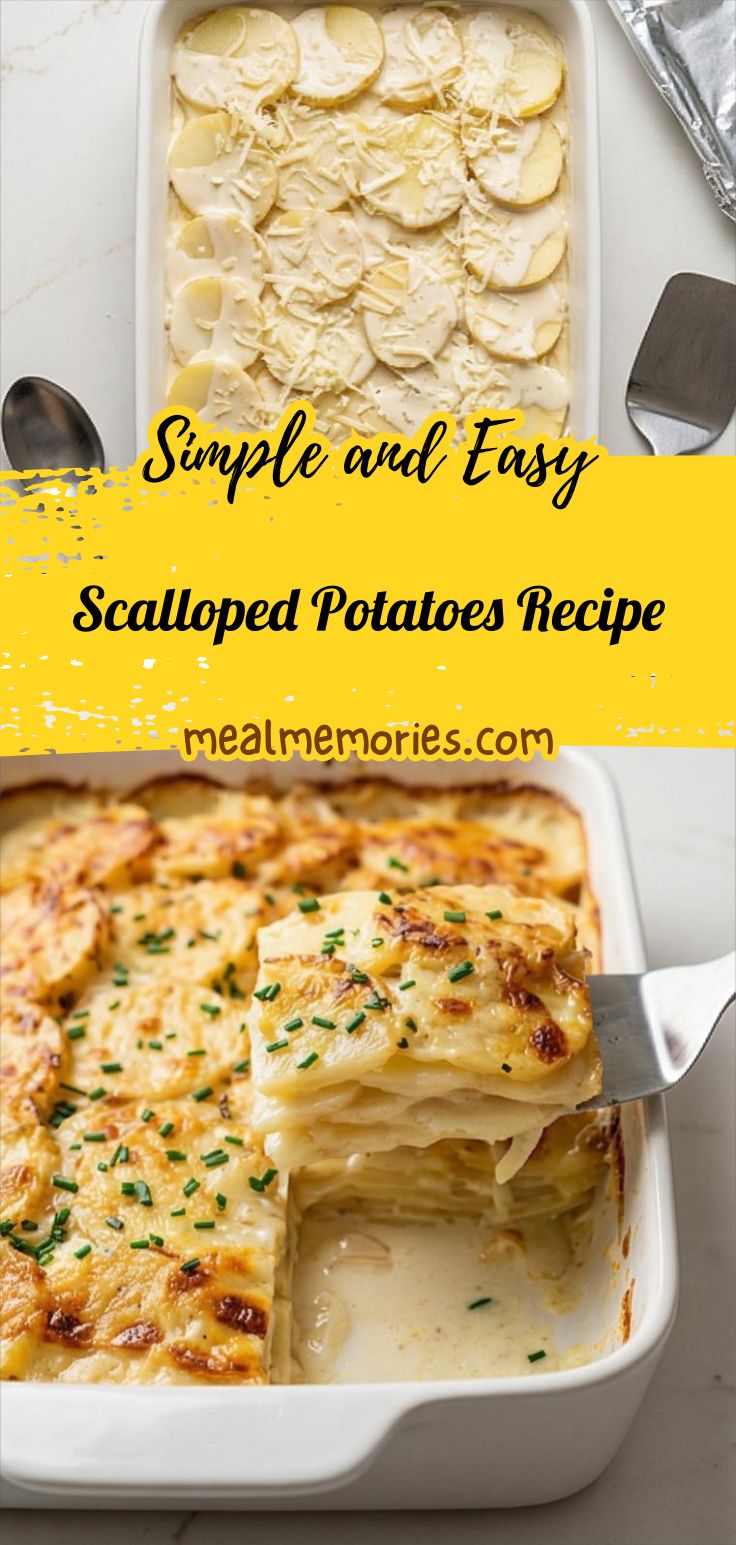
Add the second overlapping layer of potatoes, season lightly again, pour another third of the sauce evenly, and sprinkle the next third of cheese if desired. Finish with the final layer of potato rounds, season, pour the remaining sauce so every slice is coated, and distribute the remaining cheese evenly across the surface. The assembled, uncooked casserole should look compact, creamy and slightly glossy with visible ridges of overlapping potato; cover the dish loosely with foil, tenting so it won’t press on the surface.
Step 8: Bake until tender and finish the top
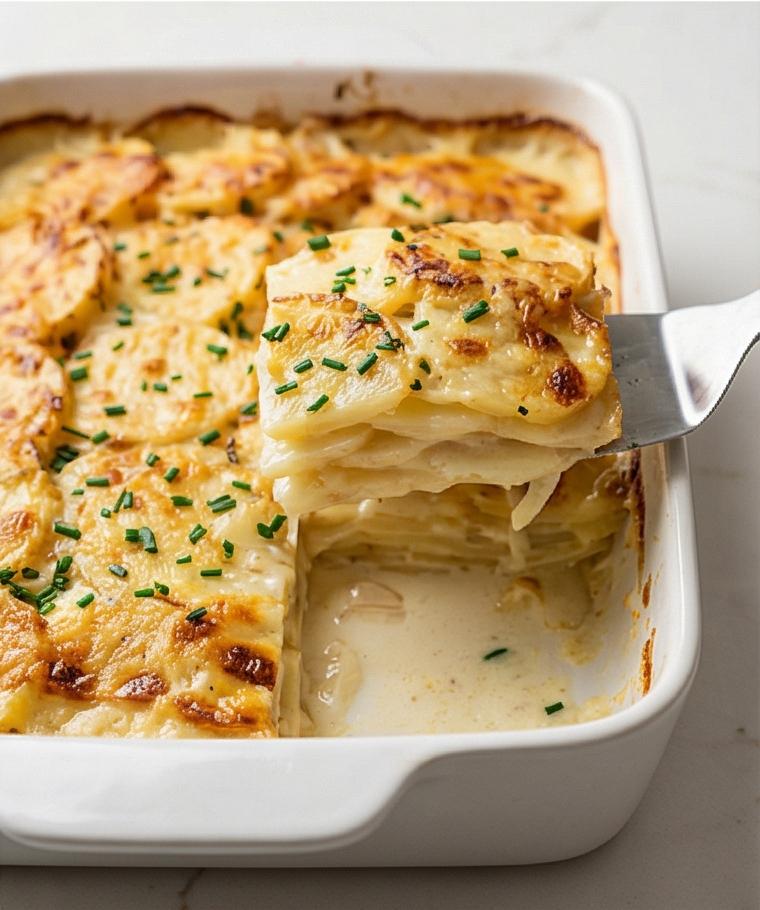
Bake covered at 350°F for about 45 minutes so the potatoes steam and soften, then remove the foil and continue baking uncovered for 30–40 minutes until the top turns deep golden brown and the sauce bubbles at the edges. If extra browning is desired, a quick 2–3 minute broil will crisp the peaks—watch closely so the top goes golden, not burnt. The visual milestone here is the transformation from pale assembled layers to a bubbling, bronzed surface that promises creamy tender slices beneath.
Step 9: Rest, garnish, cut and serve
Remove the dish from the oven and let it rest 15–20 minutes so the sauce sets for cleaner slices. Just before serving, sprinkle 2 tablespoons finely chopped chives or parsley for a bright green contrast. For neat portions, cut into squares and lift each piece from the rectangular dish with a spatula, making sure to scoop from the bottom so every portion carries the creamy sauce.
Making It Your Own
I often tinker with this dish depending on the season. For a cheesy, indulgent version I stir in extra Gruyere and finish with a hint of Dijon mustard for depth. When summer tomatoes are in season, I layer thin slices of roasted tomato between potato layers for an acid contrast. To make a lighter weeknight version, I swap half the cream for whole milk and skip the cheese; it still feels rich but is less heavy. For a dairy-free twist I use unsweetened oat milk and a neutral oil for the roux—expect a different but pleasant texture. Each variation keeps the heart of the dish: tender potatoes and a silky sauce.
How to Serve
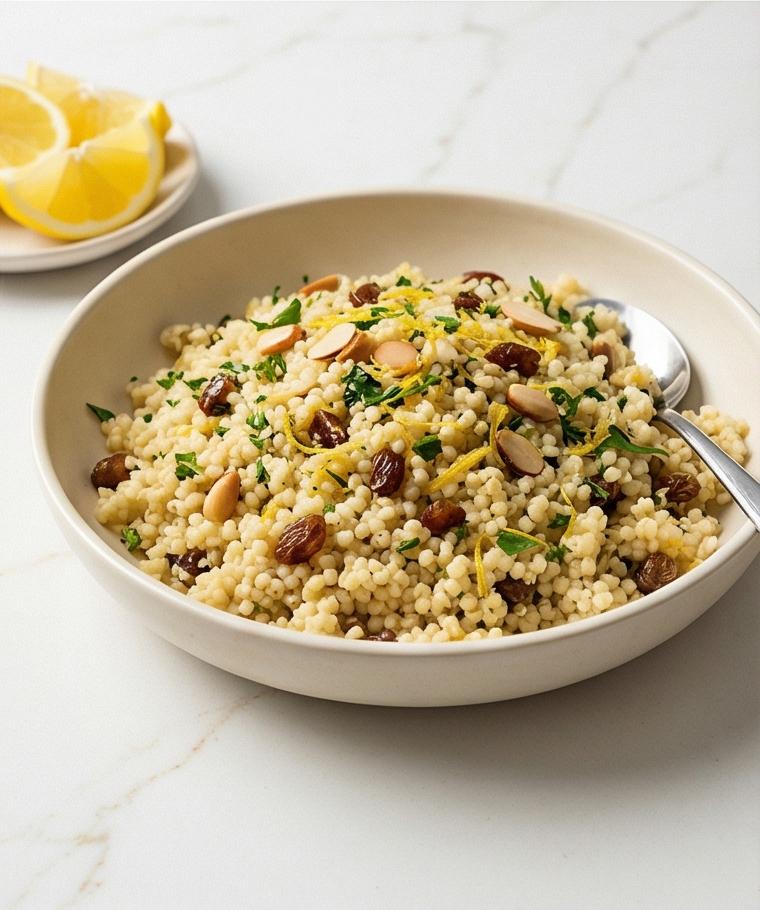
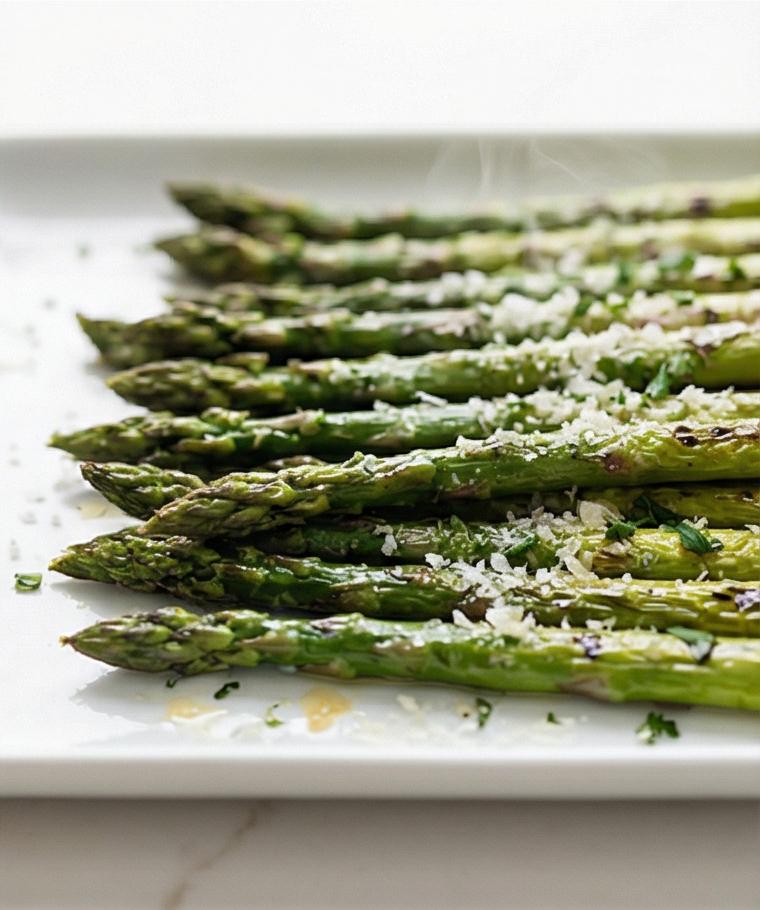
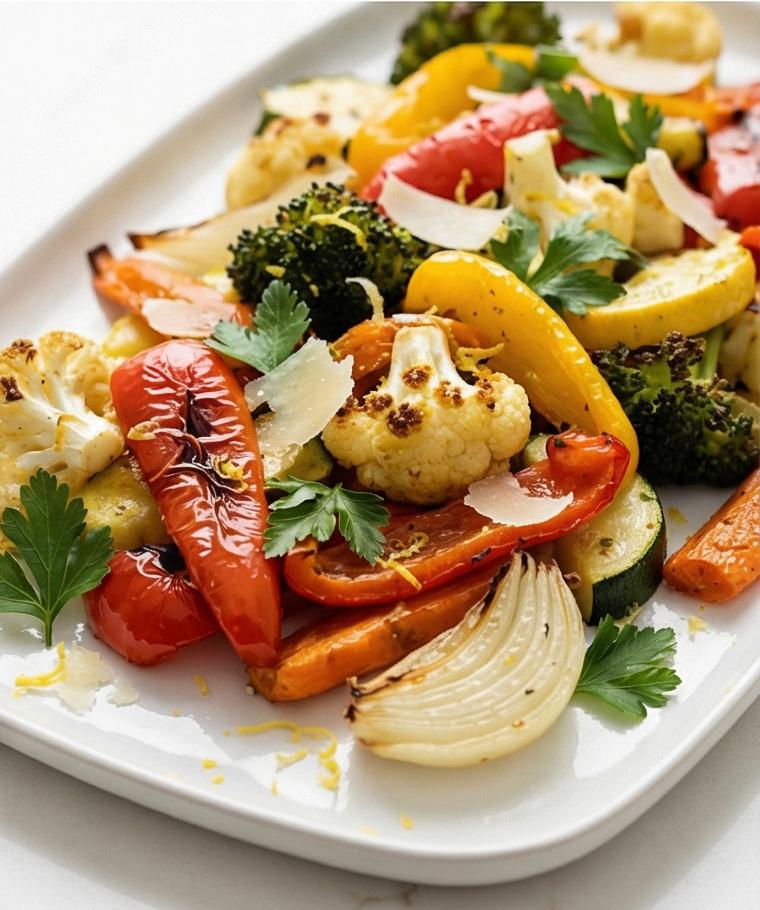
When hosting, serve scalloped potatoes alongside a simply roasted main and a crisp green salad to balance the richness. For a dinner party, portion the dish into individual ramekins before baking so guests get a pretty single-serving presentation; it also shortens reheating time. If you need to stretch servings, pair the casserole with a hearty grain salad or roasted vegetables and serve smaller squares. Garnish with chopped chives or parsley for color and a squeeze of lemon on the side for diners who want a bright lift. Warm plates slightly before plating so the potatoes stay cozy.
Storage and Reheating Tips
Cool the casserole to room temperature for no more than two hours before refrigerating. Store tightly covered in the baking dish or transfer portions to airtight containers; leftover scalloped potatoes will keep well for 3 to 4 days.
To reheat, cover with foil and warm in a 325°F oven until heated through, about 20 to 30 minutes depending on portion size. For a single serving, a quick microwave reheating works; cover loosely and heat in 60-second intervals, stirring or turning once to ensure even warmth. If the top loses its crispness, a brief broil (watching closely) restores a browned finish.
Common Mistakes and How to Avoid Them
One frequent slip is uneven slices. If slices vary, some will overcook while others remain firm; use a mandoline or take your time with the knife and keep slices consistent. Another common issue is a watery sauce; dry the potato rounds thoroughly and ensure the roux cooks enough to thicken before adding all the liquid.
Don’t rush the resting time after baking. Cutting too soon invites a loose, runny casserole. Letting it rest allows the sauce to set, giving cleaner slices. Finally, avoid overbrowning by removing foil only for the last part of baking and monitoring during the broil.
Ready to Try It?
If you love cozy, comforting sides that feel a little special, give this Scalloped Potatoes Recipe a go this weekend. It rewards patience with layers of tender potato and a creamy sauce that tastes like home. Once you make it, you might find it slipping into your regular rotation for gatherings and quiet nights alike.
Frequently Asked Questions.
- What type of potatoes are best for scalloped potatoes? Use Yukon Gold for a creamier texture or Russets for a fluffier bite; both work well when sliced evenly.
- Can I make scalloped potatoes ahead of time? Yes, assemble and refrigerate for up to 24 hours before baking, then bake straight from the fridge, adding a few extra minutes as needed.
- How do I keep the sauce from being watery? Dry the potato slices completely and thicken the roux well before adding more liquid; resting after baking also helps the sauce set.
- Is there a dairy-free version? Substitute unsweetened oat or almond milk and a dairy-free butter, and use a gluten-free flour if needed for thickening.
- Can I freeze scalloped potatoes? You can freeze before baking; wrap tightly and freeze up to 2 months. Thaw in the fridge overnight before baking and add extra time in the oven.
Scalloped Potatoes Recipe
Make this Scalloped Potatoes Recipe for creamy, layered potatoes baked to golden perfection.
Ingredients
Instructions
Step 1: Preheat and grease the baking dish
Preheat the oven to 350°F (175°C) and lightly coat a 9x13-inch rectangular baking dish with 1 tablespoon softened unsalted butter, making sure the bottom and sides are evenly greased so nothing will stick. This small, careful step sets the stage for even browning and clean slices later; a lightly buttered rim helps the sauce cling to the potato edges.
Step 2: Peel and slice the potatoes thinly
Peel 3 pounds of Yukon Gold or Russet potatoes and slice them into very even 1/8-inch (3 mm) rounds using a sharp knife or mandoline. Keep the slices uniform for consistent cooking—stack them neatly on a plate as you work, and if you pause, submerge the slices briefly in cold water to prevent browning. When ready to assemble, drain and pat the rounds completely dry so they won’t water down the sauce.
Step 3: Soften the onions in butter
Melt 4 tablespoons of butter in a pan until it shimmers, then add one very thinly sliced yellow onion and cook gently until translucent and soft, about 5–7 minutes; you want glossy, tender ribbons of onion without any brown bits, bright and buttery in appearance. Stir in minced garlic for just a brief fragrant moment, being careful the garlic never darkens—this step leaves you with soft, sweet onions suspended in butter.
Step 4: Build the roux and incorporate the cream mixture
Sprinkle in 4 tablespoons of flour and cook with the onions for 1–2 minutes until the mixture looks slightly foamy and nutty. Slowly whisk in the combined whole milk and heavy cream in several additions until perfectly smooth, then add salt, a little black pepper, chopped fresh thyme and a whisper of nutmeg. Simmer gently, whisking often, until the sauce thickens to coat the back of a spoon; if using the cheesy variation, stir in 1/2 cup grated cheese now so it melts silky and smooth. The finished sauce should be glossy, slightly viscous, and pale ivory.
Step 5: Taste and adjust the sauce
Carefully taste the warm cream sauce and tweak seasoning—add a pinch more salt or pepper if needed. The texture should be velvety and clingy, thick enough to sit between slices without pooling into a watery puddle. Keep the sauce warm and ready for assembly; its sheen and thickness are the key visual and mouthfeel anchors for the finished dish.
Step 6: Dry the potato slices and start the first layer
Drain any soaking water from the potato slices and pat them completely dry with clean towels so the sauce can adhere. Arrange one-third of the potato rounds in an even, slightly overlapping layer across the bottom of the buttered rectangular dish; finish this layer with a light pinch of the reserved salt and pepper, and spoon about one-third of the hot cream sauce over so it seeps between the slices. If using cheese, scatter roughly one-third of the grated cheese over this first layer to begin forming those golden pockets of melted cheese.
Step 7: Repeat layering and complete the top
Add the second overlapping layer of potatoes, season lightly again, pour another third of the sauce evenly, and sprinkle the next third of cheese if desired. Finish with the final layer of potato rounds, season, pour the remaining sauce so every slice is coated, and distribute the remaining cheese evenly across the surface. The assembled, uncooked casserole should look compact, creamy and slightly glossy with visible ridges of overlapping potato; cover the dish loosely with foil, tenting so it won’t press on the surface.
Step 8: Bake until tender and finish the top
Bake covered at 350°F for about 45 minutes so the potatoes steam and soften, then remove the foil and continue baking uncovered for 30–40 minutes until the top turns deep golden brown and the sauce bubbles at the edges. If extra browning is desired, a quick 2–3 minute broil will crisp the peaks—watch closely so the top goes golden, not burnt. The visual milestone here is the transformation from pale assembled layers to a bubbling, bronzed surface that promises creamy tender slices beneath.
Step 9: Rest, garnish, cut and serve
Remove the dish from the oven and let it rest 15–20 minutes so the sauce sets for cleaner slices. Just before serving, sprinkle 2 tablespoons finely chopped chives or parsley for a bright green contrast. For neat portions, cut into squares and lift each piece from the rectangular dish with a spatula, making sure to scoop from the bottom so every portion carries the creamy sauce.
Notes
- Use a mandoline for ultra-even potato slices but protect your fingers.
- Pat potato slices completely dry to prevent a watery sauce.
- Let the casserole rest 15–20 minutes after baking for cleaner slices.
- To make ahead, assemble and refrigerate for up to 24 hours before baking.
- For a cheesy version, fold in grated cheese into the sauce and between layers.