Corn On The Cob Recipe is one of those backyard classics I turn to whenever summer shows up at my door. I grew up with family cookouts where the corn was always the first thing gone, and I still find that simple, buttered perfection impossible to resist. This take on the Corn On The Cob Recipe is about bright, juicy kernels, a bit of seasoned butter, and the tiny rituals that make it feel special. I love how a few fresh ingredients and a short boil deliver something that tastes like sunshine on a plate.
There is something about the smell of boiling corn that takes me right back to long, easy evenings. The pop of a bright kernel, the warmth of melted butter, the squeeze of lime; those details keep pulling me back to this Corn On The Cob Recipe again and again. It is quick, forgiving, and reliably comforting, which is why it sits in my short list of go-to dishes. Whether I am feeding a crowd or making a simple weeknight side, this recipe feels both festive and homey, and it always sparks good conversation at the table.
How This Recipe Became My Porch-Party Staple
I first learned this Corn On The Cob Recipe while visiting a cousin who grew corn in their backyard. It was at a small porch party, the kind with strung lights and mismatched plates, when someone lifted a hot ear of corn and the whole group leaned in. I remember the steam, the buttery sheen, and the bright squeeze of lime that cut through the richness like a little sunbeam. The first bite was a startled, happy kind of quiet from everyone. After that day I practiced the simple technique, tuning the salt, butter, and timing until it matched that perfect memory. Cooking it now fills the kitchen with a smell that instantly makes me feel connected to friends and late summer evenings.
The Ingredients That Make It Sing
This Corn On The Cob Recipe depends on just a few straightforward components that each play an important role. Choose each ingredient with care and you will get a sweet, glossy result every time.
- Fresh corn on the cob: The star ingredient, look for plump kernels and green husks; choose local ears when possible or use frozen if out of season.
- Water: A neutral base for cooking; plenty of water keeps the boil steady and cooks evenly.
- Kosher salt: Seasons the cooking water so the kernels absorb flavor; use table salt cautiously if substituting.
- Unsalted butter: Adds richness and helps carry other seasonings; swap for olive oil for a dairy-free option.
- Fine sea salt and black pepper: Finish the corn; adjust to taste and use flaky sea salt for texture.
- Parsley or chives, Parmesan, chili powder, lime: Optional accents that lift the corn into different flavor realms.
Essential Kitchen Tools and Why They Matter
A few simple tools make the Corn On The Cob Recipe effortless and keep the result tidy. They cut down stress during the quick cook and help you plate like a pro.
- Large pot: : Needed for a rolling boil; a roomy pot keeps the water from losing temperature when you add the corn.
- Tongs: : For safely lowering and lifting hot ears; metal or silicone tipped work great.
- Pastry brush: : Lets you coat cobs evenly with seasoned butter.
- Small saucepan or microwave-safe bowl: : For melting butter gently and mixing seasoning.
- Kitchen towel or tray: : To rest and drain the corn; a towel helps the butter cling.
Step-by-Step Preparation Guide
Step 1: Prepare the corn and get it ready for cooking
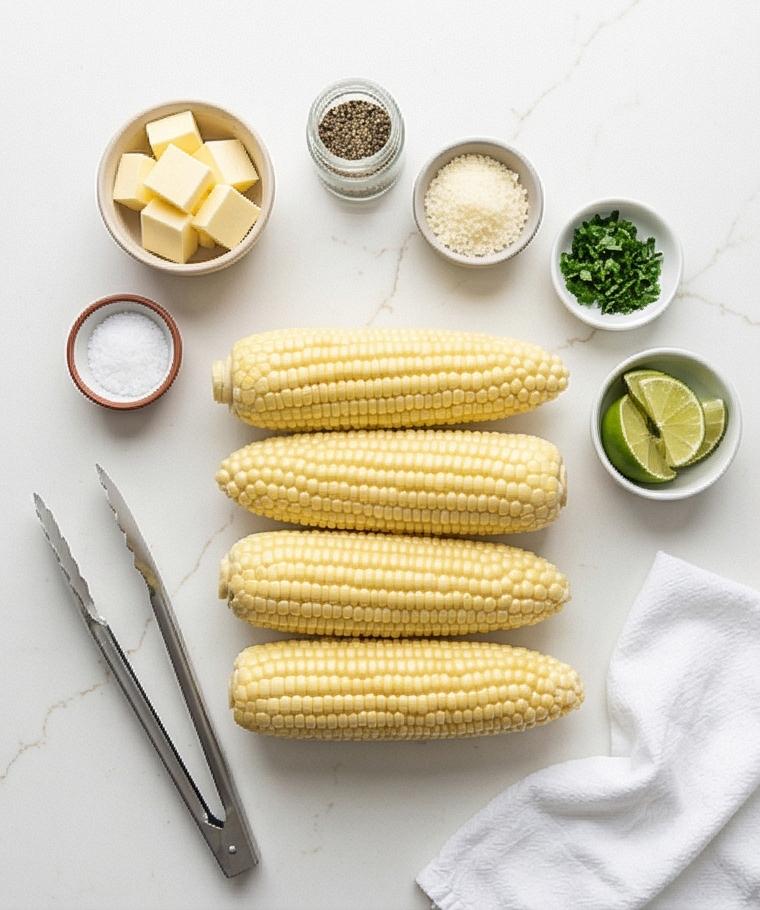
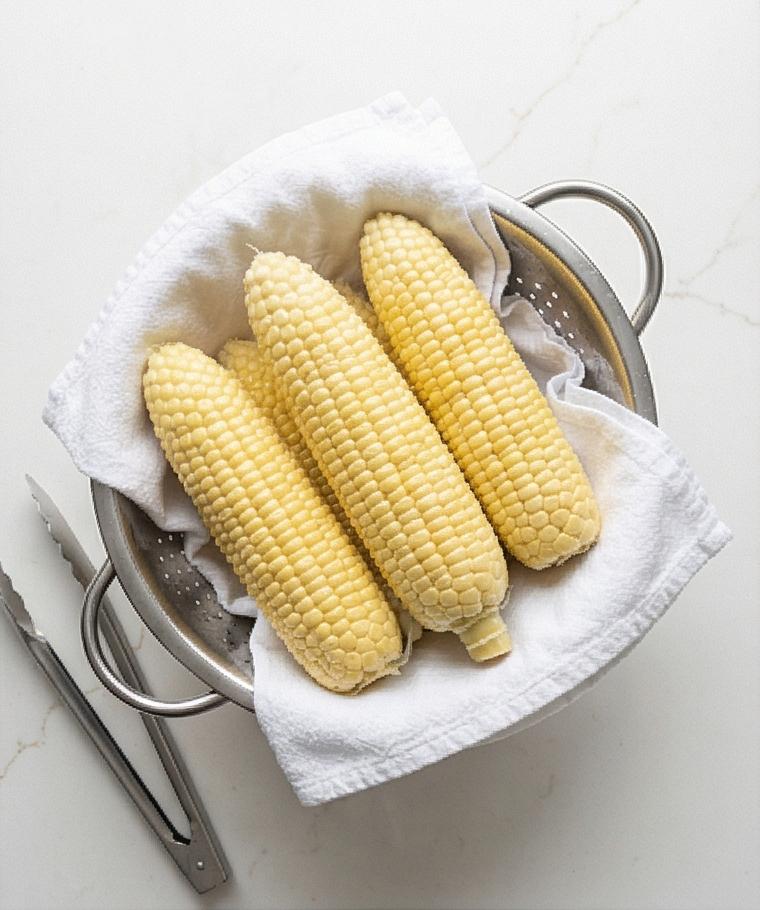
Remove the husks and pull away as much silk as you can from each ear, then rinse the 4 ears under cool running water and pat them dry with a clean kitchen towel. Lay the rinsed, de-silked ears neatly on a folded white cotton towel or inside a stainless-steel colander to drain briefly; tuck the trimmed lime wedges, small bowls of kosher salt, finely chopped parsley or chives, pepper in a tiny glass jar, and butter cut into small pieces into nearby ramekins so everything is within reach. Keep the clean tongs and a pastry brush close by so you can move quickly when the water is ready.
Step 2: Bring the salted water to a rolling boil and cook the corn
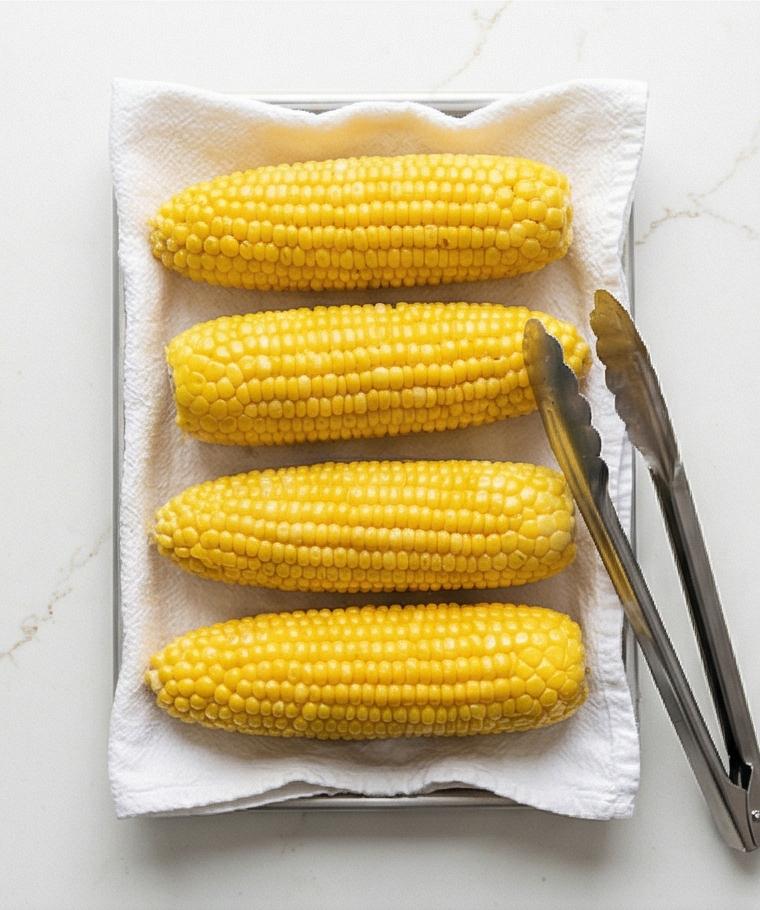
Place a large pot of water seasoned with kosher salt off to the side while you work (we’re not showing the stove; think of the pot as a result object back on the surface). When the water reaches a full rolling boil, add the prepared ears with tongs so each cob is fully submerged, then maintain a strong but controlled boil and cook just 3–5 minutes until the kernels read bright golden yellow and give a tender-crisp bite when tested. Lift the ears out with tongs and transfer them to the towel-lined tray so excess water drains and the cobs steam for a minute or two — this short rest helps the butter cling. The cooked, steaming-but-not-soggy state should read juicy and springy.
Step 3: Melt and season the butter while the corn cooks
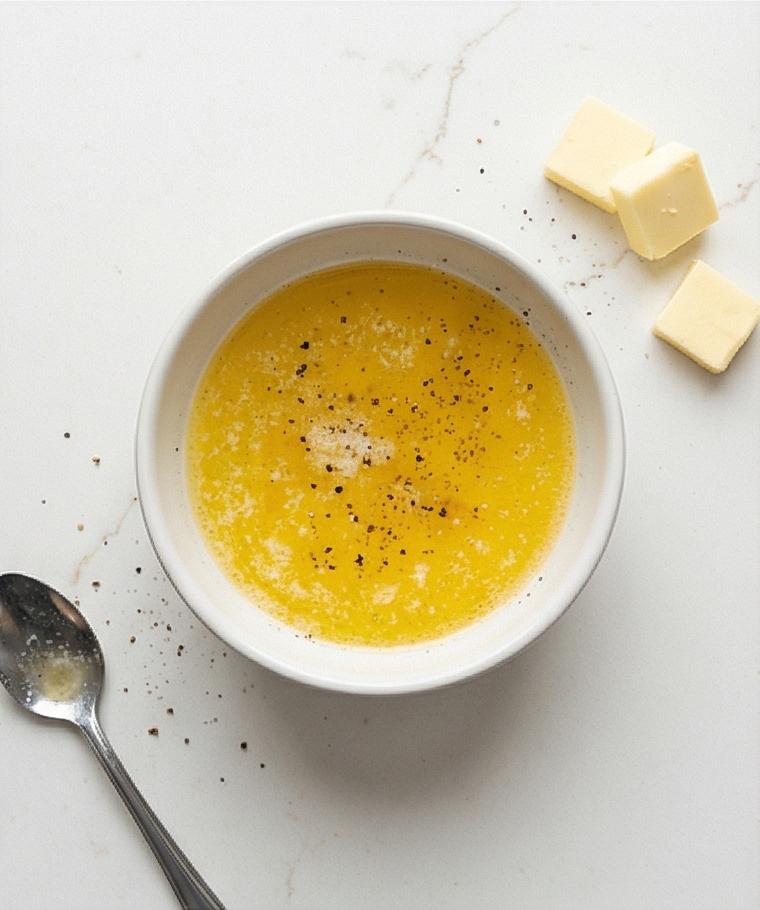
In a small saucepan or microwave-safe bowl off the heat, warm the butter gently until fully melted and glossy, then stir in fine sea salt and freshly ground black pepper until the seasoning is dissolved and evenly suspended in the warm fat. The butter should be fluid, warm, and smooth with tiny black specks of pepper visible, ready to coat kernels without sizzling or browning. Keep the melted butter in a shallow white ceramic bowl with a teaspoon or small pouring spoon so it’s easy to brush or spoon onto hot cobs.
Step 4: Brush, season, and add garnishes
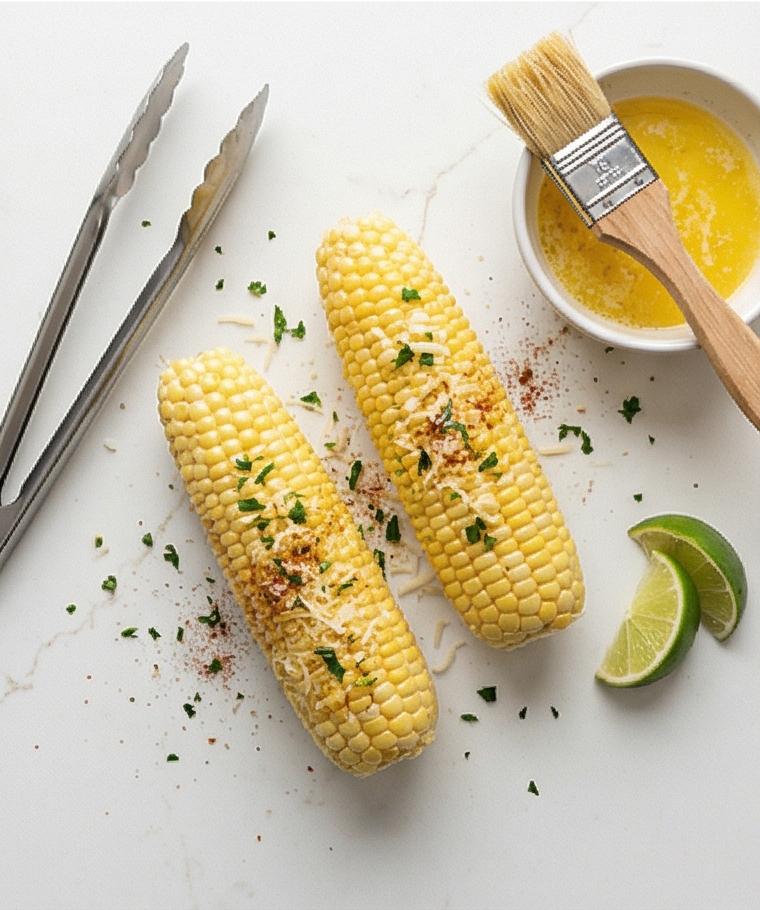
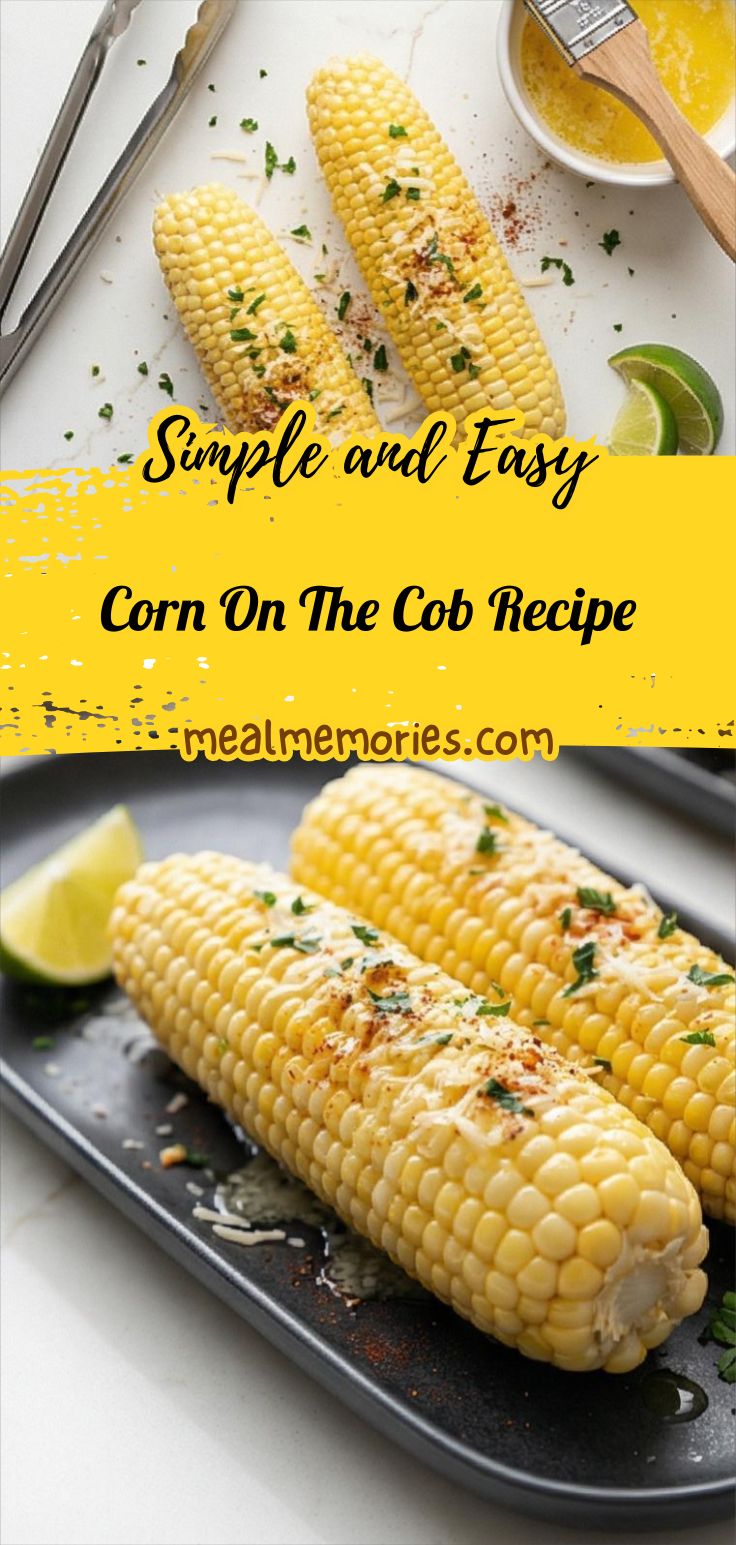
Using a pastry brush or spoon, generously coat each hot ear with the warm seasoned butter, rotating the cob so every kernel glistens; expect the butter to leave glossy trails and tiny droplets between kernels. Taste and nudge seasoning with an extra pinch of sea salt or pepper while hot, then scatter finely chopped parsley or chives, a light dusting of finely grated Parmesan that melts slightly against the warmth, or a whisper of chili powder or smoked paprika for a spicy variant. Arrange the buttered, garnished ears on a long serving platter with lime wedges nestled alongside for squeezing. Keep the tongs and brush in frame as the active tools but free of any hands.
Step 5: Serve immediately and brief storage notes
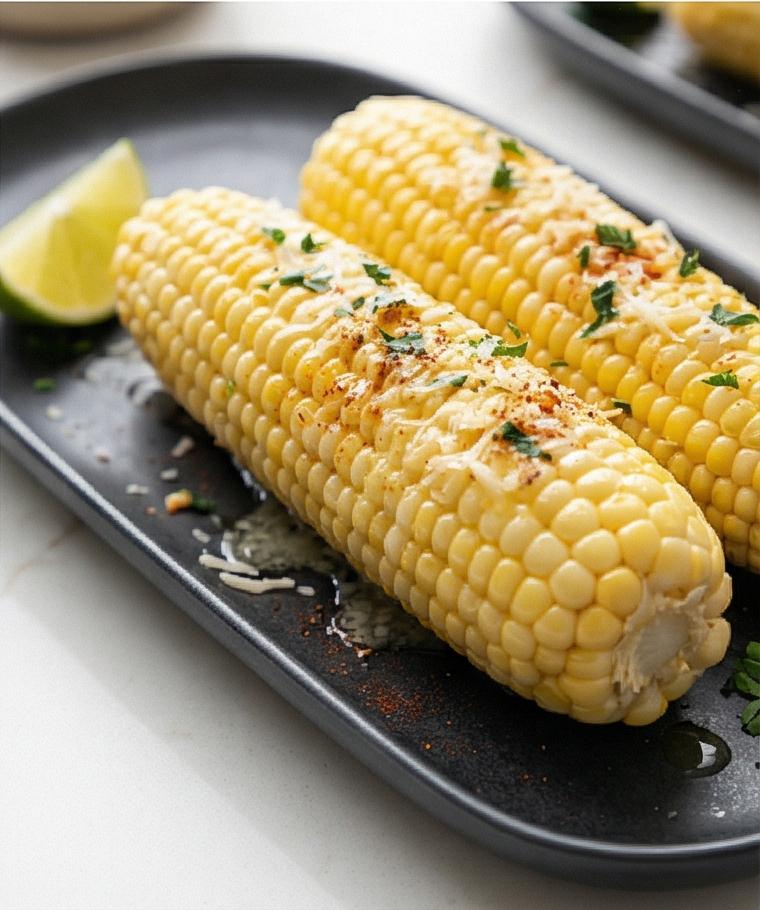
Serve the corn piping hot within 5–10 minutes for peak sweetness — present on a simple elongated platter with napkins or corn holders available; squeeze a lime wedge over the kernels at the table for bright contrast. If you must hold the ears briefly, keep unbuttered ears in hot water (not boiling) for up to 15 minutes and butter just before serving. Leftovers should be cooled and stored in an airtight container in the fridge up to 3 days; reheat gently or cut kernels for salads.
Making It Your Own
I like to experiment with small twists when I make the Corn On The Cob Recipe for different groups. For a smoky, savory version I brush the hot cobs with a mixture of butter and smoked paprika and sprinkle cotija or finely grated Parmesan; for a bright, herb-forward plate I stir chopped parsley and chives into the melted butter and finish with lime. If you need dairy-free options, olive oil with extra sea salt and a squeeze of lime works wonderfully. For a spicier crowd try chili powder or a dusting of cayenne, and for a sweeter twist add a tiny drizzle of honey to the butter.
How to Serve
When I serve this Corn On The Cob Recipe at a party I plan the platter and garnishes in advance so guests can customize. Arrange a row of hot ears on a long platter with small ramekins of chopped herbs, grated cheese, extra salt, and lime wedges. For larger groups scale up the quantities and keep unbuttered ears in hot water for a short hold, then brush with butter right before placing them on the table. Corn holders, napkins, and a few tongs make it easy for people to serve themselves and keep things tidy.
Storage and Reheating Tips
Cool any leftovers quickly, then store them in an airtight container in the refrigerator for up to 3 days. If you can, remove the butter before storing or use a paper towel to blot excess moisture.
To reheat, warm gently in a skillet with a little butter or steam briefly in a microwave for 20 to 30 seconds per ear, or cut the kernels off and toss them into a hot pan for a quick sauté that revives their sweetness. Avoid prolonged high heat which can dry the kernels.
Common Mistakes and How to Avoid Them
Overcooking is the most frequent misstep; keep the boil to 3 to 5 minutes so the kernels stay tender-crisp and juicy. Test one cob after three minutes to check texture.
Another mistake is underseasoning. Salting the cooking water and seasoning the melted butter are quick ways to ensure the corn tastes lively instead of flat. Finally, avoid browning the butter which can overwhelm the delicate sweetness.
Final Thoughts
Give this Corn On The Cob Recipe a try the next time you need a quick, crowd-pleasing side. It is fast, flexible, and full of personality, and it rewards small adjustments like a squeeze of lime or a sprinkle of fresh herbs. I hope it becomes one of your summer staples, too.
Frequently Asked Questions.
- Q: How long should I boil corn on the cob? A: Boil for 3 to 5 minutes once the water is at a full rolling boil; test one ear at three minutes to check tenderness.
- Q: Can I prepare corn ahead of time? A: You can shuck and rinse the ears a few hours ahead, but cook and butter just before serving for best texture.
- Q: What if I do not have kosher salt? A: Use table salt but use about half the amount and adjust to taste, since table salt is finer.
- Q: How do I make dairy-free corn on the cob? A: Swap melted butter for good quality olive oil, and add a squeeze of lime and fresh herbs for brightness.
- Q: Can I roast or grill this instead of boiling? A: Yes, grilling or roasting gives a charred flavor; brush with seasoned butter or oil after cooking and finish with herbs or cheese.
Corn On The Cob Recipe
Make Corn On The Cob Recipe: boil, butter, and serve hot for perfect summer sweetness.
Ingredients
Instructions
Step 1: Prepare the corn and get it ready for cooking
Remove the husks and pull away as much silk as you can from each ear, then rinse the 4 ears under cool running water and pat them dry with a clean kitchen towel. Lay the rinsed, de-silked ears neatly on a folded white cotton towel or inside a stainless-steel colander to drain briefly; tuck the trimmed lime wedges, small bowls of kosher salt, finely chopped parsley or chives, pepper in a tiny glass jar, and butter cut into small pieces into nearby ramekins so everything is within reach. Keep the clean tongs and a pastry brush close by so you can move quickly when the water is ready.
Step 2: Bring the salted water to a rolling boil and cook the corn
Place a large pot of water seasoned with kosher salt off to the side while you work (we're not showing the stove; think of the pot as a result object back on the surface). When the water reaches a full rolling boil, add the prepared ears with tongs so each cob is fully submerged, then maintain a strong but controlled boil and cook just 3–5 minutes until the kernels read bright golden yellow and give a tender-crisp bite when tested. Lift the ears out with tongs and transfer them to the towel-lined tray so excess water drains and the cobs steam for a minute or two — this short rest helps the butter cling. The cooked, steaming-but-not-soggy state should read juicy and springy.
Step 3: Melt and season the butter while the corn cooks
In a small saucepan or microwave-safe bowl off the heat, warm the butter gently until fully melted and glossy, then stir in fine sea salt and freshly ground black pepper until the seasoning is dissolved and evenly suspended in the warm fat. The butter should be fluid, warm, and smooth with tiny black specks of pepper visible, ready to coat kernels without sizzling or browning. Keep the melted butter in a shallow white ceramic bowl with a teaspoon or small pouring spoon so it’s easy to brush or spoon onto hot cobs.
Step 4: Brush, season, and add garnishes
Using a pastry brush or spoon, generously coat each hot ear with the warm seasoned butter, rotating the cob so every kernel glistens; expect the butter to leave glossy trails and tiny droplets between kernels. Taste and nudge seasoning with an extra pinch of sea salt or pepper while hot, then scatter finely chopped parsley or chives, a light dusting of finely grated Parmesan that melts slightly against the warmth, or a whisper of chili powder or smoked paprika for a spicy variant. Arrange the buttered, garnished ears on a long serving platter with lime wedges nestled alongside for squeezing. Keep the tongs and brush in frame as the active tools but free of any hands.
Step 5: Serve immediately and brief storage notes
Serve the corn piping hot within 5–10 minutes for peak sweetness — present on a simple elongated platter with napkins or corn holders available; squeeze a lime wedge over the kernels at the table for bright contrast. If you must hold the ears briefly, keep unbuttered ears in hot water (not boiling) for up to 15 minutes and butter just before serving. Leftovers should be cooled and stored in an airtight container in the fridge up to 3 days; reheat gently or cut kernels for salads.
Notes
- Test one ear at three minutes to avoid overcooking.
- Use local fresh corn for best sweetness when possible.
- Keep unbuttered ears in hot water for up to 15 minutes if holding before serving.
- For dairy-free option, use olive oil and extra lime.
- Store leftovers in an airtight container up to 3 days in the fridge.