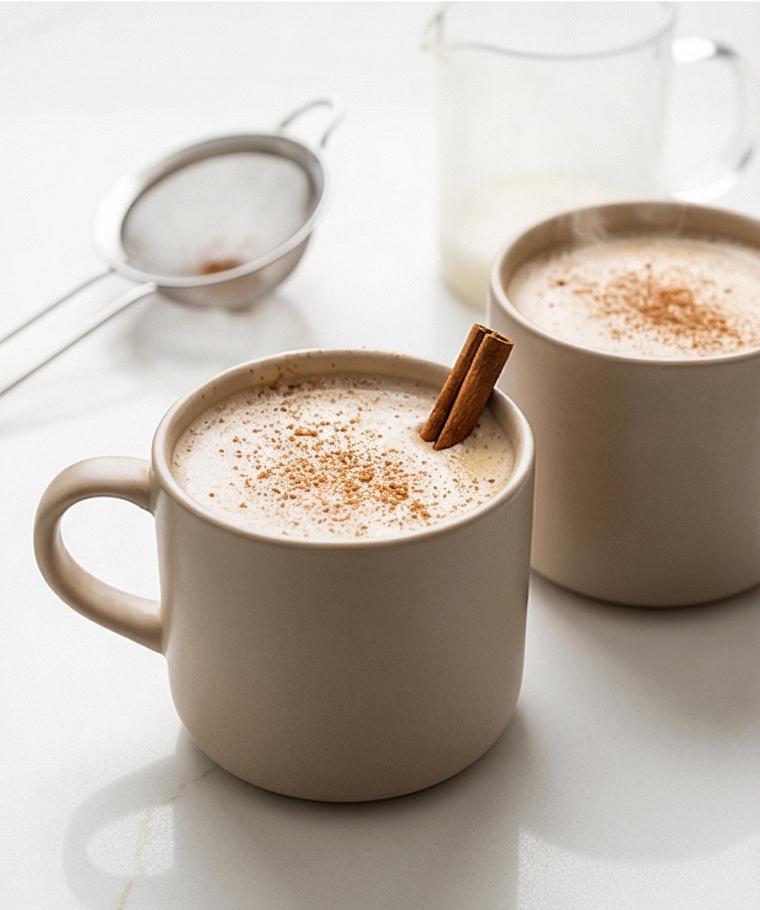
I still remember the first time I tried to get a cappuccino right at home. After a few burnt attempts and an accidental foam volcano, I learned that a simple, methodical approach changes everything. This Cappuccino Recipe taught me to respect small details: water temperature, grind size, and the feel of the milk as it becomes glossy microfoam. It’s a small ritual that rewards patience, and once you nail it, you’ll want to make this Cappuccino Recipe every morning.
How This Cappuccino Recipe Became My Morning Ritual
There was a rainy Saturday when making this Cappuccino Recipe shifted from hobby to ritual. I woke to the smell of roasted beans and the comforting, rhythmic whir of the grinder. Pouring the hot water over the warmed cup felt like prepping a tiny stage, and when a warm, hazelnut crema pooled in the cup I felt proud. The steam wand whispered as I coaxed the milk into a silky, wet-paint texture; the first sip was a quiet, joyful moment. The cappuccino warmed my hands and the room, and I found myself smiling at how such modest ingredients could taste so layered — rich espresso, velvety milk, and a whisper of cocoa. Since then, this Cappuccino Recipe has been my go-to comfort drink on overcast mornings.
The Ingredients That Make This Cappuccino Recipe Sing
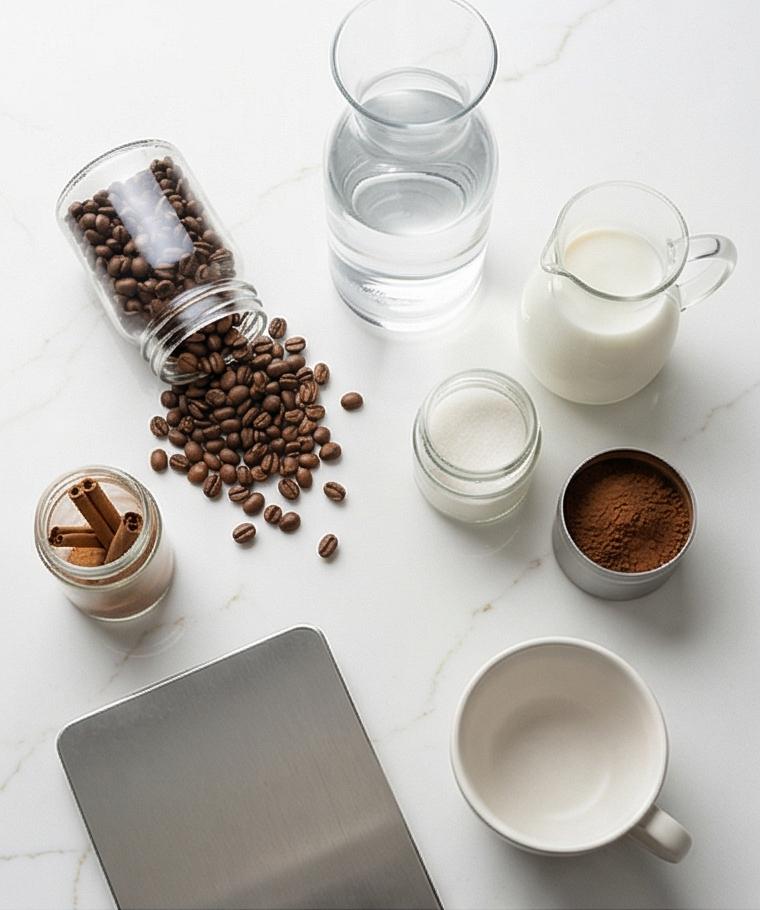
- Filtered Water: The foundation for extraction; use fresh, cold filtered water to avoid off-flavors. If your machine needs more water, plain bottled spring water works too.
- Fresh Espresso Beans: The star of the drink. Choose a medium-dark roast for balance; grind just before brewing. Substitute with a quality dark roast if necessary.
- Whole Milk: Provides body and microfoam. For alternatives, try 2% for lighter texture or oat barista blend for a dairy-free option that froths well.
- Sugar: Optional sweetener; dissolve while hot. Try honey or simple syrup for smoother sweetness.
- Cocoa Powder and Cinnamon: Small garnishes that add aroma and contrast; use unsweetened cocoa or a high-quality cinnamon.
Essential Tools for Great Cappuccino
Starting with the right tools makes this Cappuccino Recipe approachable and consistent. A reliable espresso machine gives you control over temperature and extraction, while a good grinder ensures fresh, even grounds. The steam wand or a quality milk frother is essential for achieving glossy microfoam; a small stainless-steel pitcher helps shape the whirlpool. A tamper and a scale improve dosing accuracy and puck consistency. If you lack any specialized gear, there are alternatives: use a moka pot for a strong base, a handheld frother or jar-and-whisk method for milk, and a simple spoon to level grounds.
- Espresso machine: Core for extraction; ensure it heats properly.
- Grinder: Fresh grind matters; burr grinders are best.
- Steam wand or milk frother: Creates microfoam.
- Steaming pitcher: Controls texture and pour.
- Tamper and scale: For consistent dosing and tamping.
Step-by-Step Preparation Guide
Step 1: Warm and ready the equipment
Place your 5–6 fl oz (150–180 ml) cappuccino cup in a warm spot or fill it with very hot tap water to preheat, then empty and dry it just before use. Make sure the espresso machine, steam wand (or milk frother), grinder, tamper, and your small stainless-steel steaming pitcher are clean and resting at the ready; this quiet prep prevents temperature losses and keeps textures predictable.
Step 2: Water, grind, dose and tamp
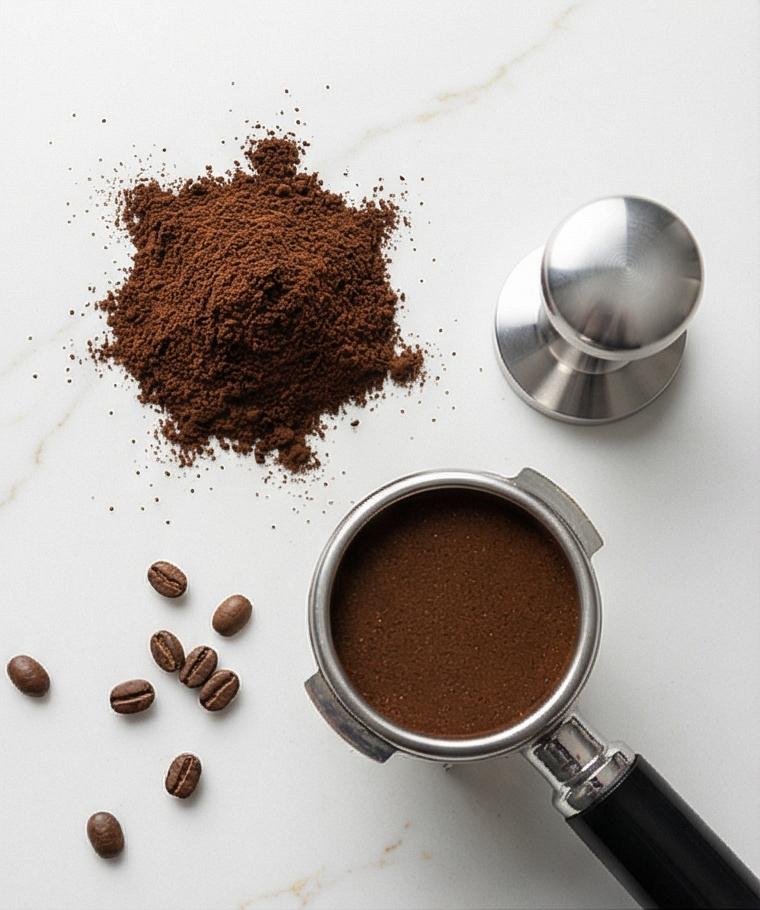
Fill the espresso machine’s reservoir with filtered water and allow the machine to fully heat so the brew water reaches ~195–205°F (90–96°C). Weigh 18–20 g of freshly roasted espresso beans and grind them very fine — a shade finer than table salt — until the grounds clump lightly between your fingers. Place the portafilter on a scale (if available), dose the ground coffee, level, and tamp firmly and evenly until a flat, compact puck forms; wipe the rim clean.
Step 3: Extract the espresso
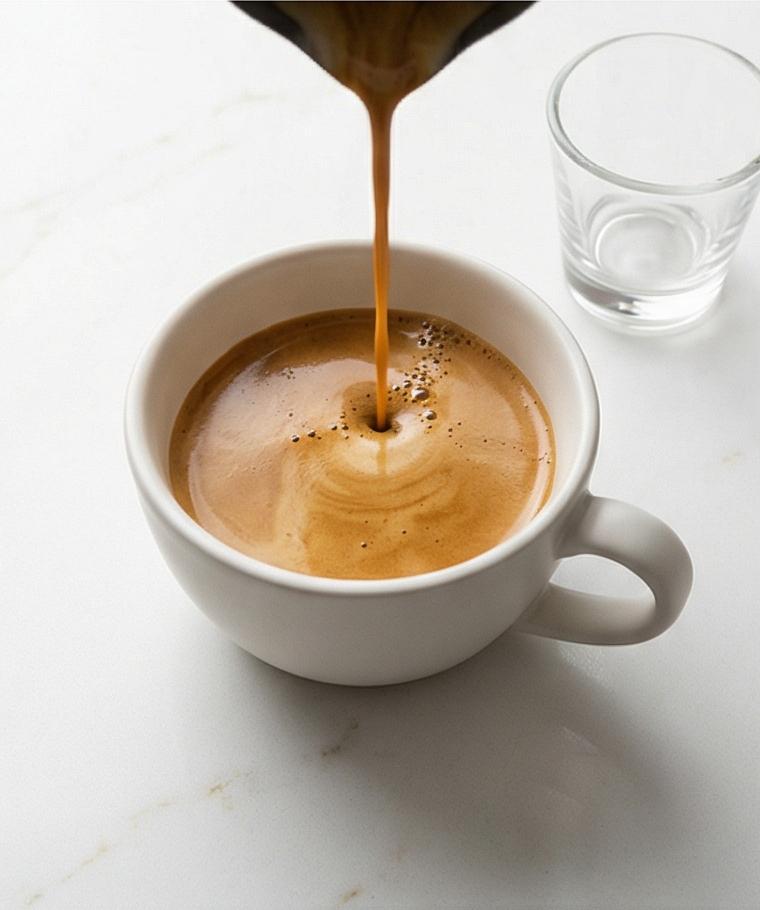
Lock the portafilter into the group head and position your warmed cappuccino cup beneath the spouts. Start the extraction and allow a steady, even stream to fall for ~25–30 seconds, targeting roughly 2 fl oz (60 ml) of liquid with a rich, hazelnut-colored crema. When finished, move the cup (or a small shot glass) immediately to the work surface so the crema stays intact.
Step 4: Prepare the milk and purge the wand
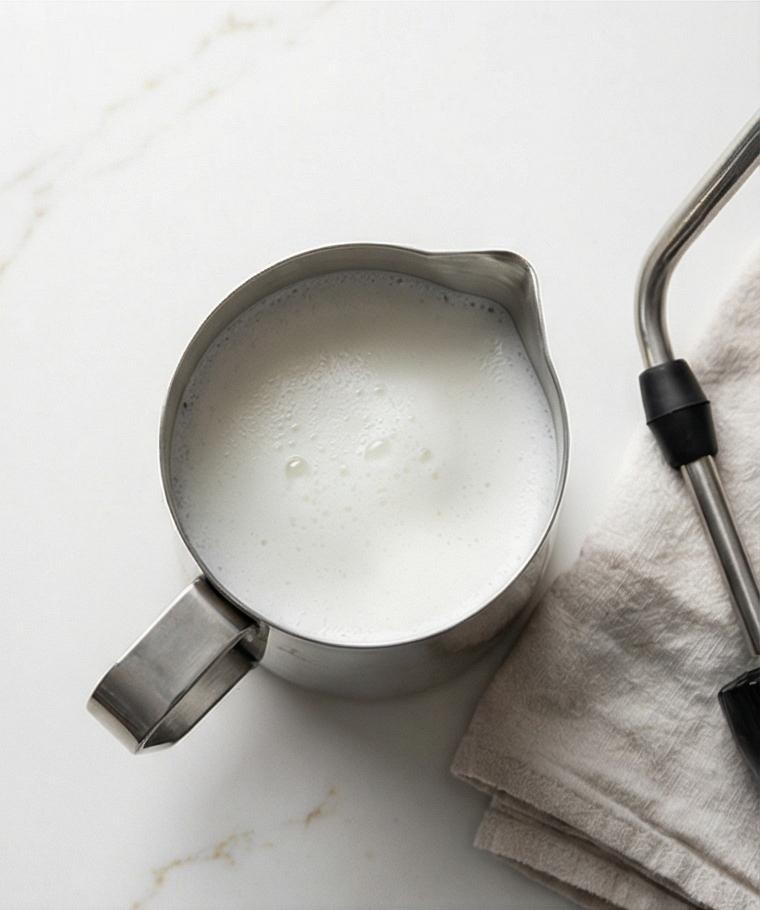
Pour 4 fl oz (120 ml) cold whole milk (36–40°F / 2–4°C) into your small stainless-steel steaming pitcher, leaving room for the milk to expand. Purge the steam wand for 2–3 seconds to clear condensate, then wipe it dry so the steam will be clean and energetic when you begin texturing.
Step 5: Steam and texture into glossy microfoam
Submerge the wand tip just below the surface, slightly off-center, and introduce air gently for the first 5–10 seconds to create a 30–50% volume increase while listening for a soft hissing sound. Then lower the aeration, angle the pitcher, and create a steady whirlpool so the foam integrates into the milk. Continue steaming until the pitcher is hot to the touch and milk reaches 140–150°F (60–65°C), producing a smooth, glossy microfoam with very fine bubbles. Immediately wipe and purge the wand; tap the pitcher 2–3 times and swirl until the milk looks like wet paint — thick, shiny, and pourable.
Step 6: Alternate milk method (no steam wand)
If you don’t have a steam wand, gently heat the 4 fl oz milk in a small saucepan over low heat to 140–150°F (60–65°C) without boiling, then froth with a handheld frother or vigorous whisking for 30–60 seconds until volume rises ~30–50% and the foam is fine and creamy. Transfer the frothed milk to your warmed pitcher, tap to settle large bubbles, and swirl to achieve a seamless wet-paint texture.
Step 7: Pour the cappuccino and build the layers
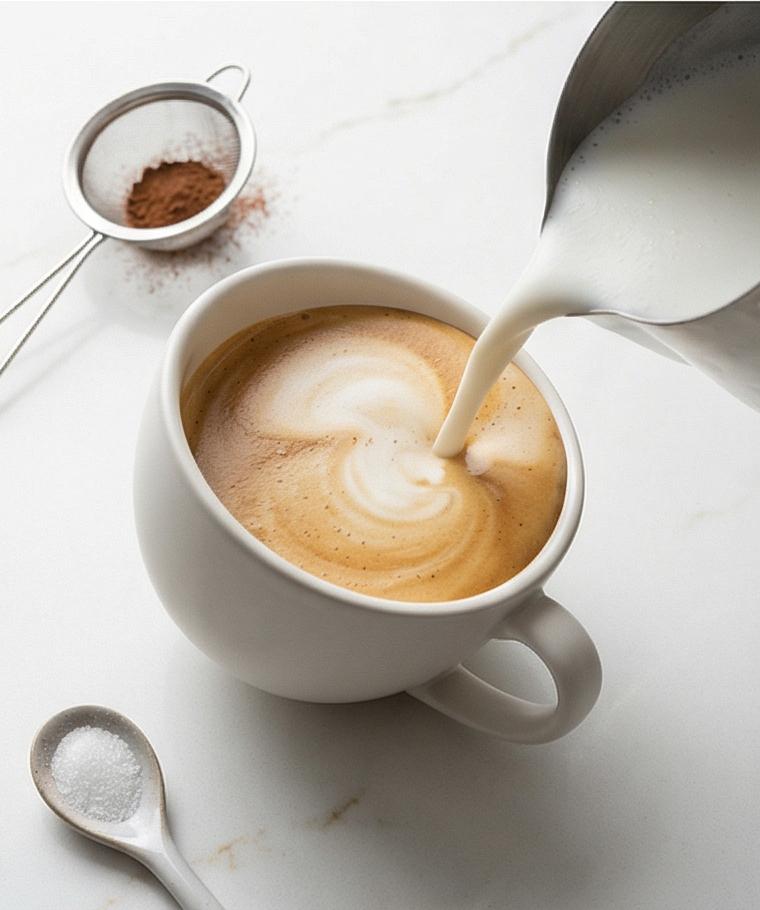
Hold the cup slightly tilted and begin pouring the steamed milk slowly into the center from 2–3 inches (5–8 cm) above the espresso, then bring the pitcher closer as the cup fills so foam can flow out and form an even cap. Aim for roughly equal thirds: espresso, steamed milk, and a dense foam crown; the finished drink should be about 5–6 fl oz (150–180 ml) in total.
Step 8: Sweeten, garnish, and serve
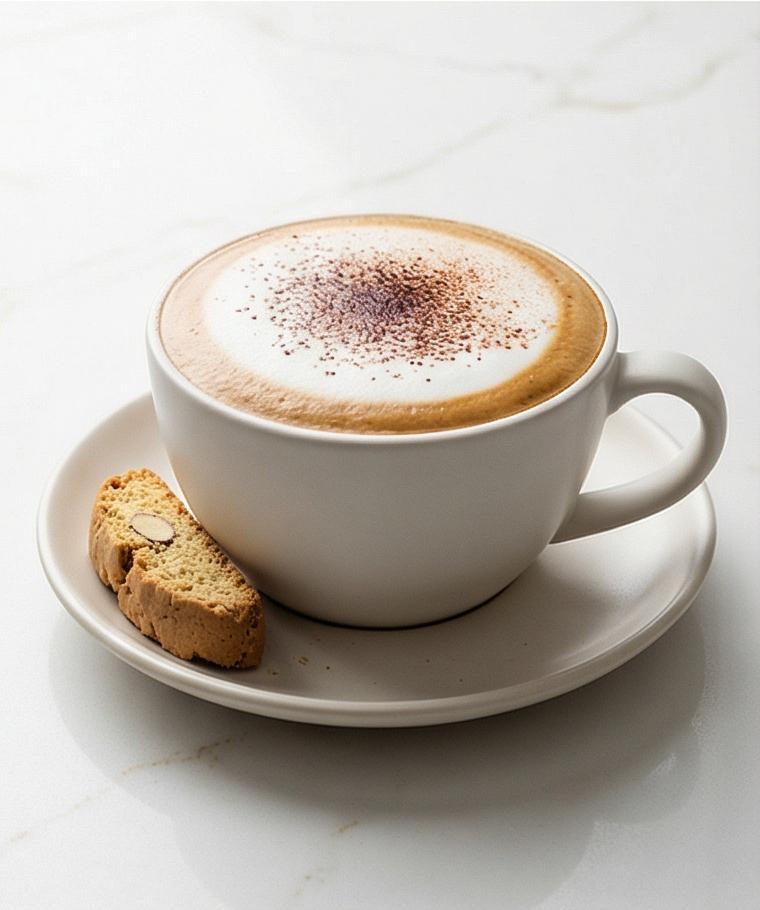
Taste a small spoonful and, if desired, dissolve 1–2 teaspoons granulated sugar while hot. Lightly dust the foam with 1/4 teaspoon unsweetened cocoa powder or a pinch of ground cinnamon through a fine sieve for an even, delicate layer. Serve immediately while foam is thick and warm, ideally with a single small biscotti or square of dark chocolate alongside.
Making It Your Own
I often tweak this Cappuccino Recipe for different moods. On chilly days I stir a half-teaspoon of brown sugar into the shot for warmth. If I want something lighter, I try 2% milk or a barista-style oat milk that holds foam. For an afternoon pick-me-up, adding a thin slice of orange peel to the cup pre-extraction gives a bright, citrus lift.
Try seasonal spins: a pinch of nutmeg in fall, a dash of cardamom for a Middle Eastern twist, or a lavender syrup for spring. Small changes have big character impact, and experimenting helps you learn how each variable alters texture and flavor.
How to Serve
When hosting, make the cappuccino cups warm ahead of time so the drink stays hotter longer. For a small brunch, brew one double shot per guest and steam milk in batches, topping each cup with glossy foam just before serving so texture stays perfect. Pair with salty-sweet bites like almond biscotti or a buttery croissant to balance the espresso intensity.
If you need to scale up, designate one person on espresso duty and another on steaming; this keeps timing tight and foam fresh. For a dessert course, dust extra cocoa and serve on saucers with a small spoon.
Storage and Reheating Tips
Cappuccino is best enjoyed immediately; the crema and microfoam soften quickly. If you must store components, keep brewed espresso in a sealed container in the fridge for up to 24 hours, though flavor will decline.
Milk with microfoam should not be stored; instead, refrigerate only unsteamed milk and reheat gently on the stove while re-whisking to freshen texture. Avoid microwaving foam directly; it collapses and loses creaminess.
Common Slip-Ups and How to Avoid Them
Under-extracted or bitter shots often come from too-coarse a grind or low water temperature. Fix this by dialing in grind and ensuring the machine is fully up to temp.
Cloudy, bubbly foam means too much aeration or overheated milk. Keep the wand tip just below the surface at the start and aim for 140-150°F. Practice makes a huge difference, so be patient.
Ready to Try It?
Give this Cappuccino Recipe a shot — literally. With a few intentional steps you can make a cafe-quality cappuccino at home that feels like a small daily celebration. Lace your morning with good beans, warm cups, and patient steaming, and enjoy the ritual.
Frequently Asked Questions.
- What is the best milk for cappuccino? Whole milk gives the creamiest texture and most stable microfoam, but barista-style oat milk or 2% milk can work well for lighter preferences.
- How long should I extract espresso for? Aim for about 25-30 seconds for a double shot, yielding roughly 2 fl oz (60 ml) with a balanced crema.
- Can I make cappuccino without an espresso machine? Yes, use a strong brew from a moka pot or Aeropress and froth heated milk with a handheld frother or whisk.
- Why is my foam large-bubbled? Large bubbles come from over-aeration or not tapping and swirling the pitcher. Purge the wand, introduce air gently, then texture to integrate foam into milk.
- How do I sweeten without losing foam? Dissolve sweetener like simple syrup into the espresso while it is hot to avoid changing the milk texture.
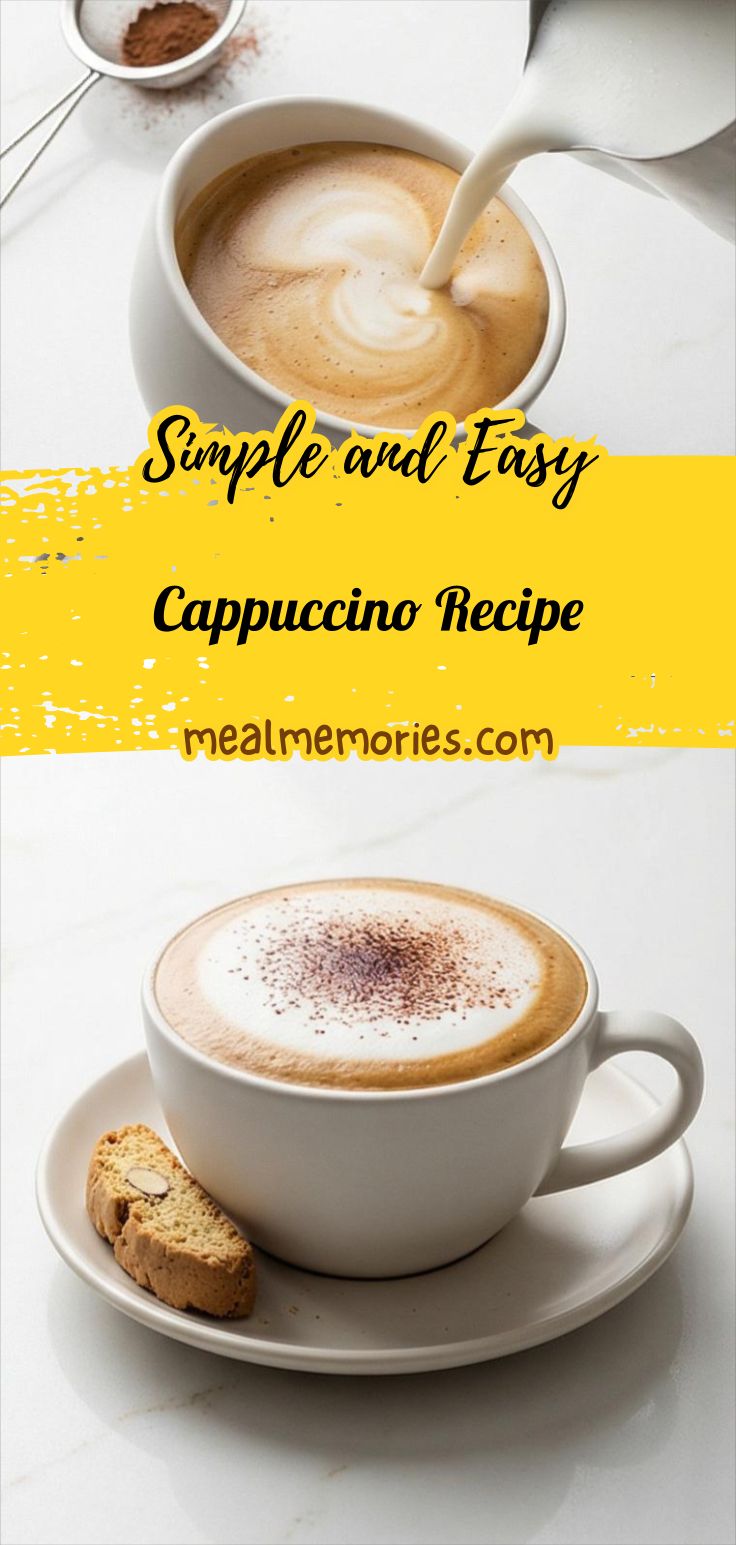
Cappuccino Recipe
Make a classic Cappuccino Recipe: pull a double shot, steam milk to glossy microfoam, and pour for perfect balance.
Ingredients
Instructions
Step 1: Warm and ready the equipment
Place your 5–6 fl oz (150–180 ml) cappuccino cup in a warm spot or fill it with very hot tap water to preheat, then empty and dry it just before use. Make sure the espresso machine, steam wand (or milk frother), grinder, tamper, and your small stainless-steel steaming pitcher are clean and resting at the ready; this quiet prep prevents temperature losses and keeps textures predictable.
Step 2: Water, grind, dose and tamp
Fill the espresso machine’s reservoir with filtered water and allow the machine to fully heat so the brew water reaches ~195–205°F (90–96°C). Weigh 18–20 g of freshly roasted espresso beans and grind them very fine — a shade finer than table salt — until the grounds clump lightly between your fingers. Place the portafilter on a scale (if available), dose the ground coffee, level, and tamp firmly and evenly until a flat, compact puck forms; wipe the rim clean.
Step 3: Extract the espresso
Lock the portafilter into the group head and position your warmed cappuccino cup beneath the spouts. Start the extraction and allow a steady, even stream to fall for ~25–30 seconds, targeting roughly 2 fl oz (60 ml) of liquid with a rich, hazelnut-colored crema. When finished, move the cup (or a small shot glass) immediately to the work surface so the crema stays intact.
Step 4: Prepare the milk and purge the wand
Pour 4 fl oz (120 ml) cold whole milk (36–40°F / 2–4°C) into your small stainless-steel steaming pitcher, leaving room for the milk to expand. Purge the steam wand for 2–3 seconds to clear condensate, then wipe it dry so the steam will be clean and energetic when you begin texturing.
Step 5: Steam and texture into glossy microfoam
Submerge the wand tip just below the surface, slightly off-center, and introduce air gently for the first 5–10 seconds to create a 30–50% volume increase while listening for a soft hissing sound. Then lower the aeration, angle the pitcher, and create a steady whirlpool so the foam integrates into the milk. Continue steaming until the pitcher is hot to the touch and milk reaches 140–150°F (60–65°C), producing a smooth, glossy microfoam with very fine bubbles. Immediately wipe and purge the wand; tap the pitcher 2–3 times and swirl until the milk looks like wet paint — thick, shiny, and pourable.
Step 6: Alternate milk method (no steam wand)
If you don’t have a steam wand, gently heat the 4 fl oz milk in a small saucepan over low heat to 140–150°F (60–65°C) without boiling, then froth with a handheld frother or vigorous whisking for 30–60 seconds until volume rises ~30–50% and the foam is fine and creamy. Transfer the frothed milk to your warmed pitcher, tap to settle large bubbles, and swirl to achieve a seamless wet-paint texture.
Step 7: Pour the cappuccino and build the layers
Hold the cup slightly tilted and begin pouring the steamed milk slowly into the center from 2–3 inches (5–8 cm) above the espresso, then bring the pitcher closer as the cup fills so foam can flow out and form an even cap. Aim for roughly equal thirds: espresso, steamed milk, and a dense foam crown; the finished drink should be about 5–6 fl oz (150–180 ml) in total.
Step 8: Sweeten, garnish, and serve
Taste a small spoonful and, if desired, dissolve 1–2 teaspoons granulated sugar while hot. Lightly dust the foam with 1/4 teaspoon unsweetened cocoa powder or a pinch of ground cinnamon through a fine sieve for an even, delicate layer. Serve immediately while foam is thick and warm, ideally with a single small biscotti or square of dark chocolate alongside.
Notes
- Use fresh, whole beans and grind just before brewing for best flavor.
- Warm the cup to preserve temperature and crema.
- Aim for milk temperature of 140-150°F (60-65°C) to achieve silky microfoam.
- If you lack a steam wand, heat milk gently and use a handheld frother or whisk.
- Clean and purge the steam wand before and after steaming to avoid off-flavors.