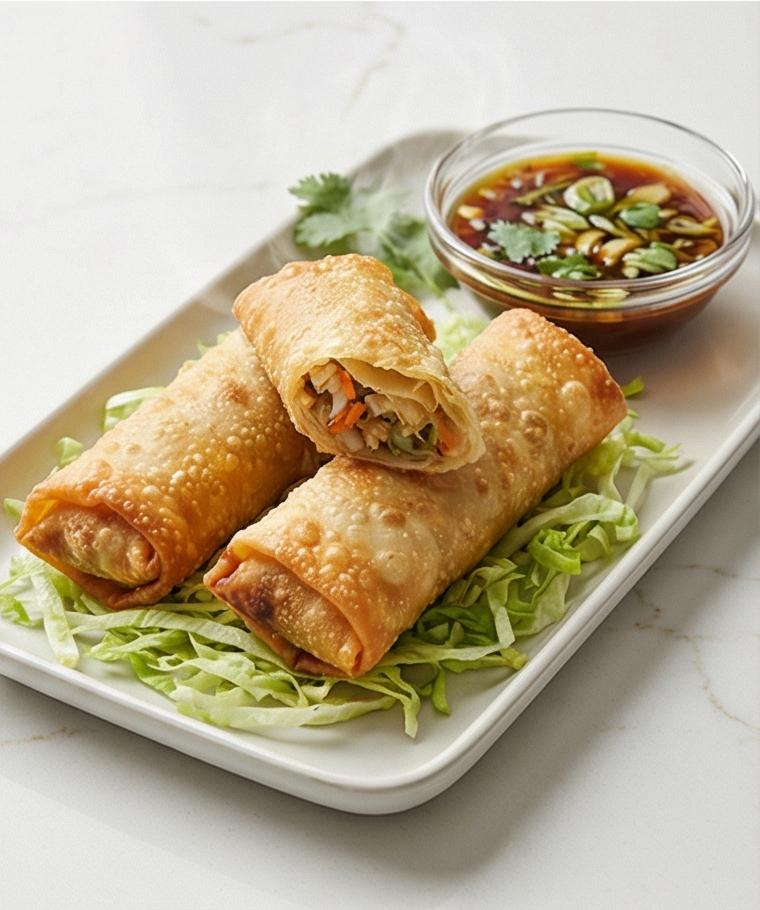
Pot Stickers Recipe has been my go-to weekend project for years, and I still get a little thrill when the bottoms brown to that perfect lacey crisp. I learned how to fold these at my neighbor’s kitchen table, elbow-deep in flour and laughter, and the ritual stuck. This Pot Stickers Recipe teaches you the basics — a tender wrapper, a juicy pork and cabbage filling, and a pan-fry-then-steam finish that gives you contrast in every bite. If you love hands-on cooking that rewards patience, this one is worth the time.
How This Recipe Became My Rainy-Day Favorite
I remember a rainy afternoon when I first made this Pot Stickers Recipe all the way from scratch. The house smelled like ginger, garlic, and toasted sesame oil; steam fogged the windows while my fingers learned to pleat dumplings. Each pleat felt small and triumphant, and by the time the first plate came out, the sound of the crisp bottoms alone felt celebratory. I served them to friends who kept reaching for more, and the warm bowl of dipping sauce made every piece feel like a miniature comfort hug. Since then, potstickers have been my rainy-day ritual, a reason to slow down and gather people around the stove.
The Ingredients That Make It Sing
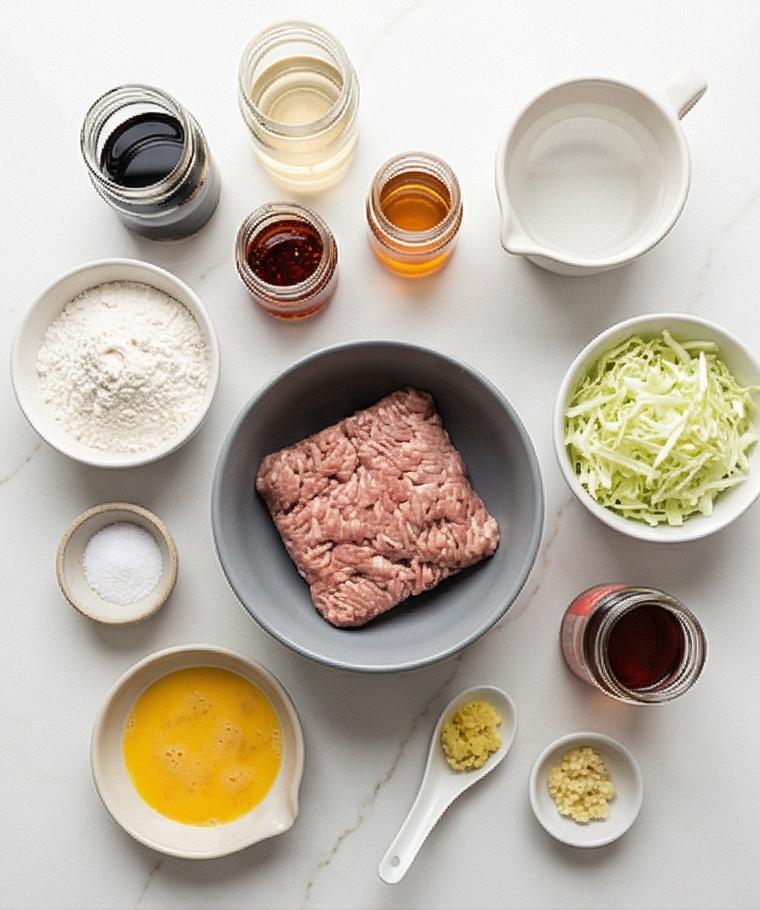
- All-purpose flour: The base for the wrappers; choose unbleached for better flavor. Substitute with a 00 flour for silkier texture, but expect slight differences.
- Green cabbage: Adds crunch and moisture control; squeeze it dry to avoid a soggy filling. Napa cabbage works well as a milder swap.
- Ground pork: Provides richness and binding. Use 80-85% lean for juiciness; leaner meat needs added fat or a touch of pork shoulder.
- Scallions, ginger, garlic: Aromatics that lift the filling; adjust quantities to taste.
- Soy sauce, Shaoxing wine, toasted sesame oil: The salty, savory backbone. Use dry sherry if you don’t have Shaoxing.
- Egg and seasonings: Help bind and season the filling for a balanced bite.
Essential Kitchen Tools and Why They Matter
A few straightforward tools make Pot Stickers Recipe assembly much easier and help maintain consistency. A heavy-bottomed nonstick or well-seasoned cast-iron skillet gives you that even browning on the bottoms. A rolling pin and bench scraper speed wrapper shaping if you make dough from scratch. A small bowl of water is essential for sealing edges; pastry brushes help if you prefer. A sharp knife or mandoline makes quick work of cabbage. If you want to save time, pre-made wrappers and a dumpling press are fine substitutes. Finally, a tray lined with parchment keeps finished dumplings from sticking as you work.
- Heavy-bottomed skillet or cast-iron pan: Even heat for crisp bottoms.
- Rolling pin and bench scraper: For cutting and shaping wrappers.
- Small bowl or pastry brush: For sealing edges with water.
- Tray and parchment: To rest arranged dumplings.
- Sharp knife or mandoline: For finely shredding cabbage.
Step-by-Step Preparation Guide
Step 1: Prepare the dumpling dough
In a medium mixing bowl combine the all-purpose flour and fine sea salt, then slowly pour in the just-boiled water while stirring with chopsticks or a fork until a shaggy, slightly sticky mass forms and there is no dry flour left. The texture should read rough and patchy at first – wet clumps and dry pockets – the visual promise of a dough that will become smooth once worked; no need to fuss, simply bring it together until it behaves as one piece.
Step 2: Knead into a smooth ball and let it rest
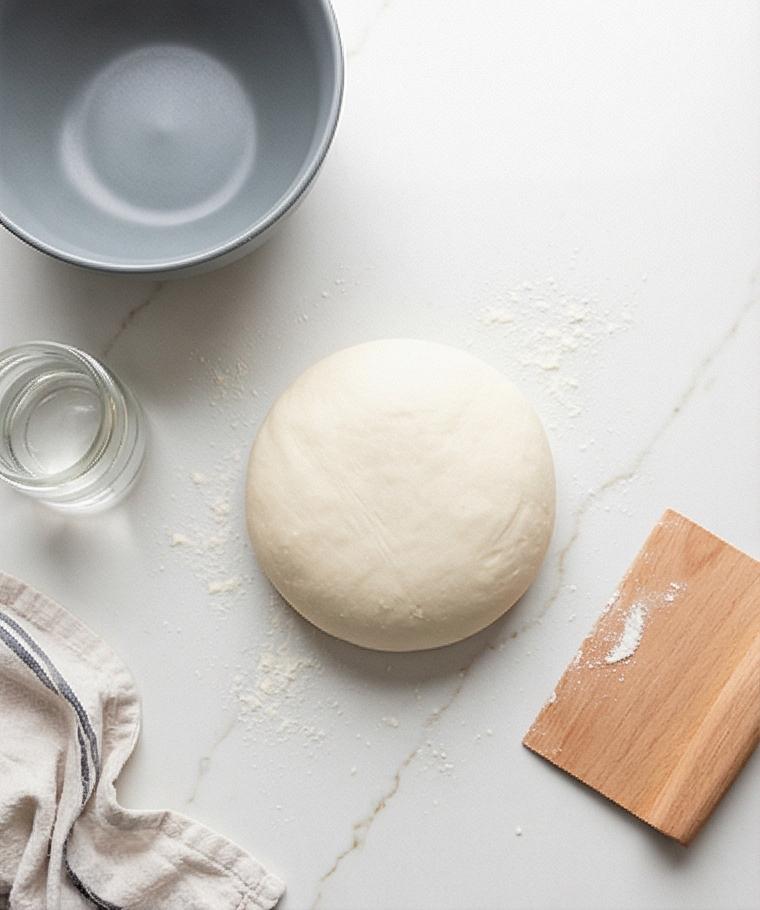
Turn the shaggy dough onto a lightly floured work surface and knead with steady pressure for 8-10 minutes until the surface becomes smooth, elastic, and only slightly tacky; it should spring back when pressed. Shape it into a compact, taut ball, cover tightly with plastic or a damp towel, and let it rest at room temperature for 30 minutes to relax the gluten – the rested dough will feel noticeably softer and more pillowy when you return to it.
Step 3: Wilt and squeeze the cabbage
Sprinkle the shredded green cabbage with kosher salt and toss thoroughly; let it sit 10 minutes so it releases water and softens. After the rest, use your hands to squeeze handfuls firmly (over a bowl) until the cabbage is barely moist and compacted; visually you’ll have a glossy, slightly collapsed pile of green that reads dense rather than fluffy – this is crucial so the filling won’t be watery.
Step 4: Combine the filling base
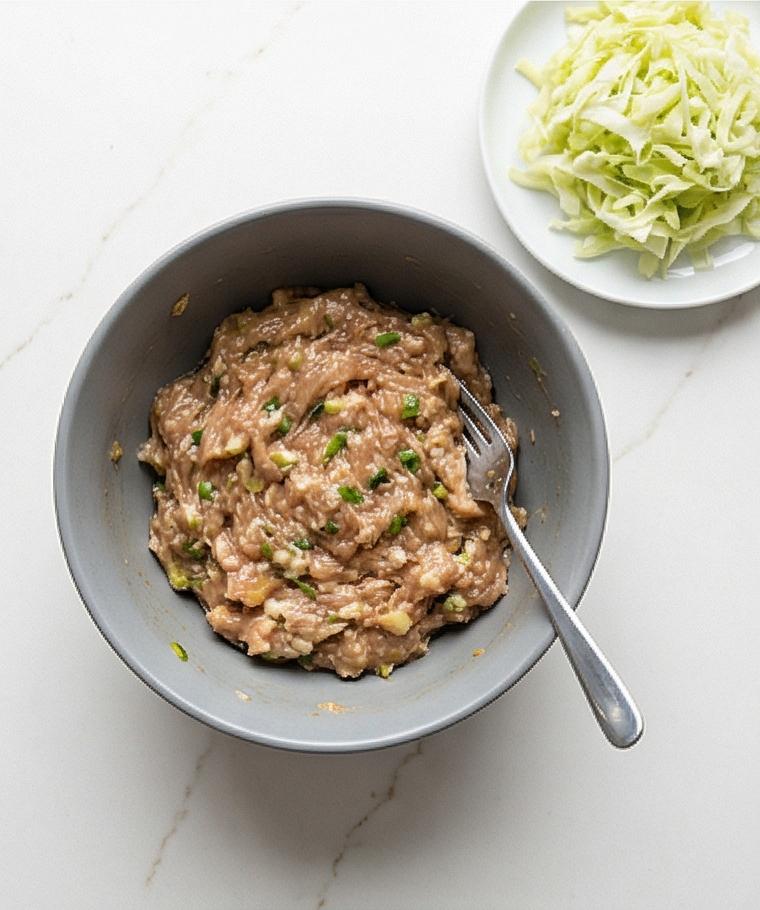
In a modern matte grey ceramic mixing bowl, pile in the chilled ground pork, finely chopped scallions, grated ginger, minced garlic, soy sauce, Shaoxing wine (or dry sherry), toasted sesame oil, sugar, white pepper and the lightly beaten egg. The bowl should show the raw meat’s sheen and the flecks of aromatics; gently fold and combine the ingredients until evenly distributed so the elements look integrated but not overworked.
Step 5: Develop texture, finish, and chill the filling
Using chopsticks, a fork, or a single clean utensil, stir the pork mixture vigorously in one direction for 2-3 minutes until it becomes sticky, cohesive, and slightly lighter in color – you’ll see the mixture become glossy and elastic. Fold in the well-squeezed cabbage until the filling reads moist but not runny, then cover the bowl and refrigerate at or below 40°F (4°C) for at least 20 minutes so the flavors meld and the texture firms slightly.
Step 6: Divide and roll the wrappers (or ready store-bought)
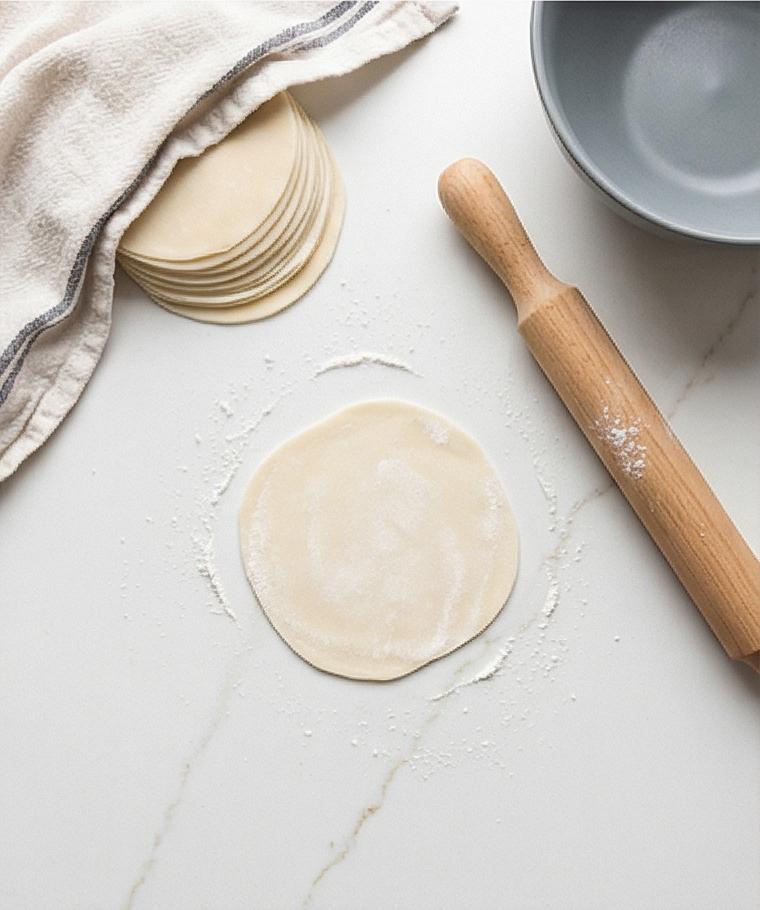
If making wrappers, roll the rested dough into a smooth log, cut into 30-32 small pieces, and work one at a time to flatten and roll into thin circles about 3.25-3.5 inches (8-9 cm) with slightly thinner edges and a slightly thicker center. If using store-bought wrappers, keep them covered and ready. Arrange finished wrappers under a lightly floured towel on a lined tray so they remain soft and pliable; the stack should look tidy, pale, and dusted with a whisper of flour.
Step 7: Fill, pleat, and arrange the potstickers
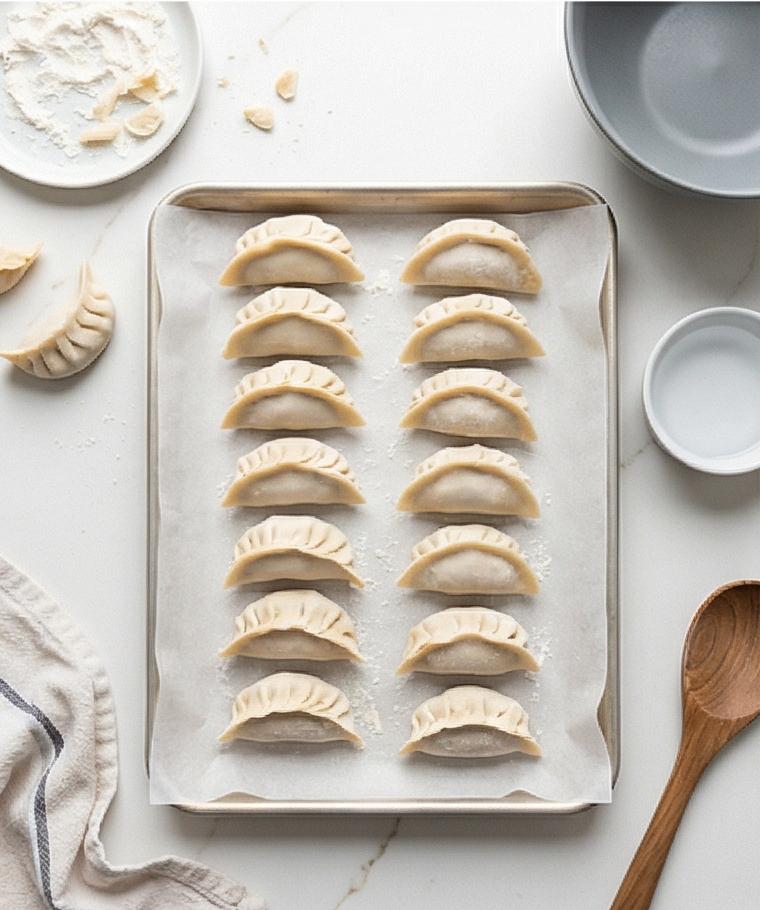
Place one wrapper in your non-dominant hand, spoon about 2 teaspoons of chilled filling into the center, moisten the edge with a touch of cool water, fold into a half-moon, and pleat the front edge 5-7 times to seal – aim for tidy, even pleats and no trapped air. Set each dumpling flat-side down on the parchment-lined tray so they stand upright in a neat row; visually you’ll have a small forest of ivory half-moons with delicate pleats and slightly flattened bottoms, covered lightly so they don’t dry.
Step 8: Create the slurry, cook and transfer to a serving plate
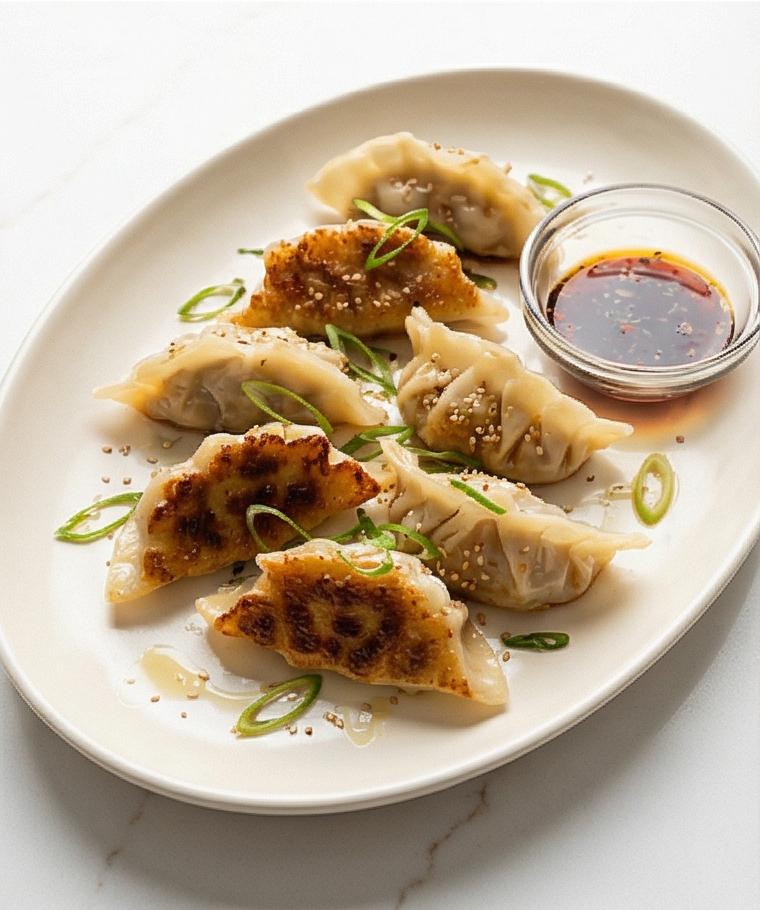
Whisk cool water with a teaspoon of flour until slightly cloudy to make the steaming slurry. Pan-fry the arranged dumplings until the bottoms become even golden-brown, add the slurry to generate steam, cover briefly to cook through, then uncover and reduce until the bottoms re-crisp into a deep golden, lacy texture. Slide the finished potstickers off the pan and onto a warmed serving platter, crisp side up so the golden undersides are visible; the finished cluster should read contrasty – pale tender tops, translucent edges, and deeply caramelized, crisp bottoms.
Step 9: Make the dipping sauce, garnish and serve
Whisk together low-sodium soy sauce, rice vinegar, chili oil, a touch of sugar and toasted sesame oil, then fold in very finely sliced scallion greens and a sprinkle of toasted sesame seeds; present this sauce in a small glass dish alongside the platter. Finish the potstickers with a scatter of thinly sliced scallion greens and a few toasted sesame seeds for contrast. Serve immediately while the bottoms remain crisp and the filling is warm and springy.
Making It Your Own
I often experiment with small swaps depending on who I am cooking for. For a vegetarian version, I replace ground pork with finely chopped shiitake mushrooms and crumbled firm tofu, add a splash of soy and a teaspoon of miso for umami, and press the filling to remove excess moisture. For a spicier crowd, I mix chili crisp into the dipping sauce and a touch into the filling. Seasonal twists mean swapping green cabbage for thinly sliced napa in winter or adding shredded carrot and water chestnut for extra crunch in summer. Each change teaches you a bit more about balance.
How to Serve
When I host, I arrange the potstickers on a warmed platter with the crisp bottoms facing up so guests immediately see the golden contrast. Serve small dipping bowls of the sauce so everyone can personalize heat and tang. For a party of six, double the recipe and cook in two pans or in batches, keeping finished dumplings on a warm sheet pan in a low oven. For a quick weeknight, serve a smaller portion with steamed rice and a simple cucumber salad dressed in rice vinegar. Garnish with scallion greens and sesame seeds for color.
Storage and Reheating Tips
Store leftover cooked potstickers in a single layer in the refrigerator for up to 3 days; place parchment between layers to prevent sticking. For longer storage, freeze uncooked dumplings on a tray until firm, then transfer them to a sealed bag for up to 3 months.
To reheat from chilled, crisp them briefly in a hot pan with a splash of water and a lid to steam through, then remove the lid and let the bottoms re-crisp. From frozen, add an extra minute or two to the steaming step so the filling cooks through.
Common Mistakes and How to Avoid Them
The most common issue is watery filling. Always squeeze the cabbage well and keep the filling chilled before wrapping. If the filling feels too loose, add a touch more beaten egg or chill it longer.
Another mistake is overcrowding the pan. Give each potsticker room to brown and steam properly; cook in batches if needed. Avoid overworking the dough or filling to keep wrappers tender and filling juicy.
Final Thoughts
Give this Pot Stickers Recipe a try even if it feels fiddly at first. The process is part of the fun, and the reward is the sound and texture of crisp, tender dumplings shared with friends. You’ll get faster and more confident with each batch, and the flavors only get better the more you tweak them to your taste.
Frequently Asked Questions.
- Q: Can I make the wrappers ahead of time? A: Yes, you can make and refrigerate the dough for a day; keep it wrapped tightly. If frozen, thaw in the refrigerator before using.
- Q: Can I use ground chicken or turkey instead of pork? A: Yes, but add a little extra oil or fattier cut to maintain juiciness; lean poultry can dry out.
- Q: How do I stop my potstickers from sticking to the pan? A: Start with a clean, well-heated pan, and use enough neutral oil to coat the surface; don’t move them too soon.
- Q: Can I freeze cooked potstickers? A: You can, but texture will change; frozen cooked potstickers are best reheated in a hot oven or skillet to restore crispness.
- Q: What can I substitute for Shaoxing wine? A: Dry sherry is a fine substitute; a splash of low-sodium chicken stock can also work in a pinch.
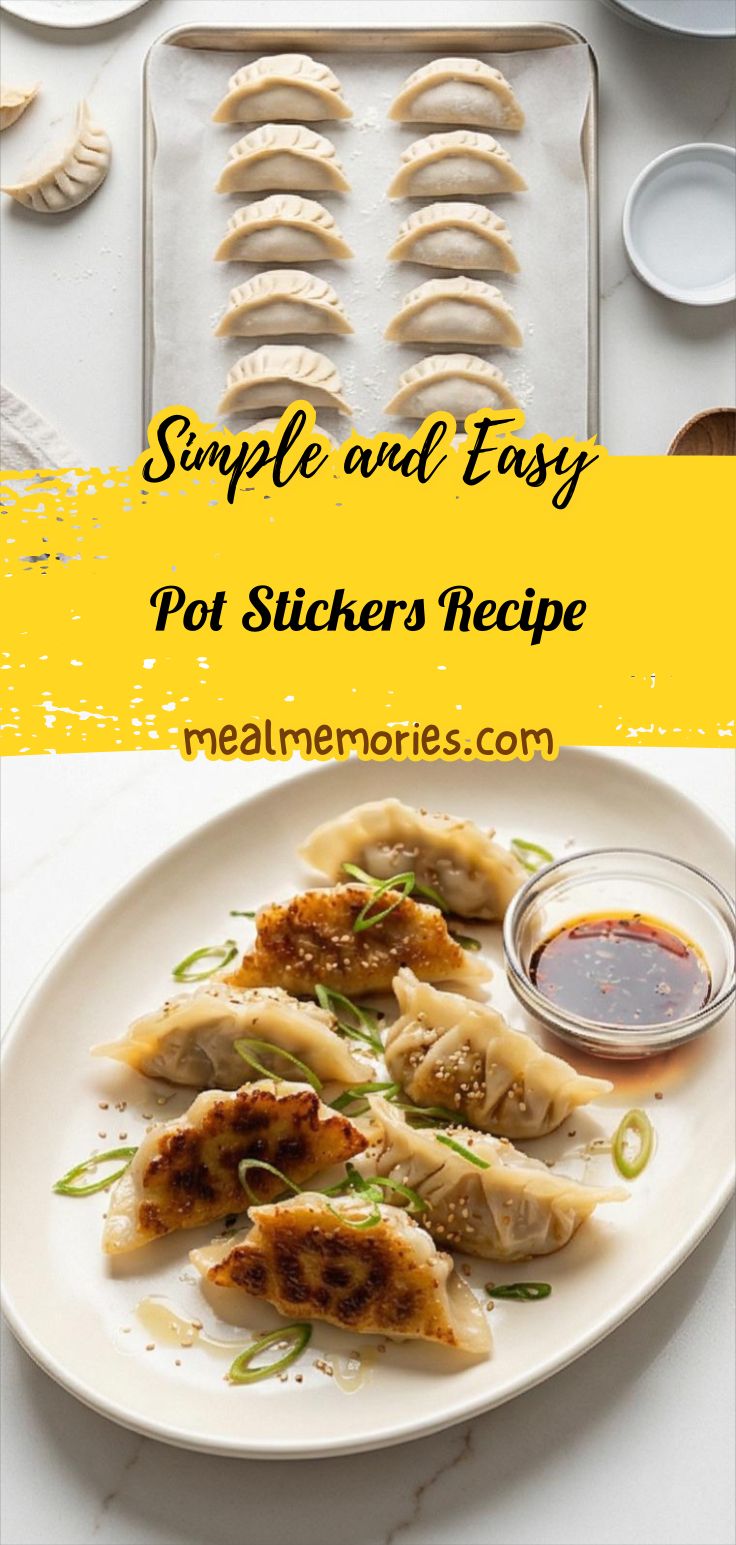
Pot Stickers Recipe
Make Pot Stickers Recipe now: crisp-bottomed potstickers filled with savory pork and cabbage.
Ingredients
Instructions
Step 1: Prepare the dumpling dough
In a medium mixing bowl combine the all-purpose flour and fine sea salt, then slowly pour in the just-boiled water while stirring with chopsticks or a fork until a shaggy, slightly sticky mass forms and there is no dry flour left. The texture should read rough and patchy at first — wet clumps and dry pockets — the visual promise of a dough that will become smooth once worked; no need to fuss, simply bring it together until it behaves as one piece.
Step 2: Knead into a smooth ball and let it rest
Turn the shaggy dough onto a lightly floured work surface and knead with steady pressure for 8–10 minutes until the surface becomes smooth, elastic, and only slightly tacky; it should spring back when pressed. Shape it into a compact, taut ball, cover tightly with plastic or a damp towel, and let it rest at room temperature for 30 minutes to relax the gluten — the rested dough will feel noticeably softer and more pillowy when you return to it.
Step 3: Wilt and squeeze the cabbage
Sprinkle the shredded green cabbage with kosher salt and toss thoroughly; let it sit 10 minutes so it releases water and softens. After the rest, use your hands to squeeze handfuls firmly (over a bowl) until the cabbage is barely moist and compacted; visually you’ll have a glossy, slightly collapsed pile of green that reads dense rather than fluffy — this is crucial so the filling won’t be watery.
Step 4: Combine the filling base
In a modern matte grey ceramic mixing bowl, pile in the chilled ground pork, finely chopped scallions, grated ginger, minced garlic, soy sauce, Shaoxing wine (or dry sherry), toasted sesame oil, sugar, white pepper and the lightly beaten egg. The bowl should show the raw meat’s sheen and the flecks of aromatics; gently fold and combine the ingredients until evenly distributed so the elements look integrated but not overworked.
Step 5: Develop texture, finish, and chill the filling
Using chopsticks, a fork, or a single clean utensil, stir the pork mixture vigorously in one direction for 2–3 minutes until it becomes sticky, cohesive, and slightly lighter in color — you’ll see the mixture become glossy and elastic. Fold in the well-squeezed cabbage until the filling reads moist but not runny, then cover the bowl and refrigerate at or below 40°F (4°C) for at least 20 minutes so the flavors meld and the texture firms slightly.
Step 6: Divide and roll the wrappers (or ready store-bought)
If making wrappers, roll the rested dough into a smooth log, cut into 30–32 small pieces, and work one at a time to flatten and roll into thin circles about 3.25–3.5 inches (8–9 cm) with slightly thinner edges and a slightly thicker center. If using store-bought wrappers, keep them covered and ready. Arrange finished wrappers under a lightly floured towel on a lined tray so they remain soft and pliable; the stack should look tidy, pale, and dusted with a whisper of flour.
Step 7: Fill, pleat, and arrange the potstickers
Place one wrapper in your non-dominant hand, spoon about 2 teaspoons of chilled filling into the center, moisten the edge with a touch of cool water, fold into a half-moon, and pleat the front edge 5–7 times to seal — aim for tidy, even pleats and no trapped air. Set each dumpling flat-side down on the parchment-lined tray so they stand upright in a neat row; visually you’ll have a small forest of ivory half-moons with delicate pleats and slightly flattened bottoms, covered lightly so they don’t dry.
Step 8: Create the slurry, cook and transfer to a serving plate
Whisk cool water with a teaspoon of flour until slightly cloudy to make the steaming slurry. Pan-fry the arranged dumplings until the bottoms become even golden-brown, add the slurry to generate steam, cover briefly to cook through, then uncover and reduce until the bottoms re-crisp into a deep golden, lacy texture. Slide the finished potstickers off the pan and onto a warmed serving platter, crisp side up so the golden undersides are visible; the finished cluster should read contrasty — pale tender tops, translucent edges, and deeply caramelized, crisp bottoms.
Step 9: Make the dipping sauce, garnish and serve
Whisk together low-sodium soy sauce, rice vinegar, chili oil, a touch of sugar and toasted sesame oil, then fold in very finely sliced scallion greens and a sprinkle of toasted sesame seeds; present this sauce in a small glass dish alongside the platter. Finish the potstickers with a scatter of thinly sliced scallion greens and a few toasted sesame seeds for contrast. Serve immediately while the bottoms remain crisp and the filling is warm and springy.
Notes
- Squeeze cabbage very well to avoid a watery filling.
- Keep wrappers covered to prevent drying while you work.
- Chill the filling before wrapping to make pleating easier and filling firmer.
- Freeze uncooked potstickers on a tray before bagging to prevent sticking.
- Re-crisp leftovers in a hot skillet for best texture.