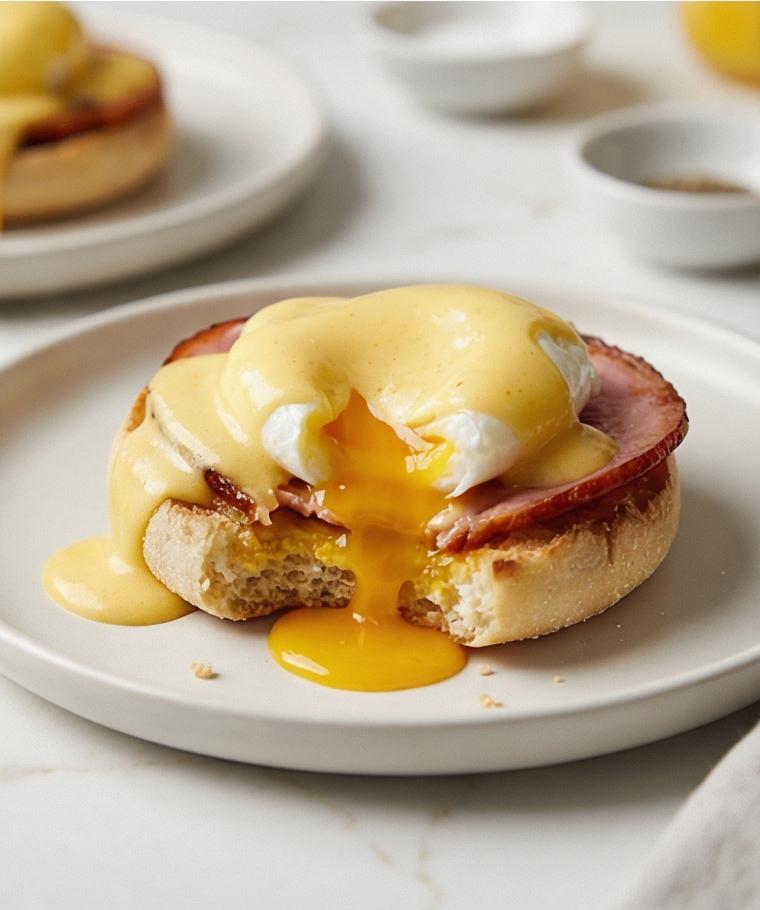
I make these Breakfast Biscuits Recipe on slow Sunday mornings when the house smells like butter and warm flour. Theyre my go-to when I want something cozy without fuss, and I love how the edges turn golden while the inside stays tender. The Breakfast Biscuits Recipe is forgiving, so I often improvise with what I have in the fridge. Youll find this recipe fits into busy mornings and special brunches alike, and it always draws a crowd.
How This Recipe Became My Rainy-Day Favorite
I remember the first time I baked this Breakfast Biscuits Recipe on a rainy afternoon, the windows fogging as I folded the dough. The sound of the rain made the kitchen feel smaller and safer, and the ritual of cutting butter into flour grounded me. When the biscuits came out of the oven, the tops were glossy with melted butter and the house filled with a warm, slightly sweet scent that felt like a blanket. I split one open and the steam rose, carrying the scent of salt and butter. It was a small, perfect moment, and since then these biscuits have been my comfort food when the weather or my mood needs softening.
The Ingredients That Make Them Irresistible
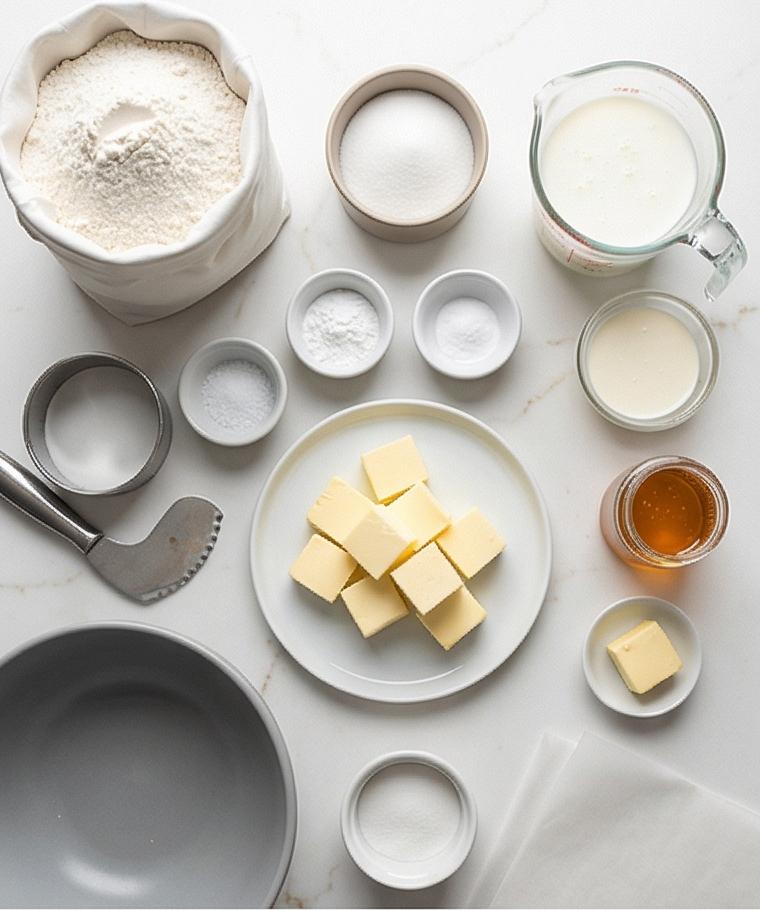
- All-purpose flour: The structure builder. Use unbleached for best texture; whole-wheat pastry flour can replace up to 25 percent for nuttiness.
- Baking powder: Leavens and gives lift; check freshness and replace if more than 6 months old.
- Baking soda: Balances acidity when buttermilk is used; dont skip it.
- Granulated sugar: Adds a touch of sweetness and helps browning; omit or reduce for savory versions.
- Fine sea salt: Enhances flavor; kosher salt works, but adjust the amount.
- Unsalted butter (very cold): The hero for flaky layers; use frozen and grate it if you dont have time to cube.
- Cold buttermilk: Provides tang and tender crumb; substitute with milk plus a tablespoon of lemon juice or yogurt.
Essential Tools for Great Biscuits
A few simple tools make a big difference when you want tall, flaky biscuits. They keep your technique consistent and your butter cold.
- Mixing bowl: A large bowl gives room to whisk and fold without spills; glass or metal are fine.
- Pastry cutter or two knives: These let you cut butter into flour without overheating it; a food processor is a fast alternative but dont overwork.
- Biscuit cutter: A sharp round cutter yields clean edges; use a floured rim and press straight down.
- Baking sheet and parchment: Prevent sticking and promote even browning; a silicone mat works too.
- Wire rack: Cooling on a rack keeps bottoms from steaming and sogging.
Step-by-Step Preparation Guide.
Step 1: Preheat and combine the dry ingredients
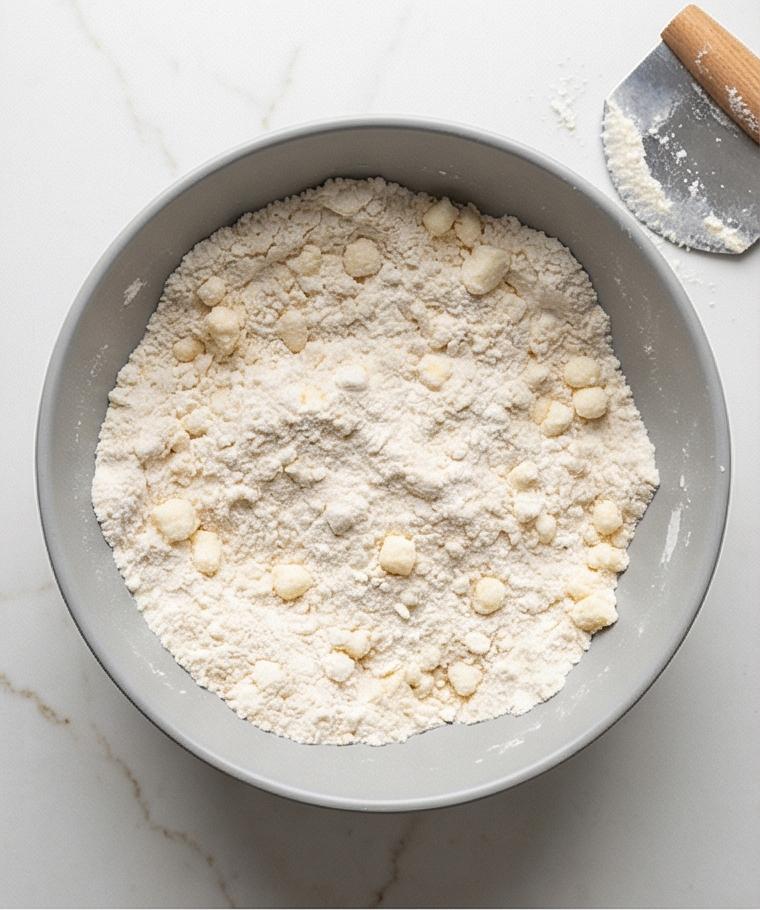
Preheat the oven to 425°F (220°C) and prepare a rectangular baking sheet lined with parchment or a silicone mat. In a large matte grey ceramic mixing bowl whisk together the all-purpose flour, baking powder, baking soda, granulated sugar, and fine sea salt until evenly distributed. Add the very cold, cubed unsalted butter and, working quickly with a pastry cutter or two knives, cut the butter into the flour until the mixture resembles coarse crumbs with pea-sized pieces of butter still visible; keep the butter cold so the lumps remain solid and distinct.
Step 2: Add cold buttermilk and bring the dough together
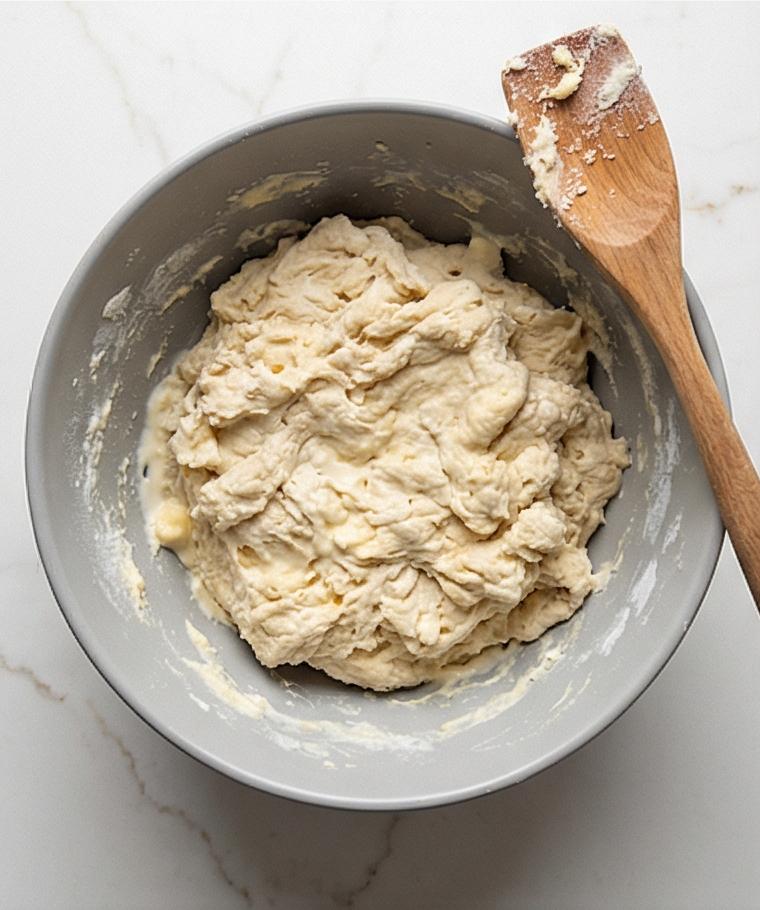
Make a shallow well in the center of the bowl and pour in 1 1/4 cups cold buttermilk (or the chilled buttermilk + cream mixture if using). Using a fork or a spatula, stir gently from the center outward just until a shaggy dough forms and there are no large dry patches; the dough should be soft and slightly tacky but not wet. If necessary, add up to 1–2 tablespoons extra buttermilk a little at a time until the dough just holds together in a rough mass. Resist overmixing to preserve the visible butter bits.
Step 3: Turn out, pat, and create the layers
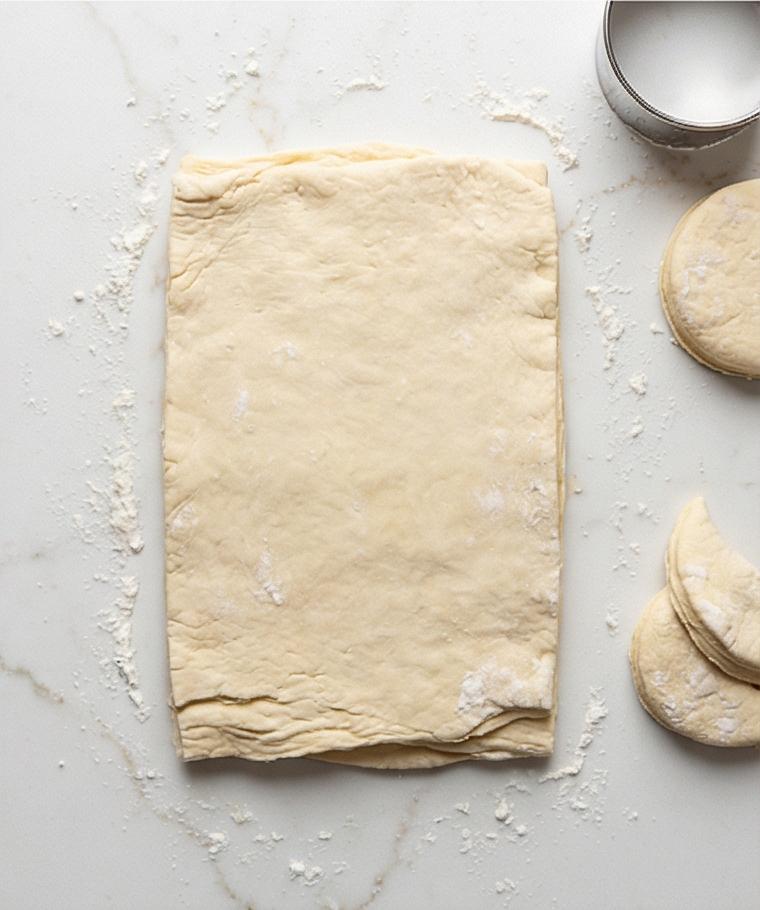
Lightly flour your work surface and turn the shaggy dough out. Gently gather it into a rough rectangle about 1 inch thick, then pat it into an 8 x 5 inch rectangle. Fold the dough in thirds like a letter, rotate 90 degrees, and pat out again to about 1 inch thick; repeat the fold-and-pat two more times so you have distinct layered strata in the dough. Handle it minimally—these folds are the visual promise of tall, flaky biscuits.
Step 4: Cut the biscuits and arrange on the sheet
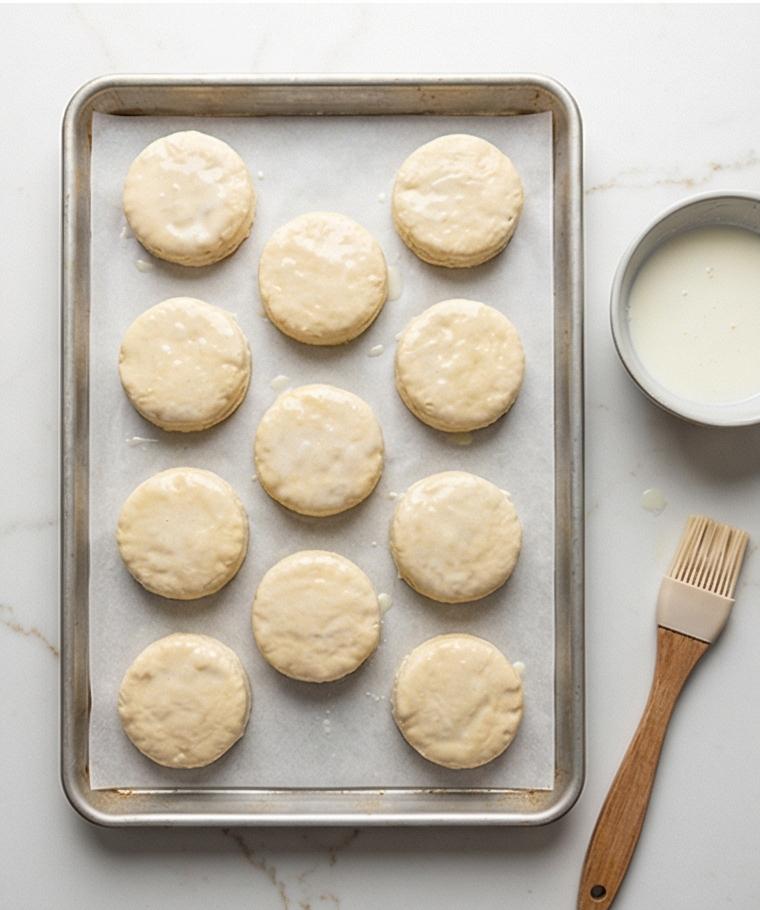
After the final gentle pat, flatten the dough to 3/4–1 inch thick and use a sharp 2–2½ inch round biscuit cutter dipped in flour to press straight down (no twisting) and cut biscuits. Place each biscuit onto the prepared rectangular baking sheet, sides just barely touching for tender sides, stacking scraps lightly to avoid overworking. Brush the tops sparingly with a little cold buttermilk to promote even browning without seeping down the sides.
Step 5: Bake, brush with butter, and rest
Bake the arranged biscuits in the preheated oven until well risen and deep golden on top, about 12–15 minutes, rotating once if needed. While they bake, melt 2 tablespoons unsalted butter gently—do not brown. Remove the hot biscuits, transfer the sheet to a wire rack, and immediately brush the glossy melted butter over the warm tops for a soft, slightly reflective finish. Let them rest 5–10 minutes so the interiors stay steamy but manageable.
Step 6: Serve warm or store for later
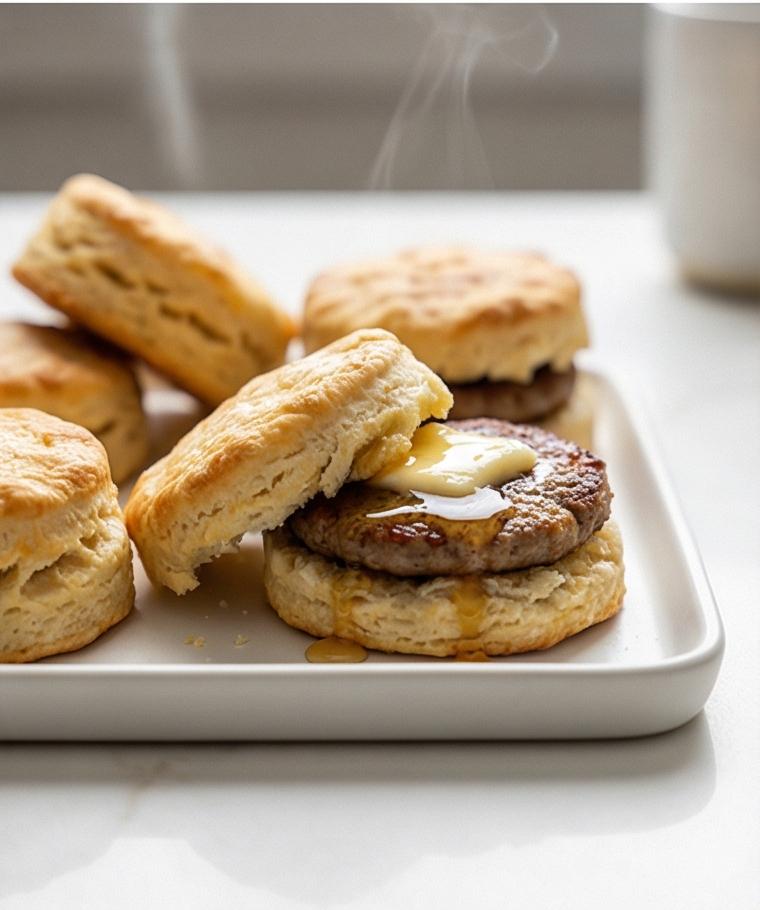
Split the warm biscuits horizontally and serve plain with softened butter, honey, or jam, or assemble sandwich-style with cooked sausage, bacon or ham, scrambled or fried eggs, and sliced cheese. To freeze unbaked biscuits, flash-freeze them on a sheet until solid, then bag and bake from frozen at 425°F for a few extra minutes when ready.
Making It Your Own
I like to test small changes so I can keep the base biscuit familiar while exploring new flavors. Try swapping half the butter for browned butter for a toasty note. For a herb-forward version, fold in chopped chives and a teaspoon of lemon zest.
For dairy-free needs, use a non-dairy buttermilk made with almond or oat milk plus a teaspoon of vinegar; the texture changes slightly but the rise stays good. To make them whole grain, replace 25 percent of the flour with whole-wheat pastry flour and reduce handling to keep tenderness.
If you want a sweeter breakfast biscuit, sprinkle a little cinnamon sugar on top before baking; for savory sandwiches, add crushed black pepper and grated cheddar to the dough.
How to Serve
When I host brunch, I arrange these biscuits on a warm platter so guests can build their own sandwiches. For a buffet, keep a pan of biscuits wrapped in a towel to stay warm and offer small bowls of softened butter, honey, and jam. Provide plates of cooked breakfast sausage, bacon, scrambled eggs, and sliced cheese so people can assemble sandwiches to their liking.
For a dinner party, halve the biscuits and serve them with braised greens and roasted meats for a comforting plate. To scale up, multiply the recipe by two and bake on multiple sheets, rotating racks halfway through so each tray browns evenly. They reheat beautifully, so you can prepare extras ahead.
Storage and Reheating
Cool the biscuits completely before storing; warm biscuits will sweat and soften in the container. For short-term storage, keep them in an airtight container at room temperature for up to two days. For longer storage, freeze fully cooled biscuits in a single layer on a sheet, then transfer to a sealed bag for up to three months.
To reheat, thaw frozen biscuits at room temperature or bake from frozen at 425°F for a few extra minutes until warmed through. For a quick revive, split and toast them, or wrap in foil with a pat of butter and warm in a 325°F oven for 8 to 10 minutes.
Common Slipups and How to Fix Them
Overworking the dough is the most frequent mistake. If your biscuits turn out dense, remind yourself to stir only until a shaggy dough forms and to fold gently. Keep the butter cold; if it warms, chill the dough briefly before cutting.
Another common issue is dull tops. A light brush of cold buttermilk before baking, followed by melted butter after baking, gives the best shine and flavor without making the sides soggy.
Final Warm Invite
I hope you give this Breakfast Biscuits Recipe a try—whether you make a few for yourself or enough to feed a crowd, theyre a small, joyful thing that tastes like care. Let me know which variation becomes your favorite.
Frequently Asked Questions.
- How long do the biscuits stay fresh? In an airtight container at room temperature they stay fresh for about 2 days; freezing extends that to 3 months.
- Can I use frozen grated butter instead of cubed cold butter? Yes, frozen grated butter works well and speeds up the process; just keep it cold until mixed.
- What size cutter should I use? A 2 to 2 1/2 inch round cutter is ideal for tall, tender biscuits and fits well on a standard sheet.
- Can I make the dough ahead? You can prepare the dough and chill it for up to 24 hours; bring it straight to the counter to cut and bake as directed.
- How do I get taller biscuits? Keep the butter very cold, avoid overworking, and press straight down with the cutter without twisting.
Breakfast Biscuits Recipe
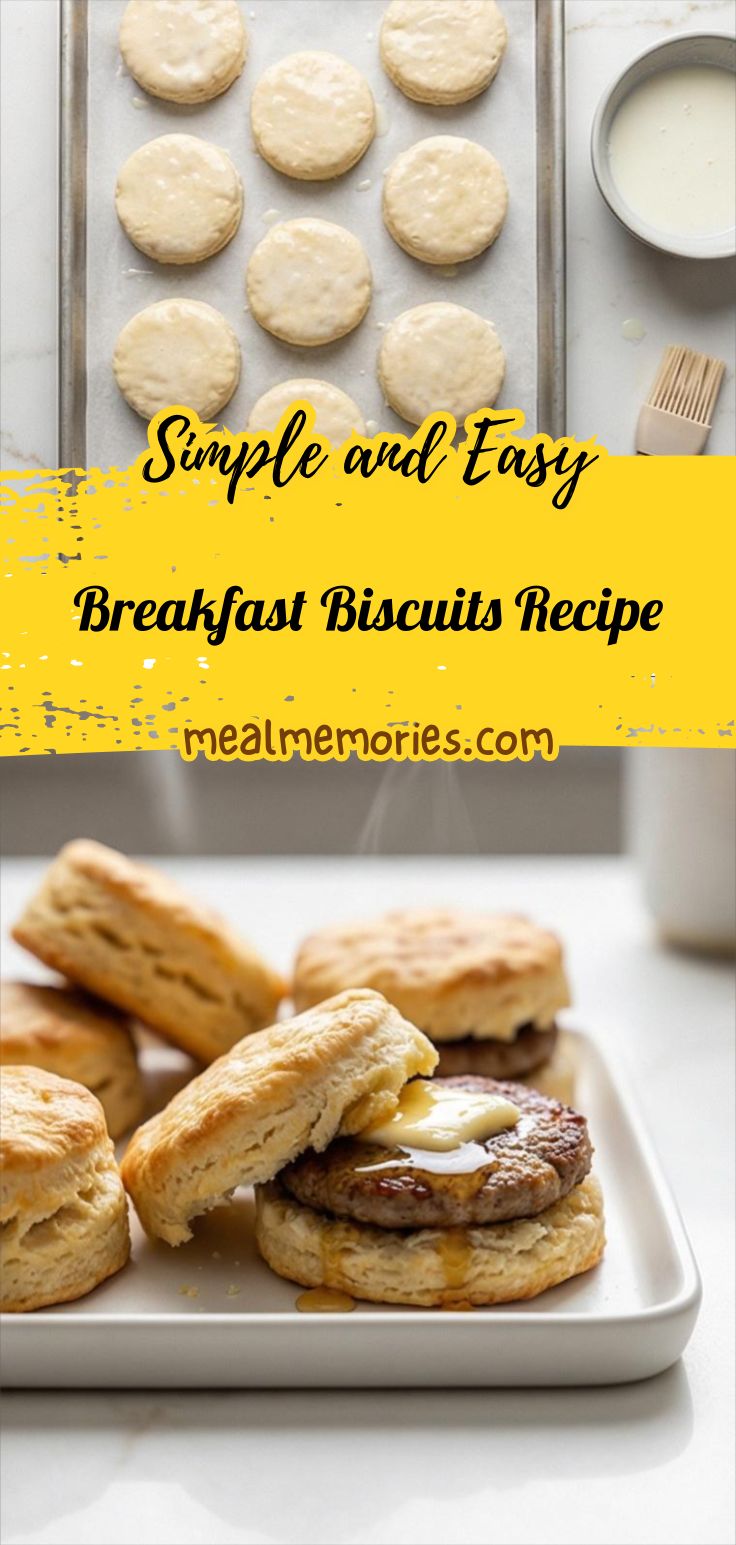
Make flaky Breakfast Biscuits Recipe with cold butter and buttermilk for tall, tender biscuits ready for sandwiches.
Ingredients
Instructions
Step 1: Preheat and combine the dry ingredients
Preheat the oven to 425°F (220°C) and prepare a rectangular baking sheet lined with parchment or a silicone mat. In a large matte grey ceramic mixing bowl whisk together the all-purpose flour, baking powder, baking soda, granulated sugar, and fine sea salt until evenly distributed. Add the very cold, cubed unsalted butter and, working quickly with a pastry cutter or two knives, cut the butter into the flour until the mixture resembles coarse crumbs with pea-sized pieces of butter still visible; keep the butter cold so the lumps remain solid and distinct.
Step 2: Add cold buttermilk and bring the dough together
Make a shallow well in the center of the bowl and pour in 1 1/4 cups cold buttermilk (or the chilled buttermilk + cream mixture if using). Using a fork or a spatula, stir gently from the center outward just until a shaggy dough forms and there are no large dry patches; the dough should be soft and slightly tacky but not wet. If necessary, add up to 1–2 tablespoons extra buttermilk a little at a time until the dough just holds together in a rough mass. Resist overmixing to preserve the visible butter bits.
Step 3: Turn out, pat, and create the layers
Lightly flour your work surface and turn the shaggy dough out. Gently gather it into a rough rectangle about 1 inch thick, then pat it into an 8 x 5 inch rectangle. Fold the dough in thirds like a letter, rotate 90 degrees, and pat out again to about 1 inch thick; repeat the fold-and-pat two more times so you have distinct layered strata in the dough. Handle it minimally—these folds are the visual promise of tall, flaky biscuits.
Step 4: Cut the biscuits and arrange on the sheet
After the final gentle pat, flatten the dough to 3/4–1 inch thick and use a sharp 2–2½ inch round biscuit cutter dipped in flour to press straight down (no twisting) and cut biscuits. Place each biscuit onto the prepared rectangular baking sheet, sides just barely touching for tender sides, stacking scraps lightly to avoid overworking. Brush the tops sparingly with a little cold buttermilk to promote even browning without seeping down the sides.
Step 5: Bake, brush with butter, and rest
Bake the arranged biscuits in the preheated oven until well risen and deep golden on top, about 12–15 minutes, rotating once if needed. While they bake, melt 2 tablespoons unsalted butter gently—do not brown. Remove the hot biscuits, transfer the sheet to a wire rack, and immediately brush the glossy melted butter over the warm tops for a soft, slightly reflective finish. Let them rest 5–10 minutes so the interiors stay steamy but manageable.
Step 6: Serve warm or store for later
Split the warm biscuits horizontally and serve plain with softened butter, honey, or jam, or assemble sandwich-style with cooked sausage, bacon or ham, scrambled or fried eggs, and sliced cheese. To freeze unbaked biscuits, flash-freeze them on a sheet until solid, then bag and bake from frozen at 425°F for a few extra minutes when ready.
Notes
- Keep the butter very cold; chill your bowl or grate frozen butter for speed.
- Handle the dough minimally to preserve flaky layers and height.
- Use a floured, sharp cutter and press straight down without twisting for even rise.
- Brush tops with melted butter right after baking for shine and flavor.
- To freeze, flash-freeze on a sheet before bagging to prevent sticking.