Cheesecake Recipe: a classic that never feels fussy and always feels like a small celebration. I remember the first time I made this Cheesecake Recipe for a family gathering and watched the room go quiet as people took their first forkfuls. Baking it taught me patience and attention to little details, and now it’s my go-to when I want to offer something comforting but elegant. Whether you are making it for a weeknight dessert or a special occasion, this Cheesecake Recipe rewards calm hands and a gentle oven.
How This Recipe Became My Cozy-Weekend Tradition
When I was learning to bake more seriously, a rainy Saturday turned into a long afternoon in the kitchen with this cheesecake. I remember the warm buttery smell of the crust while the rain tapped the windows, and the quiet concentration of beating the cream cheese until it was glossy and lump-free. My hands ached in a good way from folding the batter gently, and when the oven door cracked open to the most perfect satiny center, I felt proud in a quiet, domestic way. Sharing that first slice with a friend who closed her eyes and smiled made the whole process feel like more than technique; it became a story we retell when the weather turns gray and we want comfort in a dish.
Key Ingredients and What They Bring to the Table
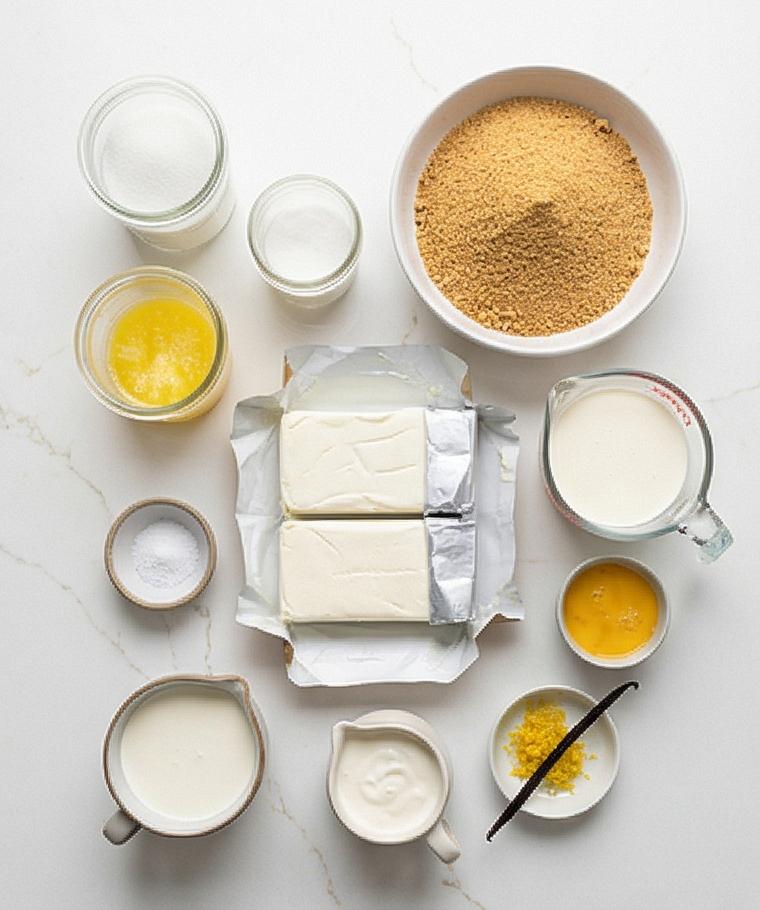
- Graham Cracker Crumbs: The base and crunch, choose finely crushed crumbs for an even crust. Substitute with digestive biscuits or crushed amaretti for a twist.
- Unsalted Butter (crust + pan greasing): Binds crumbs and adds richness; use clarified butter for extra crispness.
- Full-Fat Cream Cheese: The star of the filling, gives structure and creaminess. Avoid low-fat or flavored varieties.
- Granulated Sugar: Sweetens without changing texture; try coconut sugar sparingly.
- Sour Cream and Heavy Cream: Add silkiness and a tender crumb; Greek yogurt can replace sour cream in a pinch.
- Eggs and Egg Yolk: Set the custard and add silk; room temperature eggs blend more smoothly.
- Vanilla and Lemon: Flavor lifts, use pure vanilla and fresh lemon for the brightest notes.
- Fresh Berries: Optional for serving, pick firm, dry berries for the best presentation.
Essential Kitchen Tools You’ll Want on Hand
A few simple tools make every step easier and reduce stress so your Cheesecake Recipe comes out picture perfect. A sturdy mixer — stand or hand — gives you smooth cream cheese without overworking it. A 9-inch springform pan is essential for easy release; heavy-duty foil protects it in a water bath. A deep roasting pan holds the water bath safely, and an offset spatula helps spread the sour cream topping evenly.
- Stand mixer or hand mixer: For smooth, lump-free filling; whisk by hand only if you have patience.
- 9-inch springform pan: Releases the cake cleanly; wrap in foil to prevent leaks.
- Heavy-duty aluminum foil: Creates a watertight pouch in the oven.
- Deep roasting pan: Holds the springform and hot water for gentle baking.
- Offset spatula and rubber spatula: For smoothing and gentle folding.
Step-by-Step Preparation Guide
Step 1: Prepare and protect the pan
Lightly grease the base and about an inch up the sides of a 9-inch springform pan with room-temperature unsalted butter, and, if you like, line the bottom with a round of parchment for easy removal. Center the pan on a large square of heavy-duty aluminum foil and bring the foil up the sides, pressing and folding to create a watertight pouch; repeat with a second sheet if the foil feels thin. Set the wrapped pan aside on the cool quartz surface while you preheat the oven and assemble the crust and fillings.
Step 2: Make, press, and prebake the graham crust
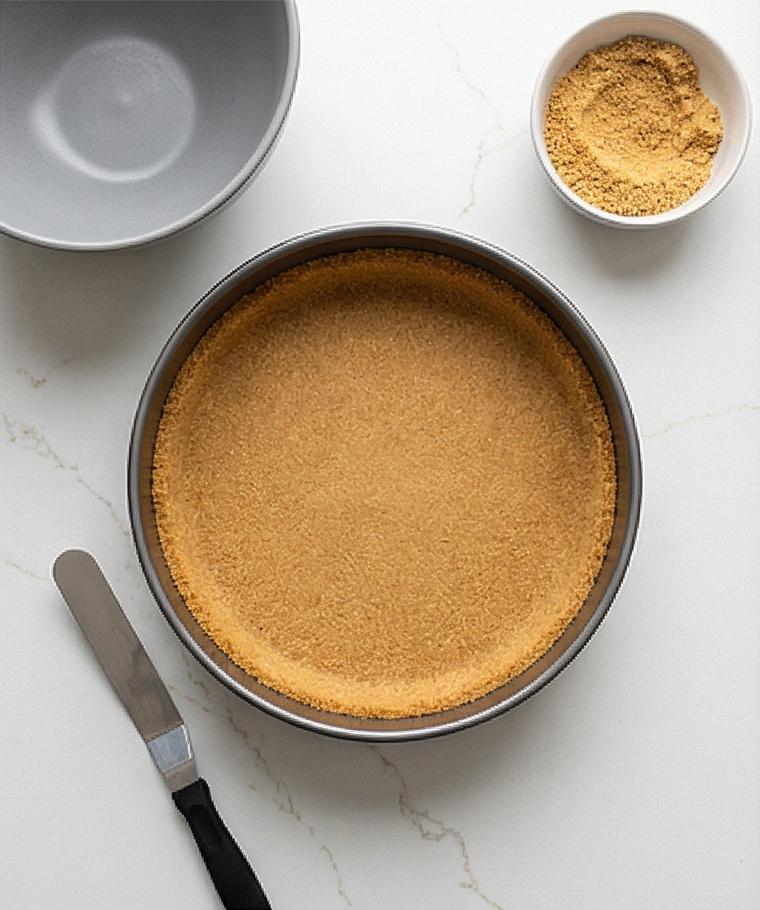
Combine the finely crushed graham crumbs, granulated sugar, and a pinch of fine sea salt in a medium bowl; pour in the melted butter and stir until the mixture clumps and resembles damp, even sand. Press the crumbs firmly and evenly into the bottom (and slightly up the sides) of the prepared springform using the bottom of a measuring cup or your fingertips so the base is compact and smooth. Bake briefly until the crust is fragrant and just turning deeper golden, then cool on a wire rack while you turn to the filling.
Step 3: Soften and sweeten the cream cheese until velvet-smooth
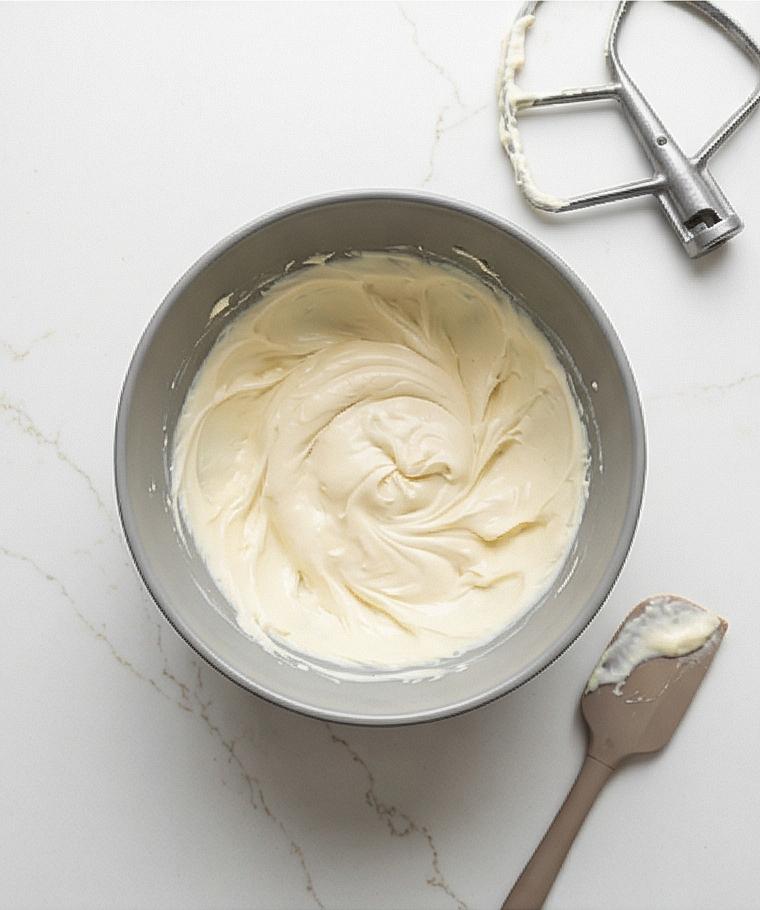
Place all the room-temperature cream cheese into a large matte grey mixing bowl and beat on low until lusciously smooth, scraping the sides once or twice to remove any lumps. Gradually add the granulated sugar and a pinch of salt while keeping the mixer on low, working the mixture until it is thick, glossy, and entirely free of graininess—creamy, dense, and homogeneous in texture, with no airy peaks.
Step 4: Build the batter—dairy, flavor, and eggs folded with care
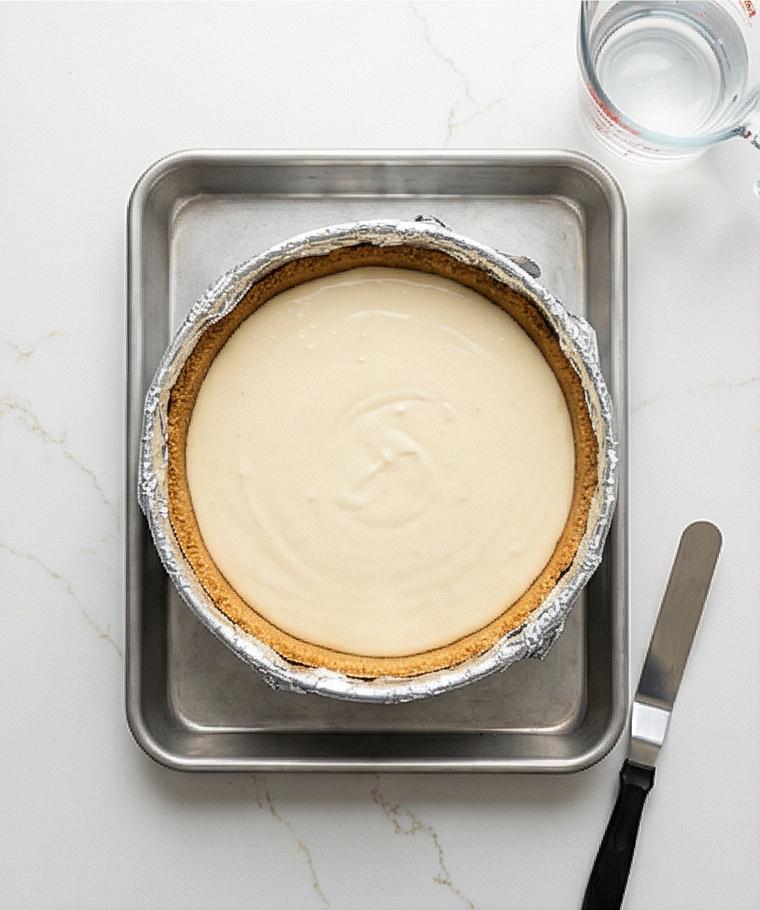
Fold in the sour cream, heavy cream, vanilla, lemon zest and lemon juice until the mixture turns silky and satin-smooth, then very gently stream in the lightly beaten eggs and yolk on the lowest speed, mixing only until just combined. The finished batter should be glossy, slightly fluid but dense, and ribbon-smooth—no lumps, no over-aeration—ready to be poured. Transfer the batter into the cooled crust set inside its foil-wrapped springform; position the pan in a deep roasting pan and prepare for the water bath so the fragile custard will bake evenly.
Step 5: Water-bath bake and gentle cooling to set the custard
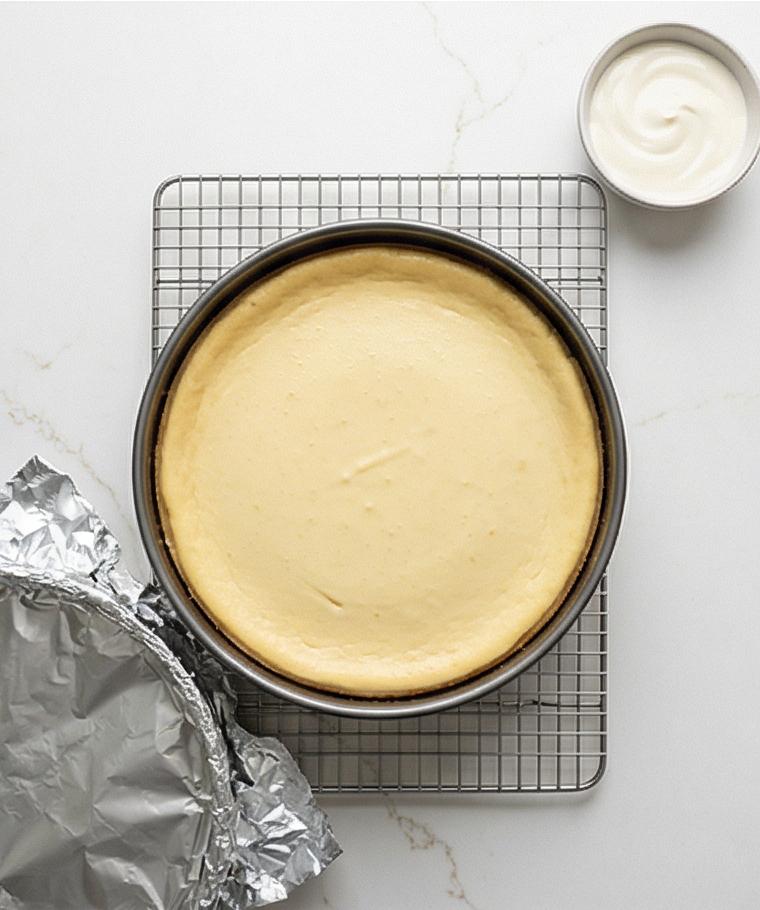
With the filled springform sitting in the roasting pan, carefully add hot water around the wrapped pan until it reaches roughly halfway up the sides and slide the whole assembly into the preheated oven. Bake until the edges are set and the center retains a gentle, set-but-jiggly wobble; then turn the oven off, crack the door, and let the cheesecake cool slowly in the water bath to avoid cracks. Lift the pan out, peel away the foil, loosen the inner rim with a thin knife, and let the cheesecake cool completely to room temperature on a wire rack.
Step 6: Finish with a silky sour cream topping and chill to firm
Whisk together the sour cream, a touch of sugar, and vanilla until glossy and spreadable. When the cheesecake has cooled to room temperature, smooth the topping over the surface with an offset spatula, leaving a small neat border if you prefer. Cover loosely (without touching the surface) and refrigerate for at least four hours, preferably overnight, so the texture firms into a dense, creamy sliceable custard.
Step 7: Unmold, garnish, and serve the chilled cheesecake
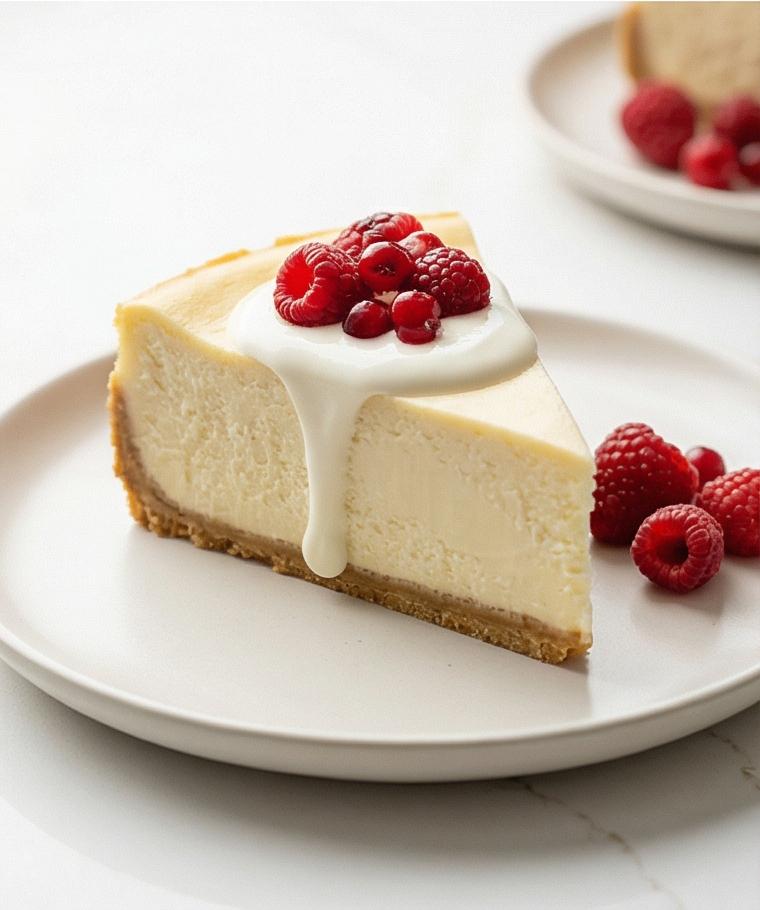
Run a thin, sharp knife around the inside of the springform, release the ring, and, if used, remove the parchment before transferring to a serving plate. Arrange fresh, dry berries on top or to the side just before serving, and slice with a long, hot-damp-wiped knife for clean edges; each slice should show a uniform, dense interior with a satiny top and crisp golden crust at the base. Store leftovers well wrapped in the refrigerator for up to five days or freeze individual slices tightly for longer storage.
Making It Your Own
I like to tinker with small details when I make this Cheesecake Recipe. Swap the graham crust for crushed ginger snaps and you get a warm, spiced base that plays nicely with a lemon-sour cream topping. For a chocolate twist, fold 4 ounces of melted, cooled dark chocolate into the warm batter and swirl in a ribbon of raspberry jam. If you need dairy-free options, try vegan cream cheese and full-fat coconut cream, though texture will change a bit. For seasonal flair, top with roasted stone fruits in late summer or a compote of cranberries in winter. Each experiment made this recipe feel more mine.
How to Serve
When I serve this Cheesecake Recipe for guests I aim for simple elegance. Slice the cake with a long knife warmed under hot water and wiped dry between cuts; lay slices on chilled plates so the custard keeps its shape. For a dinner party of eight, cut slightly thinner slices and offer a bowl of mixed berries and a small carafe of berry coulis. For a smaller gathering, plate with a quenelle of whipped cream and a few mint leaves. For larger crowds, serve squares on a dessert platter and label toppings so guests can customize.
Storage and Reheating Tips
Store leftover cheesecake tightly wrapped or in an airtight container in the refrigerator; it keeps beautifully for up to five days. For the cleanest slices later, let refrigerated slices sit at room temperature for 10 minutes before serving so flavors bloom.
If you freeze slices, wrap each piece in plastic wrap and then foil, and freeze for up to two months. Thaw in the refrigerator overnight and bring to room temperature before serving for best texture and flavor.
Common Mistakes and How to Avoid Them
Overbeating the cream cheese or the eggs will add air that can cause cracks and a cake that sets with an irregular texture. Keep your mixer on low and stop as soon as the batter is homogeneous.
Skipping the water bath or rushing the cooling step invites cracking. Use a gentle water bath and let the oven cool with the cheesecake inside, then chill slowly in the fridge for a smooth top.
Ready to Bake
I hope this Cheesecake Recipe inspires you to try it this weekend. It will reward your patience with a dense, creamy slice that feels special and reliably delicious. Share a slice, and savor the little moments it creates.
Frequently Asked Questions
- How long should I bake the cheesecake to get the perfect set? Answer: Bake until the edges are set and the center has a gentle wobble, typically around 60 to 70 minutes depending on your oven.
- Can I make the cheesecake ahead of time? Answer: Yes, you can prepare it a day in advance; chilling overnight improves texture and flavor.
- Why did my cheesecake crack on top? Answer: Cracks usually come from overbeating or sudden temperature changes; use a water bath and cool the cake slowly.
- Can I substitute Greek yogurt for sour cream? Answer: Yes, plain full-fat Greek yogurt can work for the sour cream, though flavor and texture will be slightly different.
- How do I get clean slices when serving? Answer: Use a long knife warmed under hot water and wiped dry between cuts for neat slices.
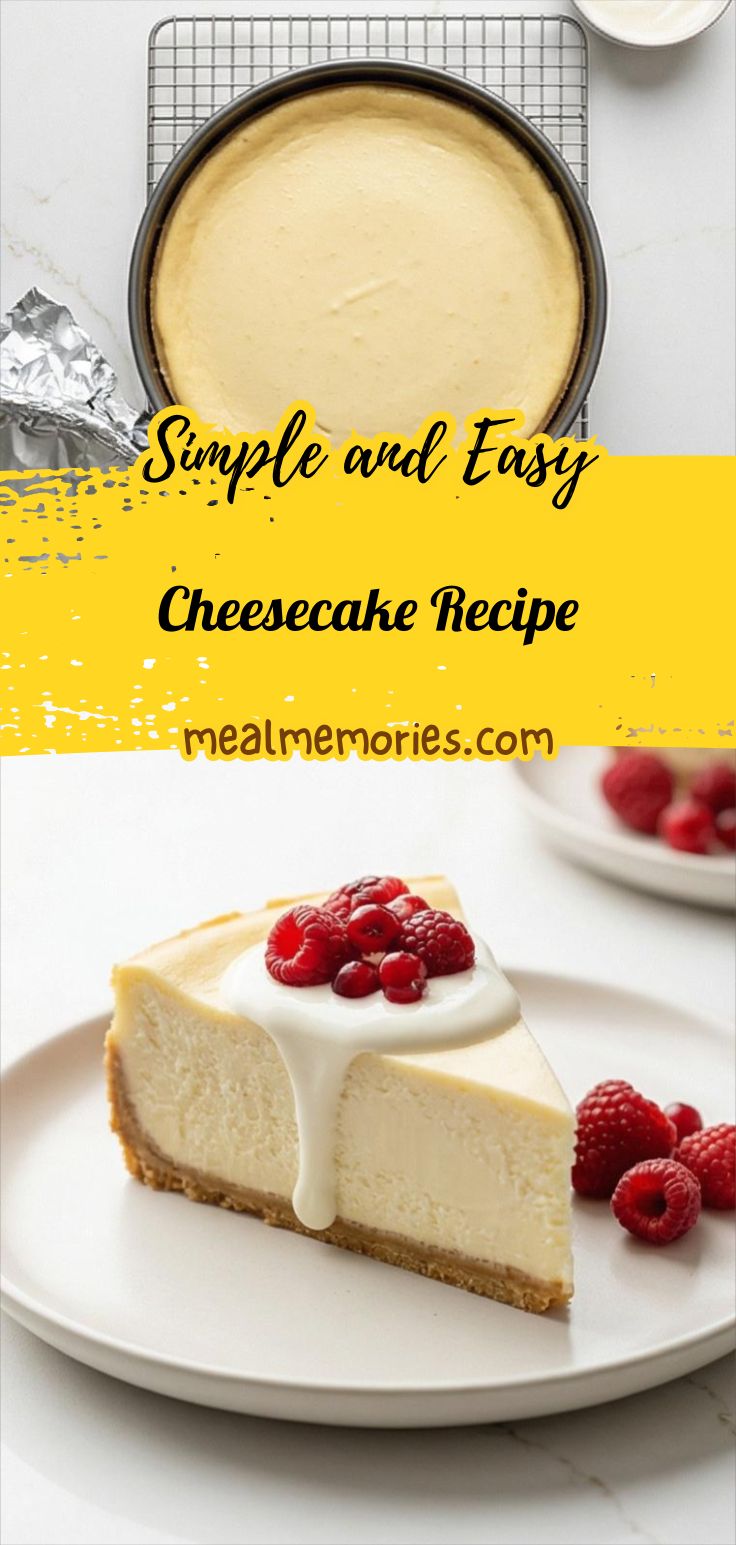
Cheesecake Recipe
Cheesecake Recipe: Make a dense, creamy cheesecake with a buttery graham crust and silky sour cream topping.
Ingredients
Instructions
Step 1: Prepare and protect the pan
Lightly grease the base and about an inch up the sides of a 9-inch springform pan with room-temperature unsalted butter, and, if you like, line the bottom with a round of parchment for easy removal. Center the pan on a large square of heavy-duty aluminum foil and bring the foil up the sides, pressing and folding to create a watertight pouch; repeat with a second sheet if the foil feels thin. Set the wrapped pan aside on the cool quartz surface while you preheat the oven and assemble the crust and fillings.
Step 2: Make, press, and prebake the graham crust
Combine the finely crushed graham crumbs, granulated sugar, and a pinch of fine sea salt in a medium bowl; pour in the melted butter and stir until the mixture clumps and resembles damp, even sand. Press the crumbs firmly and evenly into the bottom (and slightly up the sides) of the prepared springform using the bottom of a measuring cup or your fingertips so the base is compact and smooth. Bake briefly until the crust is fragrant and just turning deeper golden, then cool on a wire rack while you turn to the filling.
Step 3: Soften and sweeten the cream cheese until velvet-smooth
Place all the room-temperature cream cheese into a large matte grey mixing bowl and beat on low until lusciously smooth, scraping the sides once or twice to remove any lumps. Gradually add the granulated sugar and a pinch of salt while keeping the mixer on low, working the mixture until it is thick, glossy, and entirely free of graininess—creamy, dense, and homogeneous in texture, with no airy peaks.
Step 4: Build the batter—dairy, flavor, and eggs folded with care
Fold in the sour cream, heavy cream, vanilla, lemon zest and lemon juice until the mixture turns silky and satin-smooth, then very gently stream in the lightly beaten eggs and yolk on the lowest speed, mixing only until just combined. The finished batter should be glossy, slightly fluid but dense, and ribbon-smooth—no lumps, no over-aeration—ready to be poured. Transfer the batter into the cooled crust set inside its foil-wrapped springform; position the pan in a deep roasting pan and prepare for the water bath so the fragile custard will bake evenly.
Step 5: Water-bath bake and gentle cooling to set the custard
With the filled springform sitting in the roasting pan, carefully add hot water around the wrapped pan until it reaches roughly halfway up the sides and slide the whole assembly into the preheated oven. Bake until the edges are set and the center retains a gentle, set-but-jiggly wobble; then turn the oven off, crack the door, and let the cheesecake cool slowly in the water bath to avoid cracks. Lift the pan out, peel away the foil, loosen the inner rim with a thin knife, and let the cheesecake cool completely to room temperature on a wire rack.
Step 6: Finish with a silky sour cream topping and chill to firm
Whisk together the sour cream, a touch of sugar, and vanilla until glossy and spreadable. When the cheesecake has cooled to room temperature, smooth the topping over the surface with an offset spatula, leaving a small neat border if you prefer. Cover loosely (without touching the surface) and refrigerate for at least four hours, preferably overnight, so the texture firms into a dense, creamy sliceable custard.
Step 7: Unmold, garnish, and serve the chilled cheesecake
Run a thin, sharp knife around the inside of the springform, release the ring, and, if used, remove the parchment before transferring to a serving plate. Arrange fresh, dry berries on top or to the side just before serving, and slice with a long, hot-damp-wiped knife for clean edges; each slice should show a uniform, dense interior with a satiny top and crisp golden crust at the base. Store leftovers well wrapped in the refrigerator for up to five days or freeze individual slices tightly for longer storage.
Notes
- Use room-temperature cream cheese and eggs for a smooth, lump-free batter.
- Wrap the springform pan well in foil to prevent water from seeping into the crust during the water bath.
- Chill the cheesecake at least 4 hours, preferably overnight, for best texture and easier slicing.
- Warm and dry your knife between slices for clean edges and neat presentation.