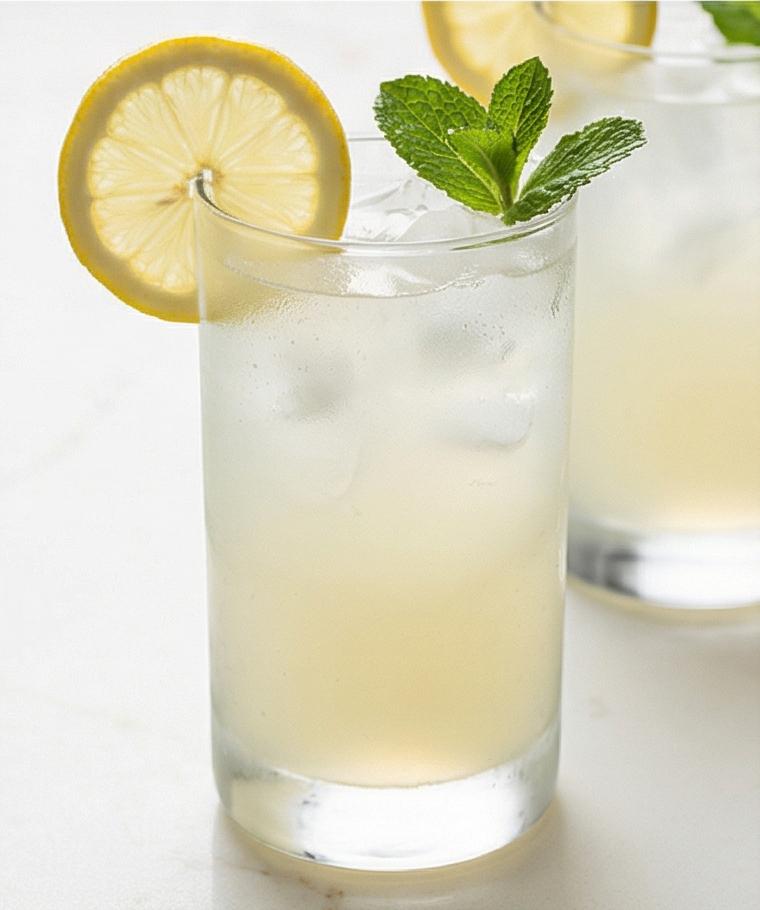
Fruit Punch Recipe is one of those drinks that makes any gathering feel effortless and festive. I first learned this version while helping decorate for a summer picnic and I kept tweaking the balance until the citrus and berries sang together. It is bright, fizzy, and endlessly adaptable, which is why I reach for this Fruit Punch Recipe whenever friends drop by. You can make it for a small brunch or scale up for a party and still have people asking for seconds.
How This Punch Became My Summer Signature
I remember the first time I made this punch for a family reunion on a humid July afternoon. The kitchen smelled like orange and pineapple, and kids ran circles in the yard while adults lingered around the table, glasses catching the light. I was nervous about balancing sweetness and tartness, but the simple syrup smoothed everything out and the berries gave it texture and color. Seeing everyone linger with refills and the pitcher slowly empty felt like a kind of quiet victory. The memory of that sun-warmed glass, a mint sprig trembling on top, is why this Fruit Punch Recipe still feels like a small celebration to me.
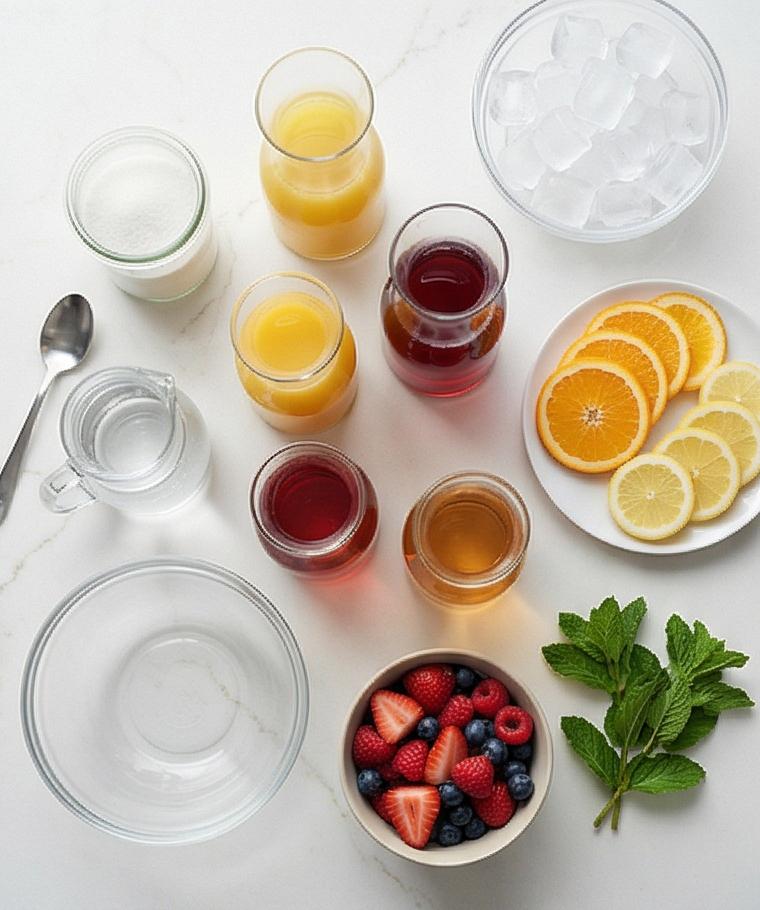
Primary Ingredients and What They Do
- Granulated Sugar: Provides body and balanced sweetness; swap for half honey or simple agave if you prefer a different flavor note.
- Water: Dilutes the sugar into a simple syrup so sweetness blends evenly.
- Pineapple Juice: Adds tropical backbone; canned is fine but fresh tastes brighter.
- Orange Juice: Contributes citrus character and sweetness; choose pulp-free for a smooth punch.
- Cranberry Cocktail: Brings color and tartness; use pure cranberry plus honey if you want less sugar.
- Apple Juice: Rounds the blend with mellow fruitiness.
- Lemon and Lime Juice: Cut the sweetness with fresh acid; always strain to avoid grit.
Essential Kitchen Tools
Start with a short intro: good tools make this recipe easier and the results more consistent. A small saucepan and a heatproof bowl let you make and cool the simple syrup safely. A large non-reactive pitcher keeps flavors true and gives you room to stir and chill. A fine sieve or strainer is handy for the citrus juices. Sharp knife and a sturdy cutting board make clean citrus rounds that look great in the pitcher.
- Small Saucepan: For the simple syrup; stainless steel is best.
- Heatproof Bowl or Jug: Speeds cooling without cracking glass.
- Large Pitcher: Non-reactive glass or stainless keeps flavors bright.
- Fine Sieve: Removes seeds and pulp from lemon and lime juice.
- Sharp Knife and Cutting Board: For clean citrus slices.
- Measuring Cups: For accurate, repeatable results.
Step-by-Step Preparation Guide
Step 1: Make the simple syrup
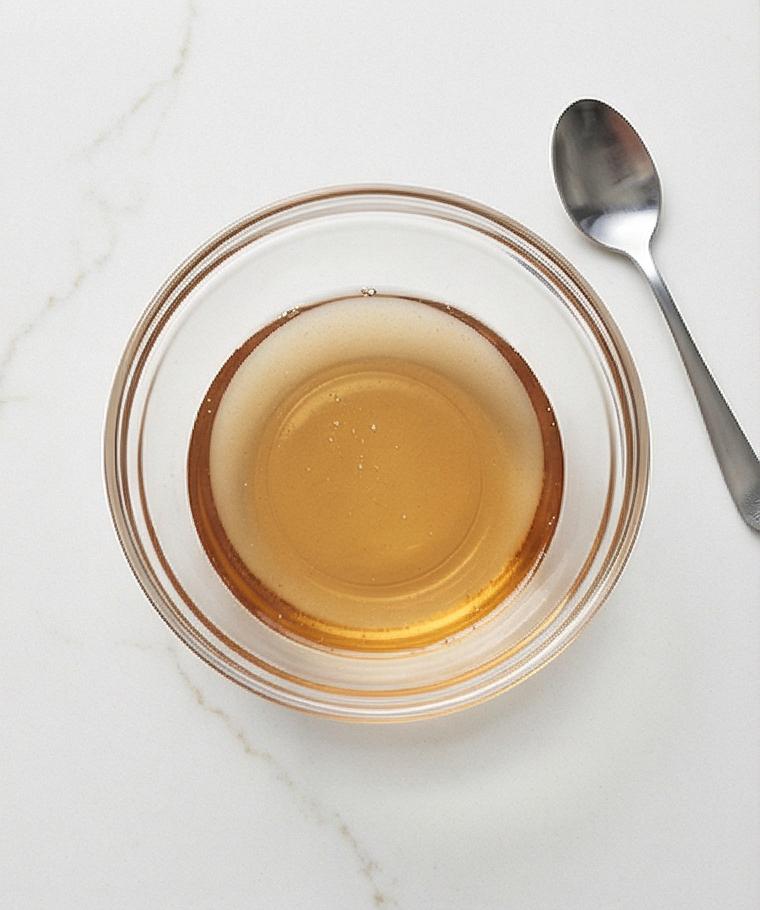
In a small saucepan combine the granulated sugar and water and heat gently until the sugar is fully dissolved and the liquid just reaches a gentle simmer. Stir patiently with a spoon until the syrup is crystal-clear, shimmering with a pale, viscous sheen and free of undissolved grains. Keep the syrup free of heavy bubbling — you want a smooth, glassy texture that will blend seamlessly into cold juices once cooled.
Step 2: Cool the syrup to room temperature
Remove the saucepan from heat and transfer the syrup to a heatproof bowl or jug to speed cooling. Let it sit on the counter until it is no longer warm to the touch, stirring occasionally to release some heat and avoid hotspots. The cooled syrup should be translucent and slightly syrupy on the spoon, no longer steaming and ready to add sweetness without shocking the chilled juices.
Step 3: Prepare the citrus and berries
While the syrup cools, rinse the orange and lemon very thoroughly and slice them into thin, even rounds, discarding visible seeds. If using berries, rinse and pat them completely dry, hull and halve large strawberries so they sit flat. Lay the fruit out so the orange and lemon reveal glossy, zesty cross-sections and the berries retain their matte, fragile texture — ready to float and infuse.
Step 4: Combine the chilled juices in the pitcher
In a large clear, non-reactive pitcher pour the chilled pineapple juice, orange juice (pulp-free), cranberry cocktail, apple juice, and the freshly strained lemon and optional lime juices. The result should be a unified, vibrant liquid with a clean, even color — a spectrum of pale gold to deep ruby — with a smooth surface and no immediate aeration. Give the pitcher a gentle stir so the juices read as one bright, fruity base.
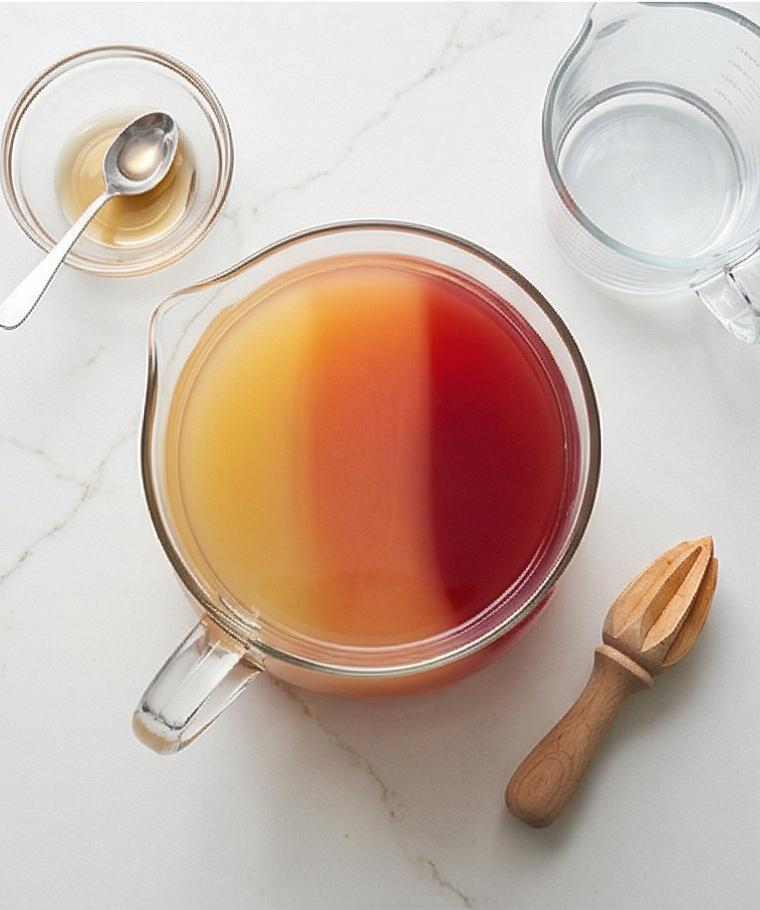
Step 5: Add the cooled simple syrup and taste
Pour the cooled simple syrup into the mixed juices and stir thoroughly for about 30–60 seconds until the sweetness is distributed and the punch color is even. Taste a small sip; the mouthfeel should be bright, round, and moderately sweet with the syrup adding a glossy mouth-coating silk without clouding the mixture. Adjust with a teaspoon or two of extra lemon juice if you prefer a sharper tartness.
Step 6: Add sliced fruit and berries to infuse
Gently nestle the orange and lemon rounds and the prepared berries into the pitcher so they float and infuse rather than break apart. The citrus rounds should sit flat against the liquid surface with peel texture visible, while berries create punctate color and delicate shadows under the top-down light. Stir gently one last time so fruit is evenly distributed but intact.
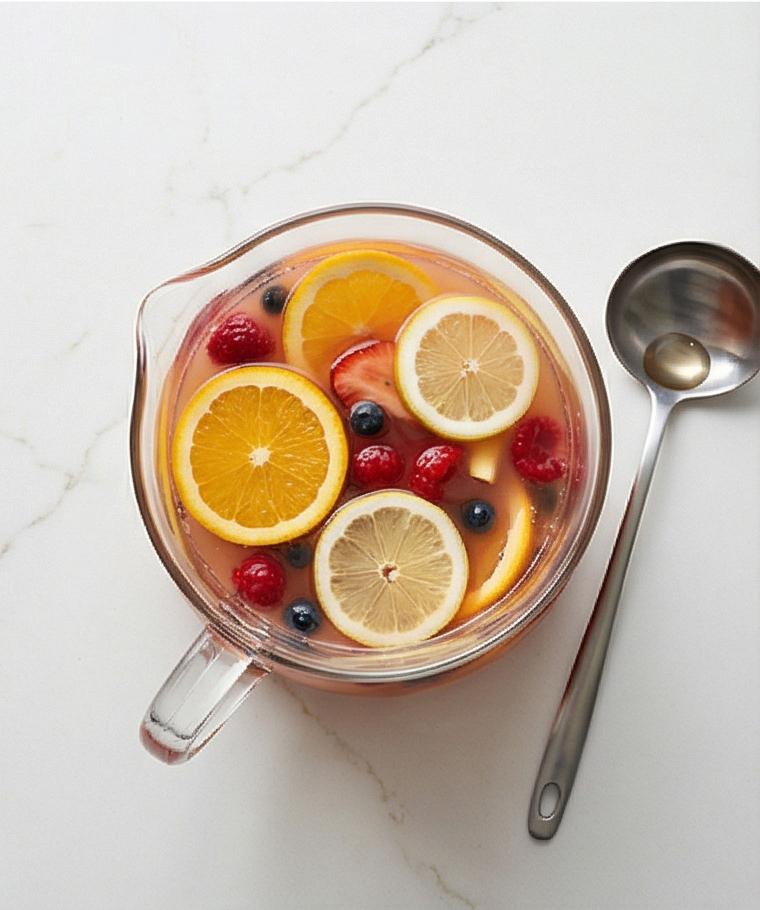
Step 7: Cover and chill to meld flavors
Cover the pitcher tightly and refrigerate the punch at 36–40°F (2–4°C) for at least two hours and up to four. Chilling will calm the surface, allow the citrus oils to mingle, and let colors settle into a calm, translucent body; the pitcher should emerge from the fridge very cold with the fruit fully saturated and mildly translucent at the edges.
Step 8: Add chilled soda to preserve fizz just before serving
When ready to serve, remove the pitcher and slowly pour the chilled ginger ale or lemon-lime soda down the side to preserve carbonation; you should see a delicate crest of bubbles and microfoam at the surface without violent agitation. Stir only very gently to combine so the drink remains lightly effervescent and visually lively.
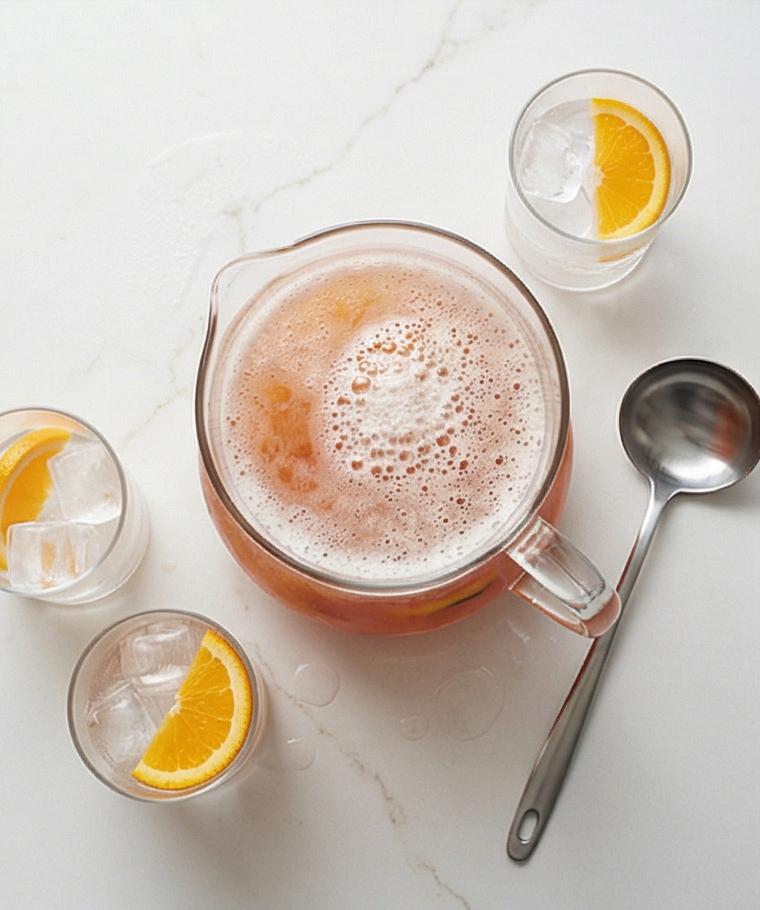
Step 9: Prepare serving glasses with ice and citrus
Fill serving glasses halfway with ice cubes and, if desired, tuck an orange or lemon slice against the inside of each glass so it faces outward. The ice should be clear, crystalline cubes that catch the top-down light, and the citrus slice should present a bright, wet cross-section that complements the punch color.
Step 10: Pour and garnish each glass
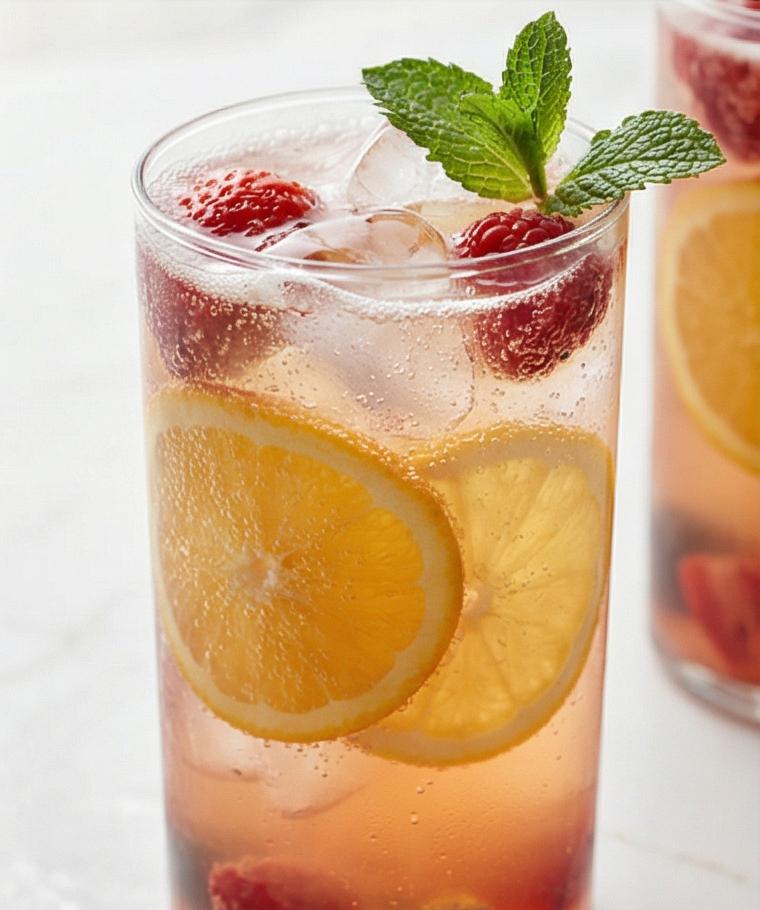
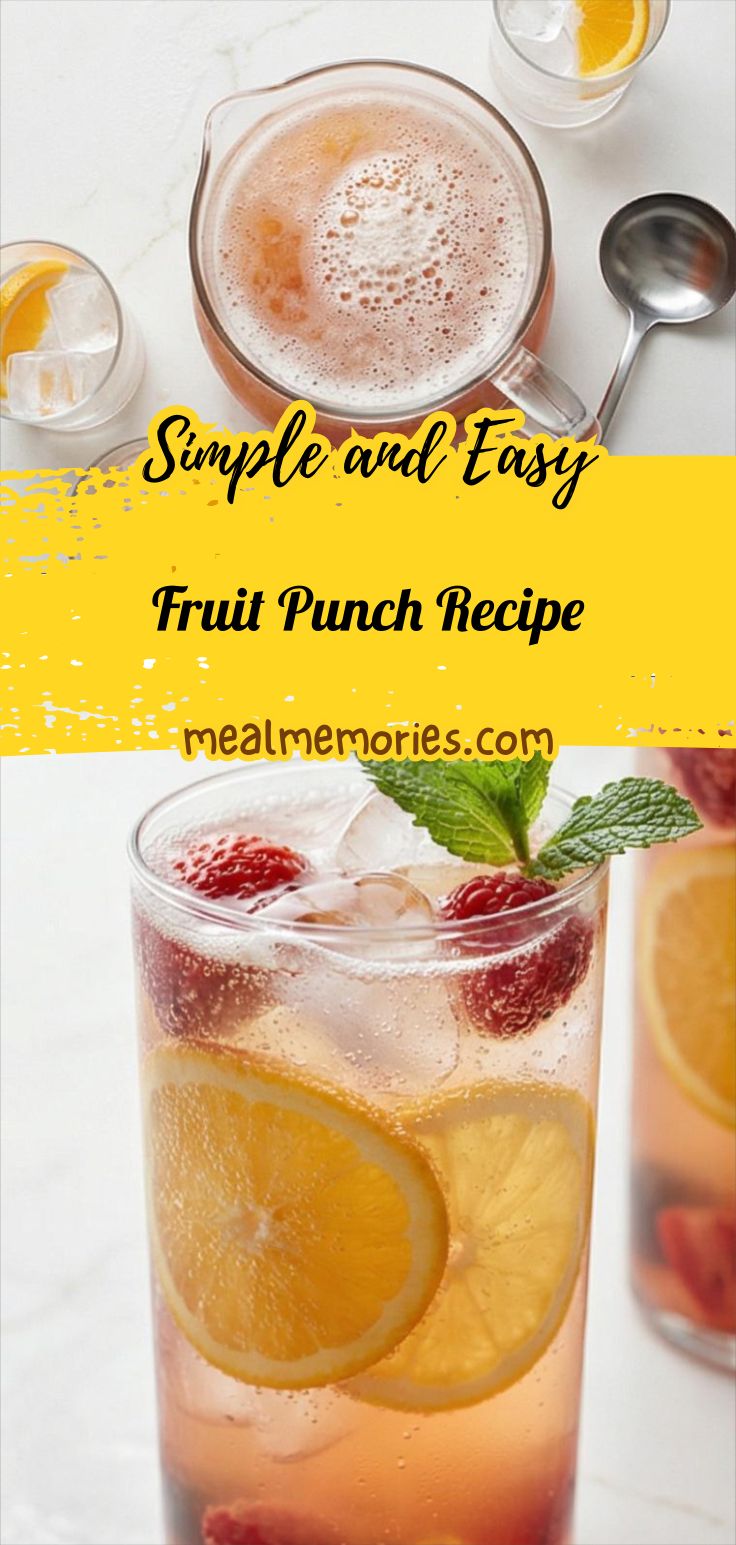
Ladle or pour the chilled, lightly fizzy punch into the prepared glasses, making sure each receives a few citrus rounds and berries for an attractive cross-section in every serving. Finish each glass with a fresh mint sprig that has been gently bruised between your fingers to release aroma; the mint should sit upright, matte green and fragrant atop the ice.
Step 11: Hold and refresh if needed
Keep any leftover punch (without added ice) covered and refrigerated for up to 24 hours; the carbonation will mellow but the flavor stays bright. Before serving leftovers, stir gently and, if desired, add a small splash of freshly opened soda to each glass to refresh effervescence.
Step 12: Serving suggestions and final service
Serve immediately while the punch is very cold and lightly fizzy alongside light brunch dishes or snacks. For a crowd, scale up and present in a large punch bowl with an optional diluted-juice ice ring to keep the punch chilled without rapid dilution.
Making It Your Own
Try adding a splash of rum or sparkling wine for an adult version; I like a light rum for warmth and a dry sparkling wine for acidity. For a low-sugar option, use half the simple syrup and add a touch of sparkling water instead of soda. In colder months, swap pineapple for pear nectar and use pomegranate juice for deeper color. I once tried coconut water in place of some apple juice and it added a subtle, refreshing roundness that surprised me.
How to Serve
When hosting, prepare the punch several hours ahead and chill so the flavors marry. For a small gathering, serve in a clear pitcher so guests can help themselves; for a larger party, use a punch bowl with a ladle and place extra bowls of ice and citrus slices nearby. If you expect guests to graze all evening, keep extra chilled soda on hand to top up glasses so the fizz stays lively. Garnish each glass with a mint sprig and a couple of berries for color and aroma.
Storage and Reheating Tips
Store leftover punch covered in the refrigerator for up to 24 hours. Leave out the ice when storing to avoid waterlogged flavor and dilution. If carbonation fades, revive each glass with a small splash of freshly opened soda right before serving.
If you make the punch in advance, add the soda only at the last minute. I never heat this punch to reheat, but if you want a warm spiced version, make a fresh batch using warmed apple and pineapple juices and skip the ginger ale, adding spices like cinnamon and cloves to taste.
Common Mistakes and How to Avoid Them
Over-sweetening is the most common hiccup; always start with the suggested syrup amount and taste. You can always add more lemon juice or extra soda to balance sweetness, but you cannot remove it once mixed.
Another mistake is adding soda too early. If you mix in the fizzy soda long before serving, the punch will go flat. Add the soda just before you pour into glasses to keep that lively sparkle.
Warm Final Thoughts
I hope this Fruit Punch Recipe becomes your go-to when you want a bright, easy crowd-pleaser. It has been my favorite for casual weekend brunches and larger celebrations alike, and it adapts well to what you have on hand. Have fun with small tweaks, and enjoy sharing it with people you love.
Frequently Asked Questions.
- What is the best way to make the simple syrup? The best method is to heat equal parts granulated sugar and water until the sugar dissolves and the liquid is just at a gentle simmer, then cool before adding to cold juices.
- Can I make this punch in advance? Yes, you can prepare the juice base and cooled syrup up to a day ahead. Keep the soda separate and add it right before serving.
- How long will leftover punch keep? Stored, uncovered ice removed, in the refrigerator it will keep for up to 24 hours; flavor will remain good though fizz will lessen.
- Can I make the punch alcoholic? Absolutely, add rum, vodka, or sparkling wine to taste right before serving, or provide spirits so guests can spike their own glass.
- What substitutions work well? Try pear or peach nectar for seasonal variation, use sparkling water for lower sugar, or swap cranberry cocktail for pomegranate for a more tart, complex flavor.
Fruit Punch Recipe
Make Fruit Punch Recipe for a bright, fizzy crowd-pleaser in under 30 minutes with fresh citrus and berries.
Ingredients
Instructions
Step 1: Make the simple syrup
In a small saucepan combine the granulated sugar and water and heat gently until the sugar is fully dissolved and the liquid just reaches a gentle simmer. Stir patiently with a spoon until the syrup is crystal-clear, shimmering with a pale, viscous sheen and free of undissolved grains. Keep the syrup free of heavy bubbling — you want a smooth, glassy texture that will blend seamlessly into cold juices once cooled.
Step 2: Cool the syrup to room temperature
Remove the saucepan from heat and transfer the syrup to a heatproof bowl or jug to speed cooling. Let it sit on the counter until it is no longer warm to the touch, stirring occasionally to release some heat and avoid hotspots. The cooled syrup should be translucent and slightly syrupy on the spoon, no longer steaming and ready to add sweetness without shocking the chilled juices.
Step 3: Prepare the citrus and berries
While the syrup cools, rinse the orange and lemon very thoroughly and slice them into thin, even rounds, discarding visible seeds. If using berries, rinse and pat them completely dry, hull and halve large strawberries so they sit flat. Lay the fruit out so the orange and lemon reveal glossy, zesty cross-sections and the berries retain their matte, fragile texture — ready to float and infuse.
Step 4: Combine the chilled juices in the pitcher
In a large clear, non-reactive pitcher pour the chilled pineapple juice, orange juice (pulp-free), cranberry cocktail, apple juice, and the freshly strained lemon and optional lime juices. The result should be a unified, vibrant liquid with a clean, even color — a spectrum of pale gold to deep ruby — with a smooth surface and no immediate aeration. Give the pitcher a gentle stir so the juices read as one bright, fruity base.
Step 5: Add the cooled simple syrup and taste
Pour the cooled simple syrup into the mixed juices and stir thoroughly for about 30–60 seconds until the sweetness is distributed and the punch color is even. Taste a small sip; the mouthfeel should be bright, round, and moderately sweet with the syrup adding a glossy mouth-coating silk without clouding the mixture. Adjust with a teaspoon or two of extra lemon juice if you prefer a sharper tartness.
Step 6: Add sliced fruit and berries to infuse
Gently nestle the orange and lemon rounds and the prepared berries into the pitcher so they float and infuse rather than break apart. The citrus rounds should sit flat against the liquid surface with peel texture visible, while berries create punctate color and delicate shadows under the top-down light. Stir gently one last time so fruit is evenly distributed but intact.
Step 7: Cover and chill to meld flavors
Cover the pitcher tightly and refrigerate the punch at 36–40°F (2–4°C) for at least two hours and up to four. Chilling will calm the surface, allow the citrus oils to mingle, and let colors settle into a calm, translucent body; the pitcher should emerge from the fridge very cold with the fruit fully saturated and mildly translucent at the edges.
Step 8: Add chilled soda to preserve fizz just before serving
When ready to serve, remove the pitcher and slowly pour the chilled ginger ale or lemon-lime soda down the side to preserve carbonation; you should see a delicate crest of bubbles and microfoam at the surface without violent agitation. Stir only very gently to combine so the drink remains lightly effervescent and visually lively.
Step 9: Prepare serving glasses with ice and citrus
Fill serving glasses halfway with ice cubes and, if desired, tuck an orange or lemon slice against the inside of each glass so it faces outward. The ice should be clear, crystalline cubes that catch the top-down light, and the citrus slice should present a bright, wet cross-section that complements the punch color.
Step 10: Pour and garnish each glass
Ladle or pour the chilled, lightly fizzy punch into the prepared glasses, making sure each receives a few citrus rounds and berries for an attractive cross-section in every serving. Finish each glass with a fresh mint sprig that has been gently bruised between your fingers to release aroma; the mint should sit upright, matte green and fragrant atop the ice.
Step 11: Hold and refresh if needed
Keep any leftover punch (without added ice) covered and refrigerated for up to 24 hours; the carbonation will mellow but the flavor stays bright. Before serving leftovers, stir gently and, if desired, add a small splash of freshly opened soda to each glass to refresh effervescence.
Step 12: Serving suggestions and final service
Serve immediately while the punch is very cold and lightly fizzy alongside light brunch dishes or snacks. For a crowd, scale up and present in a large punch bowl with an optional diluted-juice ice ring to keep the punch chilled without rapid dilution.
Notes
- Keep soda separate until the last minute to preserve fizz.
- Strain citrus juices to avoid seeds and pulp in the pitcher.
- Adjust sweetness with extra lemon instead of adding more syrup.
- Store punch without ice and add fresh soda to revive fizz.
- Use pulp-free orange juice for a smooth, clear punch.